Do it yourself
Life hacks, master classes, useful tips, recipes.
home » Handicraft techniques » Decor » Room decor » Photo frame made of Chinese sticks
New Year is coming. The mood is festive and joyful. I want to celebrate the New Year with my close and dear friends and give them unusual gifts. present, and even made with your own hands. I want to tell you how I brought to life a gift for my beloved friend in the form of a photo frame made of Chinese sticks.

You'll need:
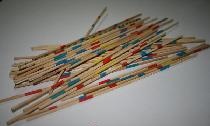
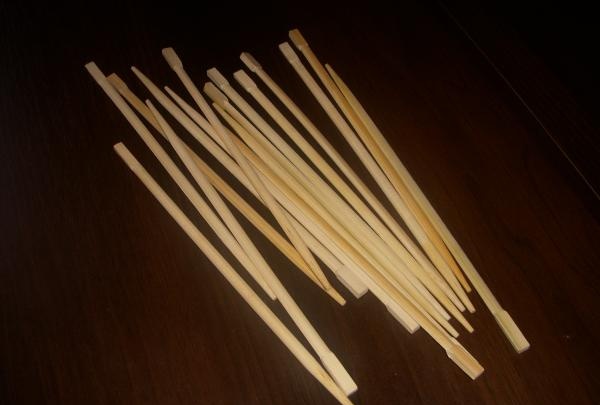
1. Chinese chopsticks – 8 pcs.
2. Gun with silicone – 1 pc.
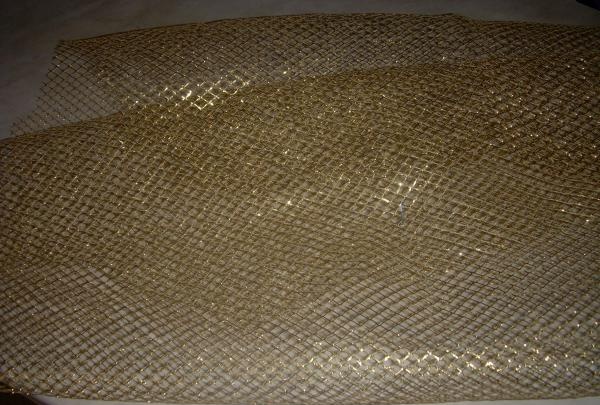
3. Mesh wrap for flowers
4. Beads – 5 pcs.
5. Dried flower decorations
6. Scissors

Manufacturing process:
1. Prepare the place and necessary items.

Photo frame made of Chinese chopsticks


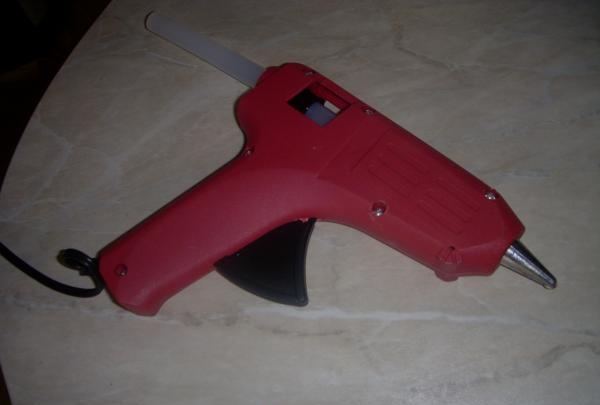
2. Plug the gun with silicone into a power outlet so that it warms up, after which you can start working. Throughout the entire work we will use hot silicone using a gun. Be careful because it gets very hot.
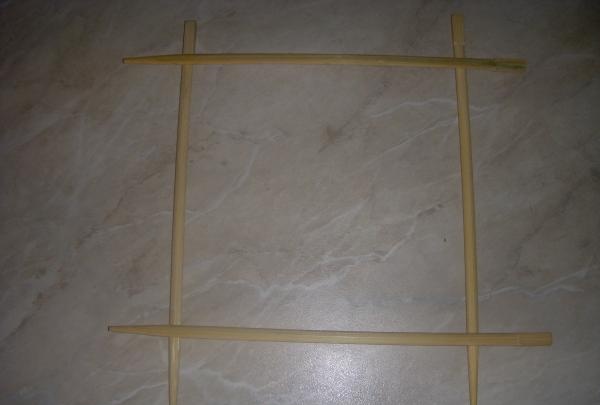
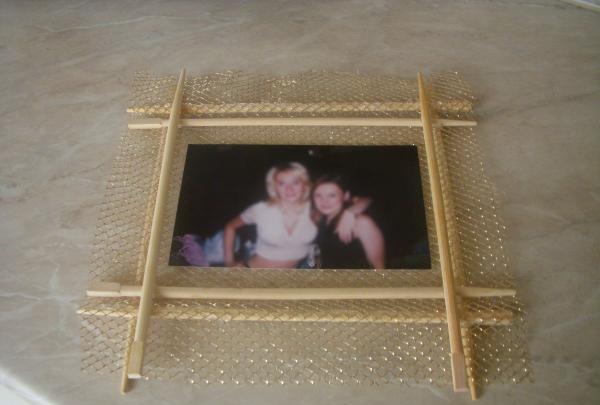
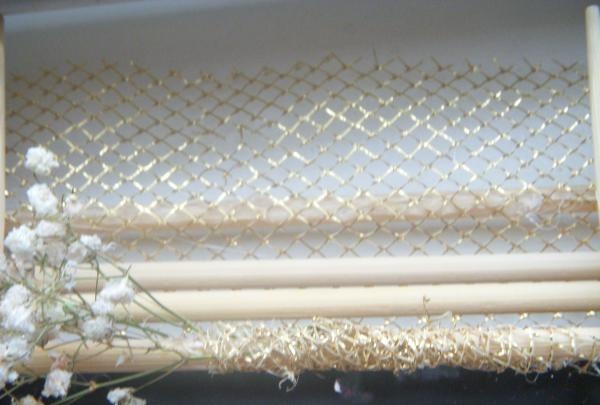
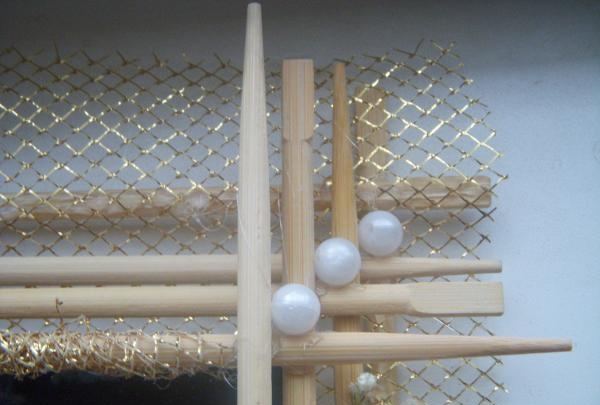
3. Take 4 sticks and lay them out in a square so that the ends go out a little. Squeeze hot silicone out of the gun into the joints and glue the sticks together, hold for 15 seconds for gluing.


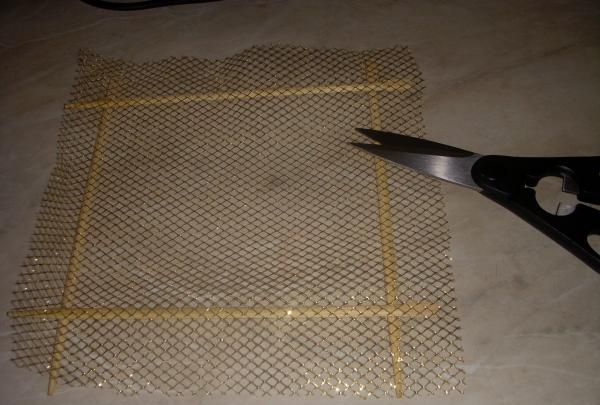
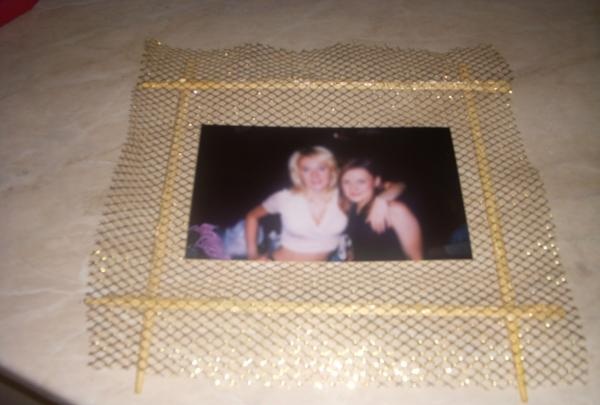
4. Take the mesh, cut out a square the size of our resulting photo frame and glue it to it.


5. We glue our photo to the mesh itself using hot silicone.


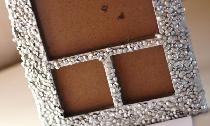
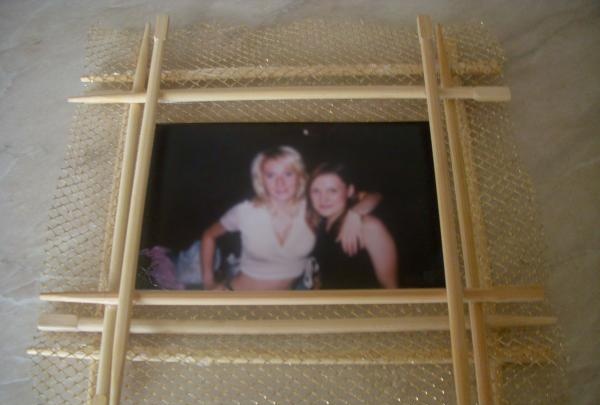
6. Now we lay out the sticks, shifting the square to the center and also glue them together. And we do this with all the other sticks.


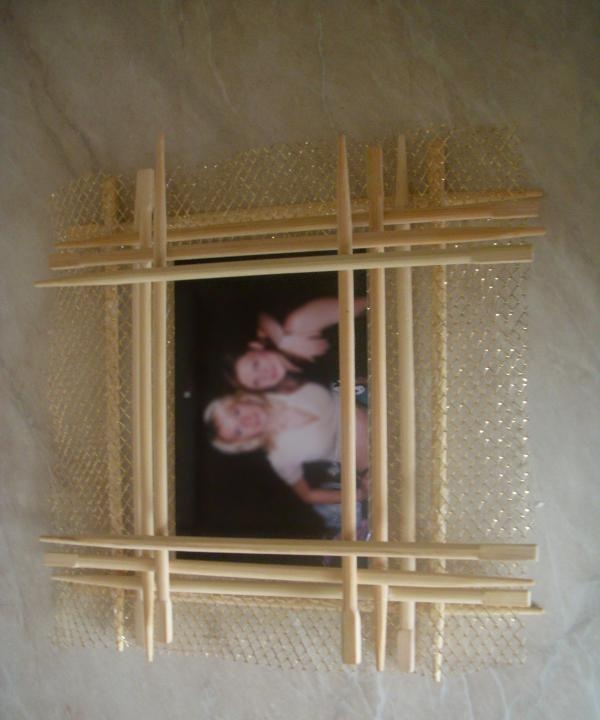
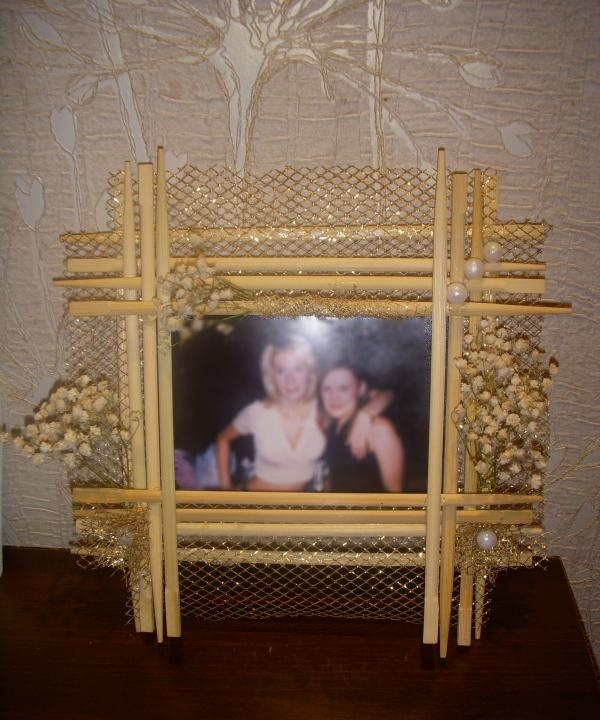
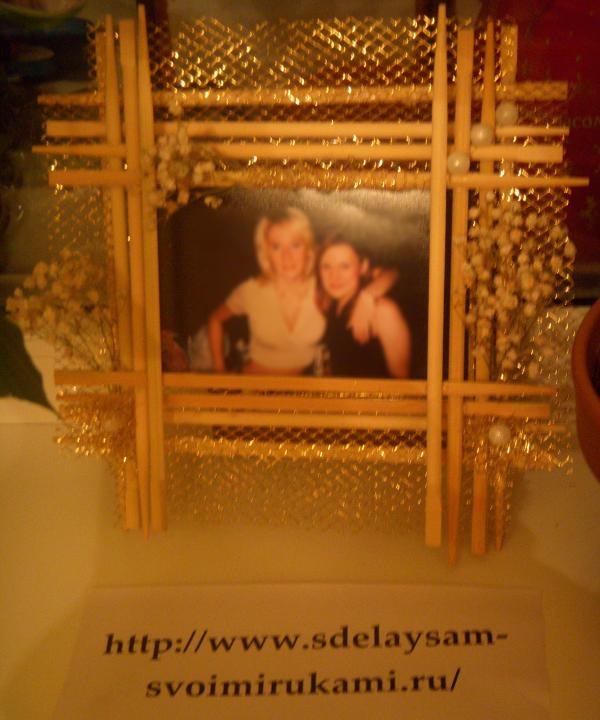
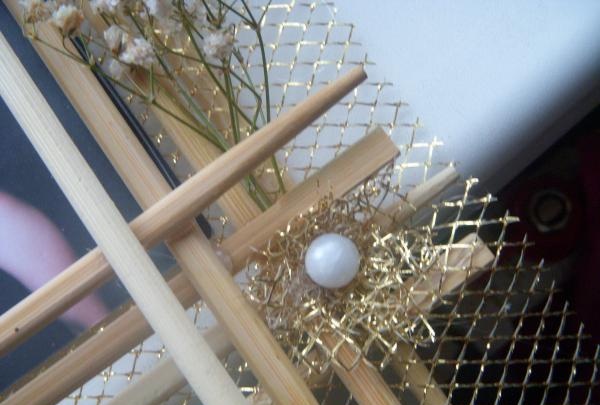
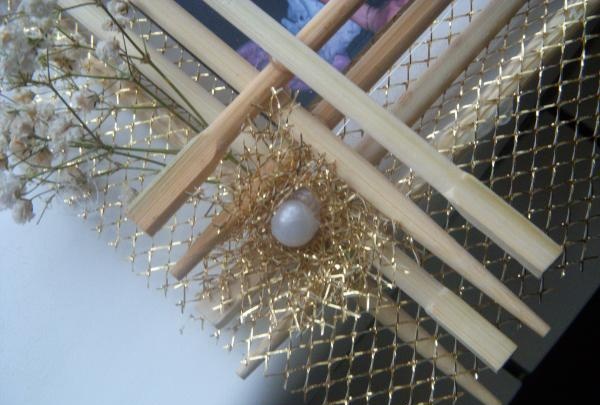
7. Take dried decorations for flower bouquets. We divide them into small “bouquets” and glue them on both sides and on top above the photo.


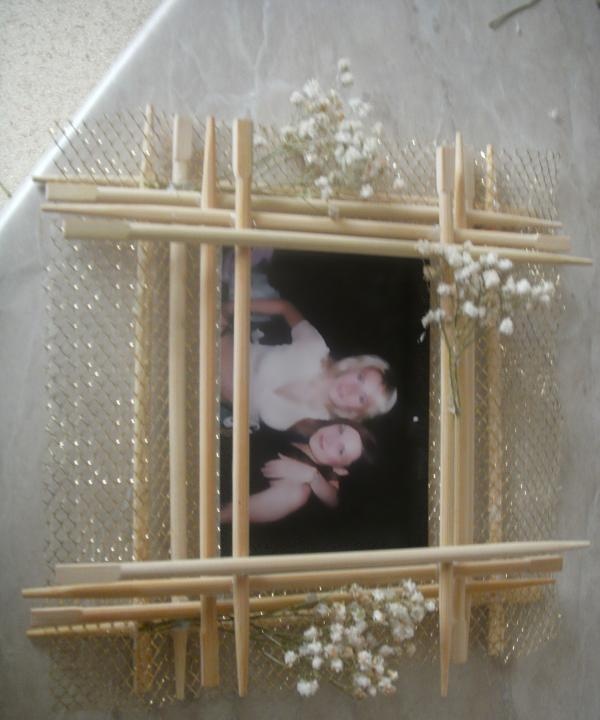
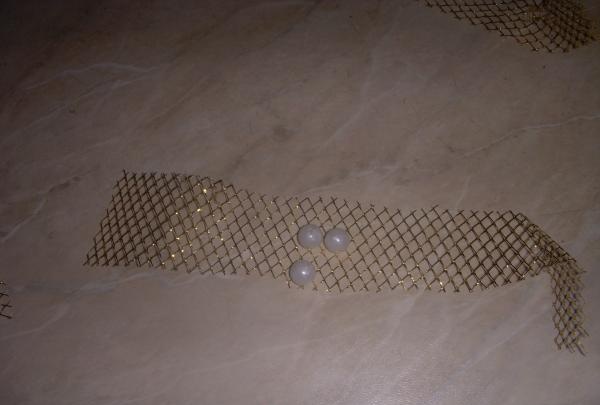
8. Now take the mesh and cut out 3 small strips. We will make bows from two strips and glue them at the base of our flowers. And with one we will wrap the top stick above the photo. Take the beads and glue them in the middle of the bows and on the top right.


9. After gluing the silicone, there are strings left that can be easily removed by tearing them off when everything is dry.
10. If you get the right square, then your photo frame will stand. You can also hang it on nails, thanks to the angles between the sticks.


come back
Comment
  • bowtiesmilelaughingblushsmileyrelaxed relaxedsmirk
    heart_eyeskissing_heartkissing_closed_eyesflushedrelievedsatisfiedgrin
    winkstuck_out_tongue_winking_eyestuck_out_tongue_closed_eyesgrinningkissingstuck_out_tonguesleeping
    worriedfrowninganguishedopen_mouthgrimacingconfusedhushed
    expressionlessunamusedsweat_smilesweatdisappointed_relievedwearypassive
    disappointedconfoundedfearfulcold_sweatperseverecrysob
    joyastonishedscreamtired_faceangryragetriumph
    sleepyyummasksunglassesdizzy_faceimpsmiling_imp
    neutral_faceno_mouthinnocent
5+two=
Comments (0)

2 accessible ways to control aphids on cucumbers

How to cook smoked lard without a smokehouse in the oven with your own hands

How to make a convenient clamp from the remains of a board

Flashlight toy | Do it yourself

«Do it yourself - with your own hands» - a site of interesting homemade products made from scrap materials and items at home. Step-by-step master classes with photos and descriptions, technologies, life hacks - everything a real master or just a craftsman needs for needlework. Crafts of any complexity, a large selection of directions and ideas for creativity.

We recommend reading

Washing machine error codes