To create a magic lantern we will need:
- Ready lantern
- Stained glass paints
- Stained glass outline
- Acetone
- cotton wool
- Paper and pencil
- Needle or pin
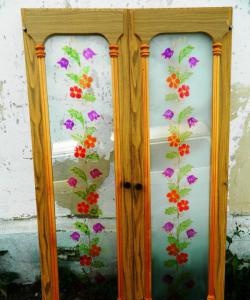
What a fantasy!
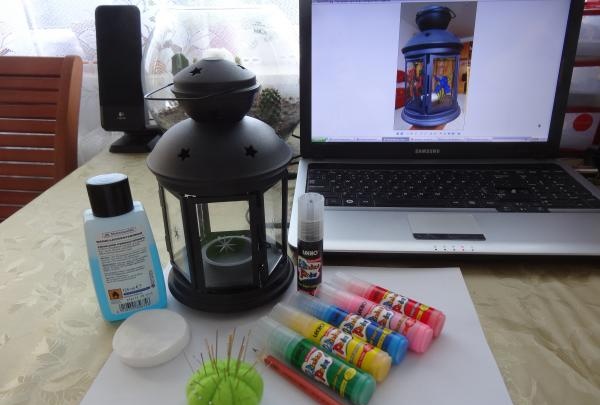
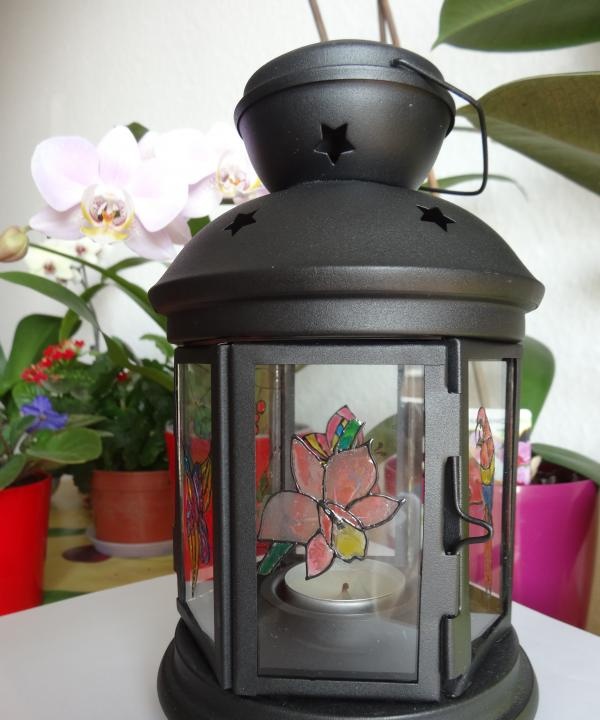
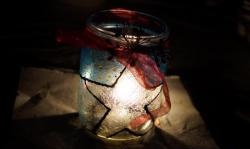
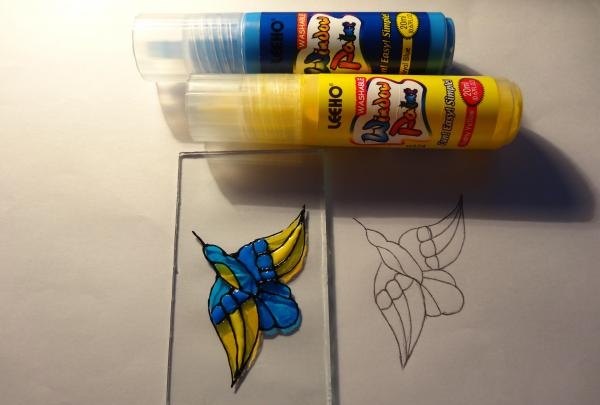
My lantern candle holder is very simple, it was bought at Ikea. Stained glass paints can be purchased at a large office supply store. I used PVA based paints. After drying, the stained glass window is immediately ready.
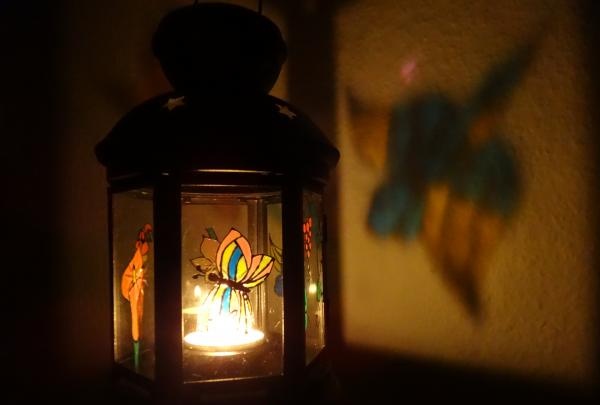
Before starting work, you need to decide on the recipient of the gift. Maybe you want to present something unusual present to your loved one? But even a child will be delighted with such a wonderful flashlight! After all, the lantern will cast colored shadows on the walls and ceiling. The characters you depict on the glass will come to life in the light of a candle. In addition, a unique lantern, made specifically to decorate one of the rooms, will take its rightful place in the interior.
Depending on who will be the recipient of the lantern, choose several scenes that you want to depict on the glass of the lantern. You need to select one picture for each glass. Use your own imagination, and the Internet will help!
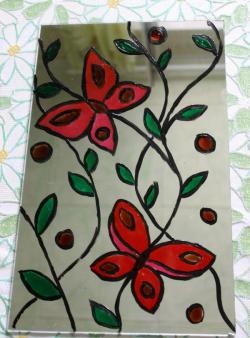
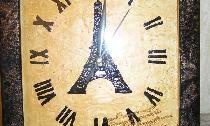
First we create a picture on paper. Of course, the dimensions of the glass must be taken into account. It is advisable that the image does not contain small details: they will be difficult to draw and color. Each detail of the drawing must have a closed contour.
If the design of the lantern allows, it is better to remove the glass. Each one needs to be cleaned and wiped with acetone so that there are no streaks left.
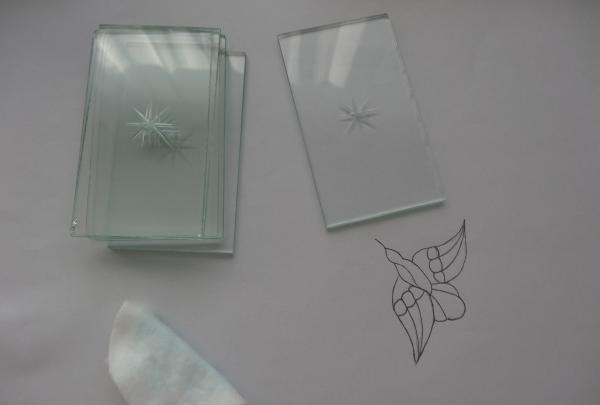
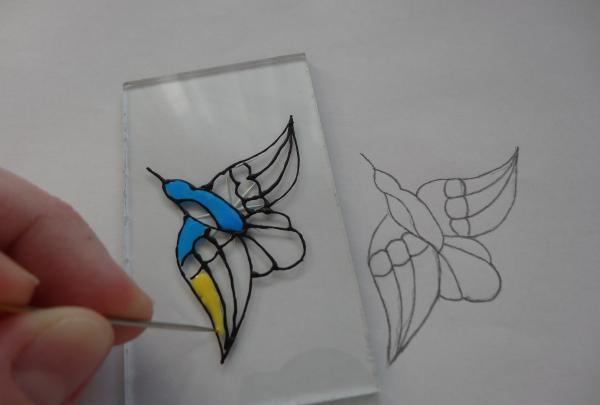
Now we transfer the image to the glass. We place paper with a pattern under the glass and a special outline for stained glass (for me it’s just black stained glass paint) and carefully trace the picture. Let it dry.
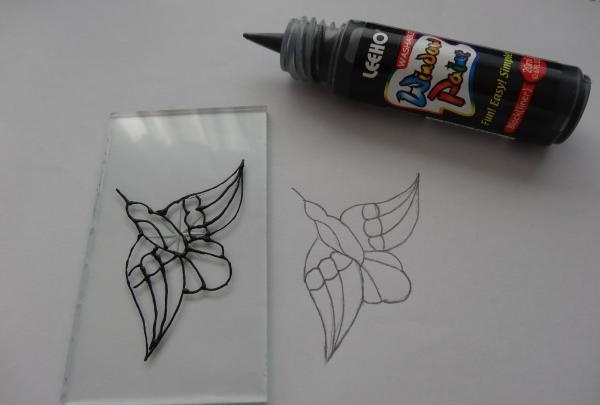
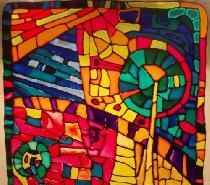
Only after the outline has completely dried can you take on colored stained glass paints. My tubes have a sharp spout, which is very convenient: you don’t have to use a brush. When you buy paints, pay attention to this.
We try to fill the entire space with an even layer. Work slowly, but not too slowly! Rushing will result in uneven paint distribution. Slow work will cause unsightly streaks and bumps on the surface of the drawing. If you “climb” onto the circuit, don’t be discouraged. After the paint has dried, the error will be almost invisible.
There is a little trick. Even the thin nose of the tube may not get into every corner. For the “corners” use a needle or pin.
I advise you not to paint over adjacent areas right away. Especially if they are different colors. Let the stained glass dry.This way you will avoid mixing colors at the borders of areas.
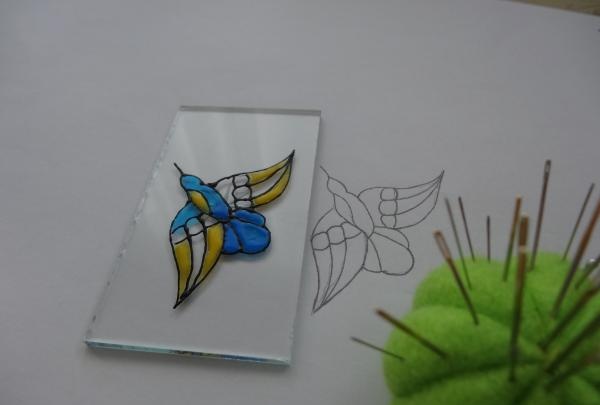
Do the same manipulations with each glass. Once dry, assemble the lantern and enjoy!