This is an incredibly useful device that will protect your home from short circuits when testing any appliances being tested. There are times when it is necessary to check an electrical device for the absence of a short circuit, for example, after repair. And in order not to expose your network to danger, to play it safe and avoid unpleasant consequences, this very simple device will help.
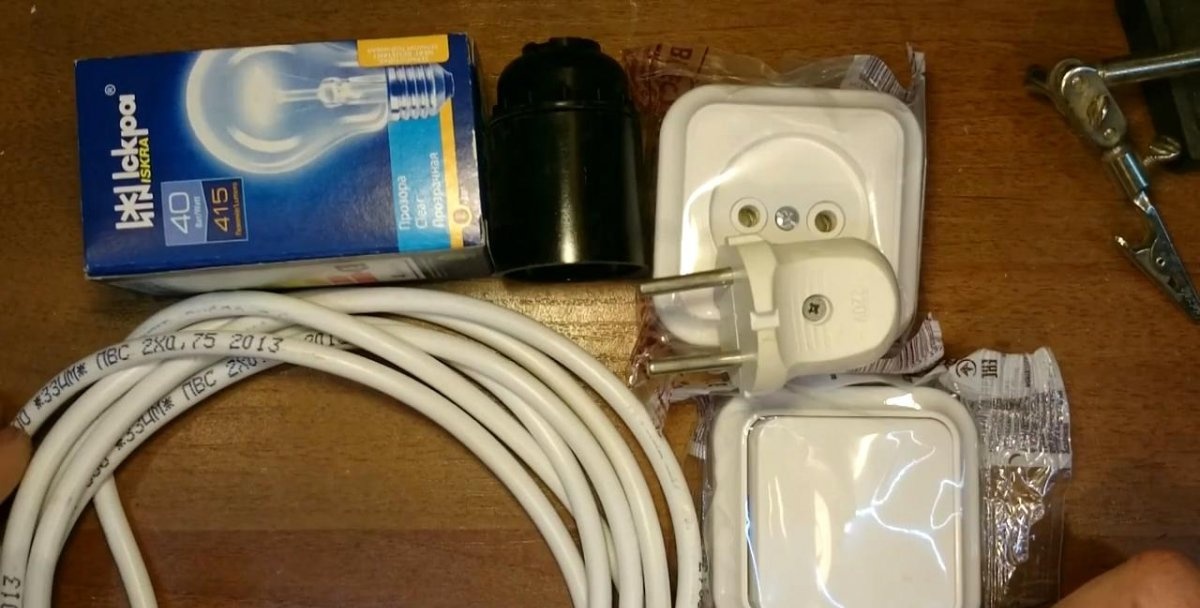
Will need
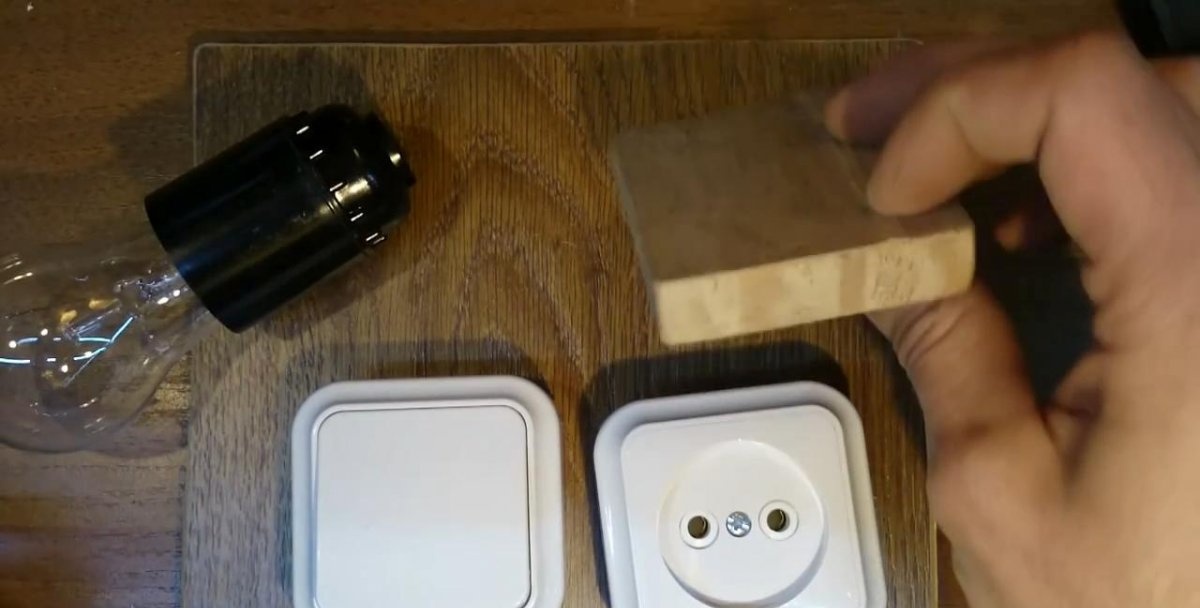
- Overhead socket.
- Key switch, overhead.
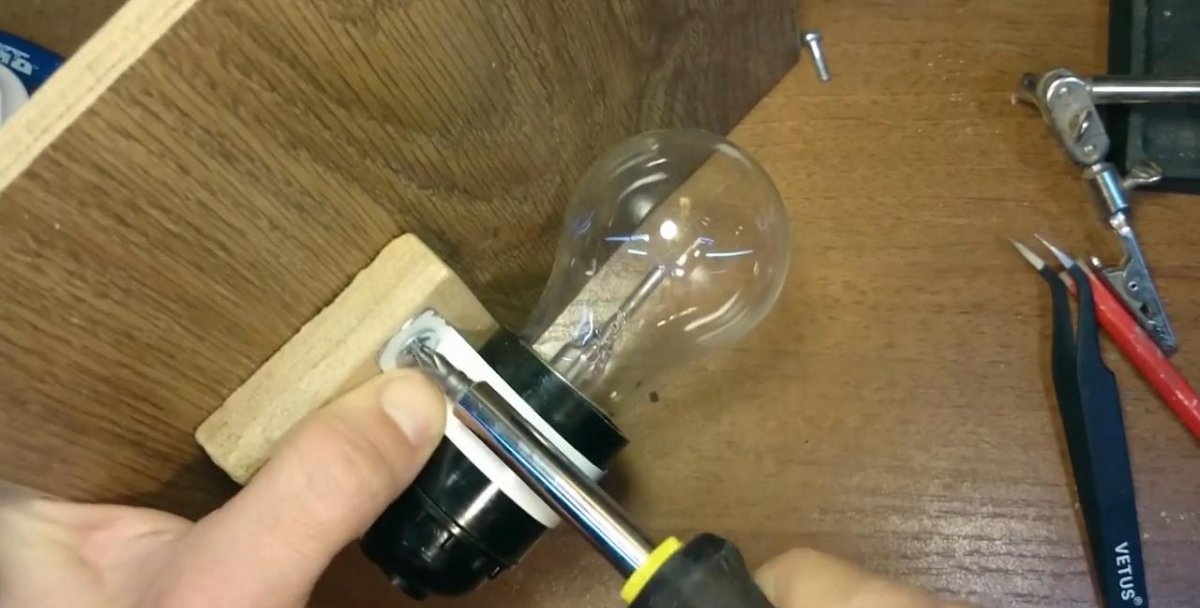
- Incandescent light bulb 40 - 100 W with socket.
- Two-core wire in double insulation 1 meter.
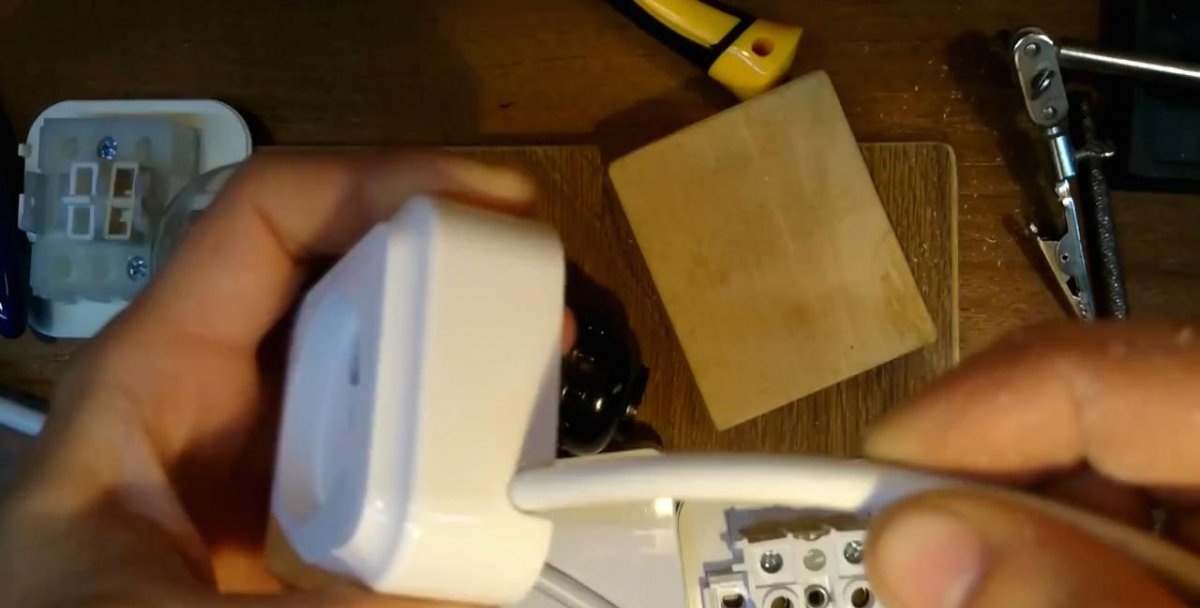
- The fork is removable.
- Self-tapping screws.
All parts will be attached to a wooden square made of chipboard or other material.
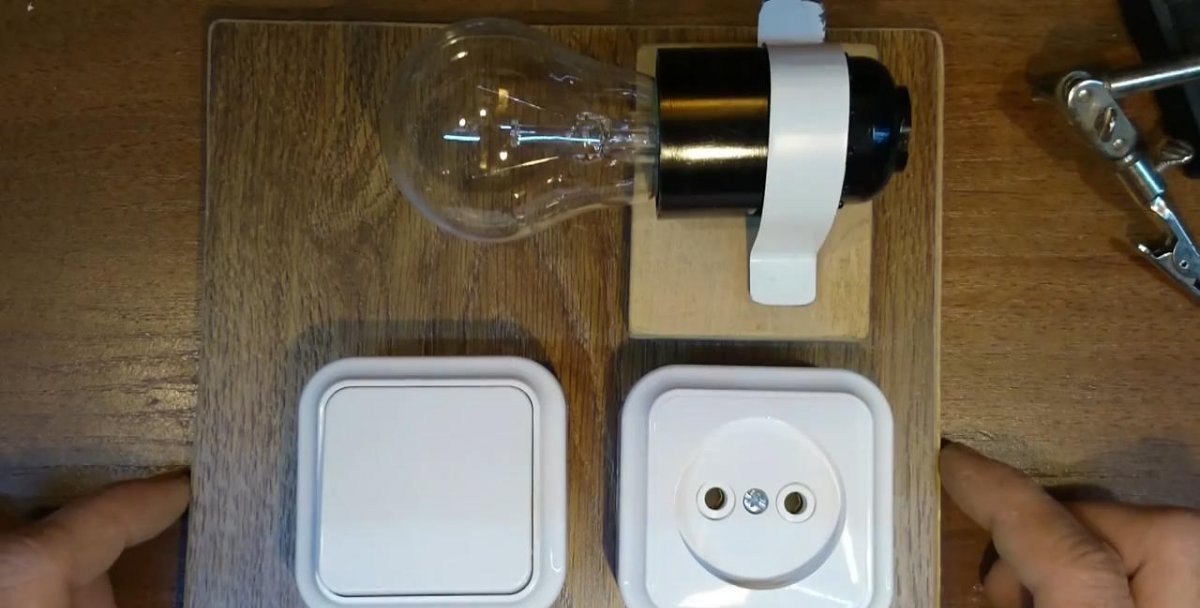
It is better to use a wall socket for a light bulb, but if you don’t have one, we make a clamp for the girth from thin sheet metal.
And we roll out a square of thick wood.
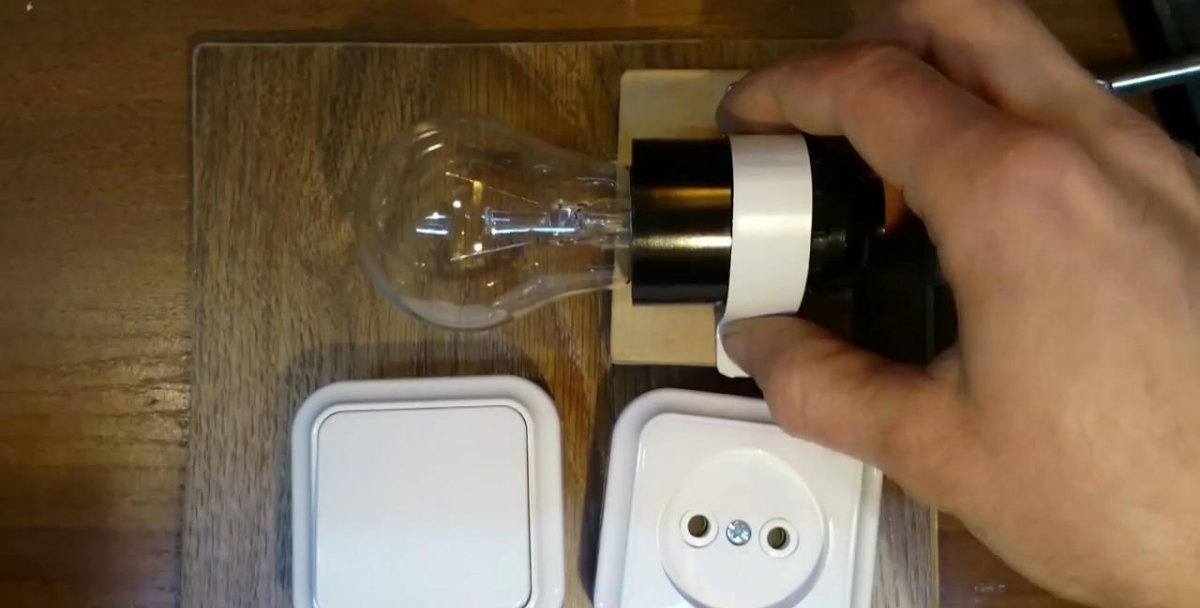
It will be attached like this.
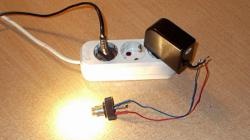
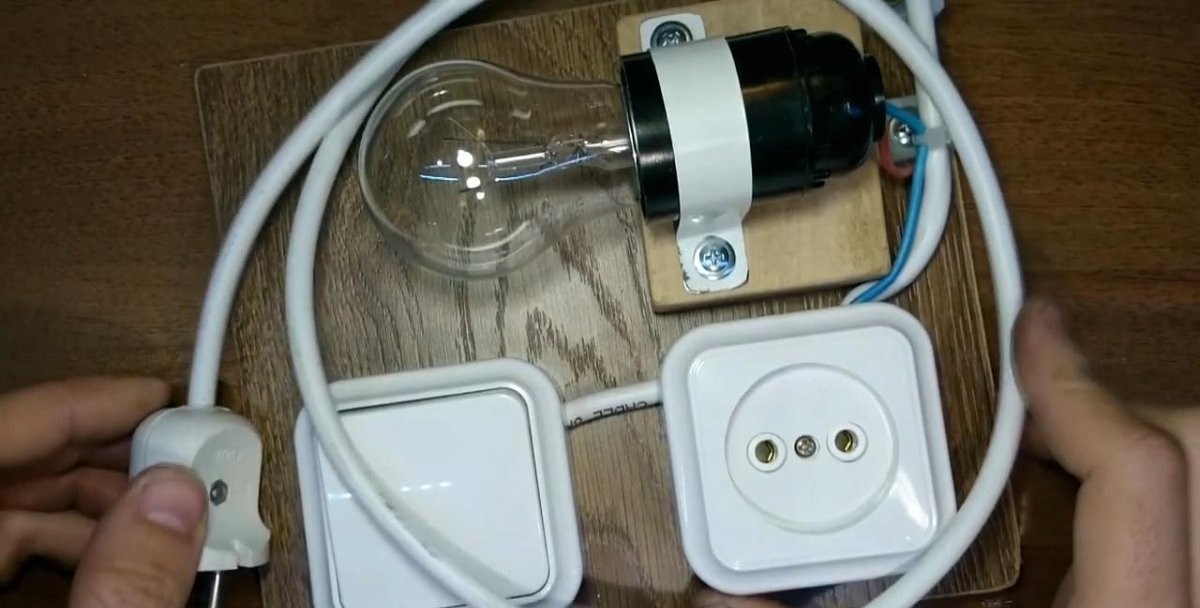
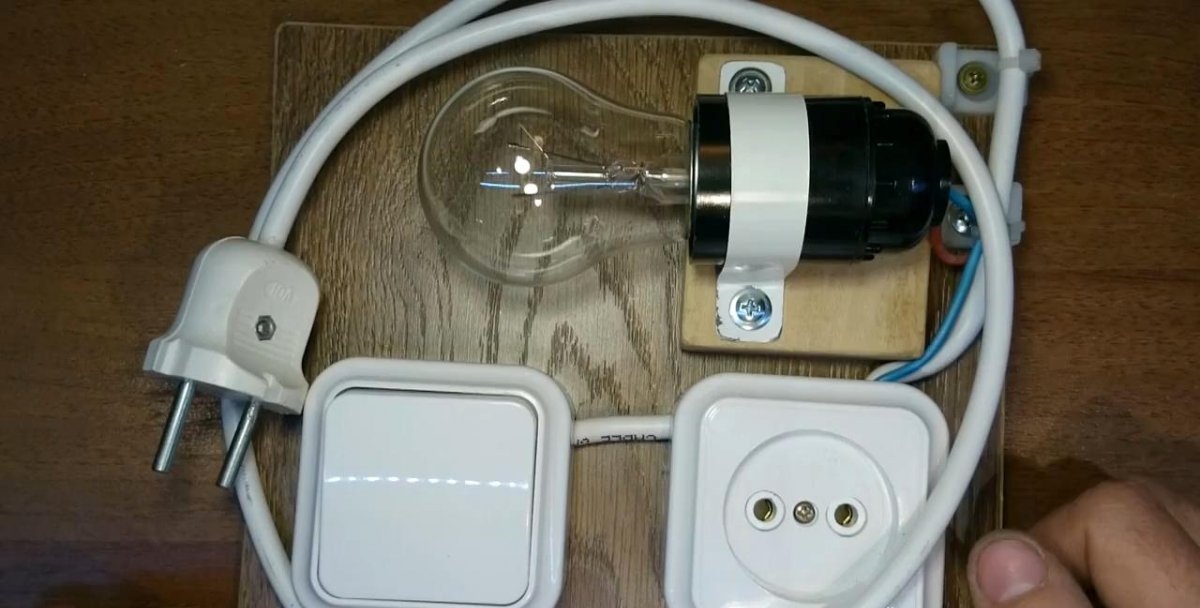
Assembling a socket with short circuit protection
Diagram of the entire installation.

As you can see, all elements are connected in series.
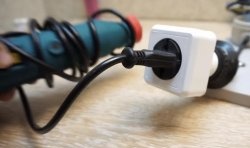
First of all, we assemble the plug by connecting the wire to it.

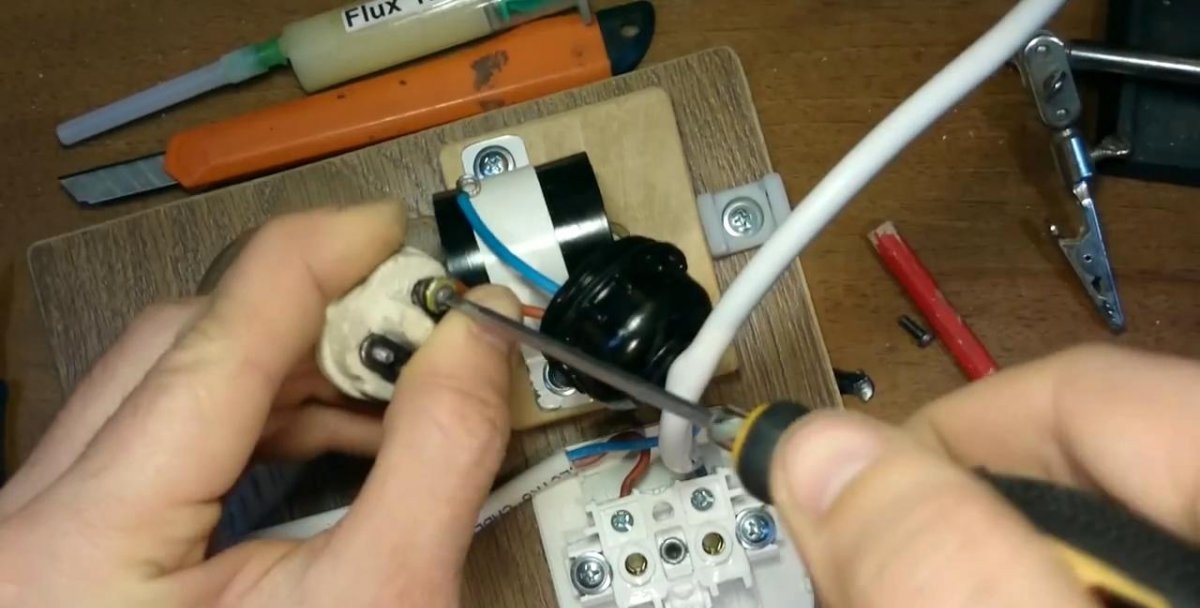
Since the socket and switch are wall-mounted, use a round file to make cuts on the side for the wire.This can be done with a sharp knife.
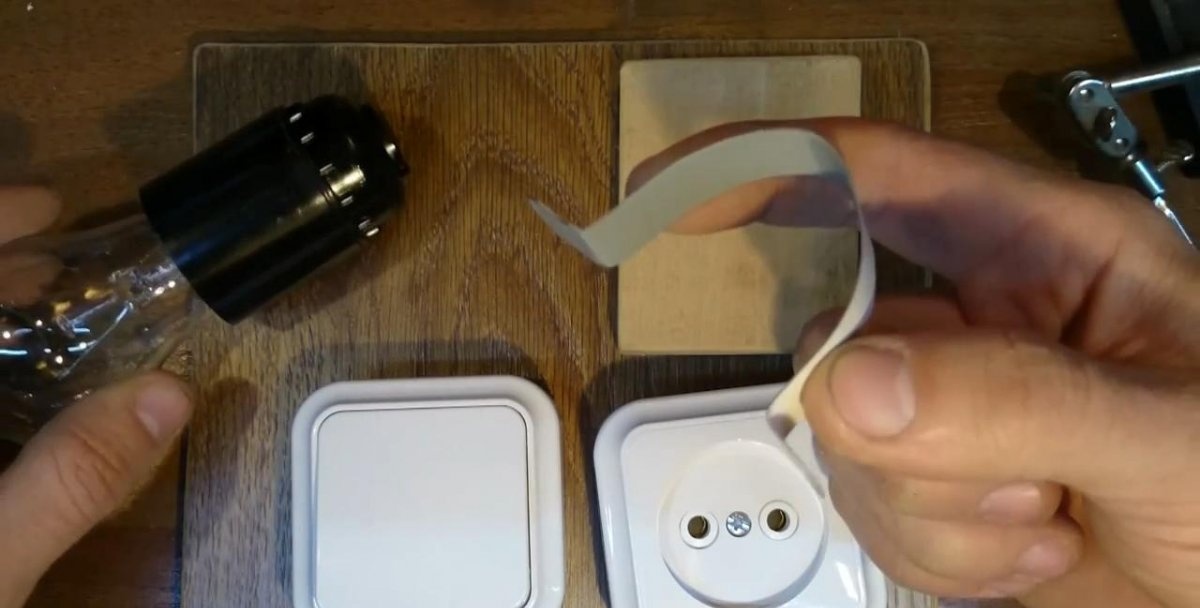
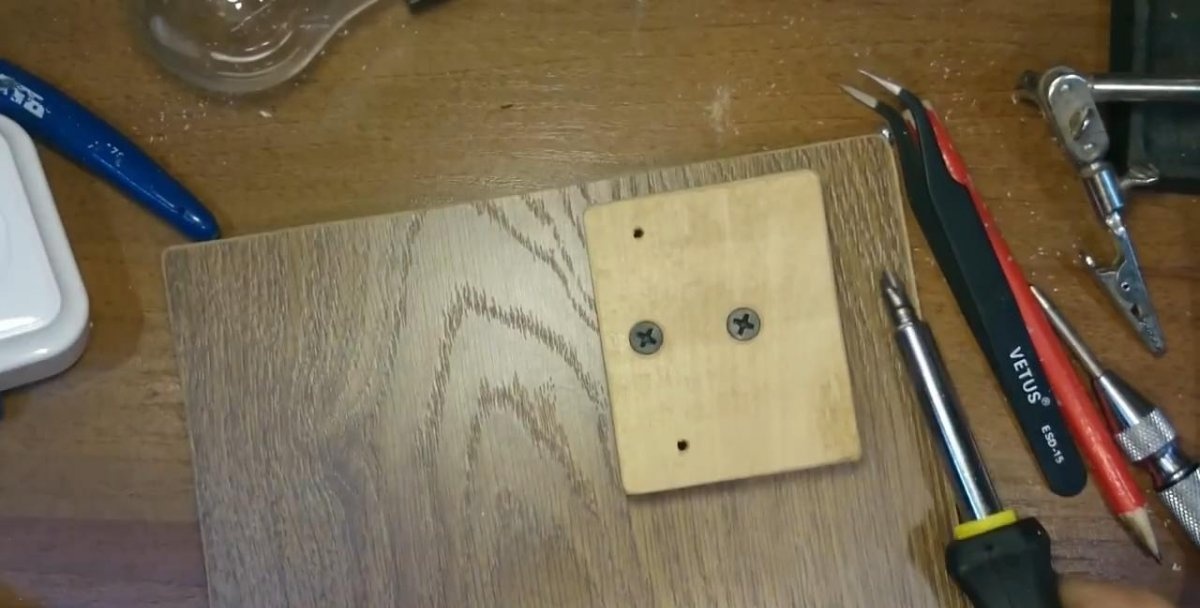
We screw the wooden square to the base with self-tapping screws. Choose ones that won't go right through.
We screw the lamp socket with a bracket to a wooden square.
We disassemble the socket and switch. Screw it to the base with self-tapping screws.
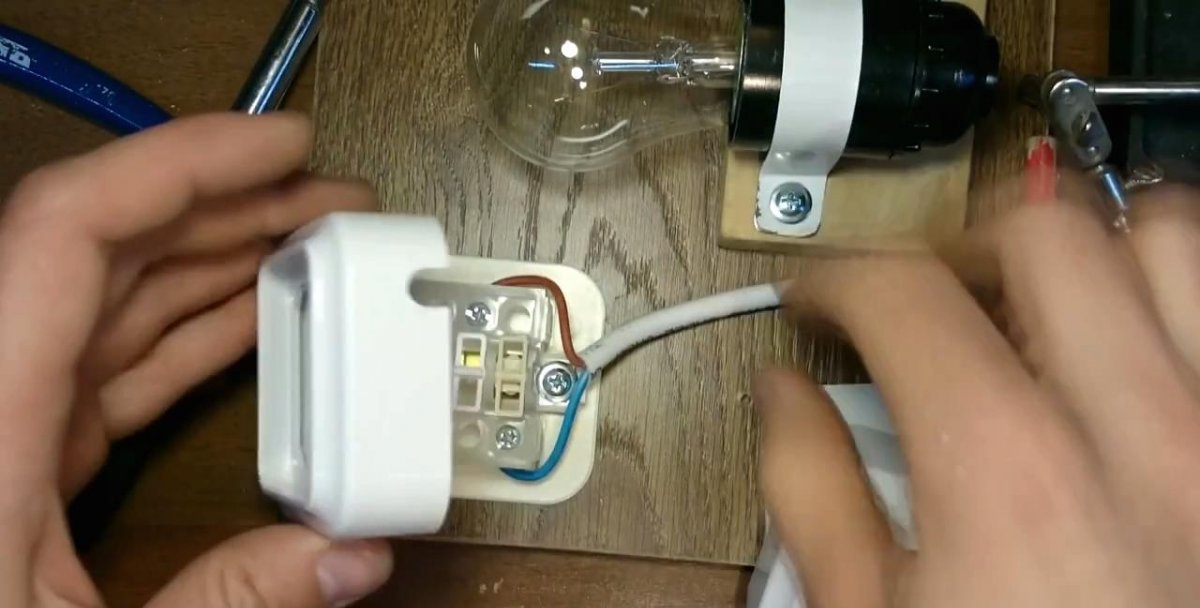
We connect the wires to the socket.
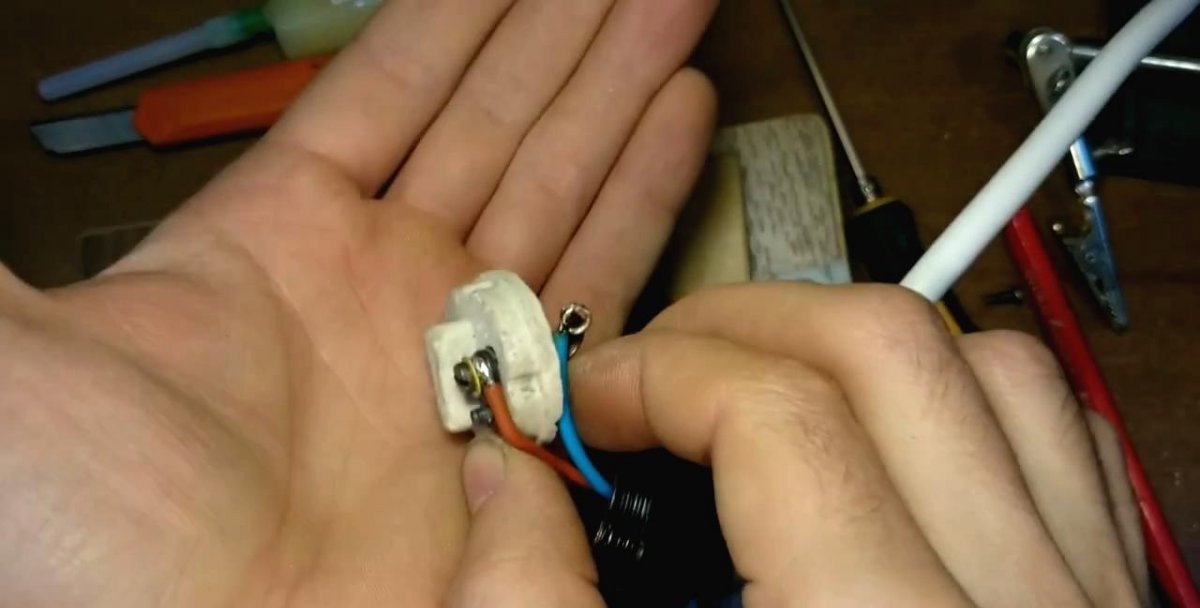
For complete reliability, all wires are soldered. That is: we clean it, bend the ring, solder it with a soldering iron with solder and flux.
We fix the power cord with nylon ties.

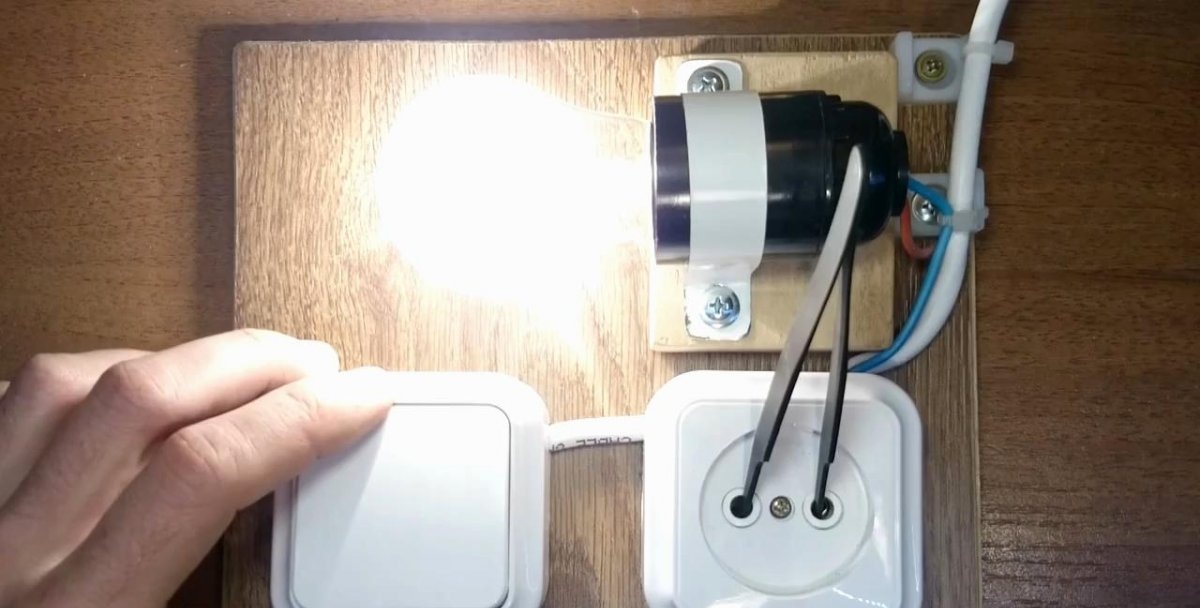
The circuit is assembled, the installation is ready for testing.
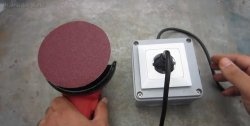
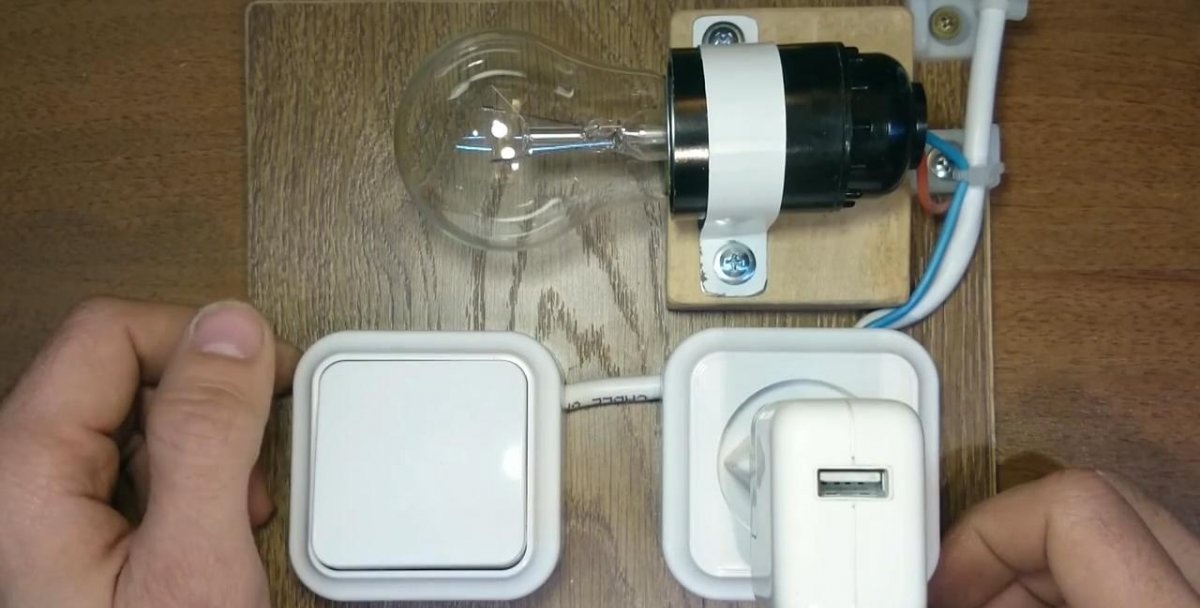
To test, insert a cell phone charger into the outlet. We press the switch - the lamp does not light. This means there is no short circuit.
Then we take a more powerful load: a power supply from a computer. Turn it on. The incandescent lamp first flashes and then goes out. This is normal, since the unit contains powerful capacitors, which initially become infected.
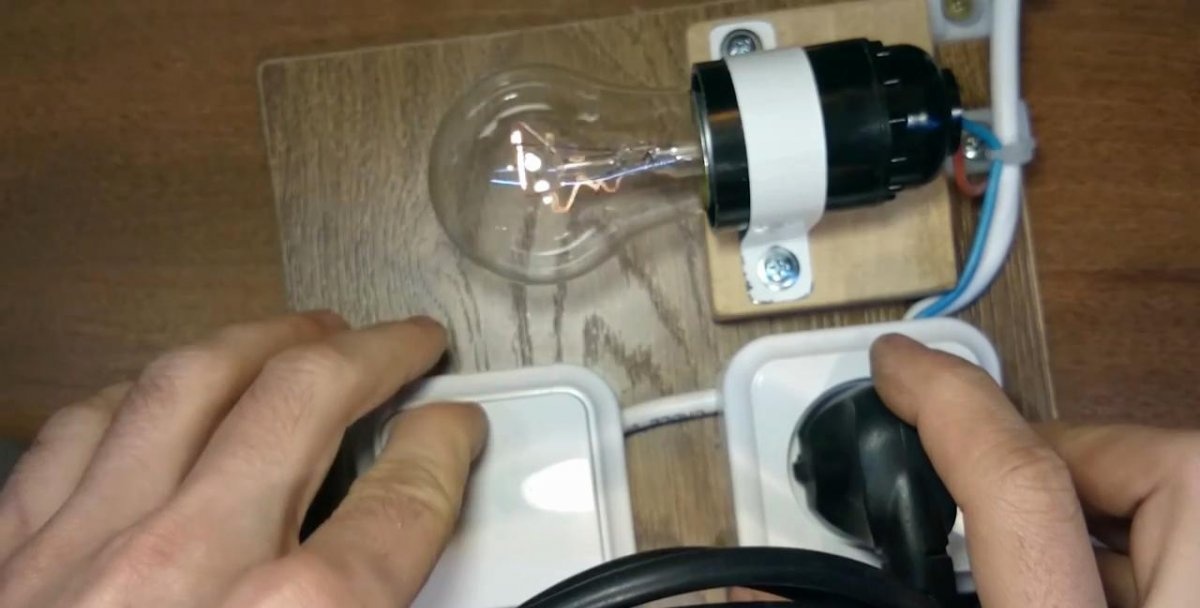
We simulate a short circuit - insert tweezers into the socket. Turn it on, the lamp lights up.
This is such a wonderful and very necessary device.
This installation is suitable not only for low-power devices, but also for powerful ones. Of course, the washing machine or electric stove will not work, but by the brightness of the glow you can understand that there is no short circuit.
Personally, I have been using a similar device almost my entire life, testing all newly assembled crafts.