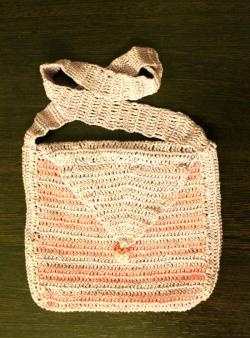
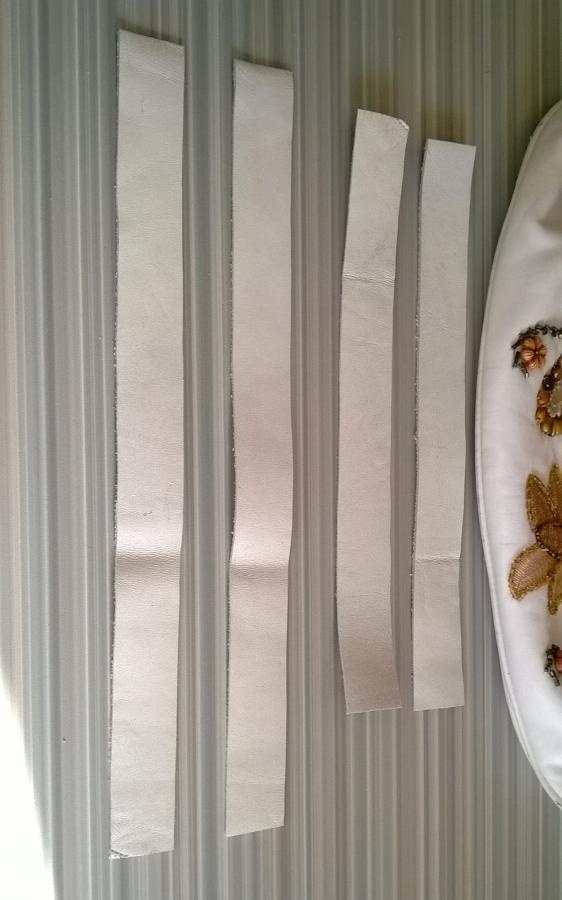
The main thing is to choose the right material in color and texture that matches the original. This bag is lucky. We found the tops of old Finnish boots made of genuine leather in a suitable color. Genuine leather handles will last for several years, and most likely, alas, will outlive the handbag itself. We decide on the length and cut out the blanks of the required size. There will be four of them. Two for the top of the handle and two for the bottom. The upper blanks should be 4 cm longer on each side than the lower blanks. We cut the leather with a cutter on a wooden board using an iron ruler, having previously drawn a pattern on the inside (the underside of the leather).
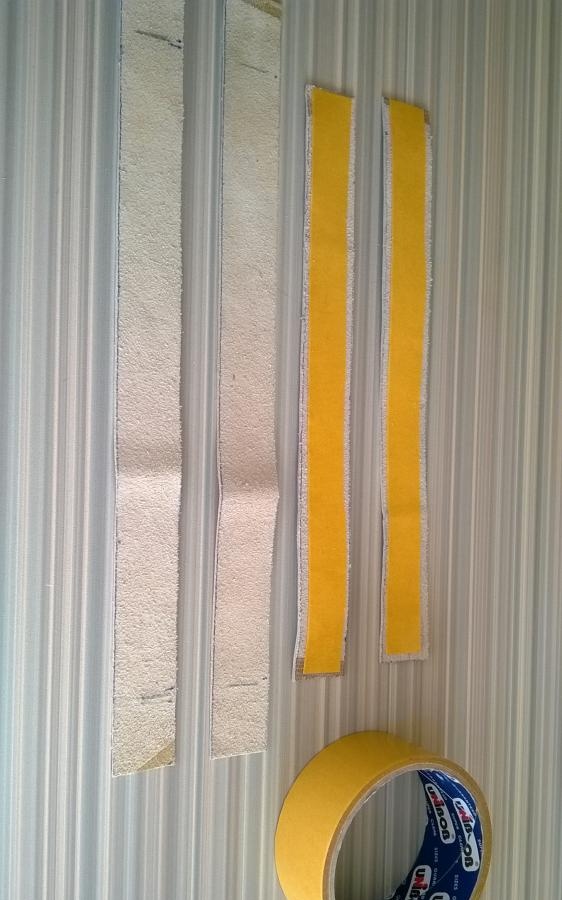
There are different models of handles. We must take into account what kind of bag we are repairing.In this case, a summer handbag, with decorations, is intended for going out and does not involve heavy loads. Therefore, handles can be made very simply by connecting the lower and upper parts end-to-end. If it is assumed that the bag is sometimes very seriously loaded, it is necessary to make stronger handles and use a different model and technology. Now we need to firmly connect the upper and lower parts. We use regular double-sided tape. It will give strength to the product and facilitate the stitching process.
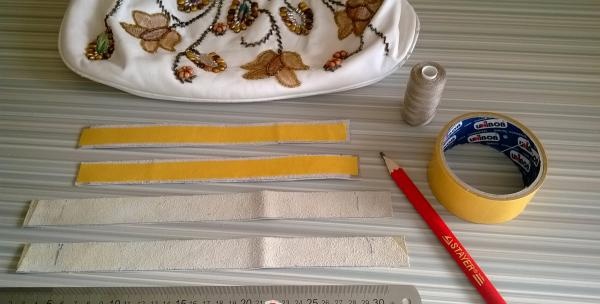
It is necessary to choose threads that match the color.
Now we attach the parts glued together with tape to each other. We do this carefully, slowly, so that the stitching looks perfect. The final result will depend on this. We sew the blanks around the perimeter. We melt the knots with a lighter, then the stitching will not unravel. The photo clearly shows the melted nodules.
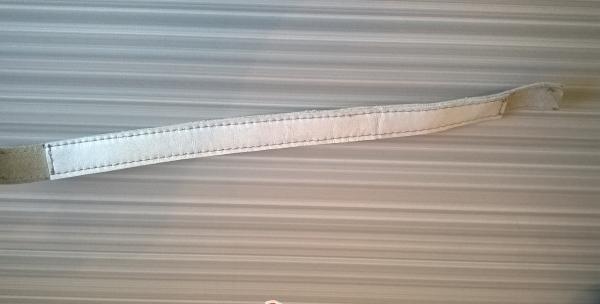
The leather is sewn on special machines. Household machines often refuse to sew leather (they do not advance the material, the rack scratches it from below). Therefore, it is better to first try on a small piece to see how your machine reacts. I sewed these handles very easily, my Janome was supportive this time. And if he doesn’t want to... that’s right, we’ll force you! I’m telling you a very useful secret: ANY MACHINE SEWS LEATHER AND PURE FEATURES... (only to no one)... you just need to lightly lubricate the skin on both sides with cream, maybe hand cream. By the way, Podolsk manual machines and old Singer ladies sew such materials well, and without any cream!
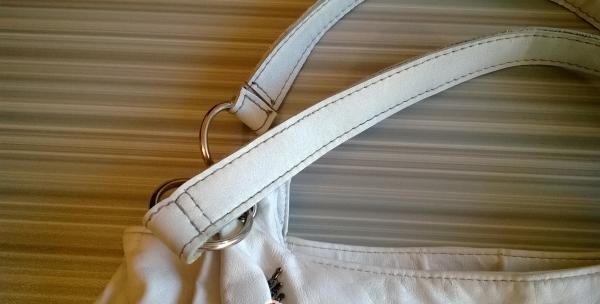
We insert one end of the workpiece into the ring of the bag, bend it and sew end-to-end on a machine, maybe even twice.If the machine’s foot does not allow you to stitch so close, then we sew everything from beginning to end, and then slightly open the rings and put the handles on them. You'll need a friend's help here.
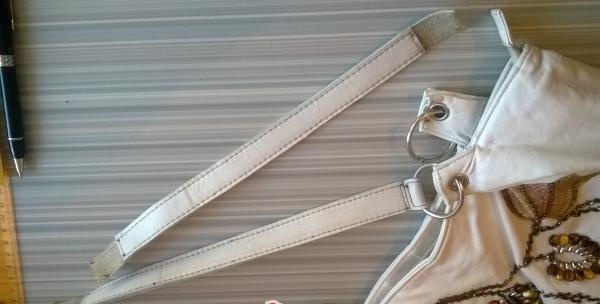
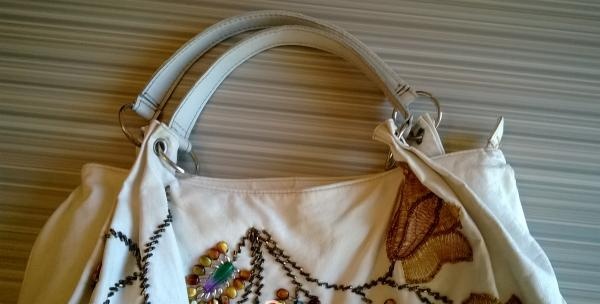
We repeat the procedure 3 more times, and the bag is like new!