Step one.
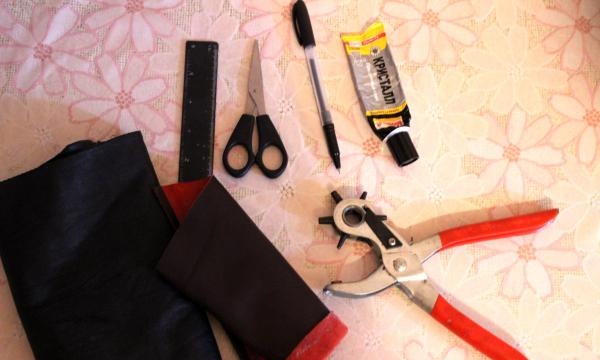
We prepare everything we need for work, namely:
- leather (you can take a piece from an old jacket or other leather clothing)
- hole punch for leather
- glue
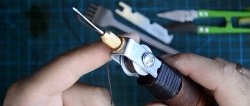
- any punch, a thin screwdriver or an awl will do (needed to push the braid into the holes)
- ruler
- pen or chalk
Step two.
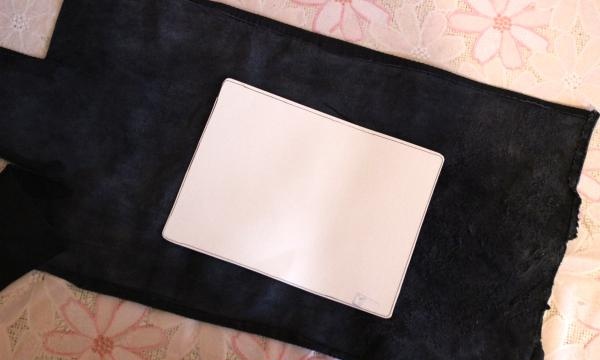
To avoid drawing all the time, I cut myself a piece of cardboard to the size of my future passport. Width 19 centimeters, height 14 centimeters. I applied it to a piece of leather, traced it and cut it out. The result is a rectangle.
Step three.
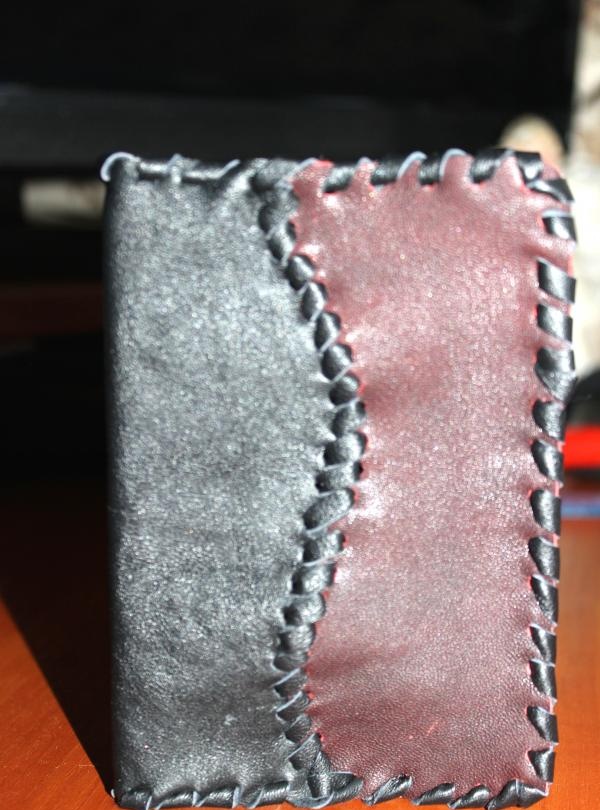
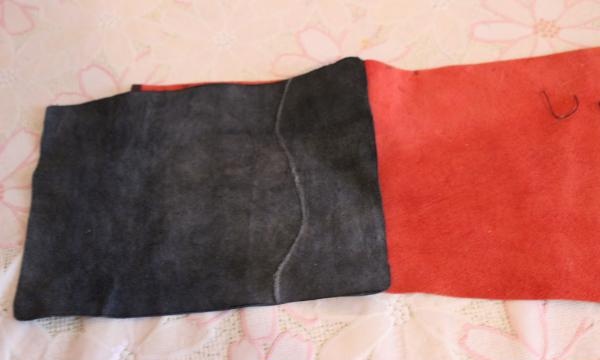
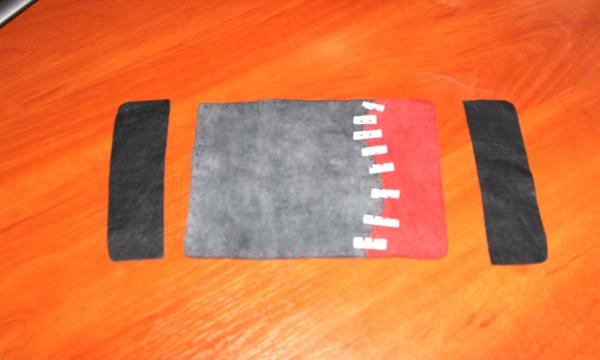
I wanted to make my cover from two types of leather, for this I cut it off from the main piece and cut out exactly the same piece from red leather. I didn’t try to make the edges even – they don’t appeal to me.
Step four.
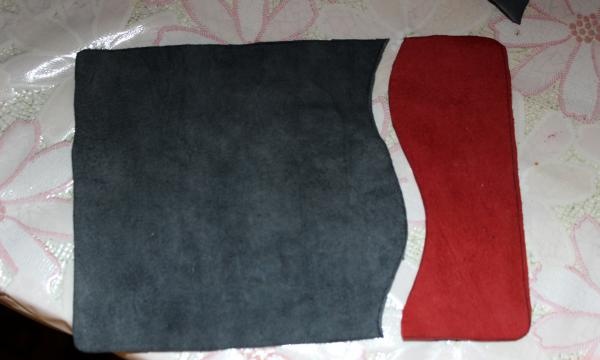
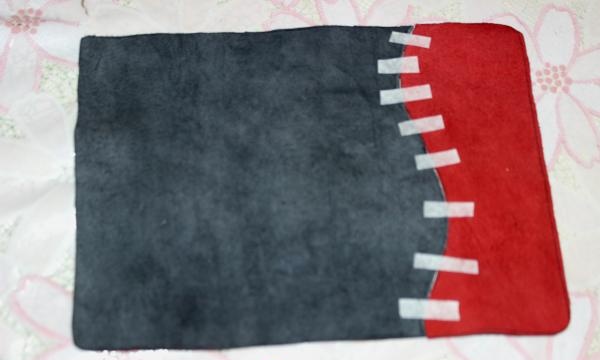
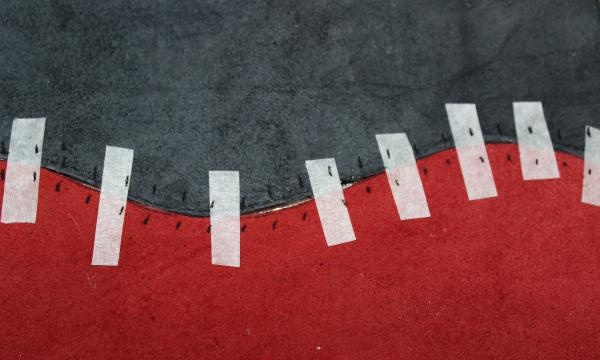
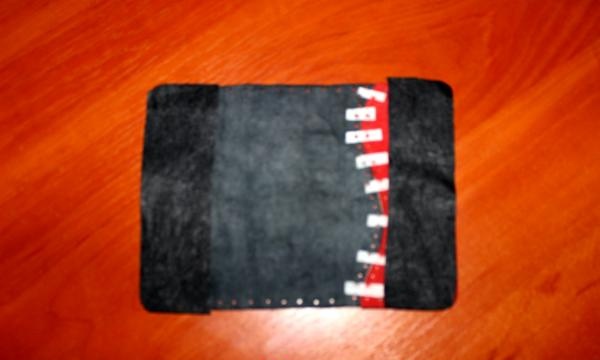
It will be very difficult to mold two pieces of leather with glue, so for this I take simple paper tape.This is necessary so that when we make holes in the leather, it does not fall apart in our hands.
Step five.
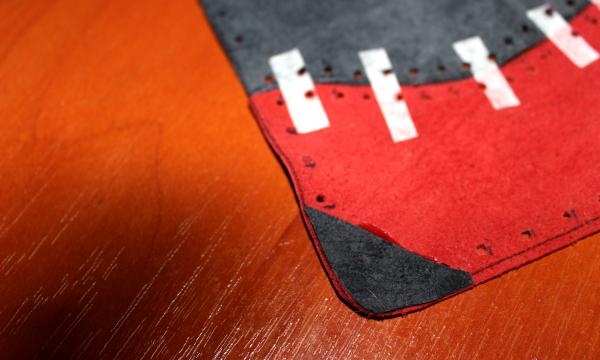
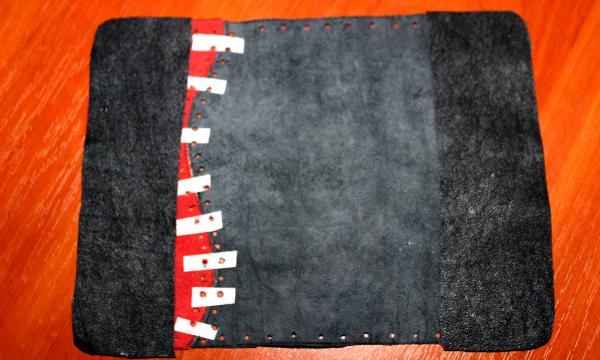
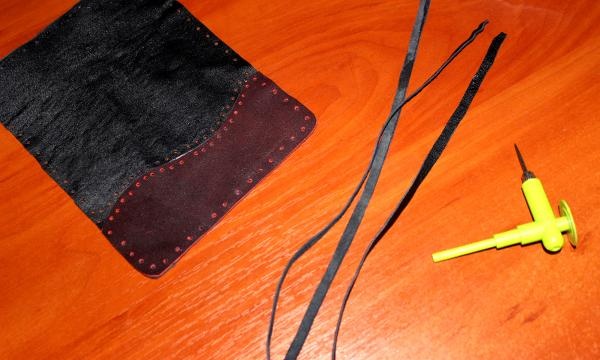
We mark along all the contours of the cover the places where we will put holes. The ideal distance is 0.7 mm, provided that the stitching width is about 0.3 mm. Next, using a hole punch on the leather, we make holes in the designated places with the smallest hole.
Step six.
We cut out the sides into which the passport cover will fit. To do this, we need another piece of leather from which we can cut all this out. We attach the cover to the piece and trace its edges with a pen, then cut out 2 sides and smooth out all the unevenness. Next, we will glue everything with glue, again, no matter what flies off during braiding. The only thing I would like to note is that when you start braiding the product, the corners of the cover are turned up, they need to be compacted a little. To do this, glue a small piece of leather into the corner of the cover and only glue the sides onto it.
Step seven.
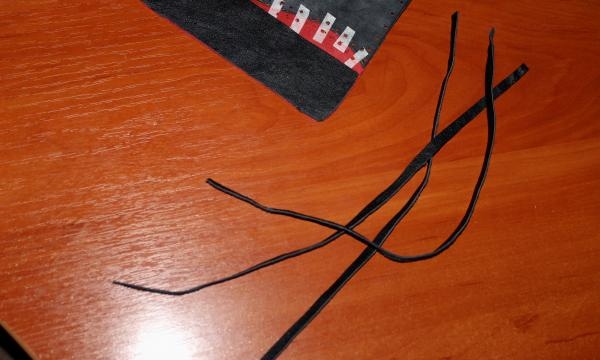
Take a pen, a ruler and a piece of long leather. From the edge we cut strips 3 millimeters wide, the length does not matter, but the longer the strip is, the less you will need to glue the small ones together during the braiding process.
Step eight (final).
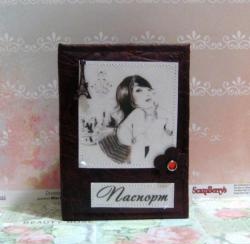
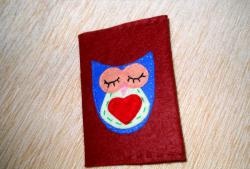
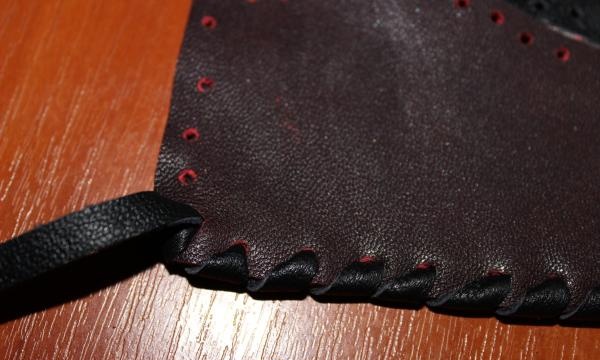
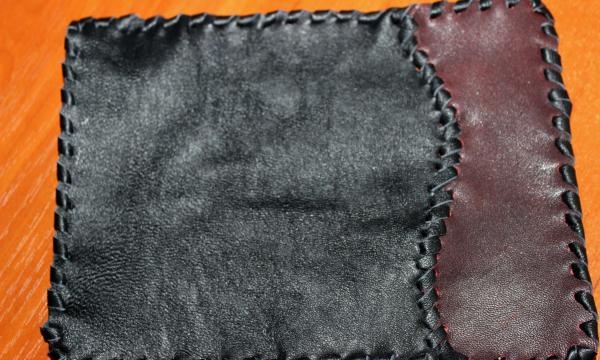
Using a pusher, we begin to make a braid with cut out leather ribbons. We don’t skip holes, we don’t tighten the tape too much, but we also don’t leave any free space. Our cover is all ready. You can leave it as it is, you can apply a design with special paints, stick on interesting accessories, or a flower made of leather.
