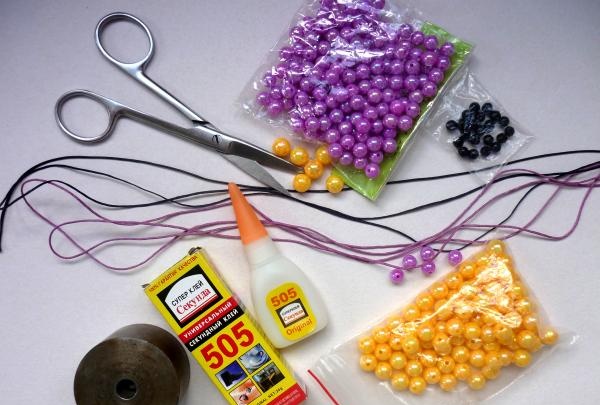
To weave a Shambhala bracelet you don’t need many tools:
- scissors;
- waxed cord - choose the color and thickness you need, but bracelets with thin cords look neater;
- press or board for weaving bracelets - you need to fix the cord. By the way, you can make a board for weaving bracelets yourself!
- glue “Moment 505” or similar - this glue is liquid and dries very quickly, penetrating deep into the cord;
- beads - can be plastic, metal, or natural stones. The diameter and color of the main beads is whatever you like. But for the free ends of the bracelet it is worth choosing beads with a diameter 2-3 times smaller than the main ones.
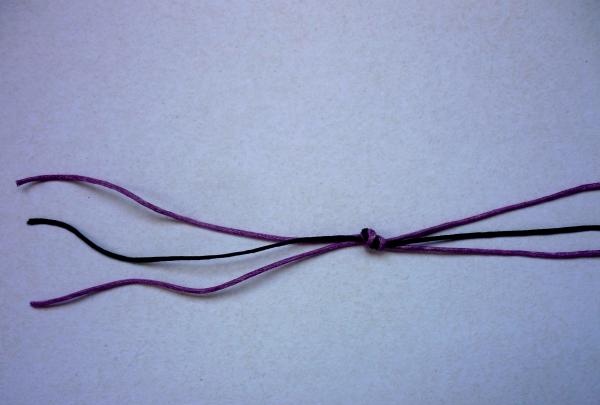
To weave the base of the bracelet, you need to prepare three cords, each about 55 cm long. We tie three cords together into a knot, leaving a tail about 7 cm long (these will be the free ends of the bracelet).
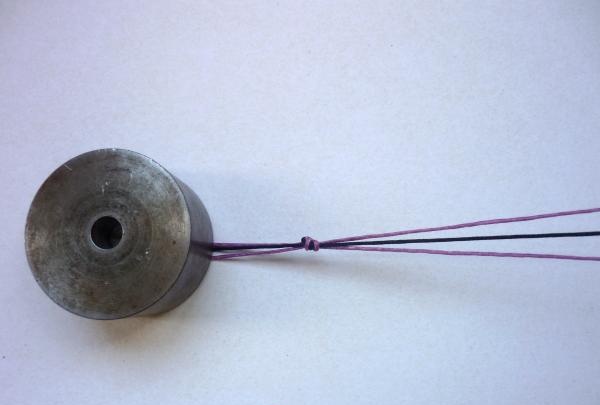
We fix the ponytail with some heavy object or use a board for weaving bracelets.
In the process of weaving a bracelet, especially at the beginning, watch the cord that is in the center so as not to confuse it with the rest. The entire weaving process consists of two simple stages of weaving knots, which are constantly repeated, alternating with each other.
Stage 1: first draw cord 1 over cord 2, then draw cord 3 over cord 1, then under cord 2 and cord 1, bringing out the free end.
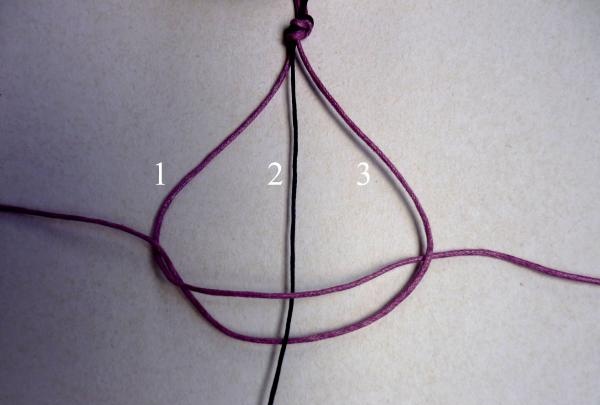
Stage 2: first draw cord 1 under cord 2, then draw cord 3 under cord 1, then over cord 2 and cord 1 at the same time in the center, and bring the free end under cord 1.

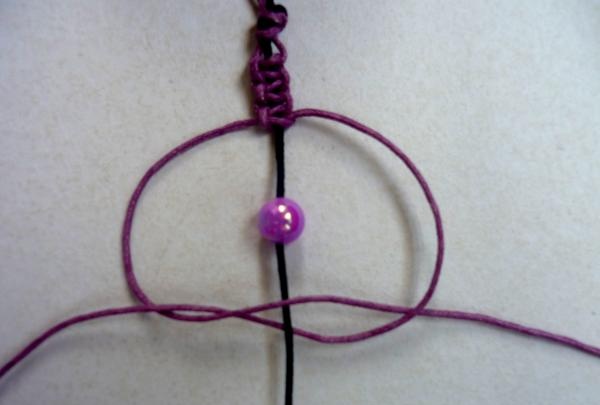
That is, two stages - this is a full-fledged knot. We weave 3-4 more knots in this way (at our discretion) and thread cord 2 into the first bead. Then we repeat stage 1 and stage 2.
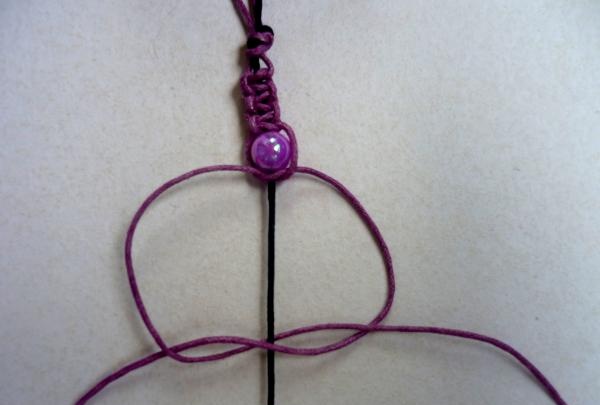
We string the remaining beads in the same way and tie them into knots in steps 1 and 2.
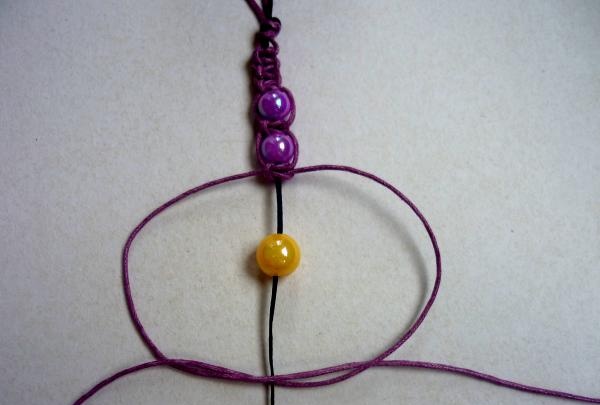
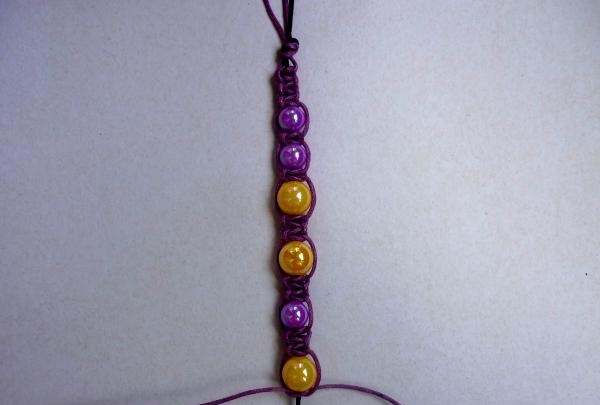
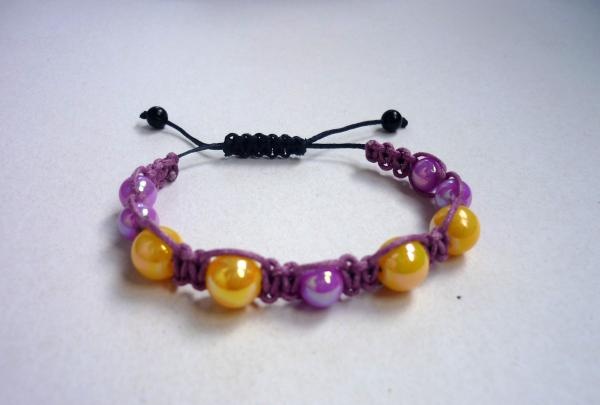
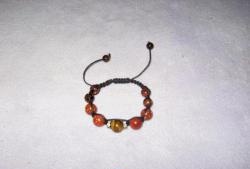
In this MK there are 9 beads on the bracelet, you may have more or less. The quantity depends on the diameter of the beads and the number of knots.
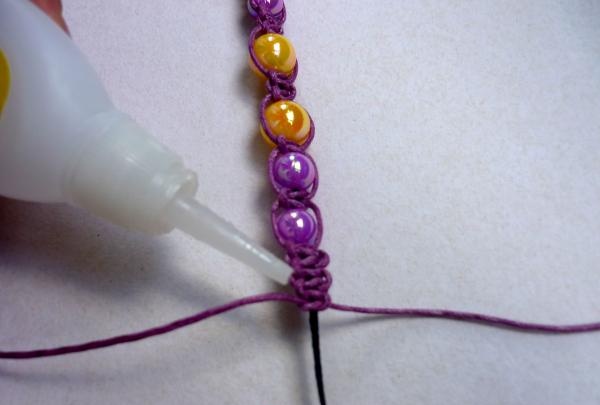
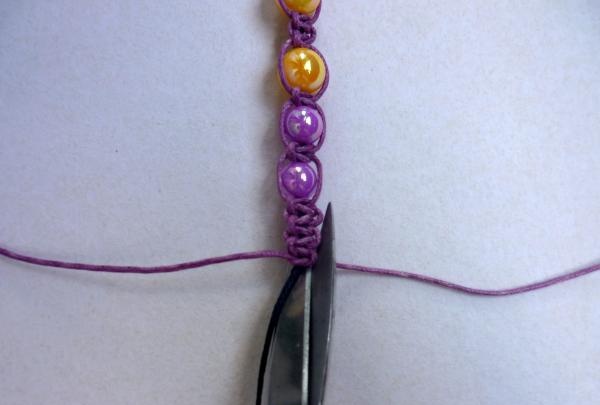
Tighten the last knot well and secure it with a drop of glue. Let it dry a little and trim the remaining ends of cords 1 and 3 closely.
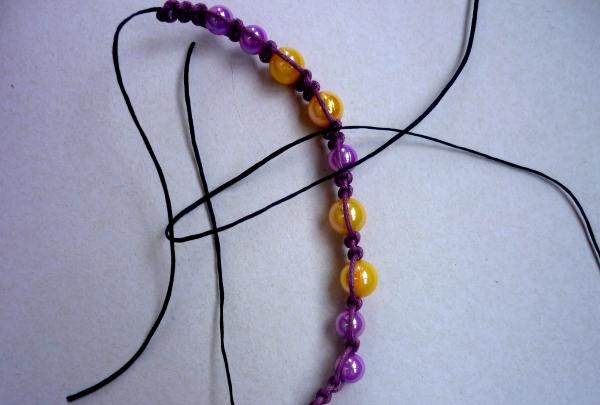
In this MK there are 9 beads on the bracelet, you may have more or less. It depends on the diameter of the beads and the number of knots. We leave loose ends on both sides, untying the knot that was braided at the very beginning.
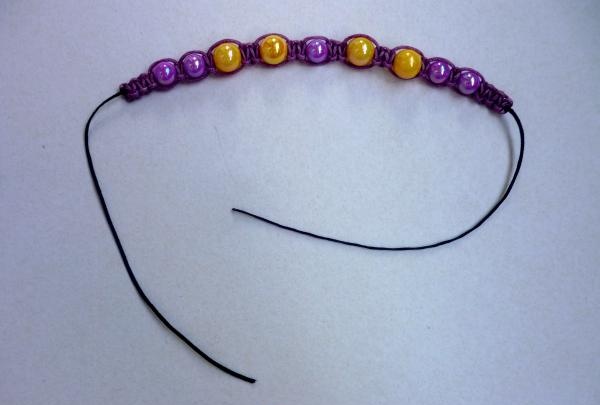
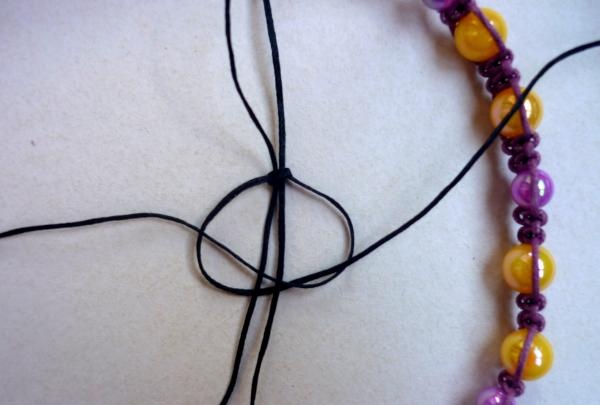
Now you need to weave the lock. We take a cord about 30 cm long and place it as in the photo: one end under the cords from the bracelet, and the other above them.
We tie the two ends with a regular knot down so that the cords from the bracelet can be freely moved in different directions.

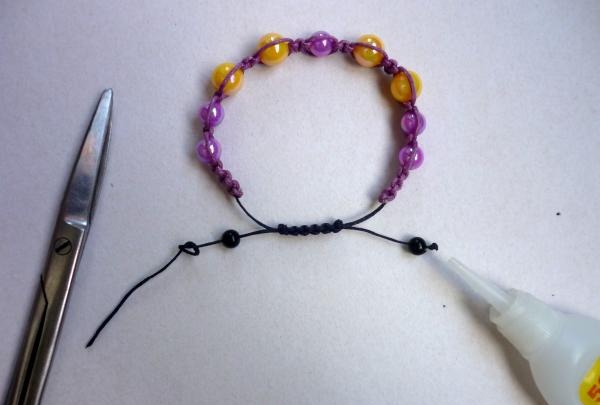
Starting from stage 1, we weave as many knots as necessary for the lock (at your discretion). We fix it with glue, cutting off the free ends that will no longer be needed.
We leave the length of the ends we need, thread small beads through and tie tight knots at the end, cutting off the remainder and securing with glue so that they do not unravel during use.
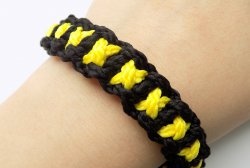
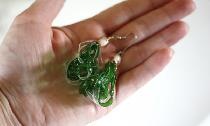
Our wonderful “Shambhala” bracelet is ready!