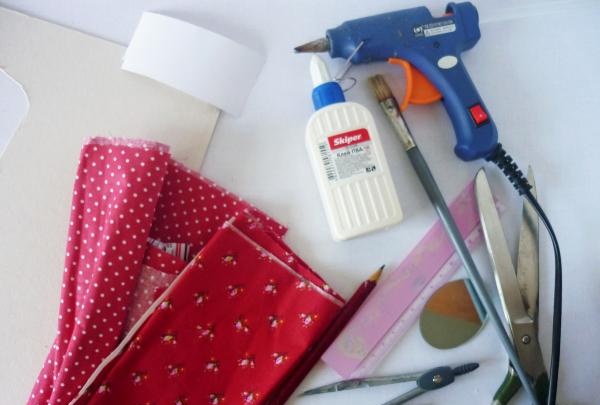
For the master class we will need: 100% cotton; cardboard (2 mm); hot glue gun; PVA glue; scissors; brush; pencil; whatman; compass; ruler; mirror.
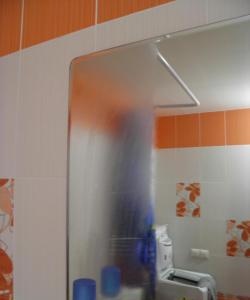
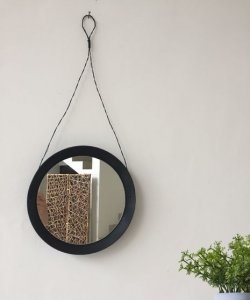
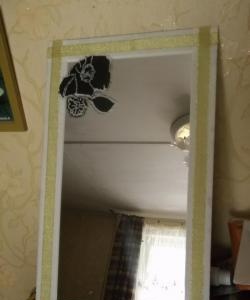
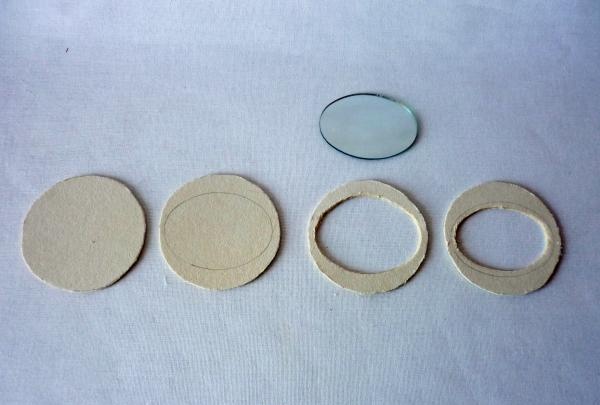
So, we took the mirror out of the package. If you haven’t gotten it yet, it’s worth making the effort. Use pliers to break off the plastic edges or pry with something. Just be careful not to damage the mirror. It doesn't matter what shape it is. Let's trace it on cardboard with a pencil. We will evenly draw a circle around it with a compass so that there are indents of 0.5 cm (if the mirror is round, then 1 cm).
Cut out the blank and circle it four more times. Let's cut out all the other circles. Let's put three whole ones aside. The remaining two need to be drilled. On one of them you need to circle the mirror again. We will insert a mirror into this part so that it holds more firmly.On the other, circle and draw the same oval, the diameter of which will be several millimeters smaller (it depends on the size of your mirror). Can be drawn by hand.
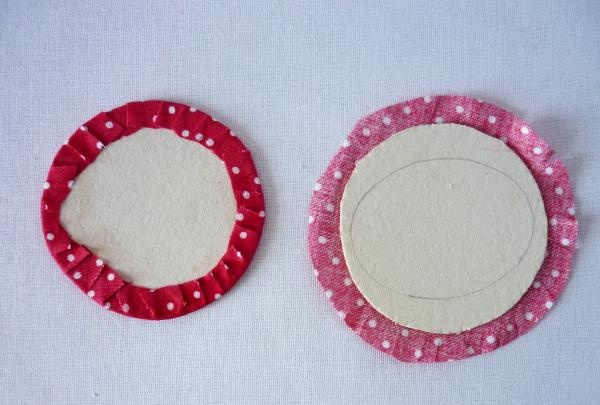
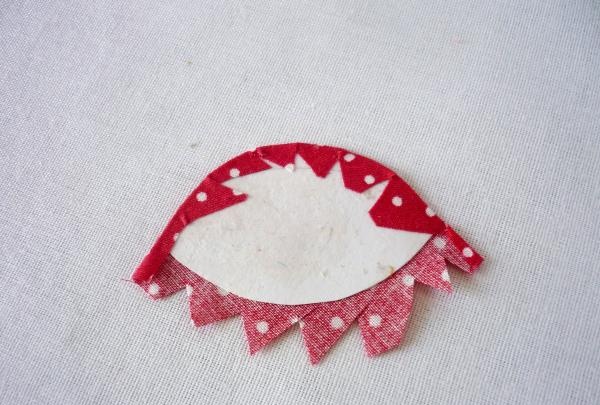
Let's make the base. Let's take two whole circles. Let's cut the fabric that we prepared for the front side to size with 0.5 cm allowances. Apply glue to the circles with a brush and glue them to the fabric. Smooth the surface so that there are no wrinkles. Let's make cuts in the fabric around the entire circumference to glue without unnecessary accumulation of fabric. We glue it in a circle, using a well-even fabric.
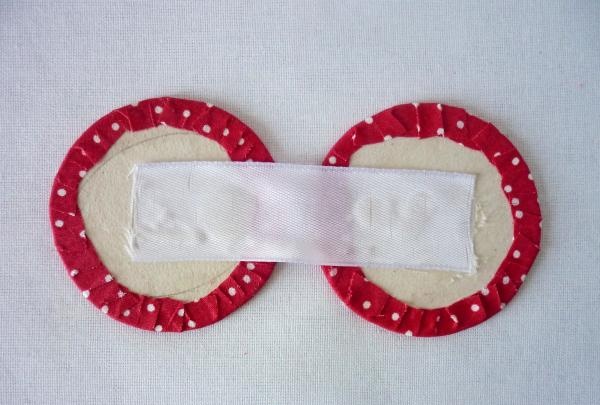
Cut a satin ribbon 3 cm wide and glue it to both parts using a glue gun, leaving a distance of up to 1 cm between them.
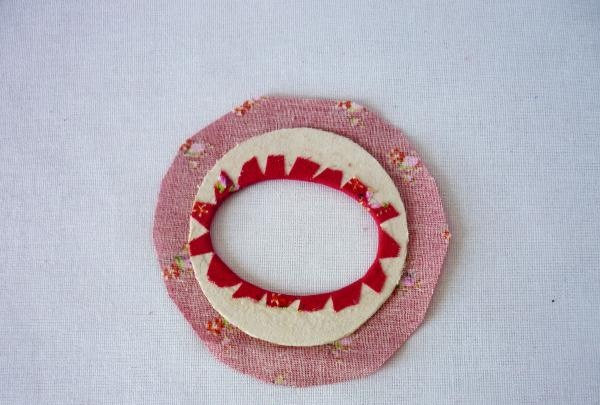
Now let’s design the part with the mirror. Let's take a workpiece that has a smaller oval. This will be the frame for the mirror. Glue it to the fabric in the same way as the previous blanks, only making another hole and allowances inside. We only seal the inside.
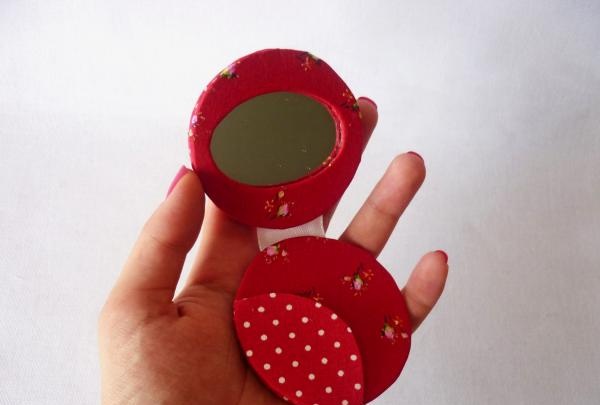
We glue the last blank with an oval that fits the size of the mirror. We apply hot glue to the edges of the mirror and insert it into the hole in the cardboard that we just glued.
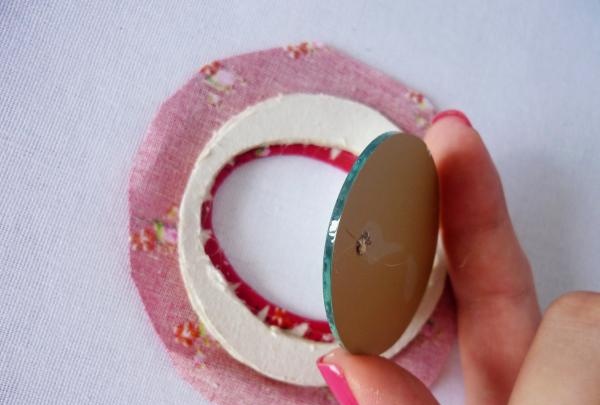
We seal the outer allowances and glue, pressing tightly for a few seconds, the workpiece with the mirror to either side.

We will cover the last solid piece with fabric and make a small pocket. We glue the allowances on one side, and glue the allowances on the other side to the remaining round workpiece.
Glue the part with the pocket to the free base.

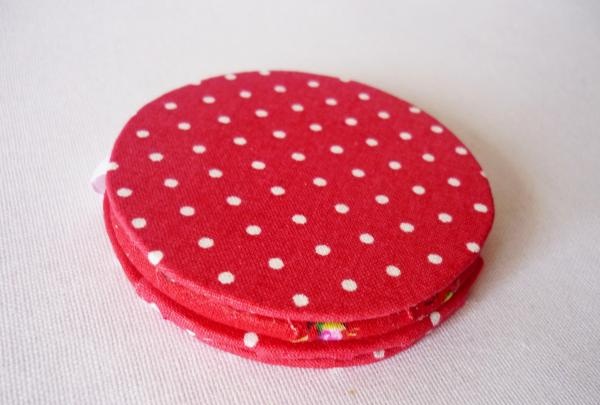
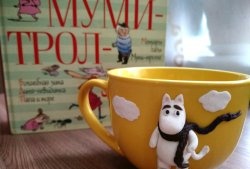
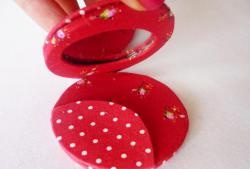
This is the mirror we got. Now you are sure that the mirror can be given a second chance. The mirror is pocket-sized and easily fits into small bags and pockets.And most importantly, you can hide something valuable and important in it, and when you look in the mirror again, remember it.