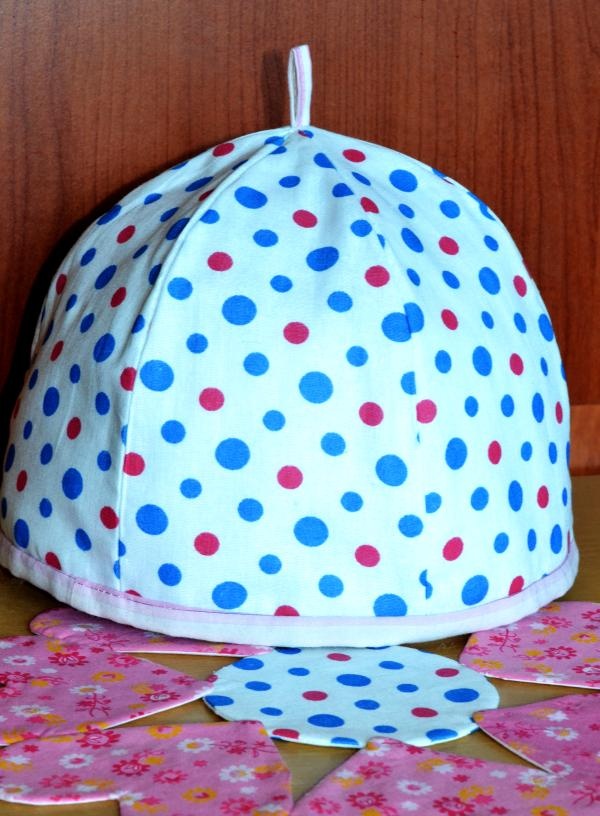
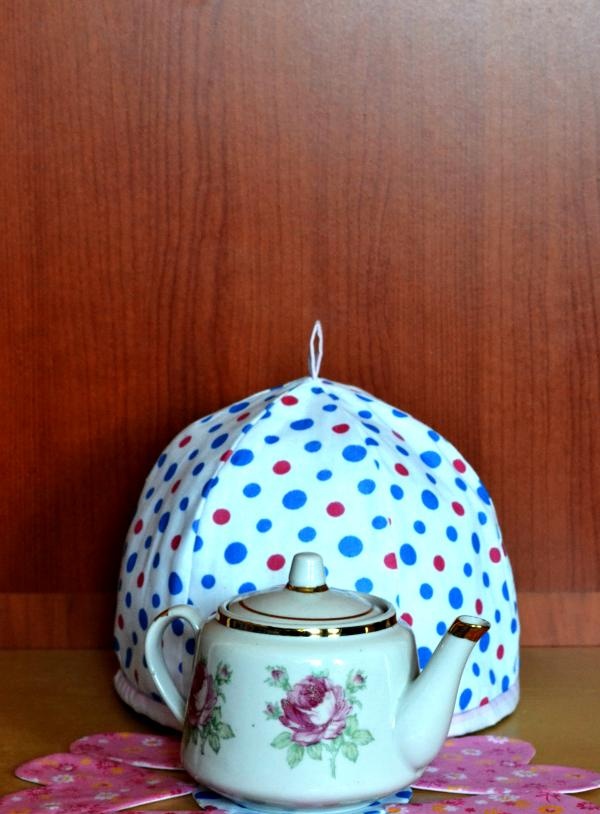
During the cold season, a heating pad and teapot cloth will help keep your tea warm. The set is easy to make and does not require special skills or expensive materials. If you don’t have a sewing machine, you can easily get by with hand stitches. Dimensions of finished products. The diameter of the napkin is 28 cm. The height of the heating pad is 23 cm, the circumference at the bottom of the teapot is 72 cm.
To work you will need:
- a piece of polka dot fabric for a heating pad 90*30cm;
- a piece of fabric for lining the heating pad 70*30cm;
- a piece of floral fabric for hearts 70*13cm;
- a piece of plain fabric for hearts 70*13cm;
- a piece of fabric for the binding and for the “tail” 75*6cm;
- a piece of padding polyester about 50*90cm.
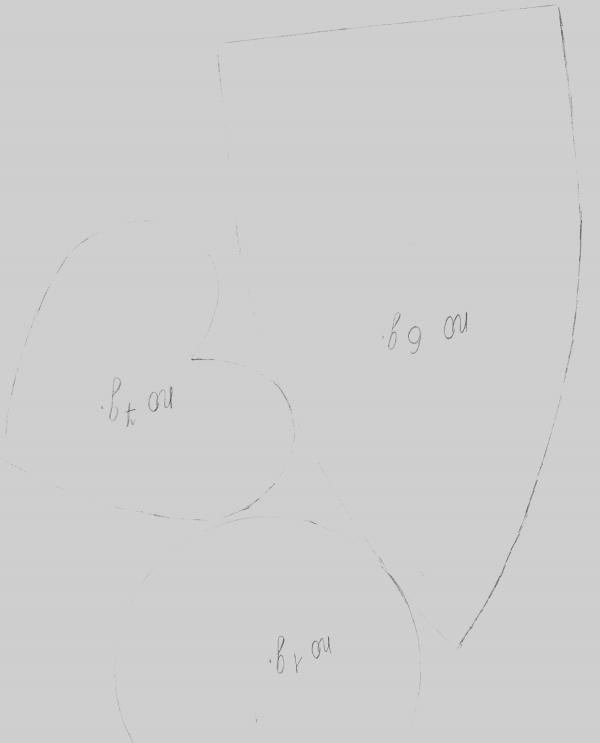
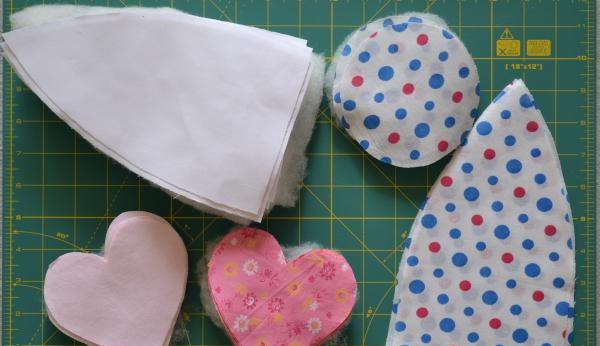
Let's re-cut the pattern. It is given in actual size and with seam allowances. We transfer all the details to fabric and cut them out.
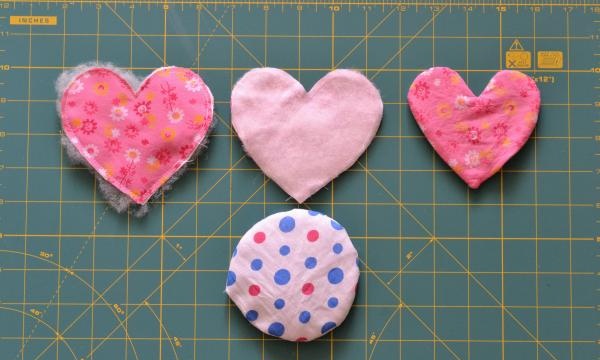
Lay out in detail all the pieces for assembly.
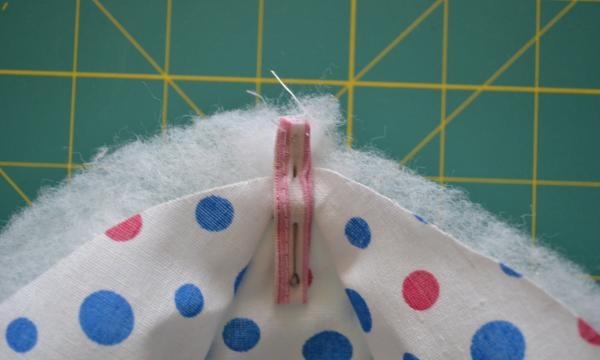
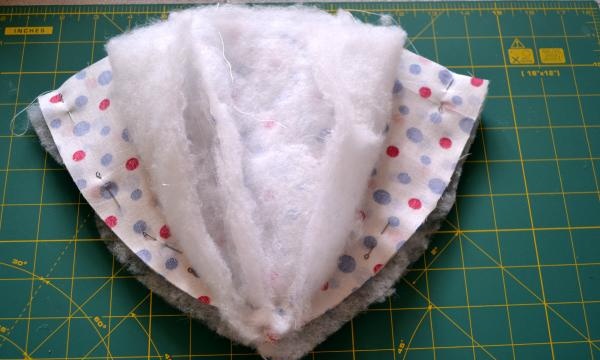
We sew a heating pad. We work with polka dot fabric and padding polyester. We sew 3 “petals” into one whole. We make a strip 8cm long for the “tail”.

Using a needle, we pin a “tail” to one part of the “petals” to the top.
We connect the two assembled parts with one line. We carefully trim all the synthetic padding that has gone beyond the main parts.
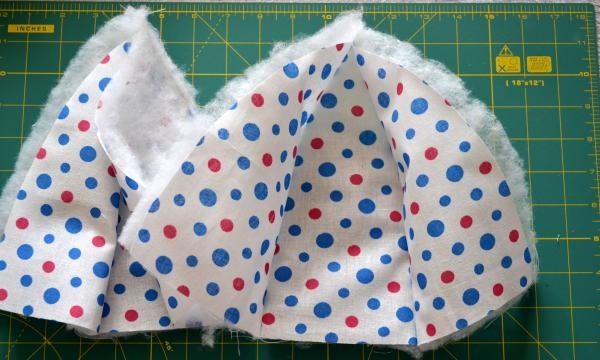
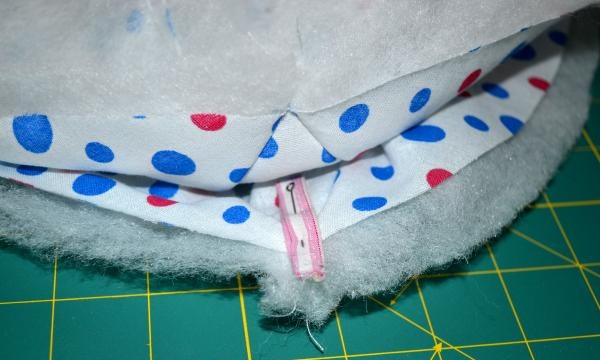
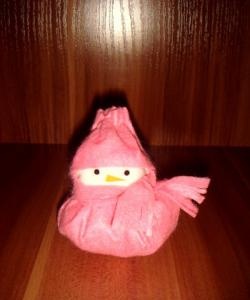
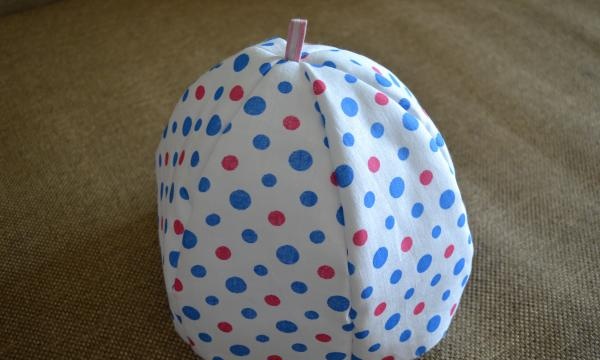
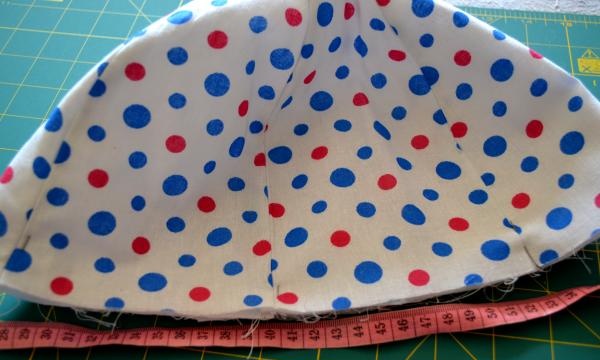
The front side of the heating pad is ready.
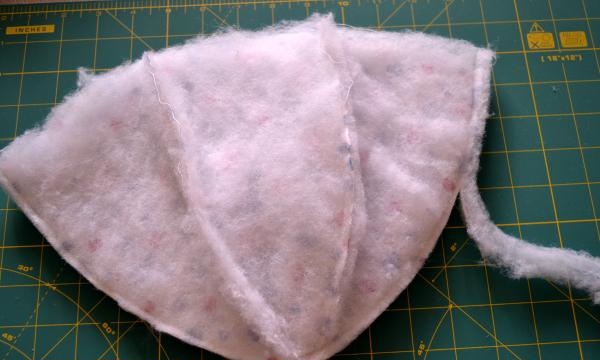
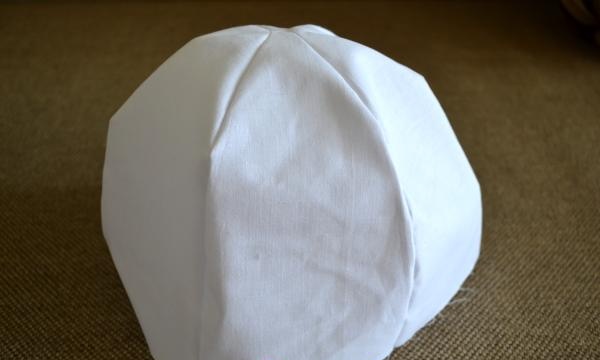
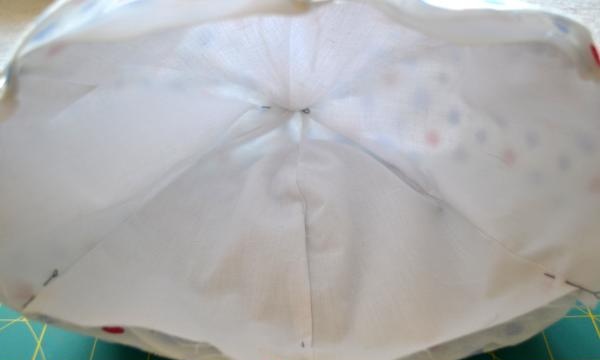
We sew the lining in the same way.First, we connect three “petals” each, then with one line we connect the two resulting parts into one whole.
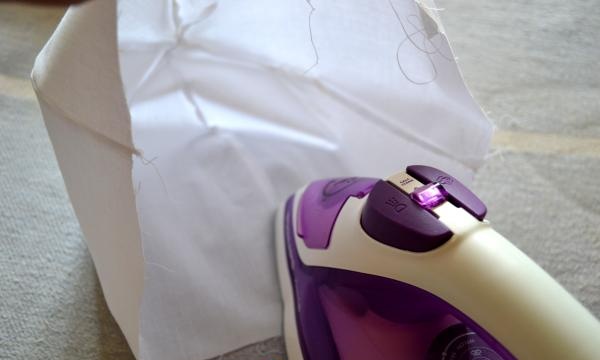
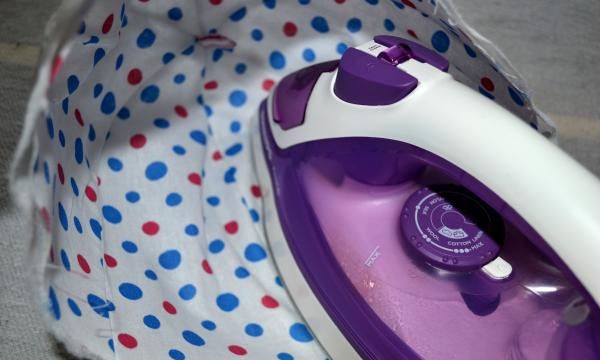
Iron the resulting pieces well. At the same time, the synthetic winterizer will become denser, and the front blank will become stiffer.
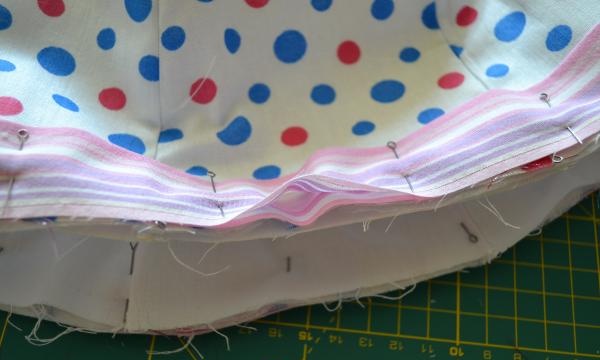
We connect the lining to the front part of the heating pad. We fix the two tops with a pin. We place the lining evenly inside, and secure two blanks along all the seams with pins.
We measure the circumference of the resulting workpiece along the bottom. For the binding, cut out a strip of the required length and 6cm wide.
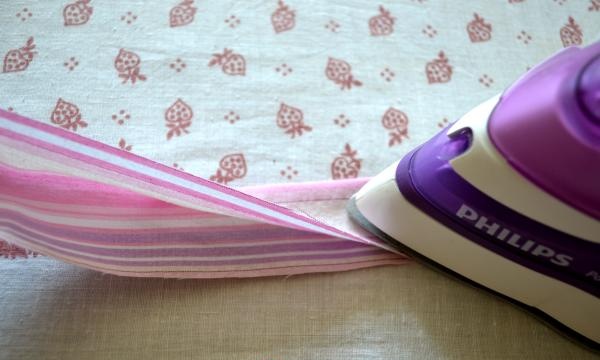
We sew the strip into a ring, fold it with the wrong side inward and iron it well.
Using pins, pin the binding to the front side of the main piece. Pay attention to how to pin the binding correctly: the sections of the binding to the sections of the workpiece.
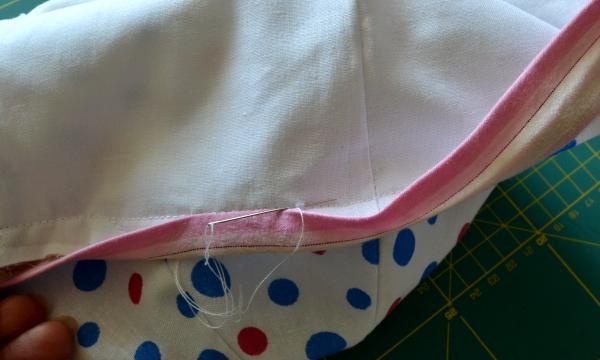
Sew the binding to the width of the foot. Using an iron, we unscrew the binding and sew it with hidden stitches to the lining of the main part. You can sew it on by machine, but then the stitching seam will be visible on the face.
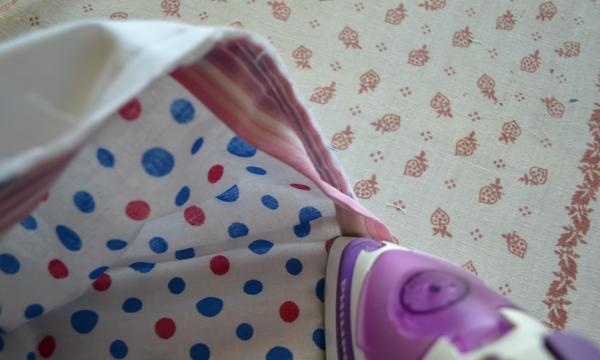
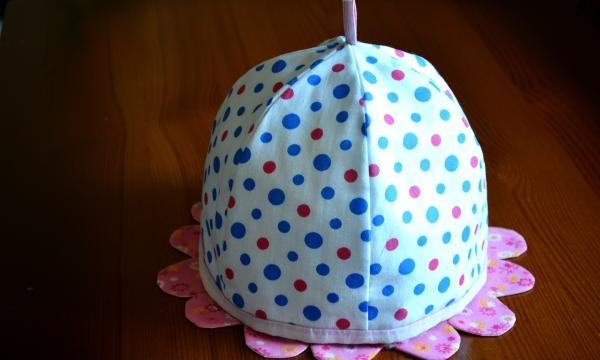
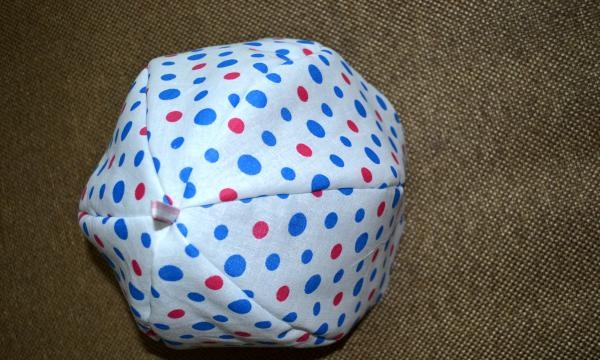
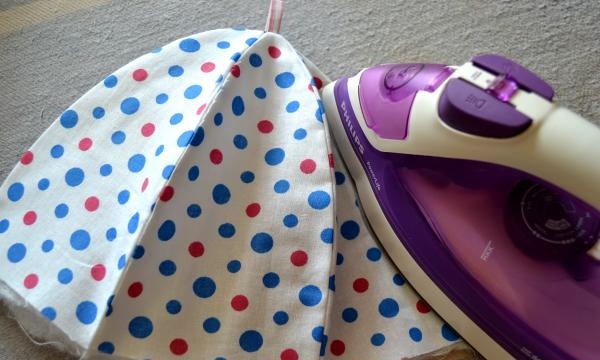
We iron the resulting heating pad again.
Let's start with the napkin.
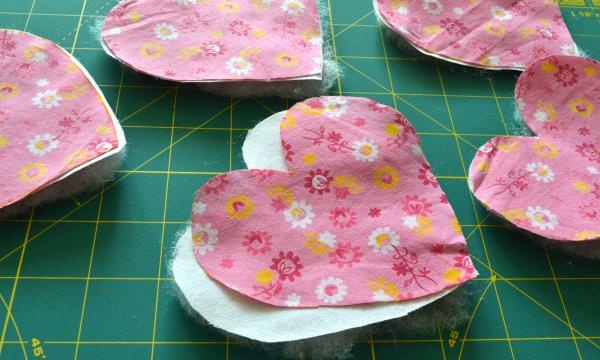
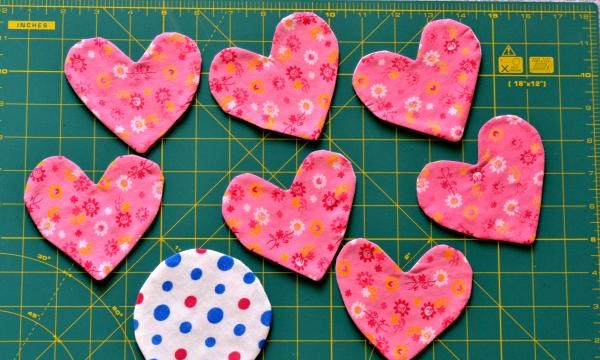
We collect hearts and a circle. We sew all the parts to the width of the foot, leaving a 2.5 cm hole for turning the parts inside out. When sewing, pay attention to the sequence of assembling the “sandwich”: padding polyester, lining, main fabric. Cut off the excess padding polyester. We turn out the details. Straighten the seams and padding thoroughly. Use hand blind stitches to sew the turning holes. Iron the details.
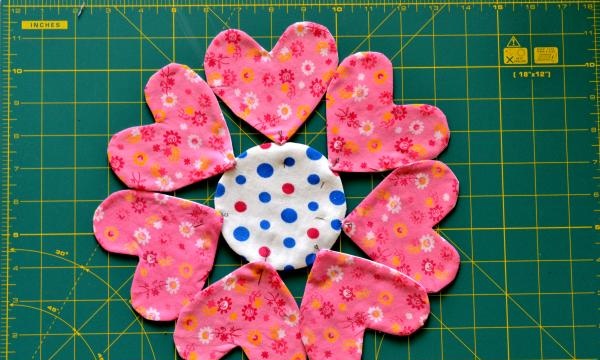
Lay out the future napkin on a flat surface. The hearts should extend 0.5 cm onto the circle. Pin together the hearts and hearts with a circle. Use a hand blind stitch to connect all the parts of the napkin. Give it a good run with the iron again.
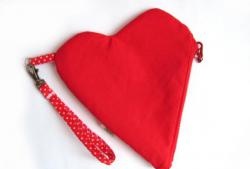
The napkin is ready.
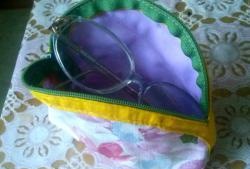
The teapot set is ready. Now you can brew a large portion of tea and not be afraid that it will quickly cool down.Helpers made by your own hands will help preserve the warmth and aroma of tea for a long time.