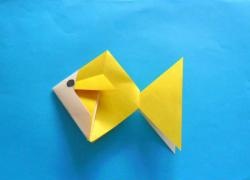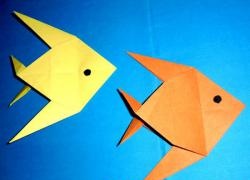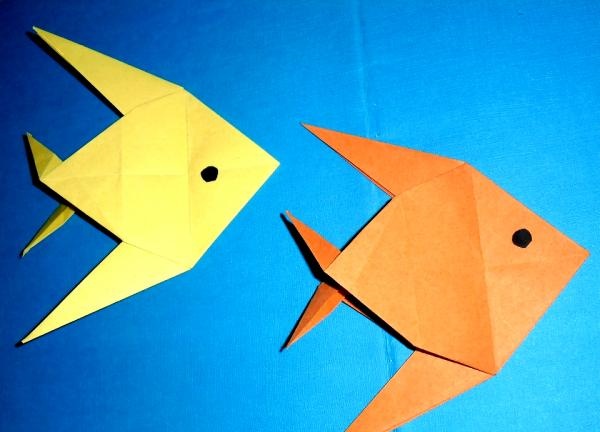
These beautiful fish can become a decoration for a child's room if you hang them on strings from the ceiling or from a chandelier. Then they will sway at the slightest breath of wind, as if floating on the waves. And also, by making several fish out of multi-colored paper, you can teach your child simple counting. Despite such a large number of photographs, this craft is not difficult, and even a preschooler can handle it. And his mother can help him a little with this.
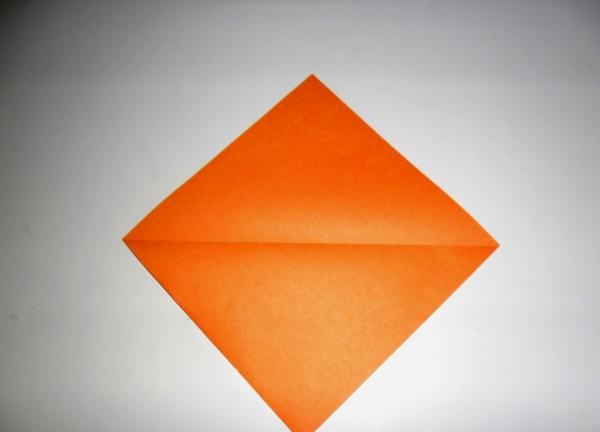
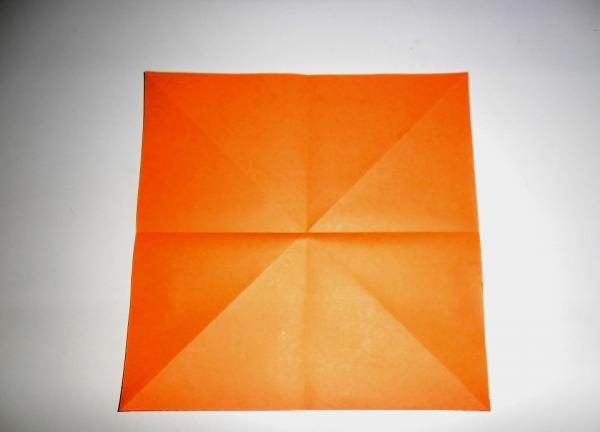
To make such a fish, you will need a square sheet of colored paper. Fold it in half diagonally.
Unfold and connect the other two opposite corners diagonally.
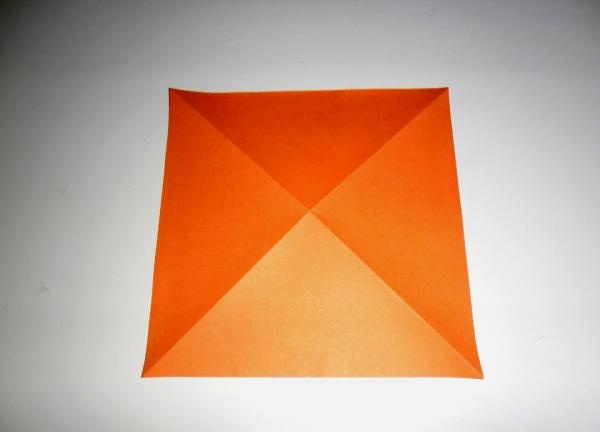
Unfold the piece of paper again, turn it over to the other side and fold it in half horizontally.
Now fold vertically and unfold. You will get something like this.
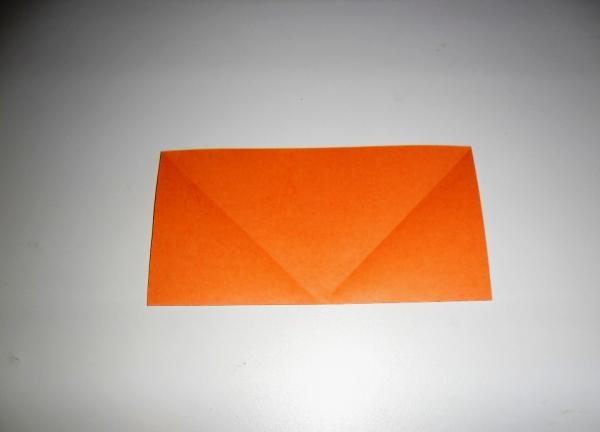
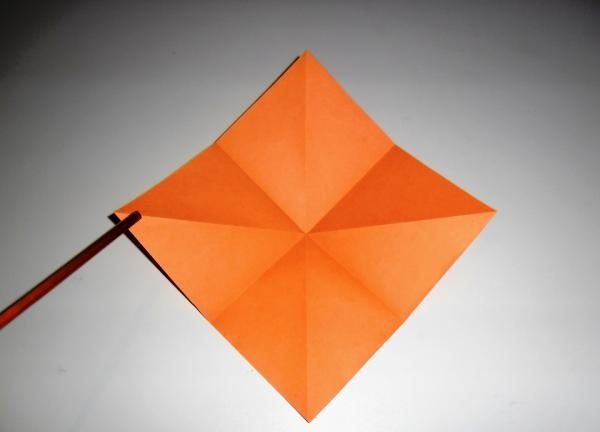
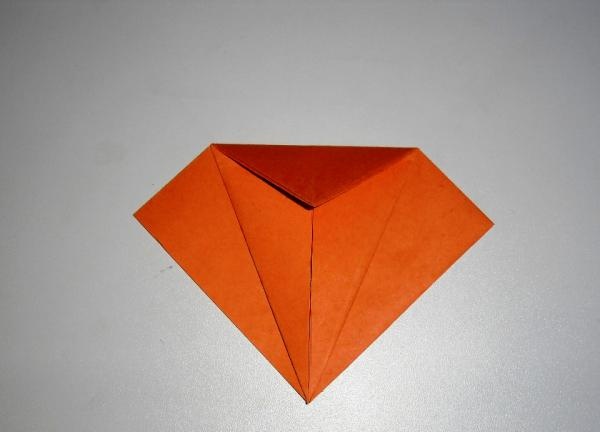
Grab the opposite corners of the square and connect them to each other and to the bottom corner.
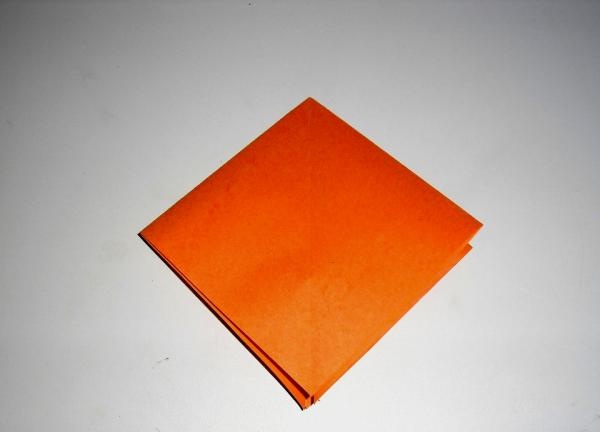
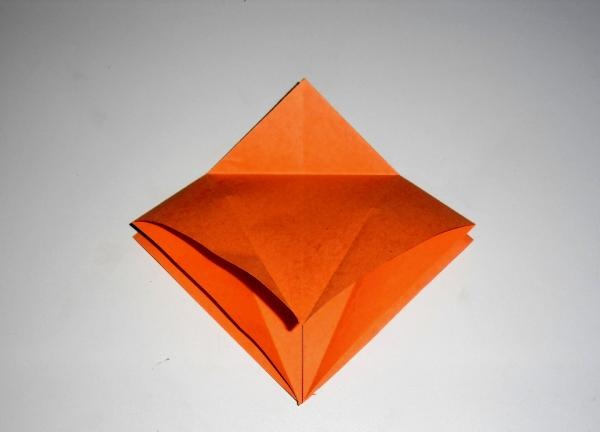
You will get a folded square like this.
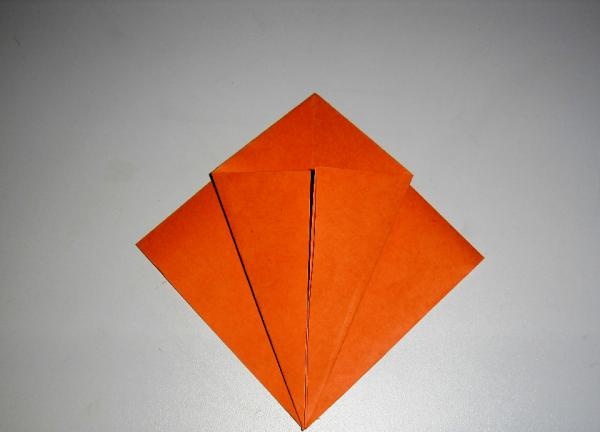
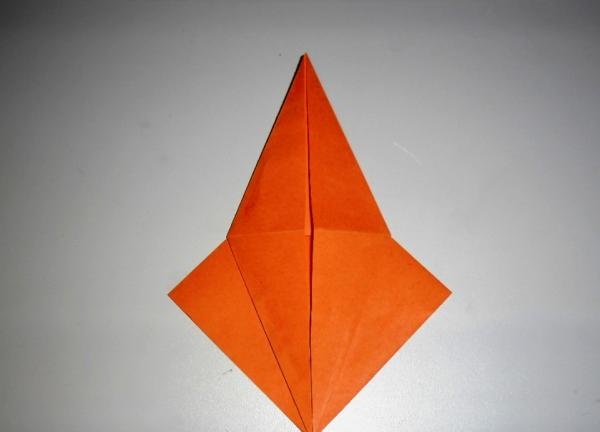
Fold the two lower sides towards the center.
Bend the top corner down.
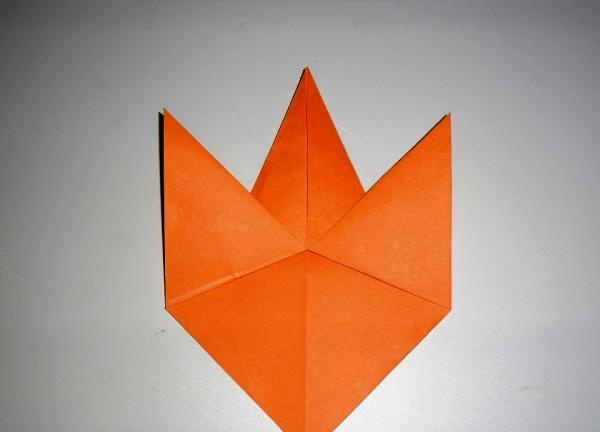
Unfold the edges of the square.
Open the resulting “pocket” to a horizontal fold.
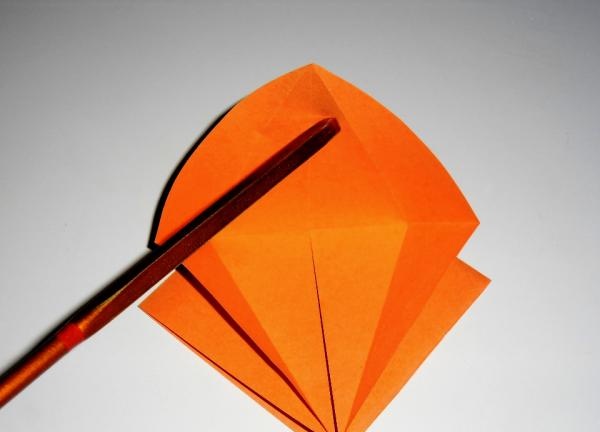
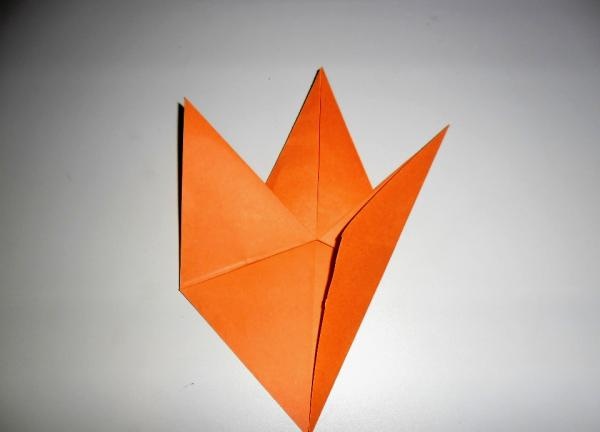
Fold its edges inward along the marked lines.
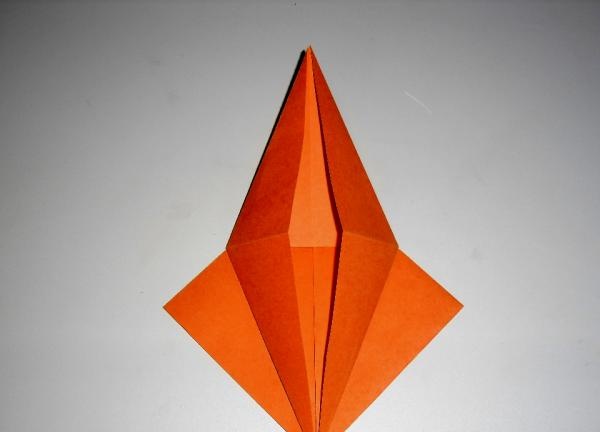
You should have something like this.
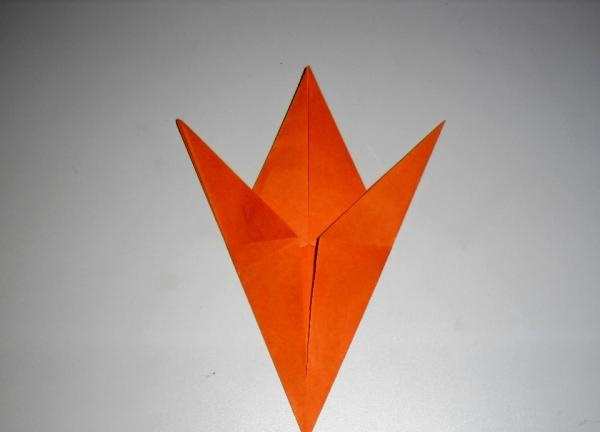
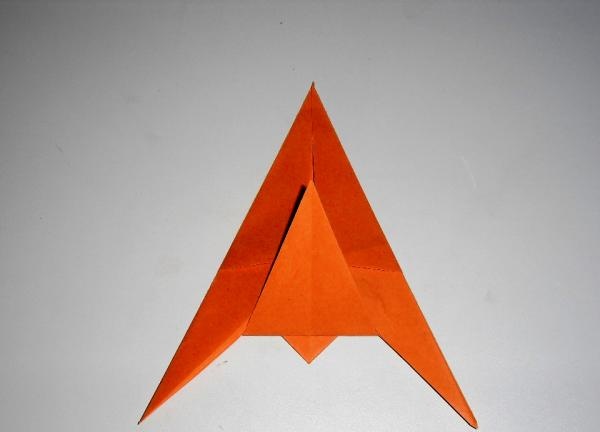
Bend the moving parts of the workpiece upward.
Fold the sides of the figure in half.
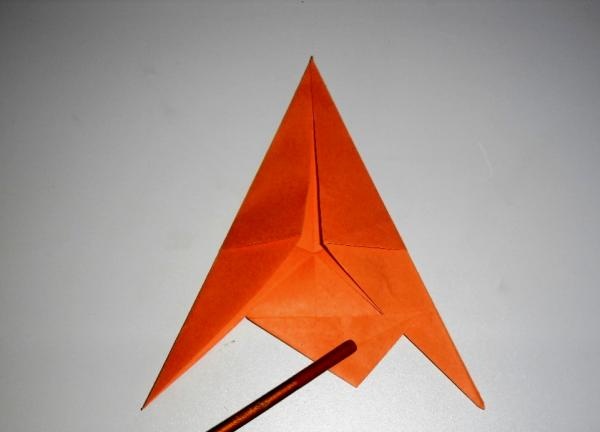
Turn the figure over with a “trident” down and bend the middle part up as much as possible.
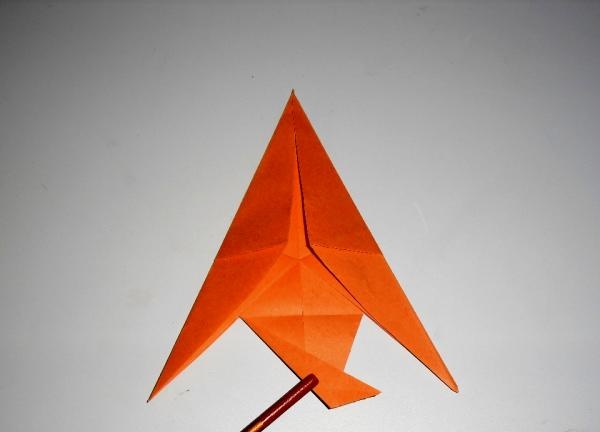
Return it to its original position and bend it to the right, aligning the side and horizontal fold.
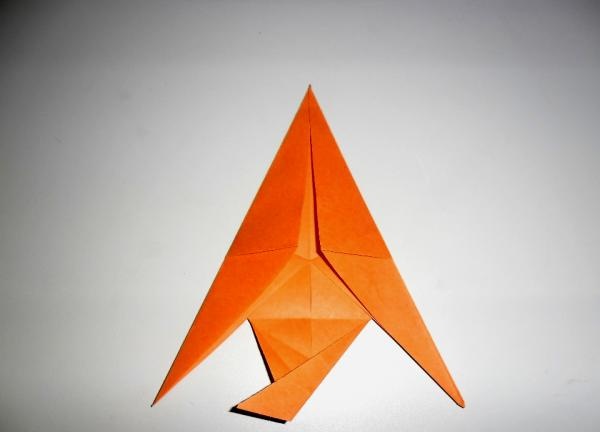
Unfold and align the left side with the new fold.
On the right side, bend the part to the same width.
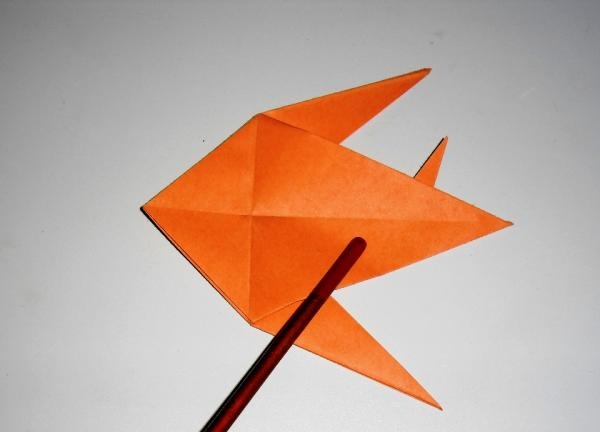
With two fingers, grasp the corner of the workpiece and bend it upward. This is part of the ponytail.
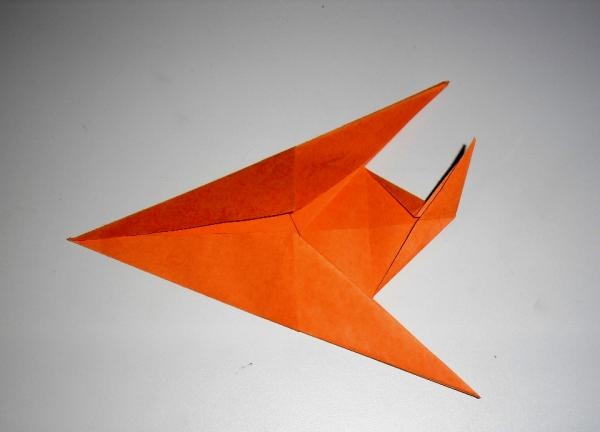
Turn the future fish over to the other side so that the tail is on the left.
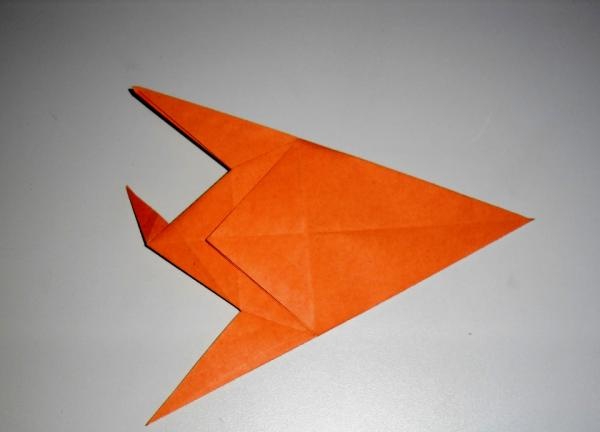
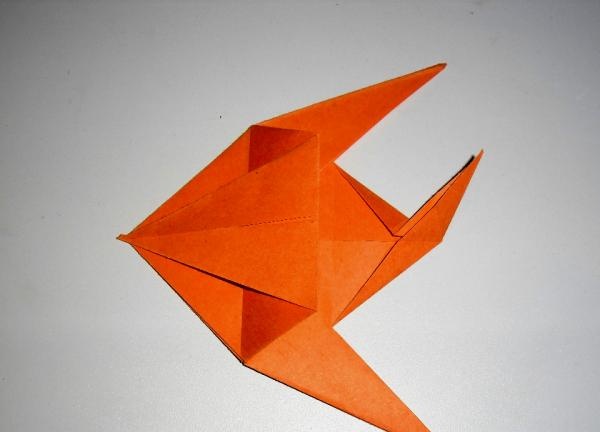
Bend the triangle in the middle from left to right.
Turn the craft over from left to right to the other side again and fold the shape in half vertically. The larger part of the diamond will cover the tail, and the smaller part will become the head of the fish.
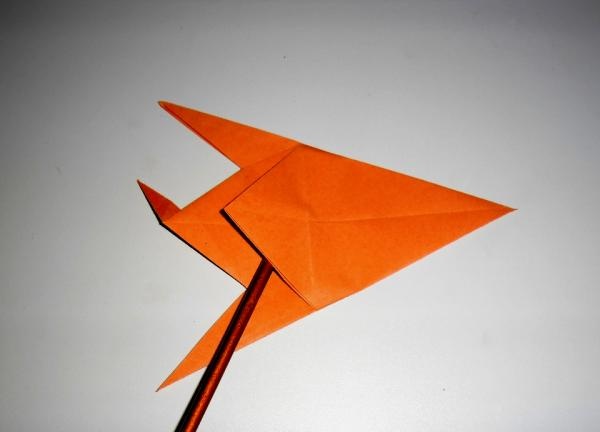
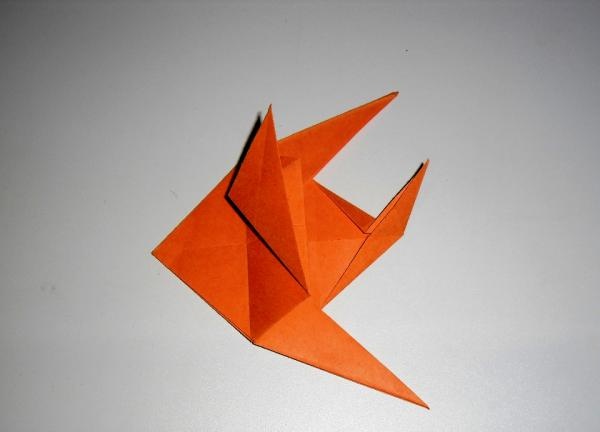
Connect the right corner of the diamond with the left.
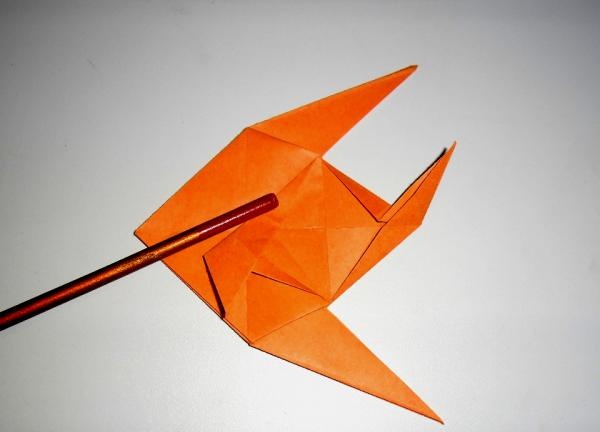
Connect the lower part of the moving part to the vertical fold.
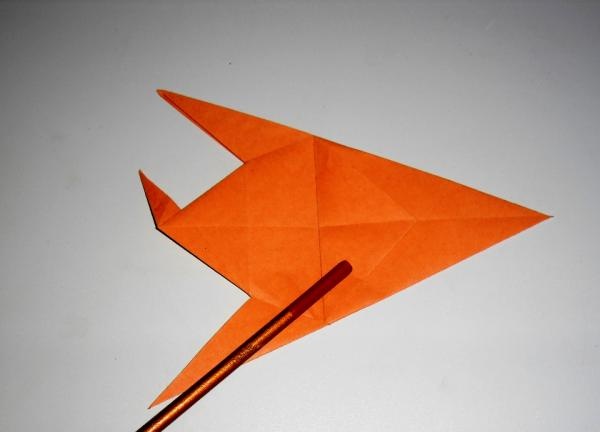
Bend it and connect it with the new fold that has appeared.
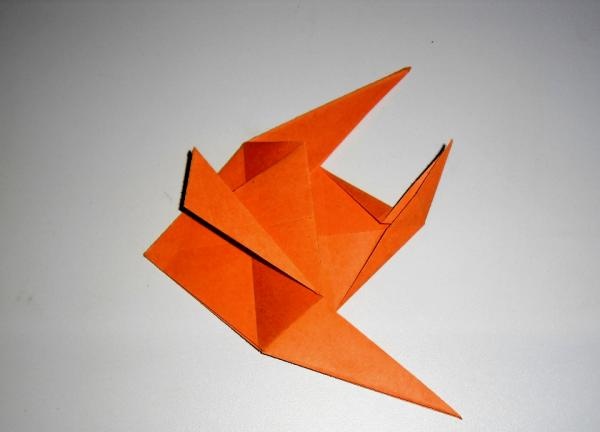
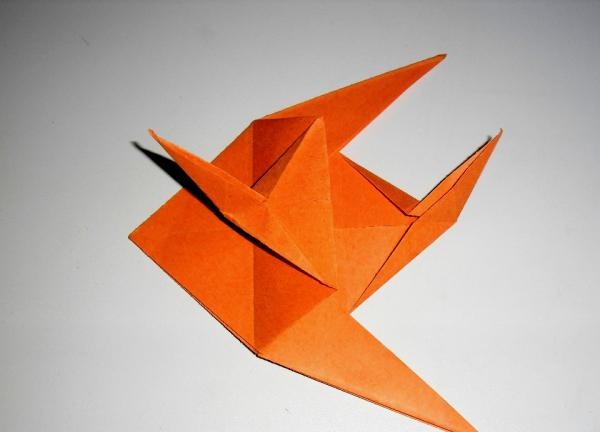
Bend the top of this small piece to the same width.
Grasp the corner with two fingers and bend it down. You now have the second part of the ponytail.
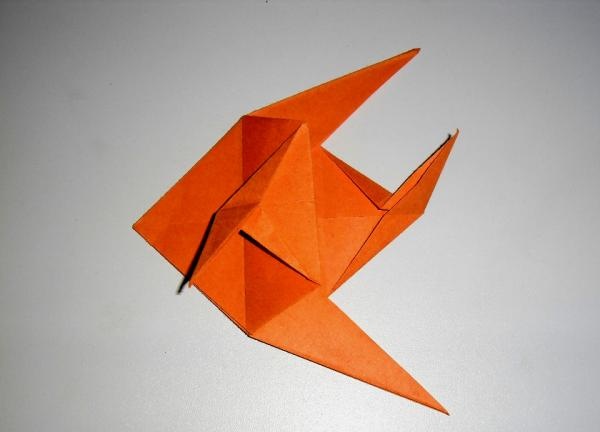
Connect the two parts of the ponytail together.
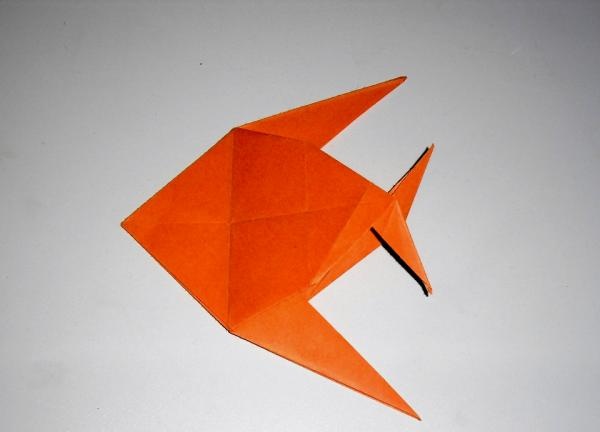
Now the fish is ready. All that remains is to draw an eye on the fish and give it another friend or several.