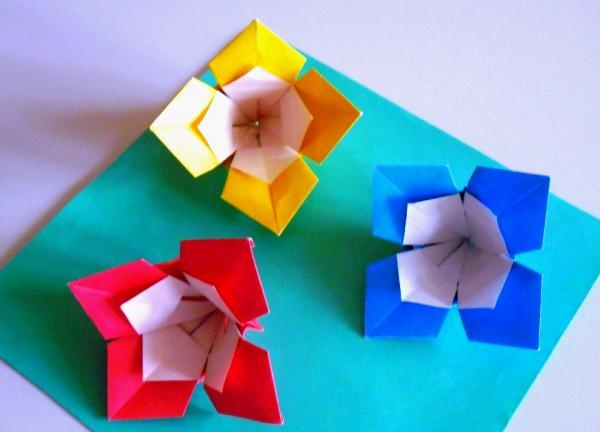
At first it seems that these beautiful flowers are glued together from several parts. But such a flower can be folded from a square sheet of one-sided colored paper in just half an hour. In the center of the flower you can see the back (white) side of the paper. The most difficult moment of assembly is the final phase. But thanks to step-by-step photos, this can also be easily done. The main thing is to carefully look at the photographs.
Sequence of work.
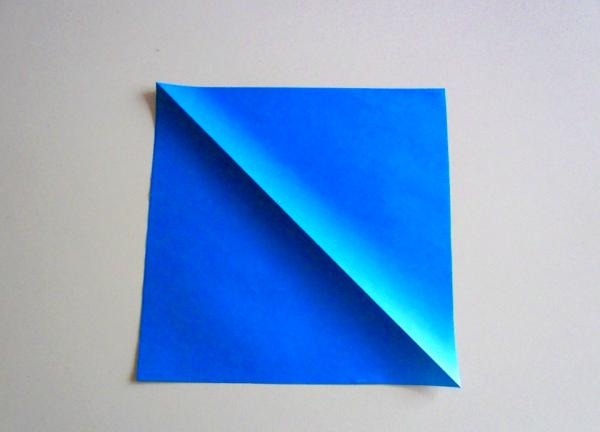
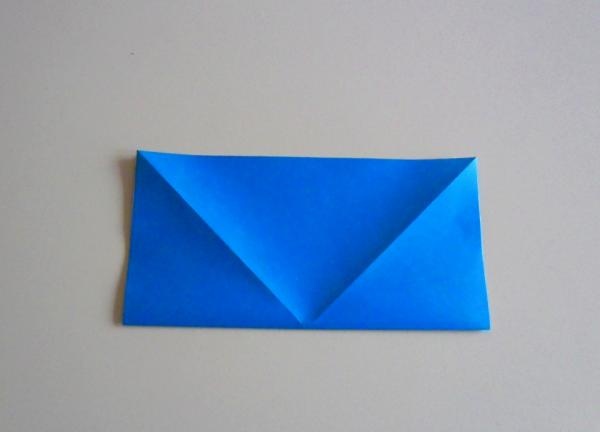
Fold the square in half diagonally (the white side will be inside) and unfold it.
Fold the sheet along the second diagonal.
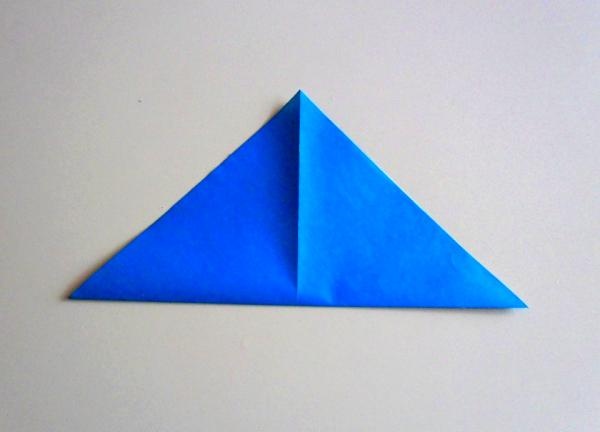
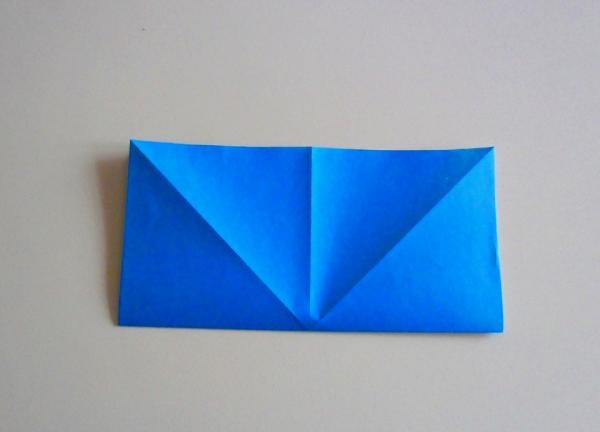
Unfold the sheet again and fold it in half horizontally.
Unfold the piece of paper, turn it 90° and fold it in half again.
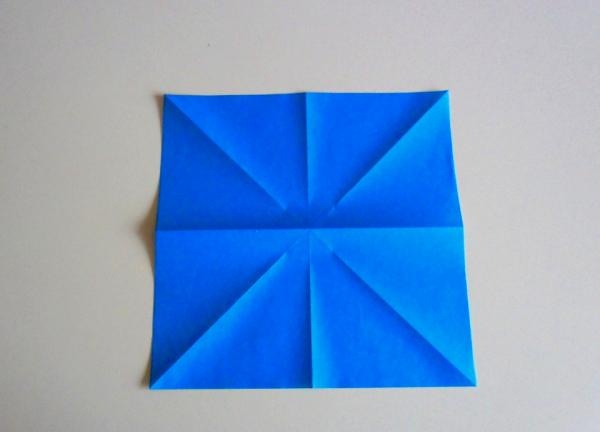
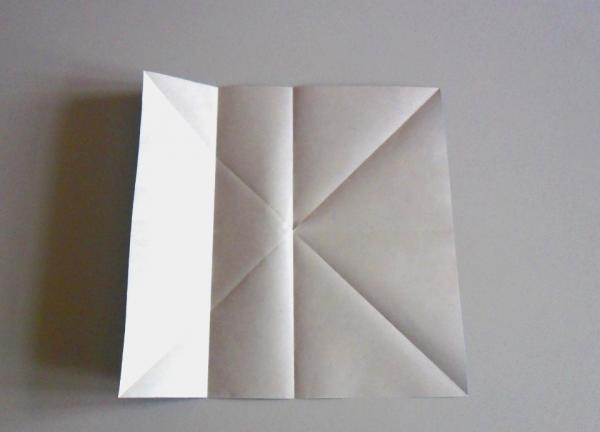
You will get a square with these folds.
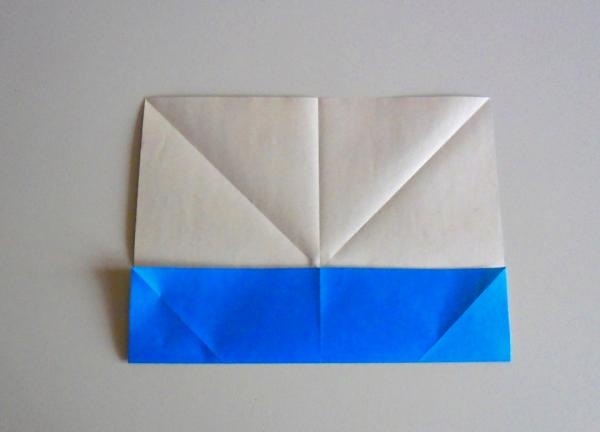
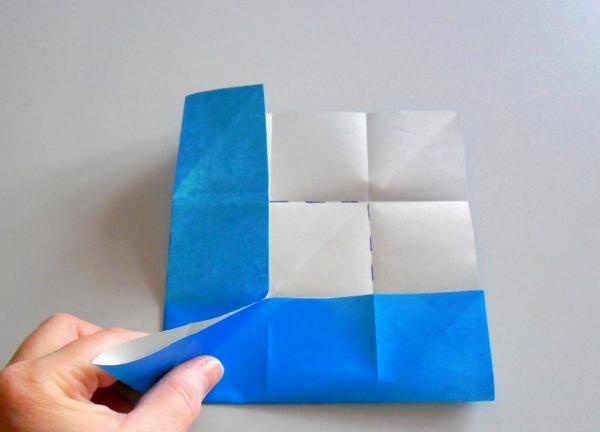
Turn it over with the white side up. Bend the bottom of the square in half, aligning its edge with the horizontal fold.
Unfold it and rotate it clockwise 90°.
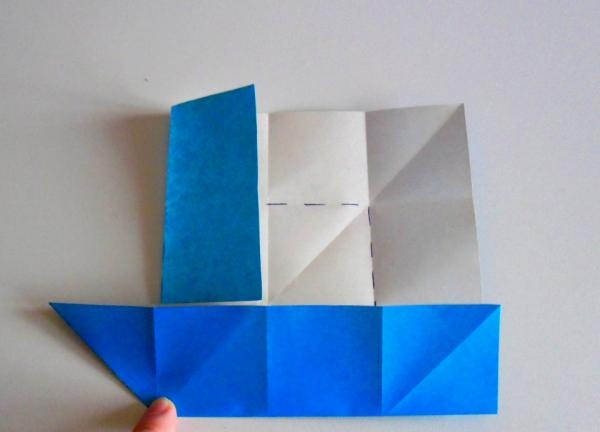
Fold the bottom of the square in half again to the middle line.
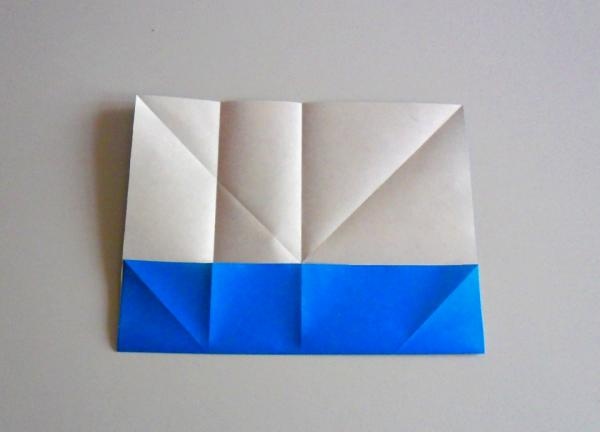
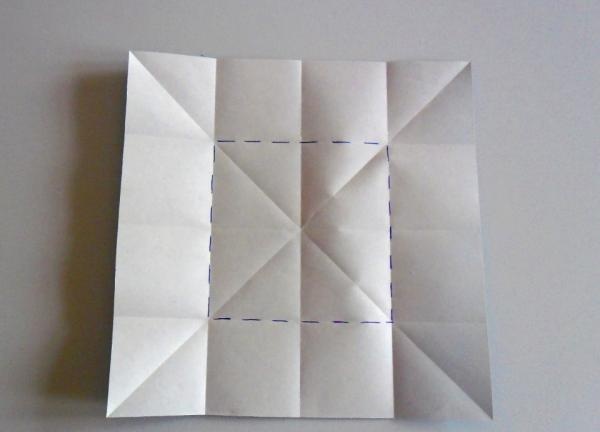
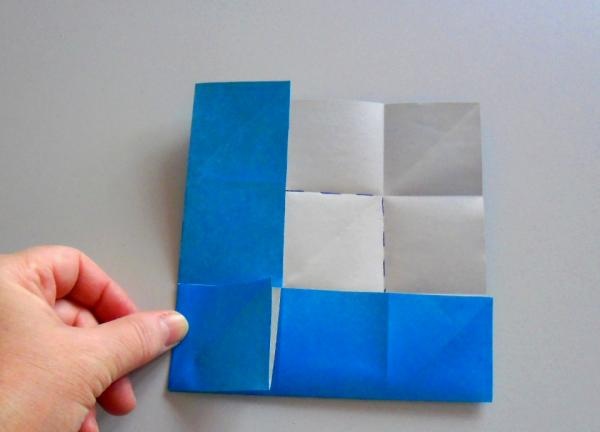
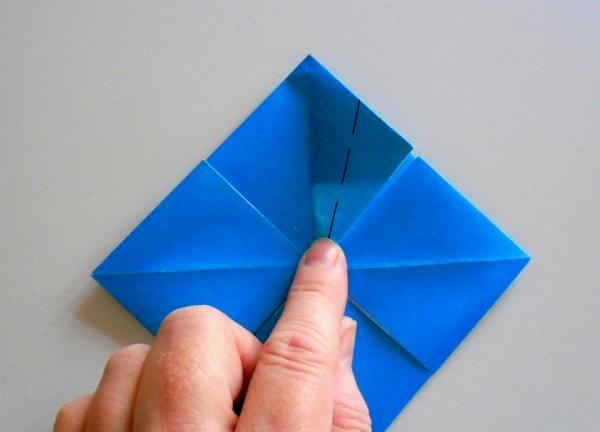
Repeat the steps shown in photos 8-9 twice.You will get a square, in the center of which there is another square, but smaller. It is indicated by dotted lines.
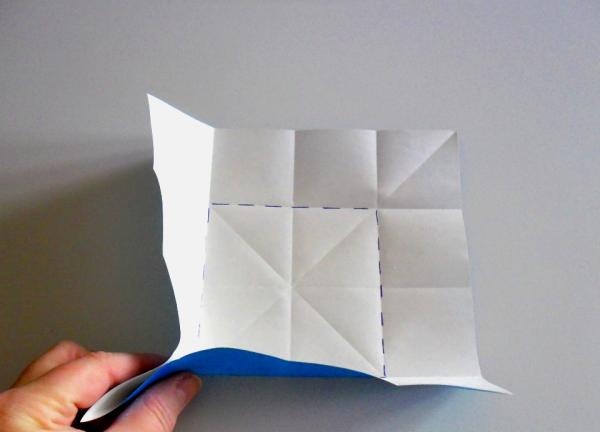
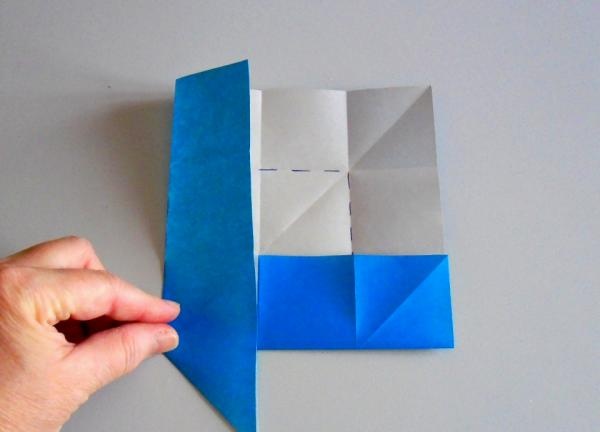
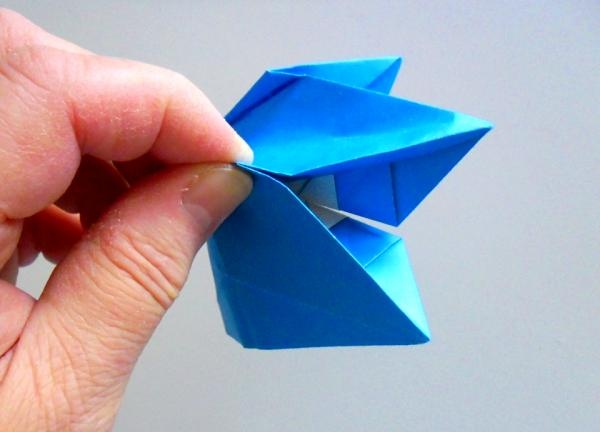
Lift the two closest sides of the square by the edge and connect them together, making a large fold.
Fold the edges, without releasing the folds, into the center of the workpiece.
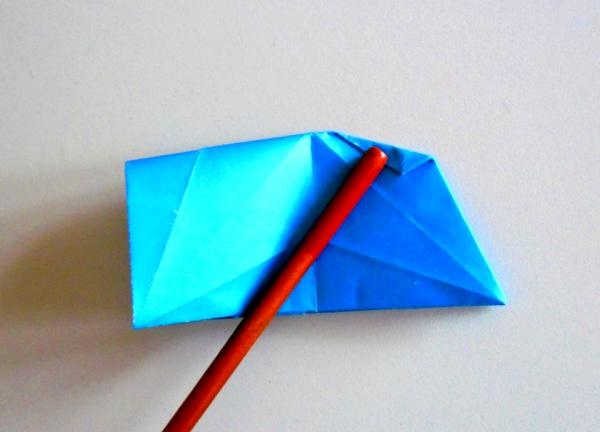
Iron this fold to the left.
Then fold the fold in the opposite direction and press the fold again.
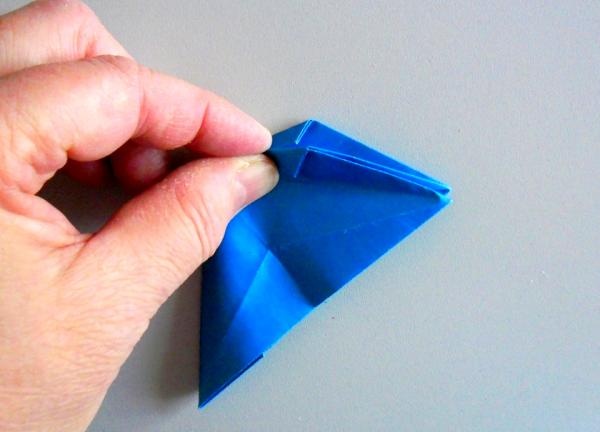
Open the fold.
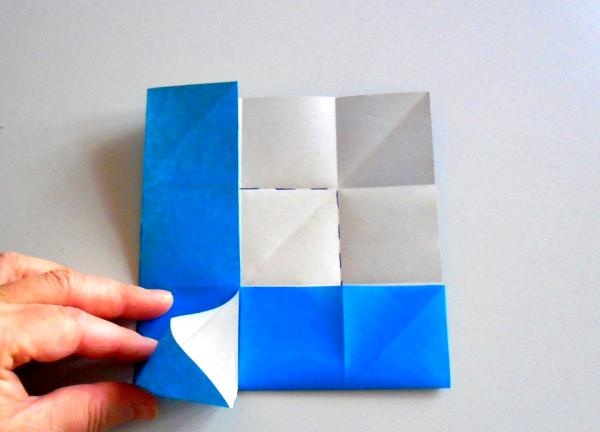
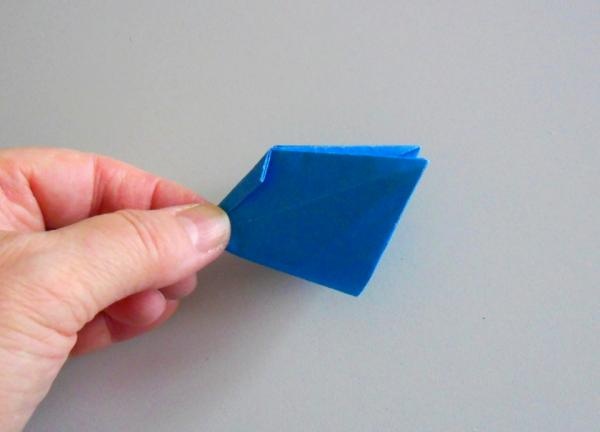
When unfolded, press it onto the workpiece. You will get a small square.
Do the same with the remaining three corners (photos 11-16). You will get a blank with four small squares.
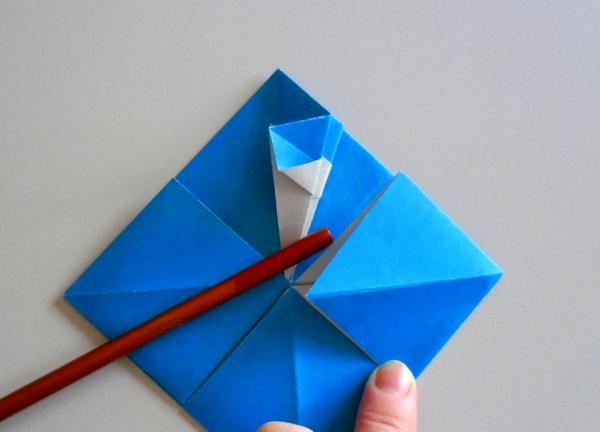
Now you need to fold each of these squares in a special way to make petals. Fold the top leaf of the square from the center to the top, folding it in half.
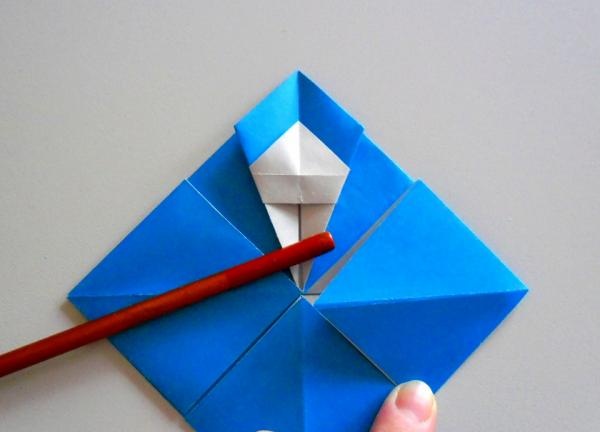
Unfold it and bend it so that its corner coincides with the center of the square.
Unfold again. Now bend the sheet so that the fold is between the folds already formed (shown by the dotted line).
As you can see, both folds matched.
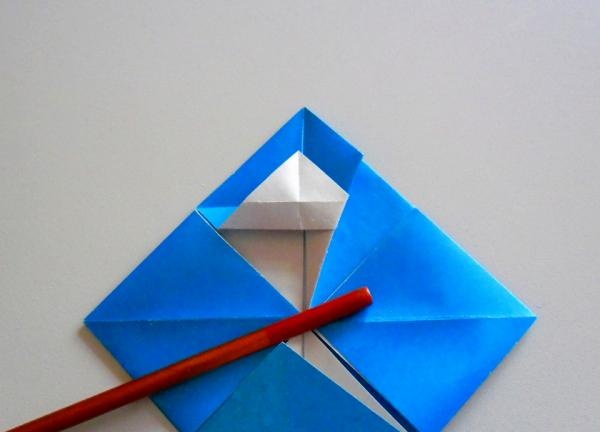
Bend the right side of the square to the left. Fold it in half along the dotted line, starting from the center. crafts.
Return to the starting position, that is, to the right. You have made one side of the petal.
To make the second side of the petal, flip the left side of the square to the right (the white part of the leaf will be inside).
Fold this moving part in half too.
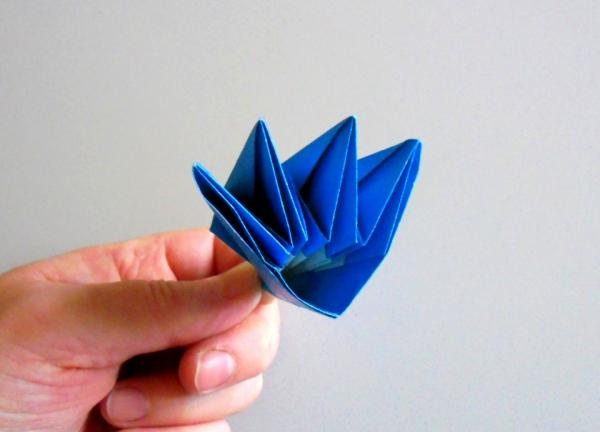
Return to original position. You will get one petal. Make three more petals from the remaining squares.
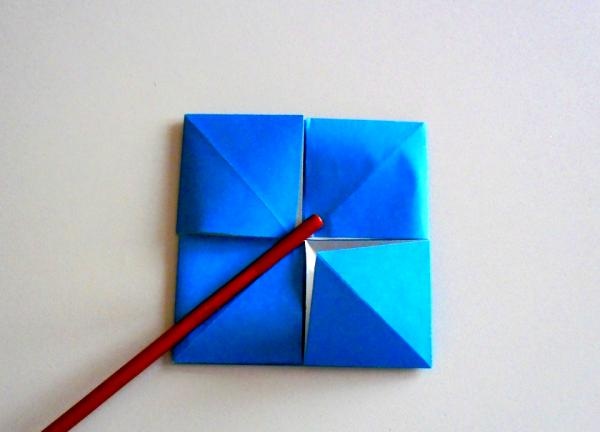
You will get a figure like this.
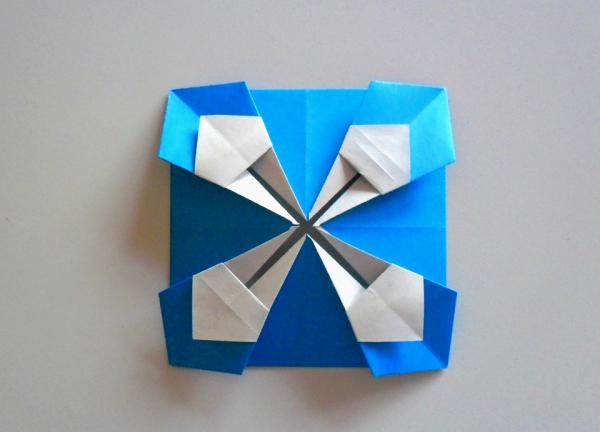
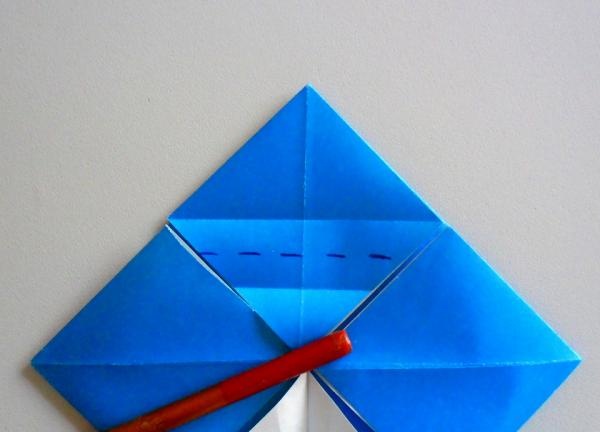
Now you need to bend the edge of the square towards the middle along the dotted lines.
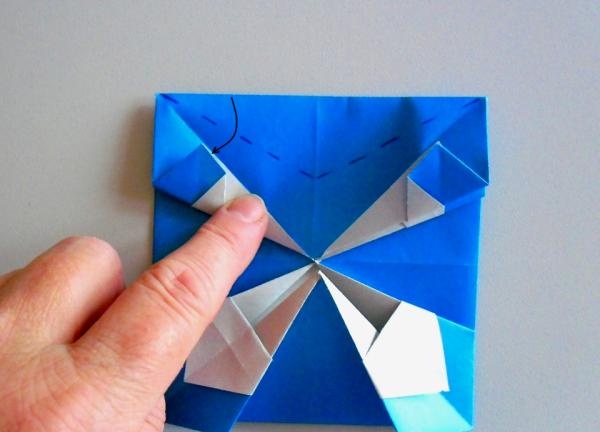
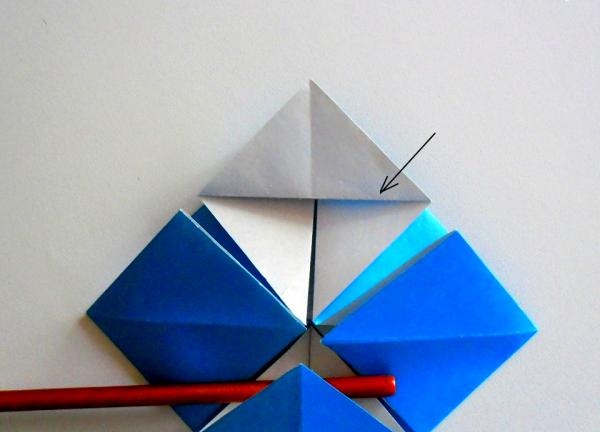
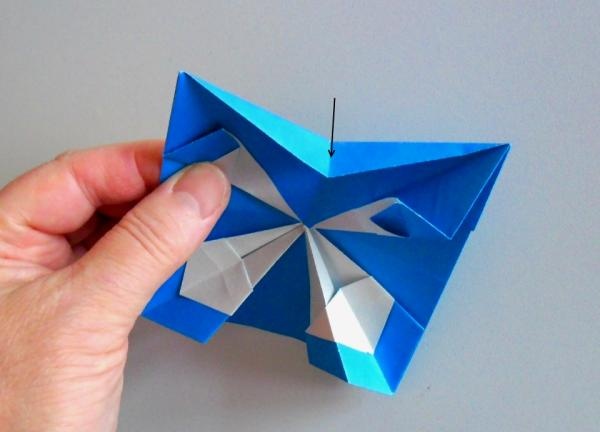
Fold the top petals in half so they are out of the way, and bend the edge of the square on the left to a diagonal line. But iron the fold only until it intersects with the other fold (shown by the arrow).
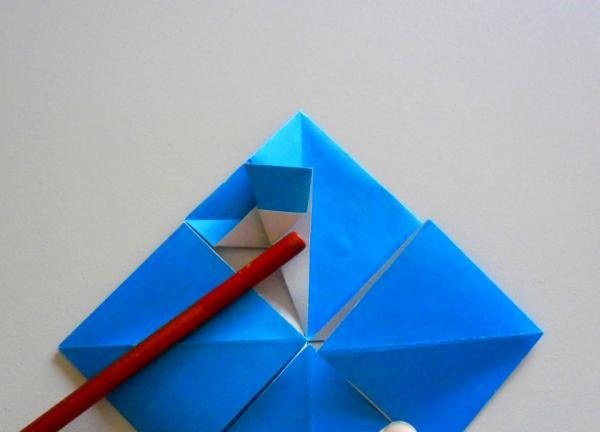
Unfold the workpiece and fold the right side in the same way.
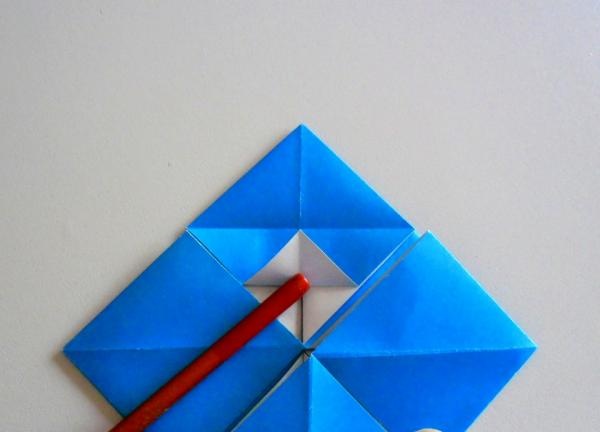
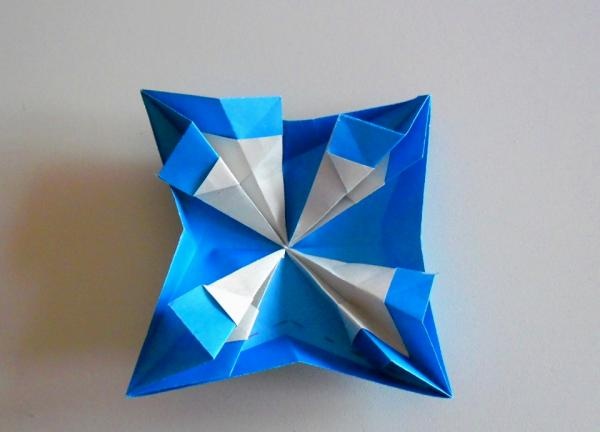
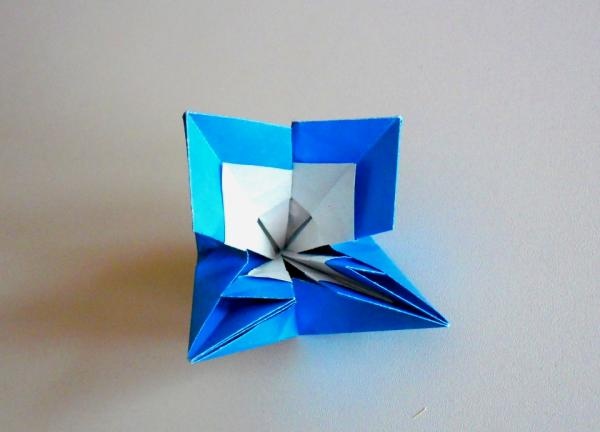
You will get a fold like this.
Fold the other sides in the same way. This is the still shapeless appearance your craft will have.
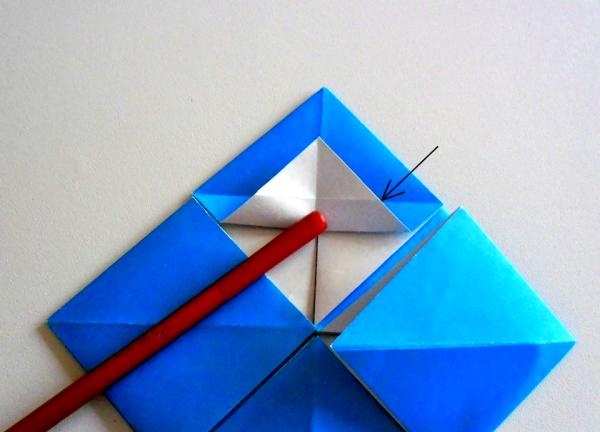
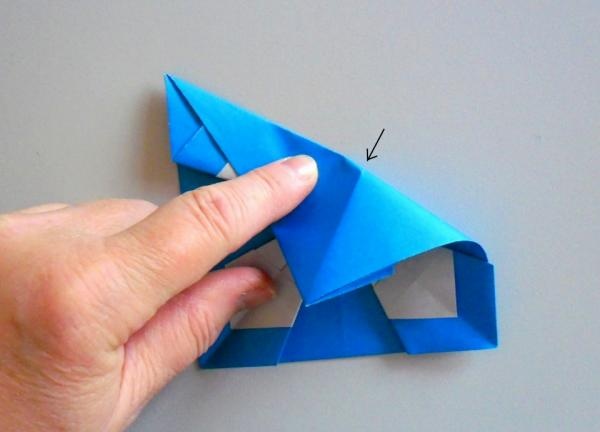
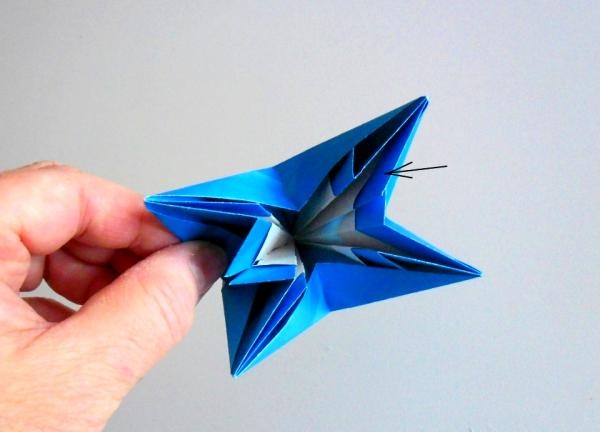
Turn it over to the other side.
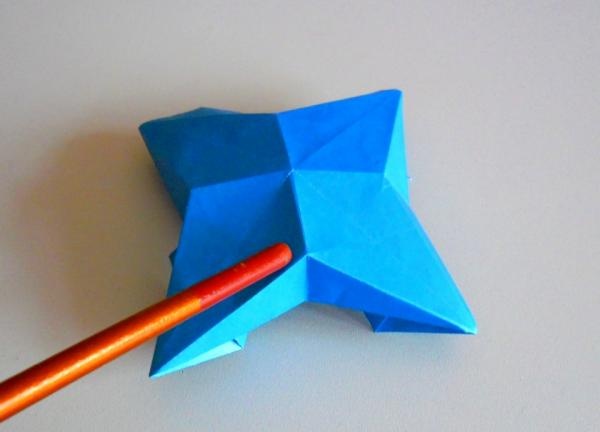
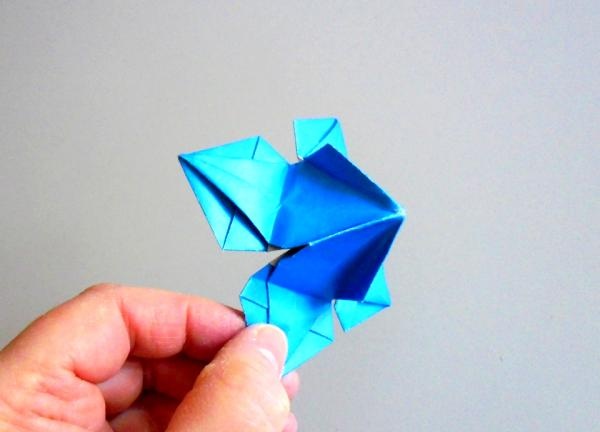
Grab the corner (where the pointer is) and pinch it between your fingers so that the nearest petals - they are clearly visible from below - are connected to each other (shown by the arrow).

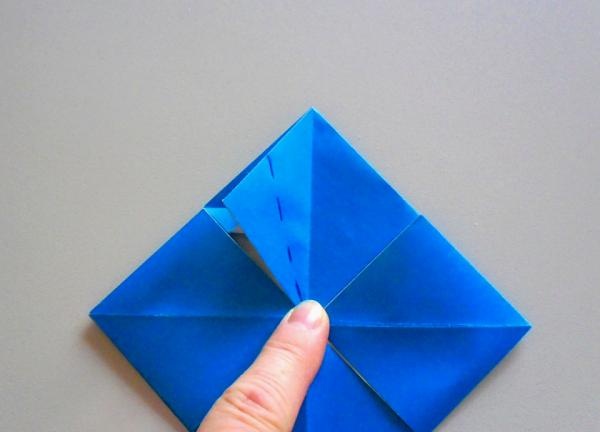
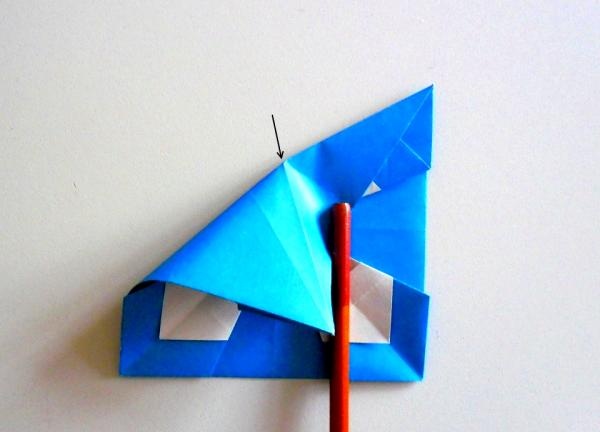
Make a fold in the place where you kept the craft. It will secure the flower in the desired position.
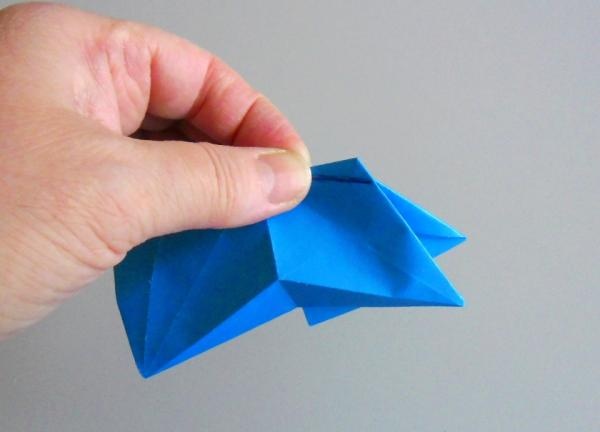
Between this and the next petal on the wrong side, make the same fold.
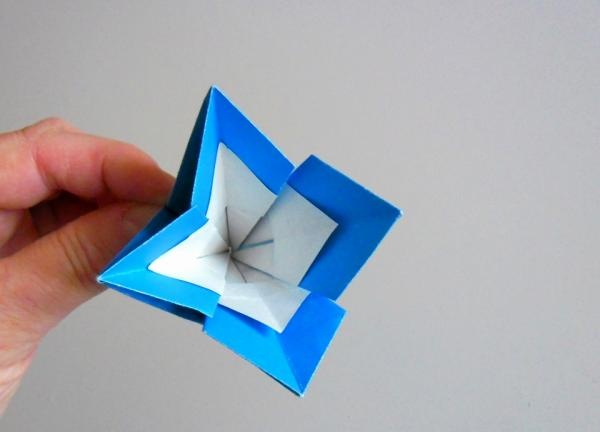
When you secure the flower with four folds, your workpiece will be folded in this way.
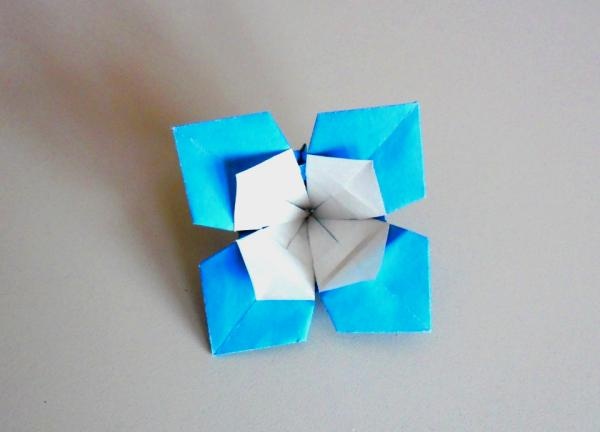
Turn the workpiece over to the front side. Unfold each petal, pulling them out over the folded sides of the square.

You will get a folded flower.
Bend the large petals outward, and, on the contrary, slightly bend the inner (white) petals towards the center.
You have learned how to fold a flower.
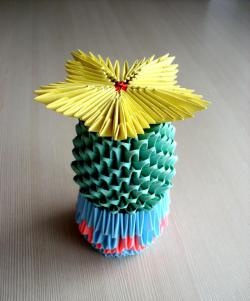
Now you can assemble a whole bouquet from the same flowers.