Let's start with a simpler option.
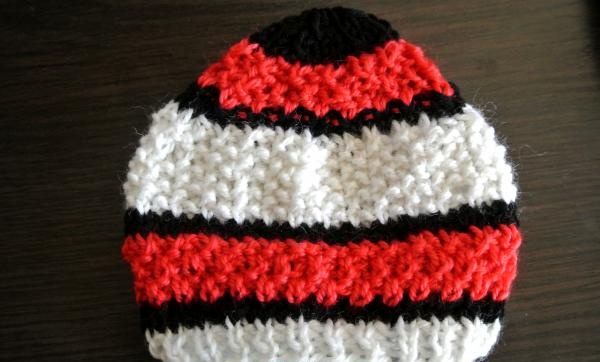
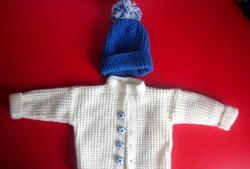
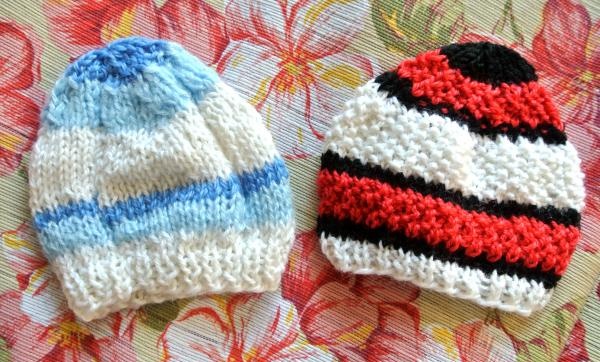
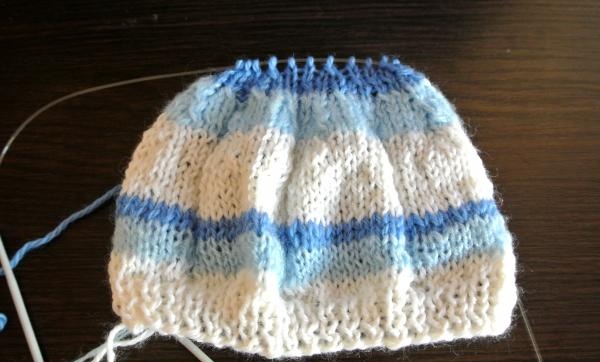
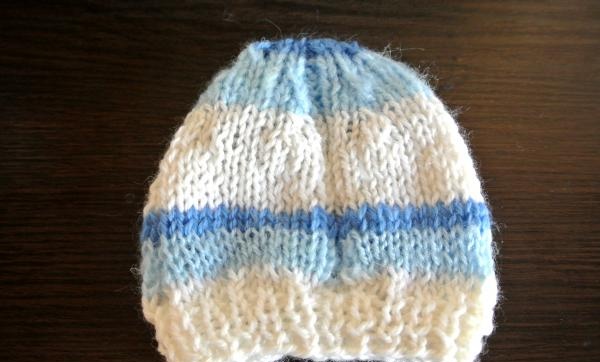
We cast on 46 loops and knit with a 1x1 elastic band for about 8 rows. After this, we need to increase the number of loops by 10. This means that every 5 loops we make yarn overs. The result will be 56 loops. The head circumference will be just normal. The photo shows that different colors are used in knitting. You can knit a plain-colored hat for a newborn if you only have threads of one color. The pattern is quite simple. In addition to adding new colors, we knit 4 vertical stripes for the pattern. To do this, every 12 knit stitches we knit two purl stitches. The result is “paths” that divide the cap into “sectors”. For a light blue stripe, 4 rows are knitted here, and for a dark blue stripe, two rows are knitted here.Then we return to white again and so on. In this way you need to knit 8-10 centimeters. After this, we will move on to reducing the number of loops. How will we do this? In the front row you need to knit two knit stitches together, repeating this action every 7 stitches. In the purl row you need to knit all the loops purlwise, without decreasing. Then you need to knit two together, repeating every 6 loops and so on in all subsequent rows until we knit two together every two loops (after 5, 4, 3 and 2 loops, respectively). We continue to simply knit the purl rows. There is no need to reduce the number of loops. The loops that remain in the end must be transferred to a needle with a thread of the same color and tightened into a circle. It is better to do this after the edges of the cap are sewn.
The result is such a cute winter hat. It is better to put on another cap under it before going out with your child for a walk. And if you knit with woolen threads and on thinner knitting needles, then you can do without an additional thin cap.
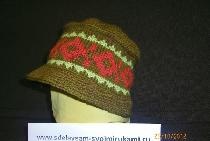
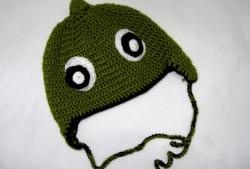
The second version of the baby’s hat is knitted according to the same pattern as the previous one (the same number of loops, yarn overs, rows, and so on). Here we will look at the patterns in more detail. The rice pattern is double-sided. That is, it looks the same from the front side and from the back. To connect it, you need to follow this pattern:
In the front row we knit everything exactly the same as for a 1x1 elastic band: knit, purl, knit, purl... In the purl row we continue to knit all the loops simply according to the pattern, without straying. If there was a purl loop, we make a purl one. Accordingly, we knit the front loop.In the next front row, you need to change the rhythm of knitting loops: we knit the front loops as purl ones, and the purl ones as knit ones. We don’t need to change anything in the purl row. In fact, you need to remember one rule: purl rows are knitted according to the pattern, and stitches are changed only in the front rows. This is precisely the main difference from the pearl pattern.
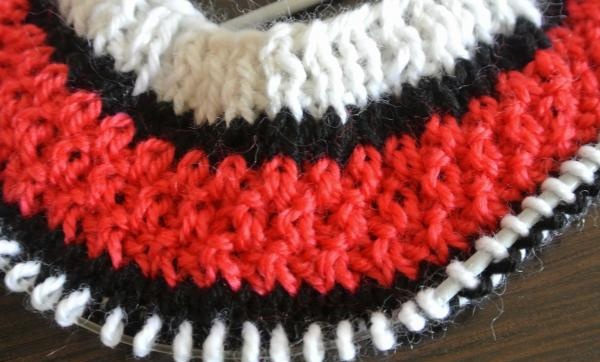
But here the difference is clearly visible. The pearl pattern is knitted in white, and the rice pattern in red.

A pearl pattern with knitting needles (also double-sided) is done like this:
- On the front row you knit exactly the same way as a 1x1 rib: knit, purl, knit, purl... and so on until the end.
- In the purl row we do the opposite. That is: purl, knit, purl, knit.
- In the front row we will again swap the loops. If there was a purl stitch in the last row, knit it with a knit stitch. Knit the knit stitch with a purl loop, and so on.
This is such a cute hat. on her knitting it takes one day even for those who have only recently learned to hold knitting needles in their hands and knit purl and knit stitches.