Do it yourself
Life hacks, master classes, useful tips, recipes.
home » Handicraft techniques » Modeling » Polymer clay master class » Creating a scented rose jewelry set
Everyone strives to be fashionable and dress with a twist. And what modern girl doesn’t want to wear exclusive jewelry, and even made with her own hands? With this master class you will learn how to create beautiful decorations in the form of fragrant roses of absolutely any color. Yes, exactly fragrant! The pendant and earrings can be scented with essential oils, as well as your favorite perfume. Such decorations will act as aroma medallions, enveloping you in a pleasant aroma, and if they are scented with essential oils of mint, pine or tea tree, you can reduce the risk of a cold. When the scent wears off, you can repeat the process of aromatizing roses with the same scent, or any other. This is possible due to the fact that the mass from which jewelry is made absorbs moisture well and is able to retain aroma. But the downside of these decorations is that they cannot get too wet. And having acquired the skills of sculpting flowers, you can use them to create brooches, hairpins, bracelets, rings and much more.

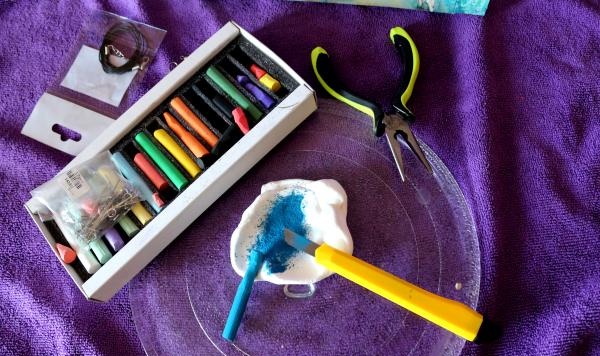
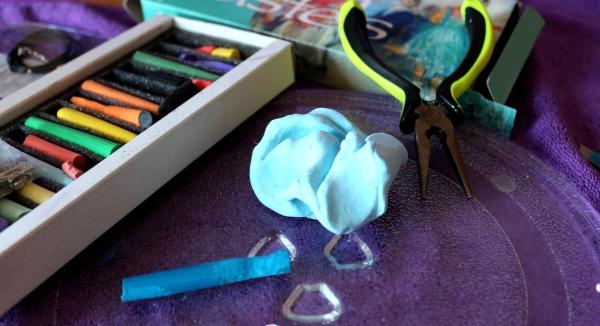
So, what materials do we need:
1) Self-hardening polymer clay ClayCraft by Deco.
2) Dry pastel.
3) Round nose pliers.
4) Board for modeling.
5) Stationery knife.
6) A glass of water.
7) Three pins.
8) Two earrings.
9) Lanyard for jewelry.
10) Aromatic oil.

Let's start making jewelry!

Step 1. Take a piece of polymer clay, knead it well, and place it on a modeling board. We choose the color of the dry pastel, which we will “mix” into the clay. It is important that the color of the roses be slightly lighter than the pastel itself. Using a utility knife, cut the chalk into the clay, trying to keep the powder as fine as possible.

piece of polymer clay


Step 2. Mix the “dough” with the pastel until the color is uniform, sometimes dipping your fingers in water to prevent the clay from drying out.

Mix the dough


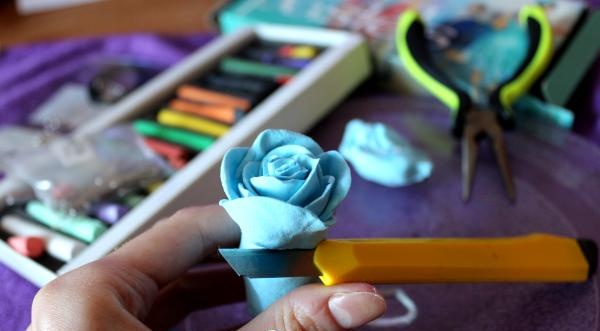
Step 3. Open a small piece of the mass, hide the rest in a bag. Knead the clay into a medium-thick pancake and make an accordion out of it, forming the center of the flower.

form the center of the flower


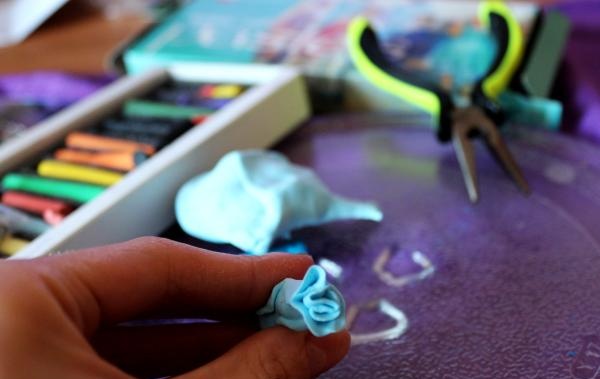
Important: do not tear off the resulting stem coming from the middle - it is convenient to hold the flower while working.
Step 4. Now tear off a larger piece, roll it into a ball and flatten it between your thumb and index finger. Attach the resulting rose petal to the center.

rose petal to the middle


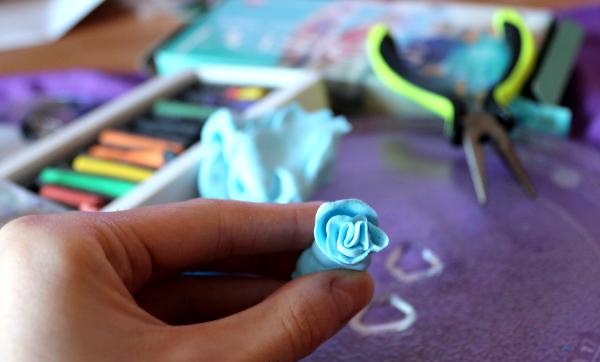
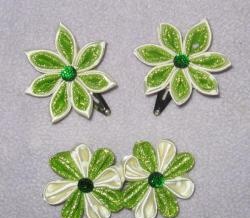
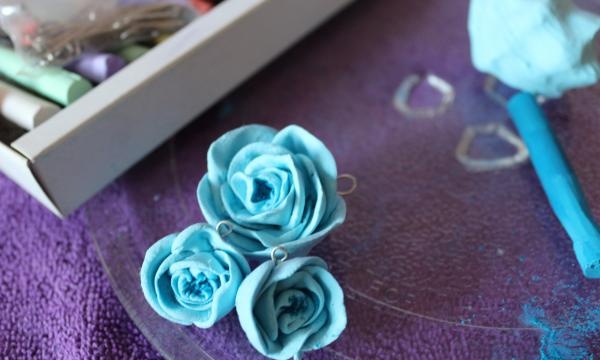
Step 5. We tear off the pieces, gradually increasing their size, form petals and increase the volume of the rose. We do this until we get the desired result. We have a pendant.

forming petals


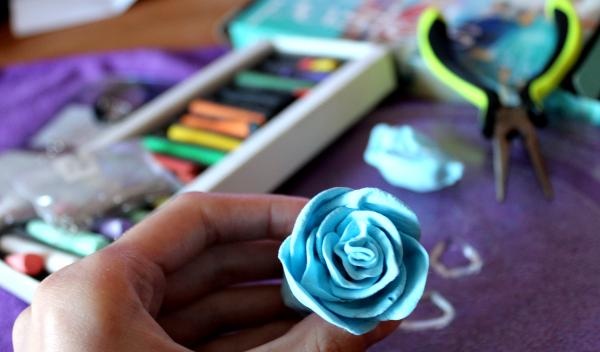
Step 6. You need to cut off the stem from the bud. Carefully cut it off with a stationery knife, trying not to crush the petals.

cut off


Step 7. Set the bud aside. We repeat all the steps to make earrings.

make earrings


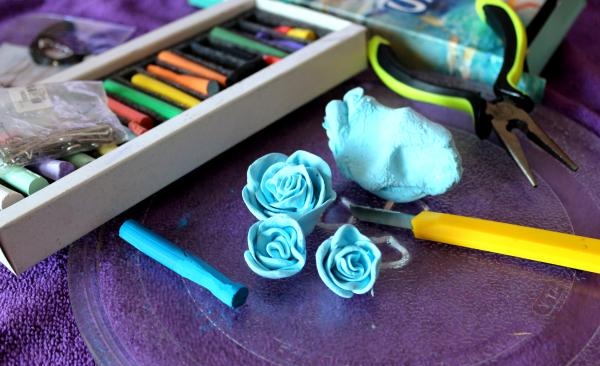
Step 8. Use a utility knife to “punch” the middle of the buds.

crush the middle of the buds


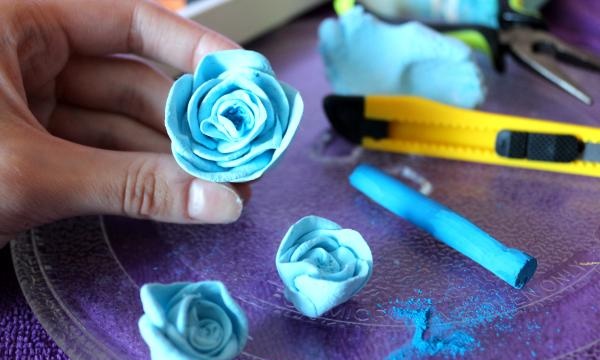
Step 9. Again we cut down pastel shavings of the same color that we needed to create the tone of the flowers.Next, sprinkle the centers of the flowers on the tip of the knife to highlight and accent them.

sprinkle the flower centers


Step 10. When the flowers are dry, carefully insert the pins into them from bottom to top.

insert pins into them


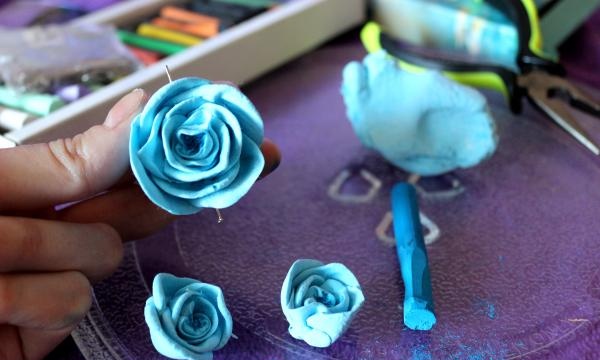
Step 11. Use pliers to make loops from pins in dried flowers, first cutting off the excess distance.

cutting off the extra distance


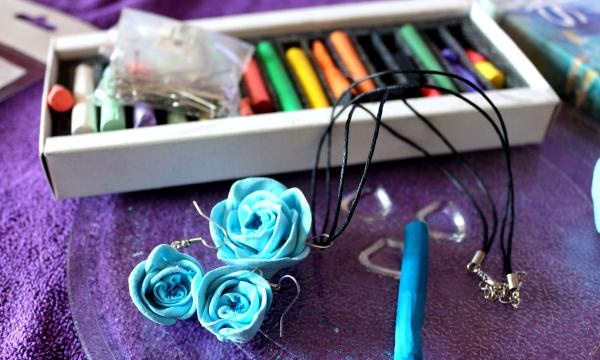
Step 12. Insert a cord into the loop on the pendant, and earrings on the earrings.

insert the lace


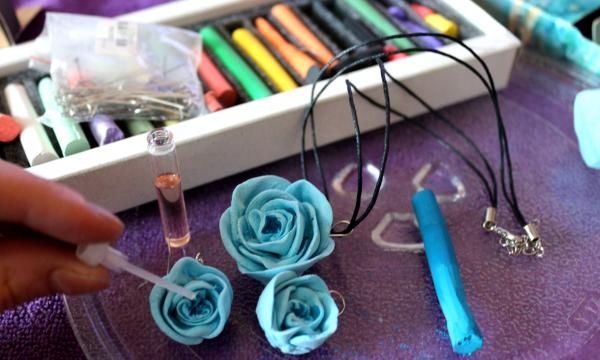
Step 13. Now we need to scent the decorations. To do this, take the essential oil you like and drop a little into the middle of the bud.

scent decorations


Our kit is ready!

rose decoration


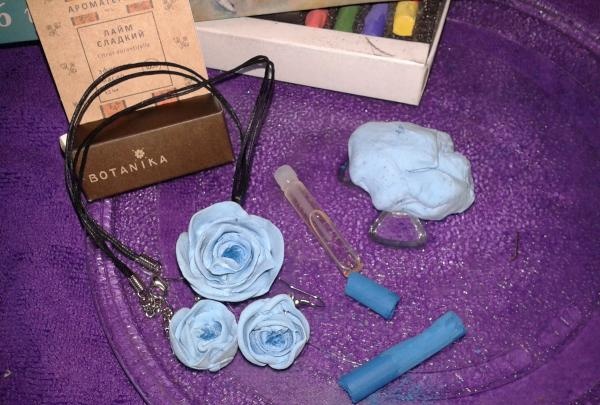
These roses can be used to create rings, brooches, hairpins and much more! Colors can be varied, even with tints. To extend the life of your jewelry, you can coat it with clear nail polish, leaving the center untouched so that you can continue to scent it.
come back
Comment
  • bowtiesmilelaughingblushsmileyrelaxed relaxedsmirk
    heart_eyeskissing_heartkissing_closed_eyesflushedrelievedsatisfiedgrin
    winkstuck_out_tongue_winking_eyestuck_out_tongue_closed_eyesgrinningkissingstuck_out_tonguesleeping
    worriedfrowninganguishedopen_mouthgrimacingconfusedhushed
    expressionlessunamusedsweat_smilesweatdisappointed_relievedwearypassive
    disappointedconfoundedfearfulcold_sweatperseverecrysob
    joyastonishedscreamtired_faceangryragetriumph
    sleepyyummasksunglassesdizzy_faceimpsmiling_imp
    neutral_faceno_mouthinnocent
5+two=
Comments (0)

How not to leave the forest without mushrooms. Advice from a professional mycologist

Baby mobile for crib | Do it yourself

Metal crafts | Page 23 | Do it yourself

How to remove a press-on pulley from an electric motor and install a drill chuck

«Do it yourself - with your own hands» - a site of interesting homemade products made from scrap materials and items at home. Step-by-step master classes with photos and descriptions, technologies, life hacks - everything a real master or just a craftsman needs for needlework. Crafts of any complexity, a large selection of directions and ideas for creativity.

We recommend reading

Washing machine error codes