You can make a talisman doll from what you have. This can be regular sewing thread, any yarn, etc. This tutorial describes how to make a doll from a washbrush. You can purchase it at any construction or hardware store.
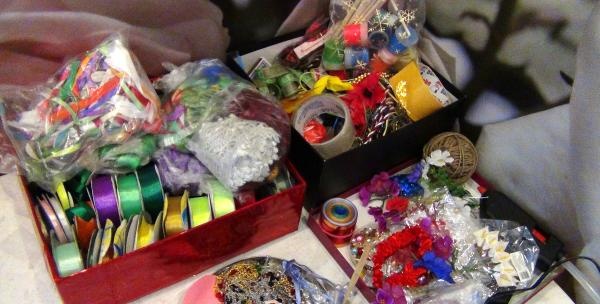
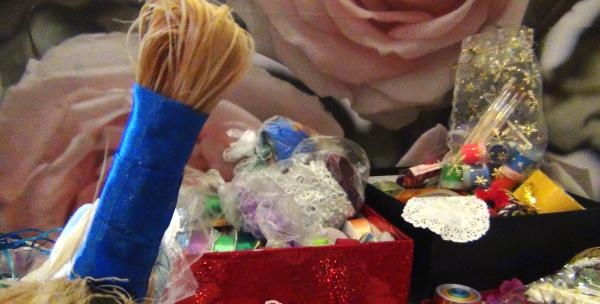
To work we will need:
- glue gun;
- multi-colored satin ribbons of various widths;
- scraps of fabric;
- matches;
- scissors;
- sponge brush;
- spoke;
- transparent tape;
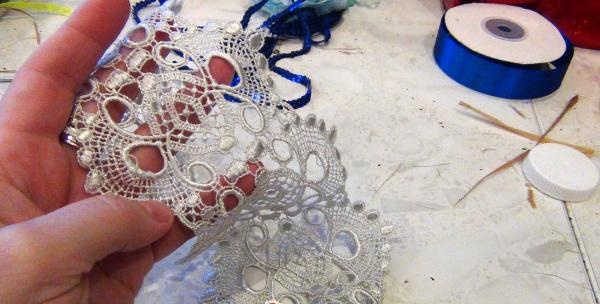
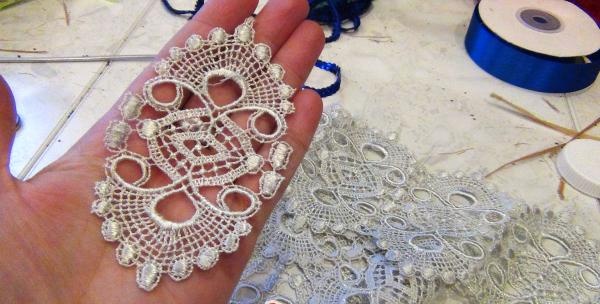
- a little lace;
- scissors.
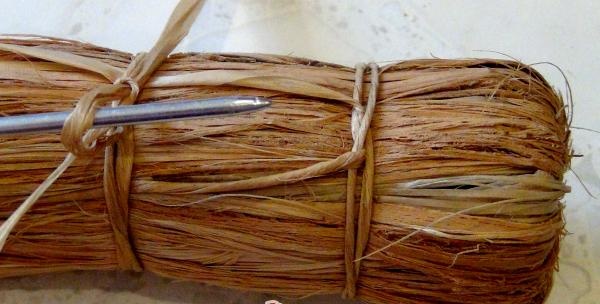
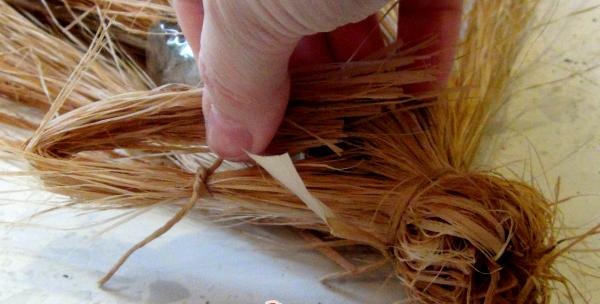
We untie the knots on the hand using the pointed edge of the knitting needle. We don’t throw away the resulting ties; they will still be useful in the future.
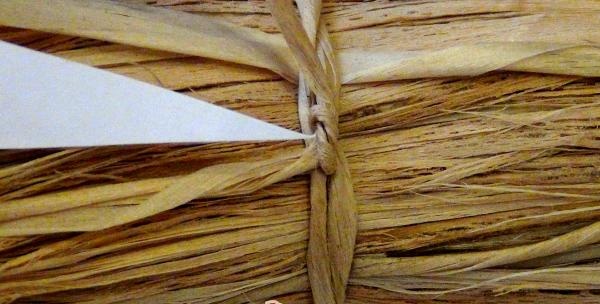
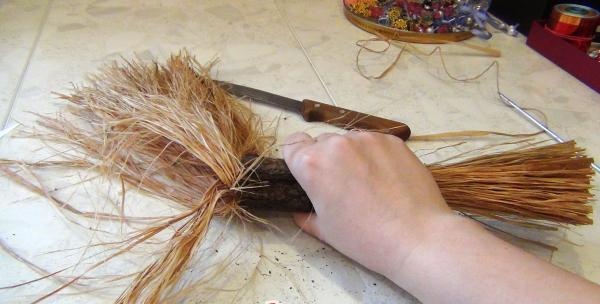
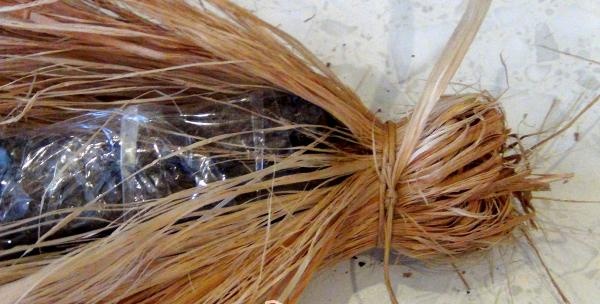
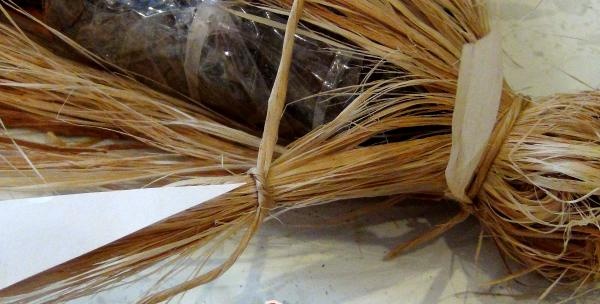
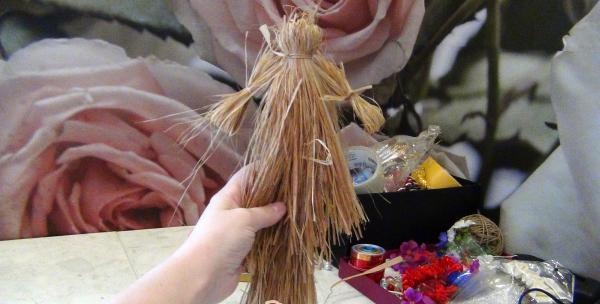
The inside of the brush is compressed with tree bark, which is not only poorly secured, but also crumbles badly. Why does everything around the table always become trashy? We press the bark with one hand, and secure the transparent tape with the other free one.

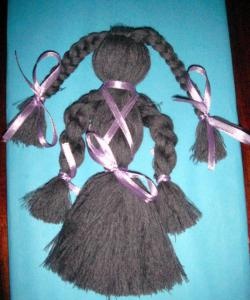
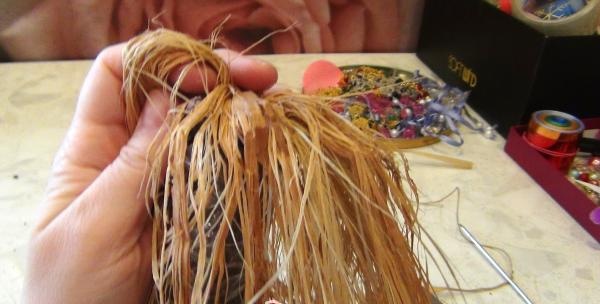
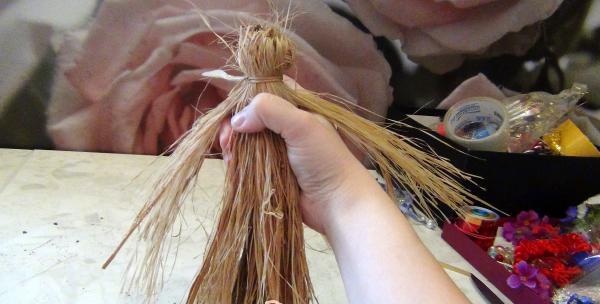
After this, we straighten the fibers as shown in the photo to form the future head of our doll.
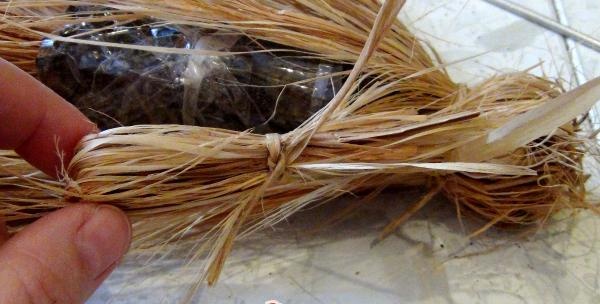
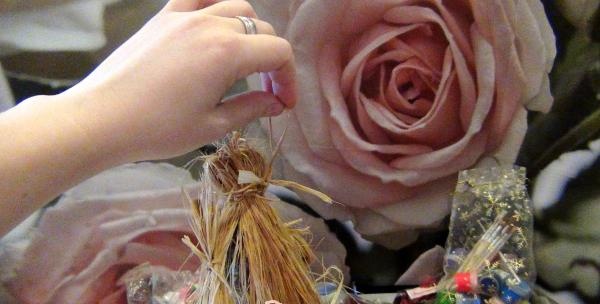
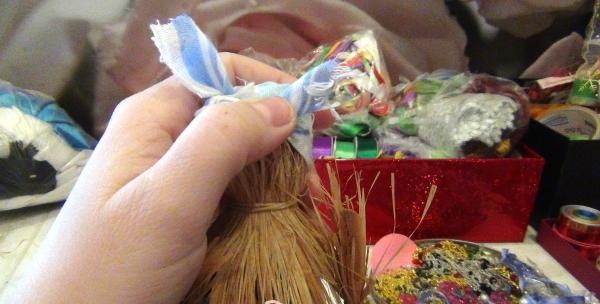
We tie the remaining ties two knots above the edge of the bark, leaving long ends for the loop.
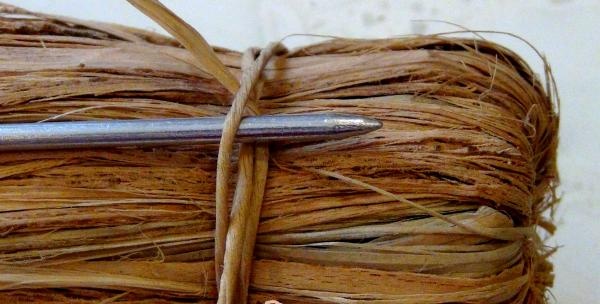
Using a knitting needle, we align the fibers.
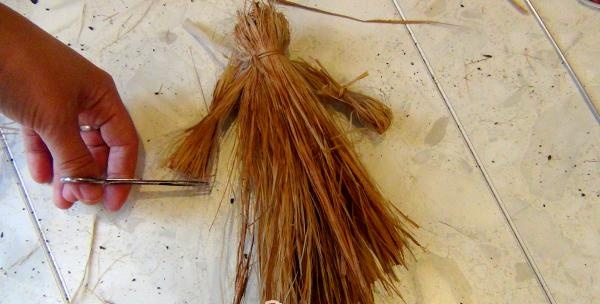
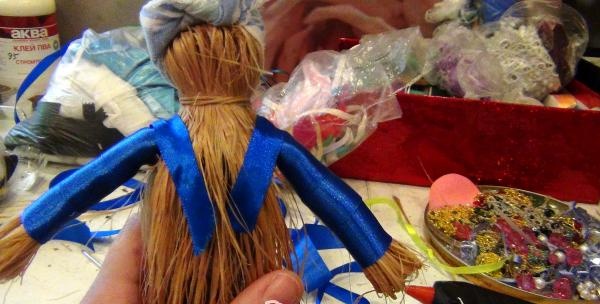
Separate equal bundles for the arms on the sides.
At the 1/3 level, we tie all the lengths of the beam with the remains of the bast, first with one knot. If you use threads, then use two, since the knot made from them will “slip”.
Bend it in half and place the bundle on the first knot.
Now we tie it into two knots and tuck the ends from the bast inside the bun.
We repeat the same procedure on the other side. In the end it should look like this.
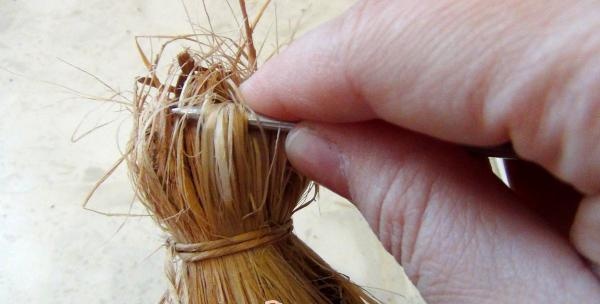
We cut off the protruding fibers on both sides with scissors.
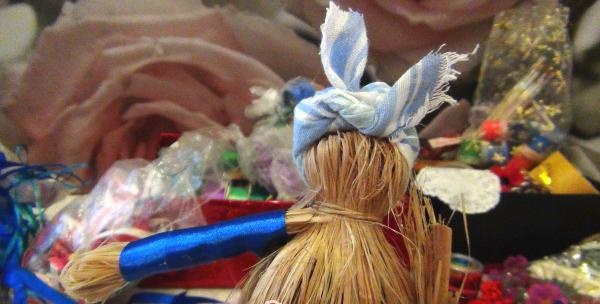
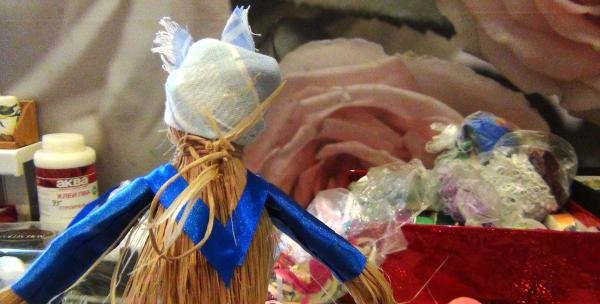
We make a loop at the back.
Cut out a piece of any fabric measuring 10x10 cm.
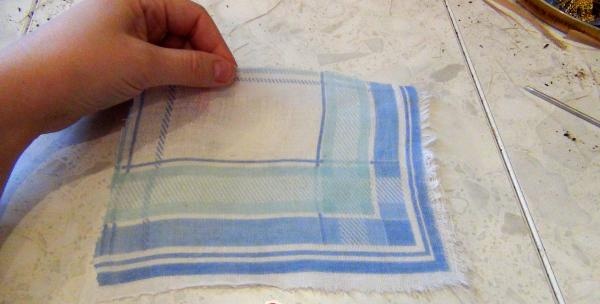
We tie it around the doll's head in any way. And fix it with a glue gun.
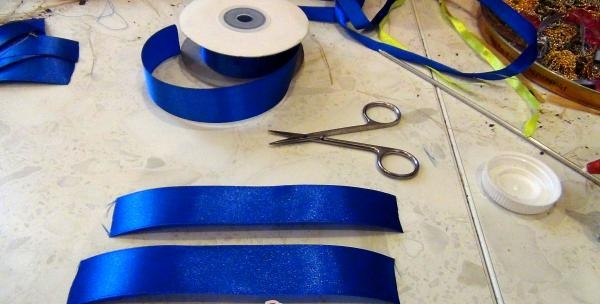
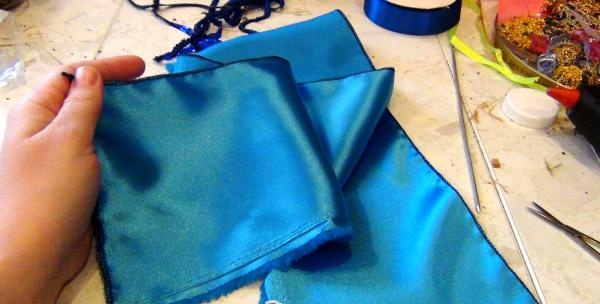
Cut the satin ribbon (2.5 cm wide) into 6 pieces 5 cm long.
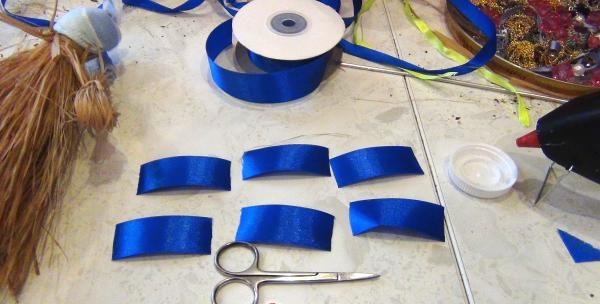
Then, from a ribbon of a similar color (5 cm wide), we make two identical 10 cm sections. All 8 sections must be singed so that the ribbons do not “crumble.”
We glue short strips onto the doll’s “hands” one by one, and start gluing them from the bottom, placing the next one on top of the previous one.
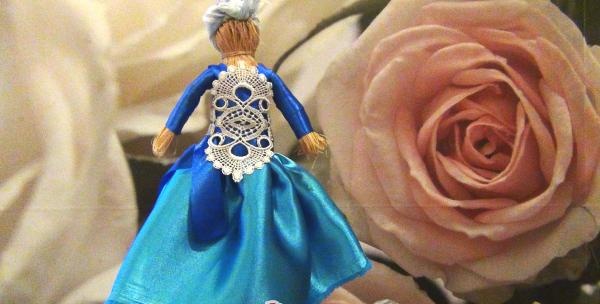
We cover the resulting shoulders with narrow (1.5 cm wide) satin ribbons of the same color, 12 cm long.
Then we cover the body of the bereginya doll with wide ribbons.


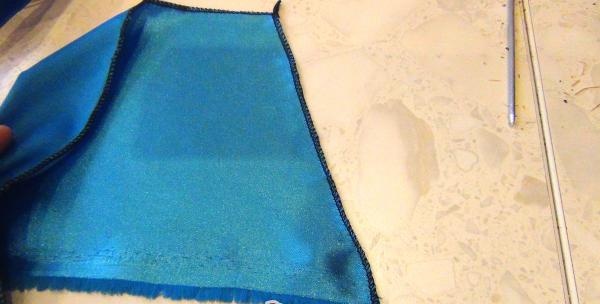
A piece of fabric with a special beveled cut on one side is processed using an overlocker.
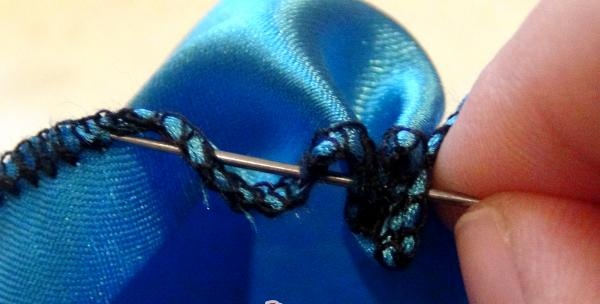
We gather the edge of the fabric onto the needle in one direction, and then, turning the flap over, gather it again in the other direction.
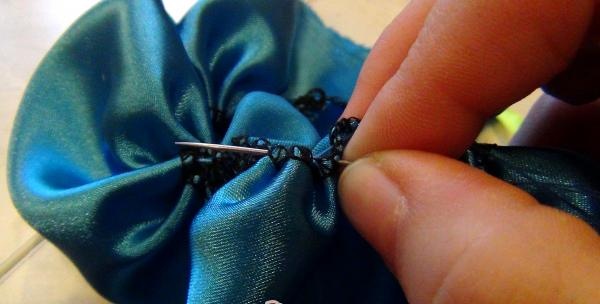
Glue the resulting skirt to the bottom edge of the ribbon.
Afterwards we cover the gluing area with tape (length 25 cm).

Cut out a fragment from the lace ribbon and glue it onto the amulet doll.
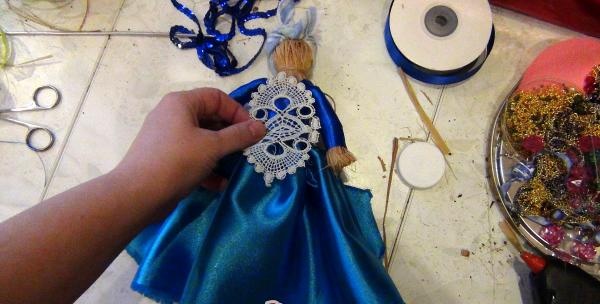
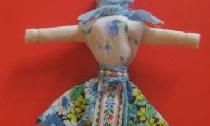
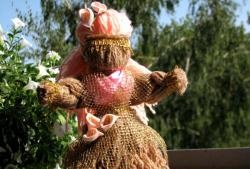
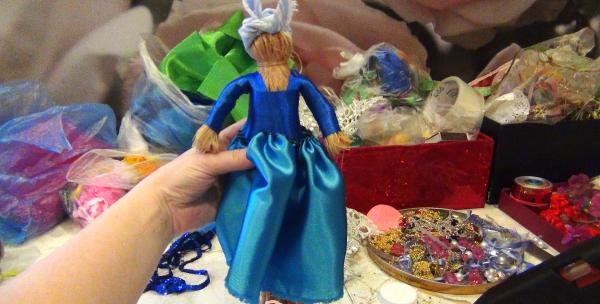
The amulet doll is ready! Give for happiness!