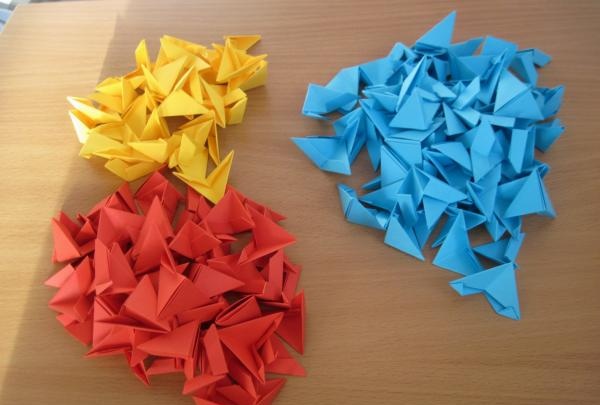
To work you will need:
- Red modules.
- Yellow modules.
- Blue modules.
Let's start making the vase:
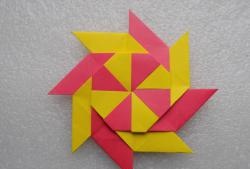
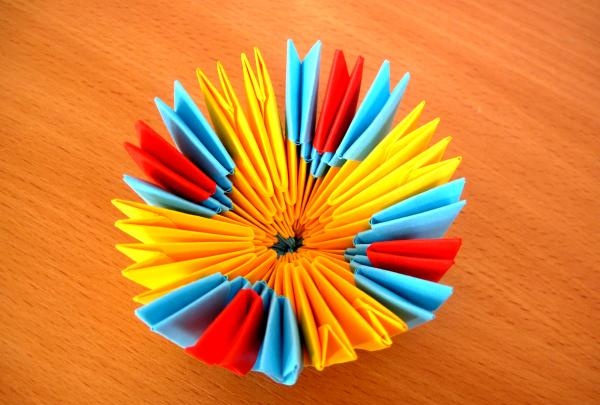
1) We assemble the bases, arrange the modules, as shown in the figure. The base should have twenty modules.
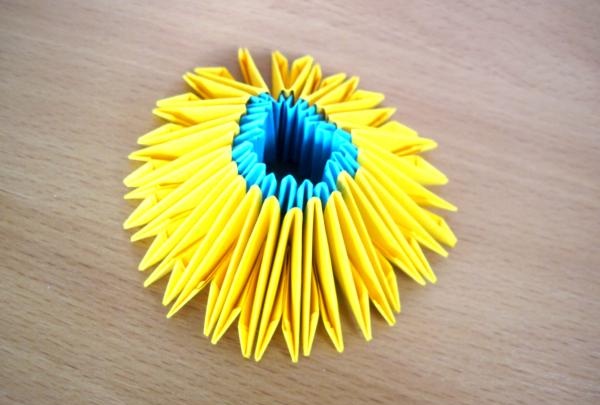
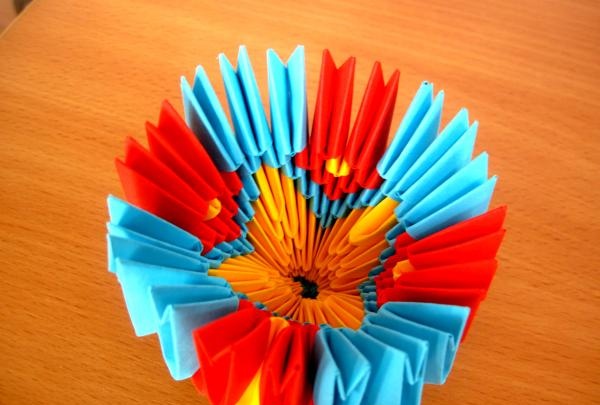
Next, we assemble four yellow modules and one blue one, and so on in a circle. The base should be divided into four equal parts. It is worth noting that we put the blue modules on the reverse side. On which we will form a pattern in the future.
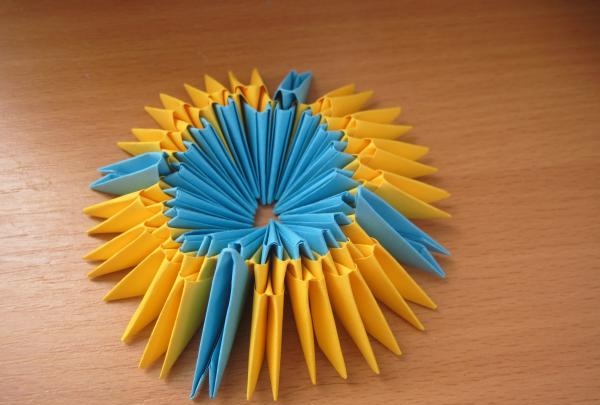
We turn the base inside out so that the blue part becomes the bottom.At first it will take its original shape, so you should hold it when assembling the vase.
Let's proceed to the further formation of the drawing. Now we put on two blue modules and three yellow ones. Since you turned the product inside out, the arrangement of the modules has changed slightly, i.e. the blue modules are put on as always, and the yellow ones are put on the reverse side.
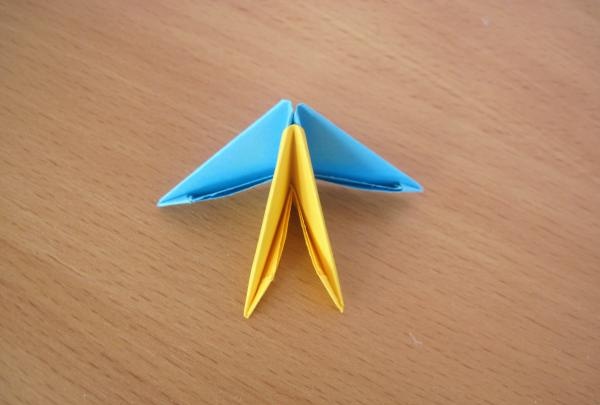
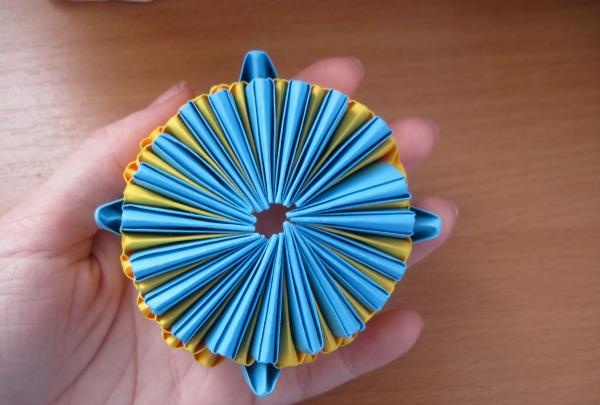
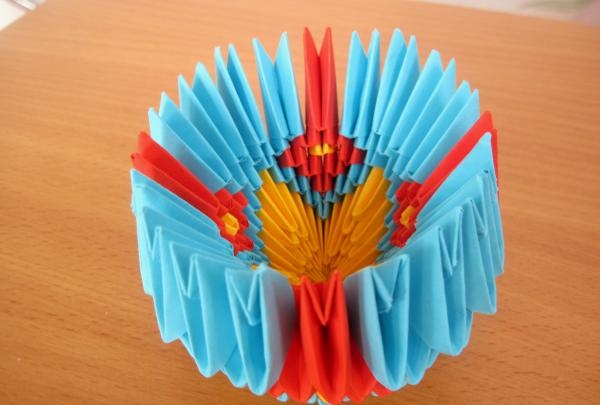
Next you need to put on one red module, one blue module and two yellow modules. Then one yellow, one blue, two red, one blue module.
Then we collect one blue, two red, one blue and one yellow module.
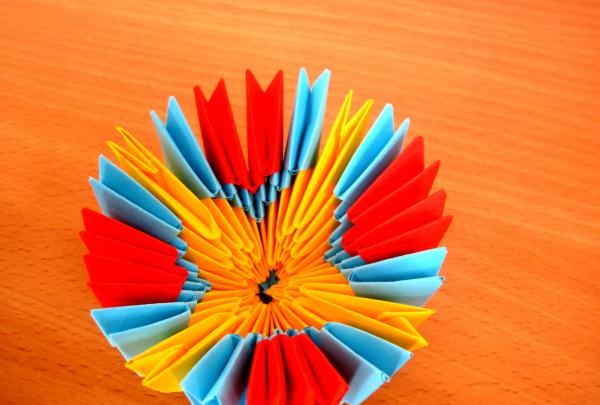
The next step is to assemble two blue modules, one red, one yellow, one red and two blue.
The penultimate step is three blue, two red and three blue.
The final step is four blue and one red.
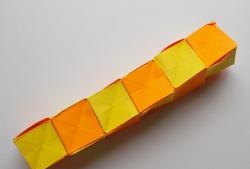
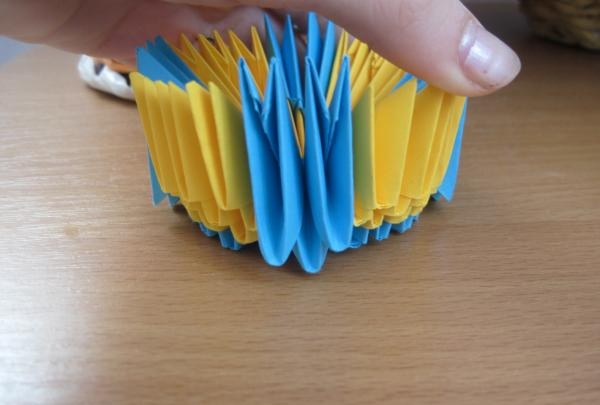
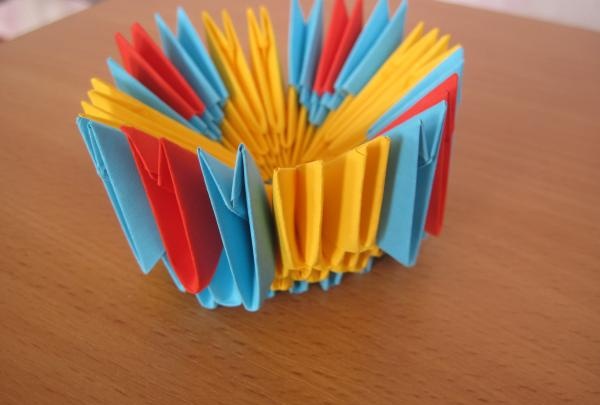
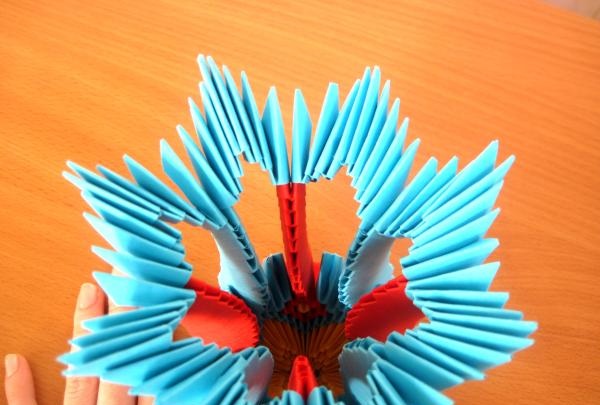
Next, we assemble the racks. Each rack consists of fourteen modules. We will need four blue posts and four red ones.
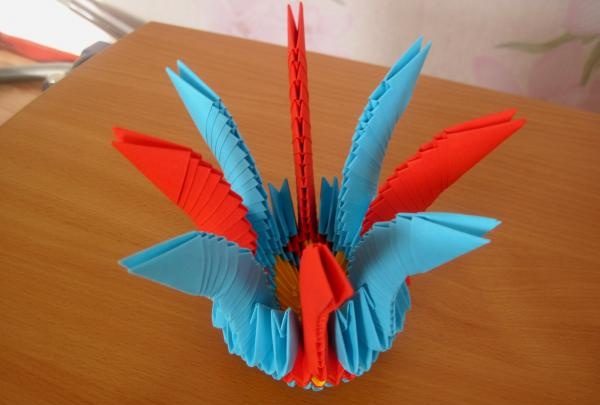
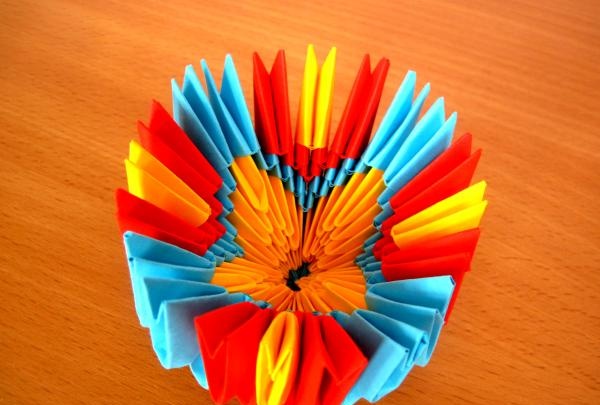
Now we assemble the top of the vase. We put on the modules as shown in the figure. Then we put red modules on top of these modules.

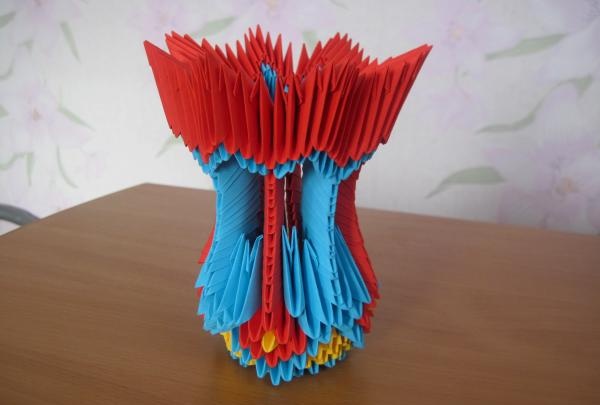
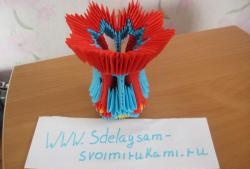
That's it, our craft is ready.

As a result of our master class, you were able to learn how to make a vase using the modular origami technique. It can easily become an original gift for your mother, grandmother, sister and class teacher.