To make a “Pansy” gum you will need:
- a small hair tie.
- glue gun.
- scissors.
- satin ribbon in yellow, green and white colors.
- golden sparkles.
- yellow rhinestone with a diameter of 0.4 cm.
- lighter.
Creating decoration.
Ribbons of yellow and white shades must be cut into equal squares with sides of 5 cm.
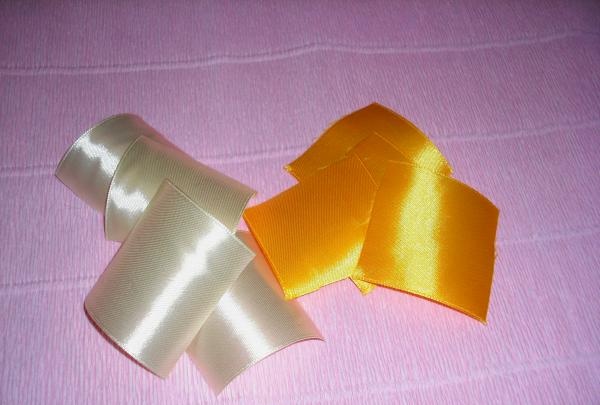
Now the part should be given a triangular shape by folding it in half.

Next, the yellow square needs to be cut in half, creating two rectangles. Now you need to place the long yellow piece on top of the white triangle, positioning it parallel to the fold line of the bottom piece.
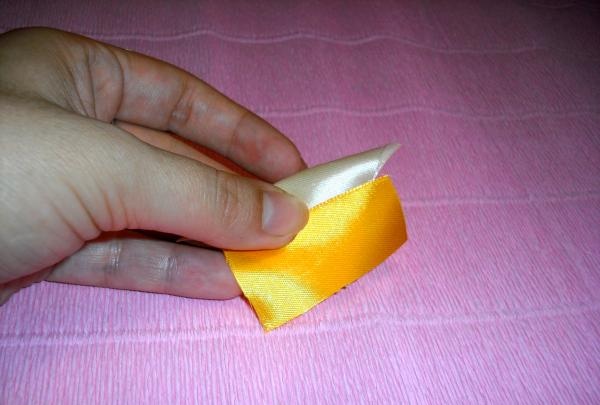
The yellow tape should be approximately 1 cm below the white piece. Holding both parts in this arrangement, they should be folded in half, the edges of the yellow tape will protrude far beyond the white part. As a result, the future petal turned out to be divided into two equal parts.
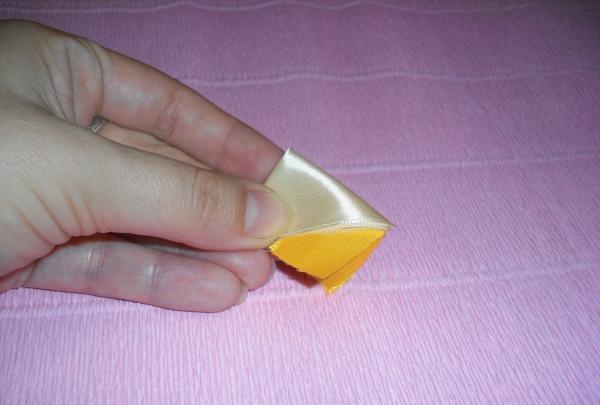
Then you need to carefully fold one side of the petal into small folds.
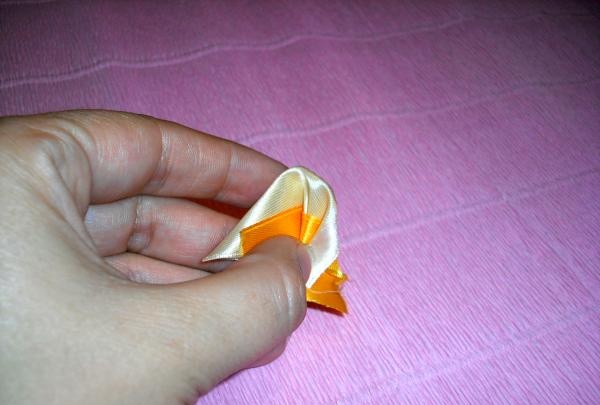
Then repeat creating folds on the second side, making the petal symmetrical.
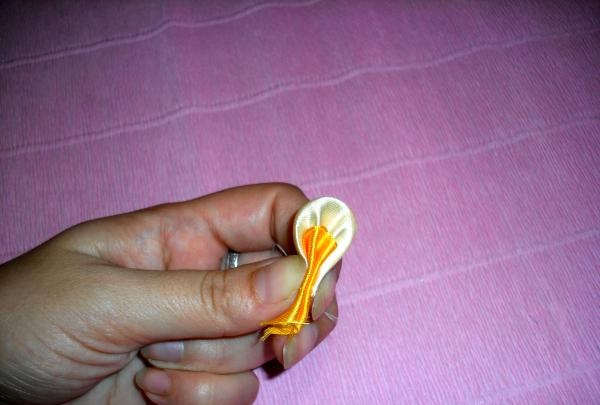
The excess of two shades of tape must be cut off, carefully singeing the sections, carefully soldering the edge of the petal.
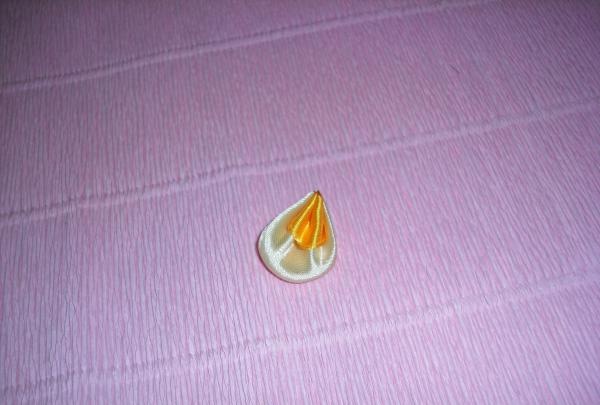
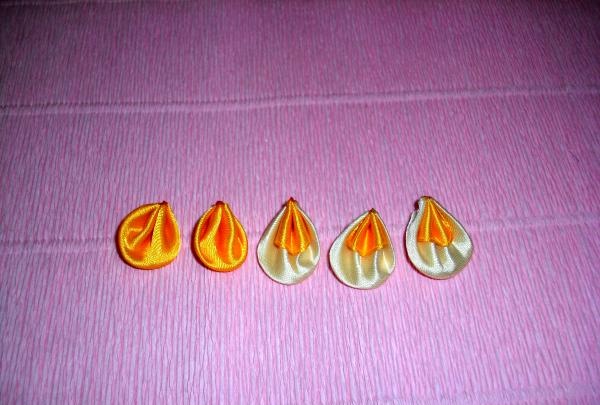
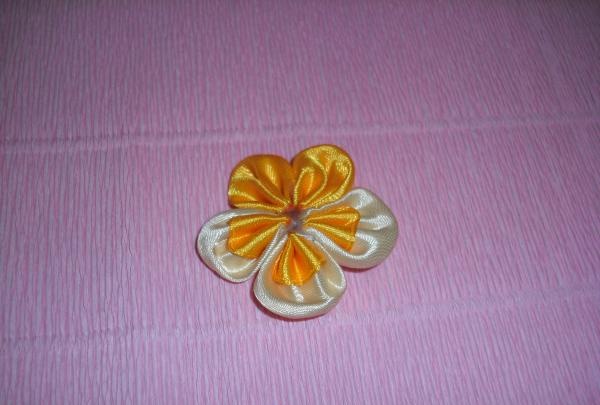
The result is a white petal with a yellow center. You will need two more of these and the same number of plain petals made from yellow ribbon.
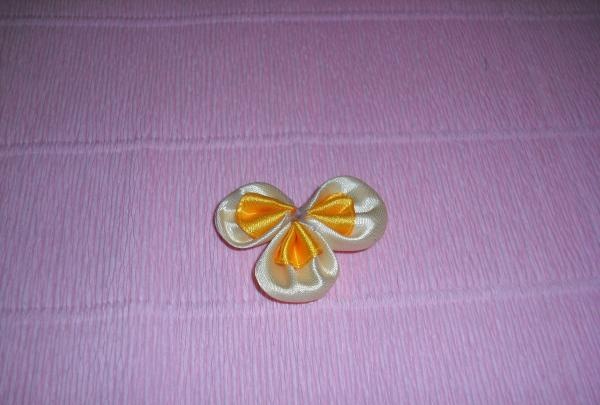
Now you can collect the bud. The three double petals must be hot glued together, aligning their bases.
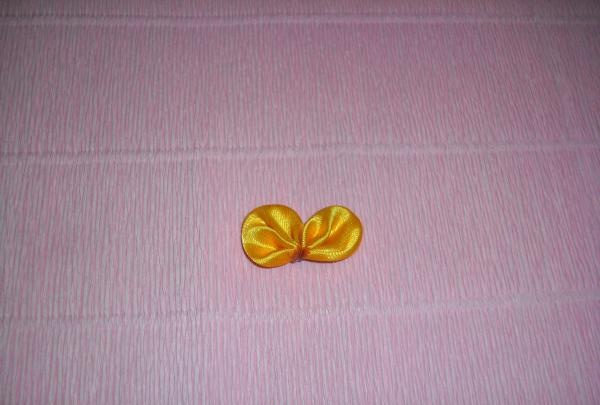
The yellow petals should also be combined together.
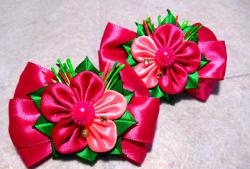
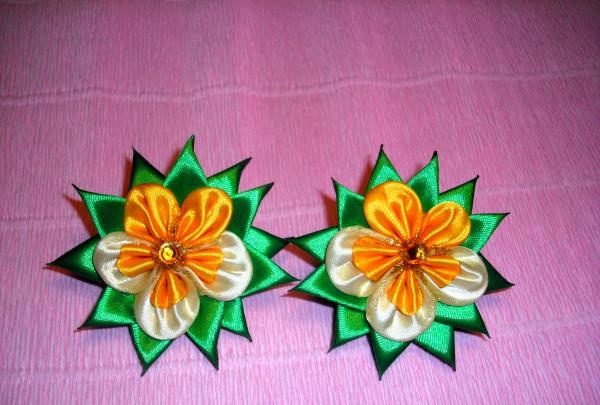
All that remains is to glue all the prepared petals into a flower.
Now you need to prepare 3.5 cm long pieces from a green ribbon 2.5 cm wide. You will need 12 such parts for the flower.
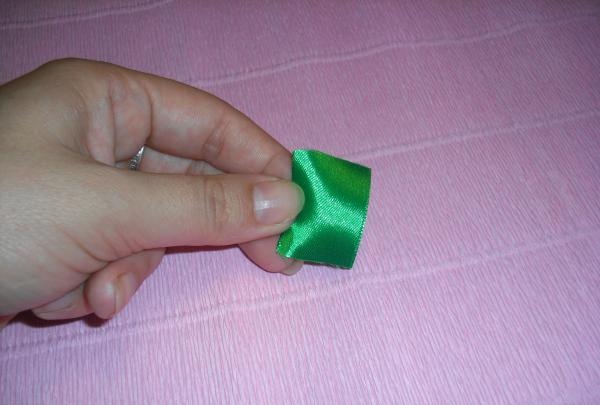
Each piece must be folded along their length.
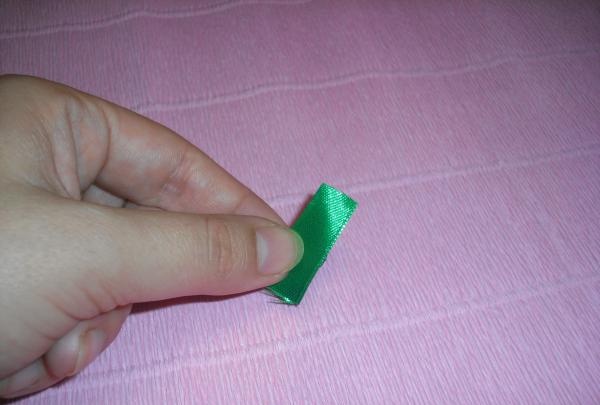
While holding it folded, carefully cut off the top corners, and strongly scorch the resulting sections to secure the two layers of tape together.
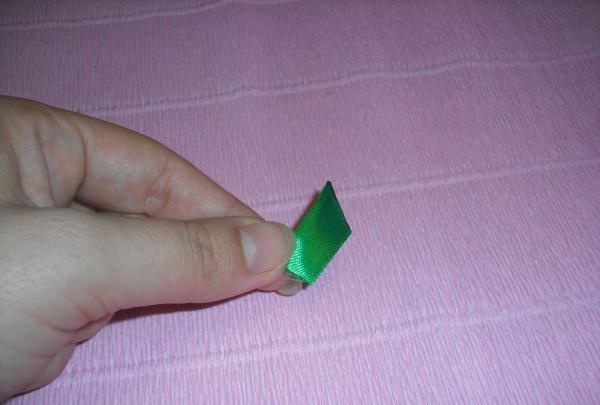
Now, having straightened the parts, the seam line must be turned back, leaving a flat surface on the front side.
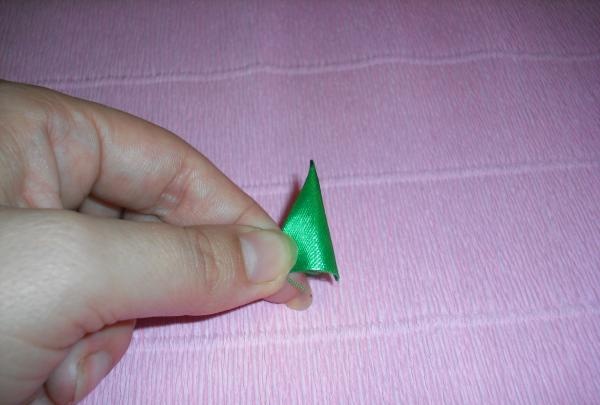
The result is triangular green leaves. Next they need to be glued to the flower. This should be done in two rows, in the first you need to attach 6 leaves, evenly distributing the distance between them.
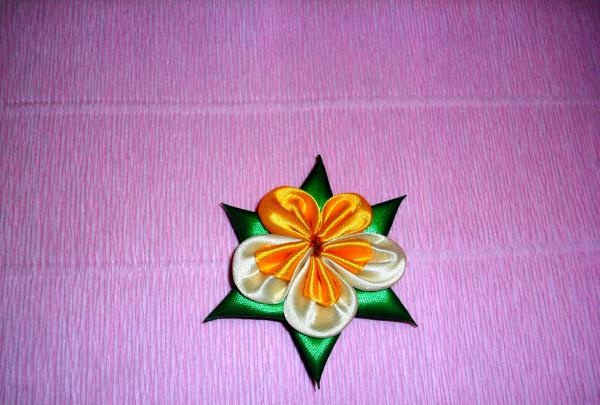
The second row of leaves should be placed between the blanks of the first tier. Then you need to attach an elastic band to the wrong side, attaching it exactly in the center.
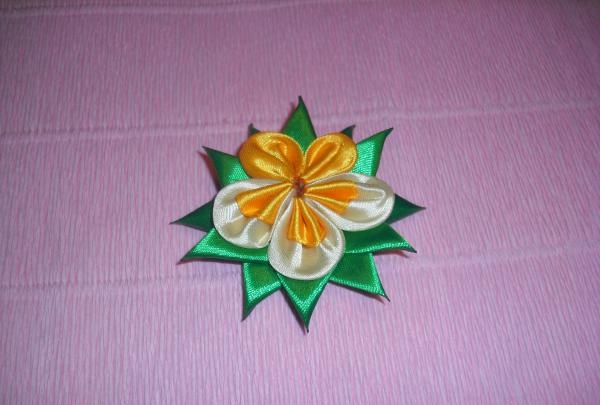
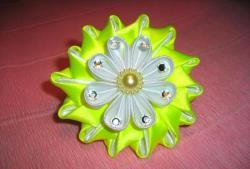
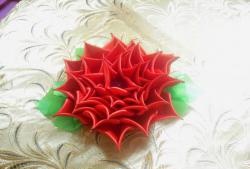
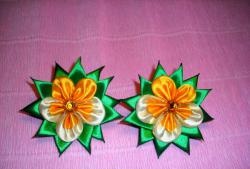
All that remains is to decorate the middle of the flower with yellow rhinestone and golden sparkles.
The “Pansies” hair band is ready!