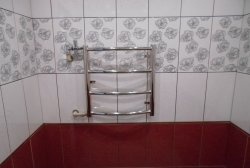
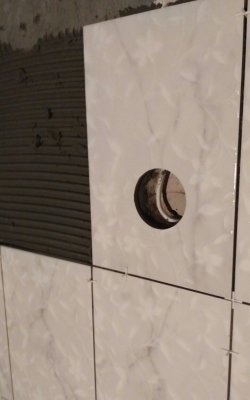
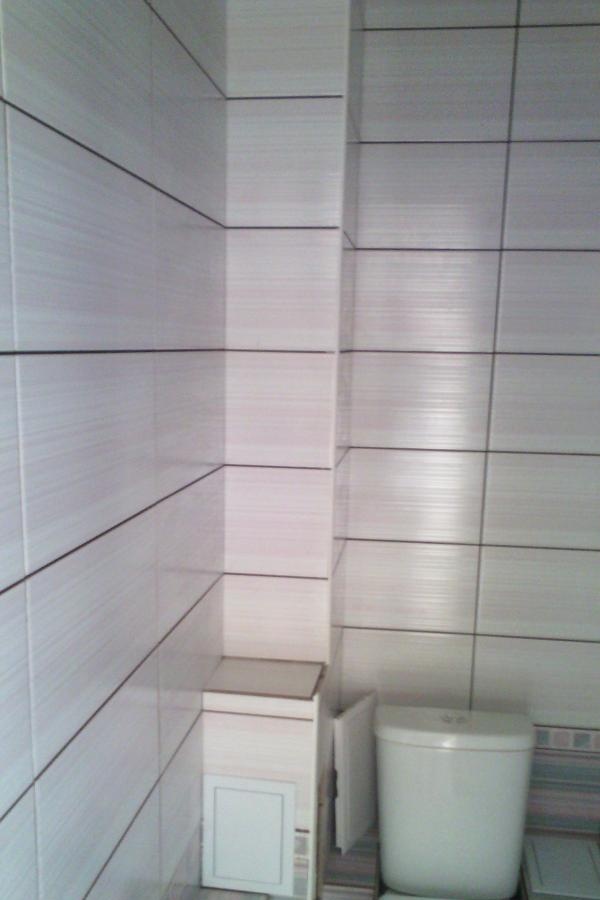
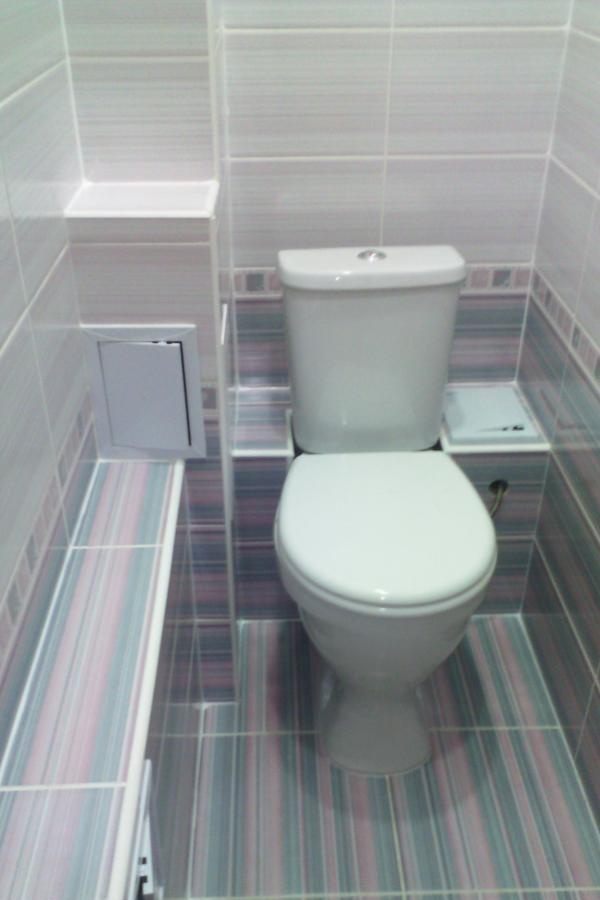
It's time to update the tiles in the bathroom. To do this, you need to prepare the walls and floor for further work. Initially, we dismantle the old tiles, clean the walls of old paint and plaster or putty that has come away from the masonry. Then we prime all laid out surfaces (preferably concrete with contact). We proceed to the installation of frames for boxes that will cover water and sewer pipes. It is very important not to forget to prepare places for inspection hatches in places where meters are installed.
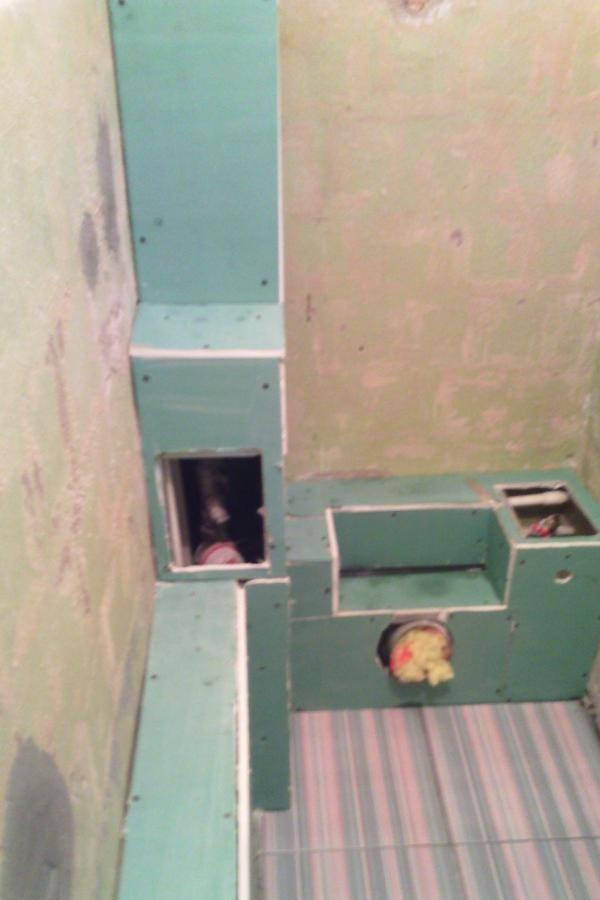
Then we sheathe the frames using gypsum board (preferably moisture-resistant, for obvious reasons). It is enough to treat the gypsum board with deep penetration primer. After the preparatory work is completed, we proceed directly to laying out the tiles.
First of all, we mark the floor and walls. On each wall we draw a vertical line strictly in the middle in order to determine what trim will be obtained in the corner.This will determine how to start laying the tiles: from the line in different directions or, skipping it, in the center of the tile. Using the same scheme, we make markings on the floor.
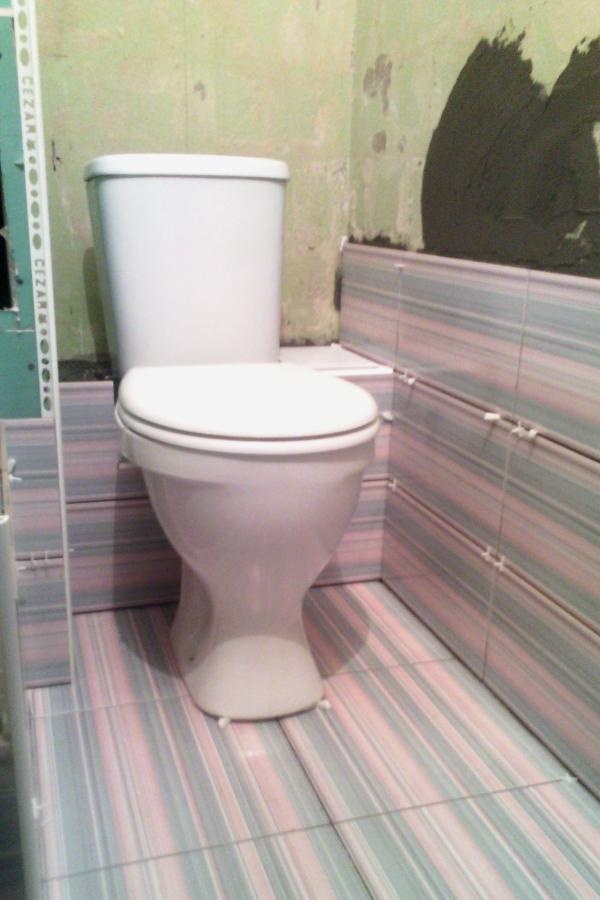
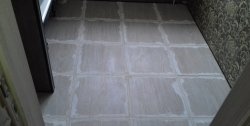
A very important point: when laying floor tiles, the adhesive is applied with a notched trowel to both the base and the tiles. In this case, voids under the tiles are not allowed. The work is done using crosses and wedges, the latter help to level out discrepancies in tile sizes. The floor is laid out in one horizontal plane.
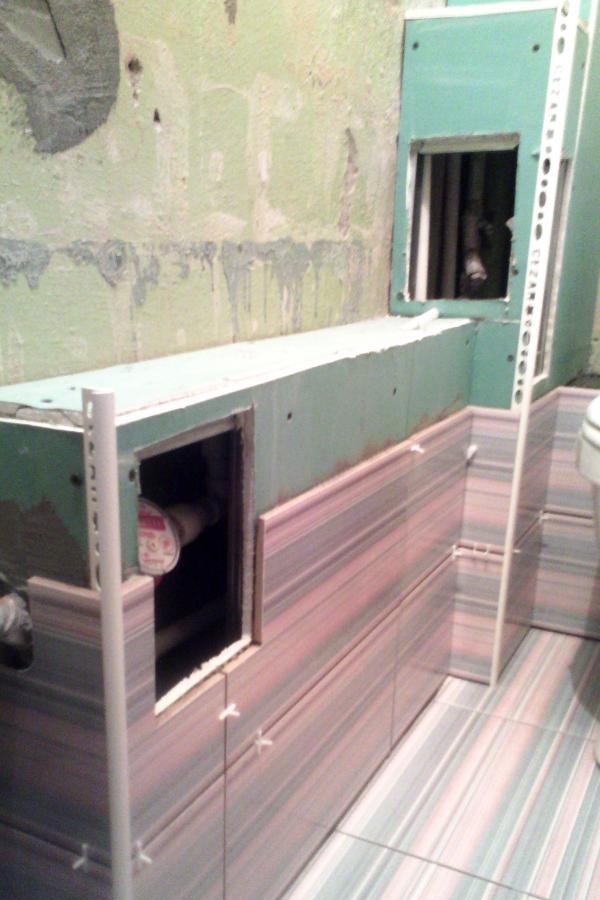
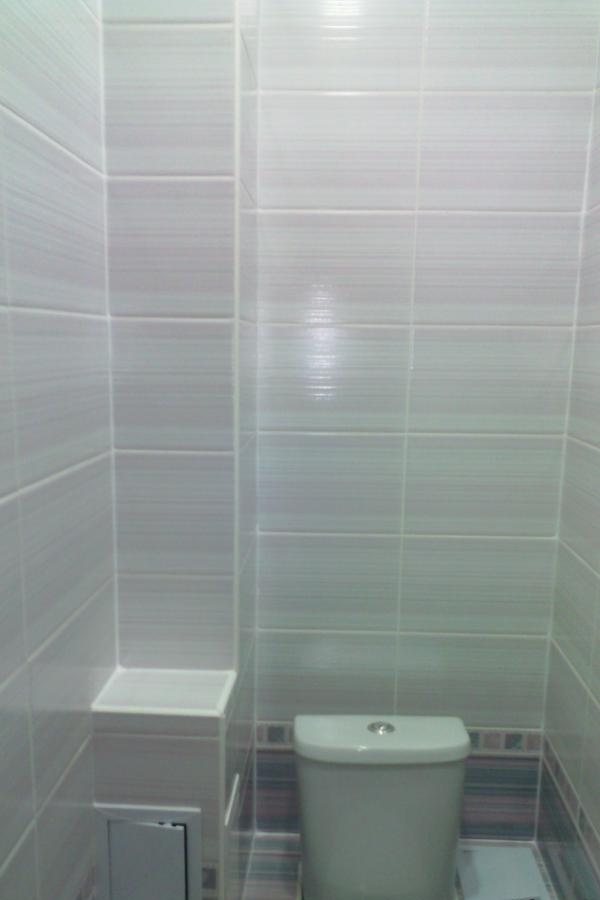
When gluing tiles to walls, it is very important to lay out the first row evenly - this is the key to beautiful and even jointing in the future.
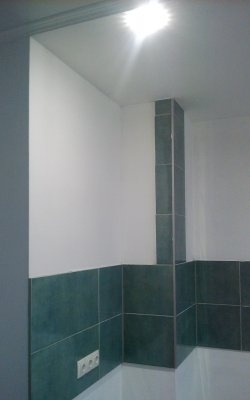
We decorate the outer corners with plastic corners. Voids under the tiles of the top row are also not allowed, because... When installing profiles for the ceiling, you can end up in a void.
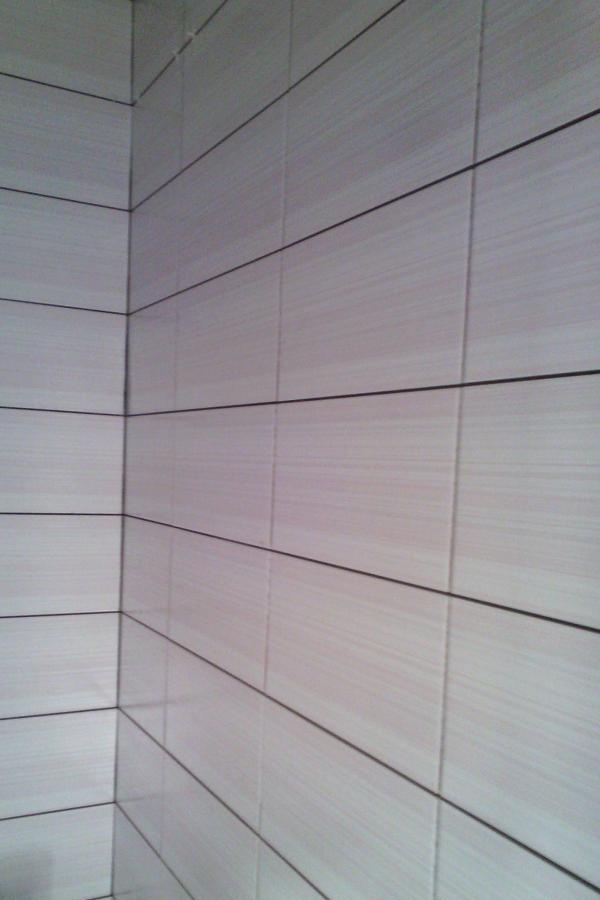
Grouting of joints is carried out the next day after completion of work, so that the glue has time to dry. Otherwise, the tinted grout will not dry evenly and will not be uniform in color.

The preparation of mixtures (glue and grout) is carried out strictly according to the instructions on the packaging. The grout is applied with a rubber spatula, and after 10 minutes it is washed off diagonally with a sponge moistened with water. After 30-40 minutes, the tiles are wiped with a dry soft cloth, and all seams are also rubbed with a cloth to remove uneven spots and holes.
After this mandatory procedure, you get even, smooth, beautiful, and most importantly, sealed seams. The inner corners remain free from the grout mixture; they are sealed the next day with sanitary silicone to match the color of the jointing or any other color of your choice.
By adhering to these simple rules, you will be happy with your new bathroom for a long time.