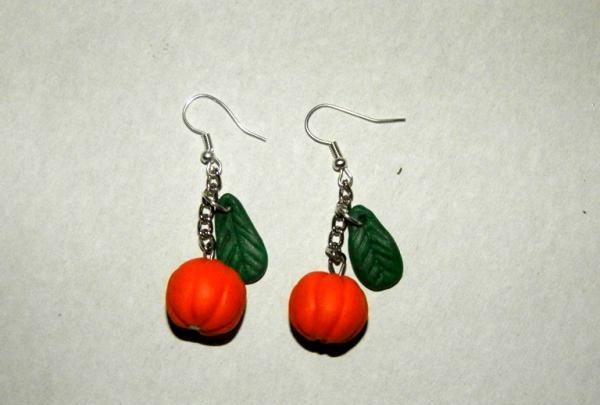
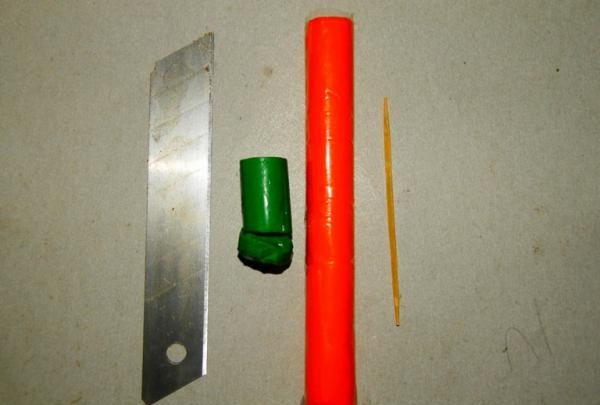
What do we need to make such earrings?
- Polymer clay "Bebik" orange and green.
- Silver chain.
- A pair of earring clasps.
- Studs for jewelry.
- Metal rings.
- Pliers with a narrow nose for jewelry.
- Varnish for polymer clay.
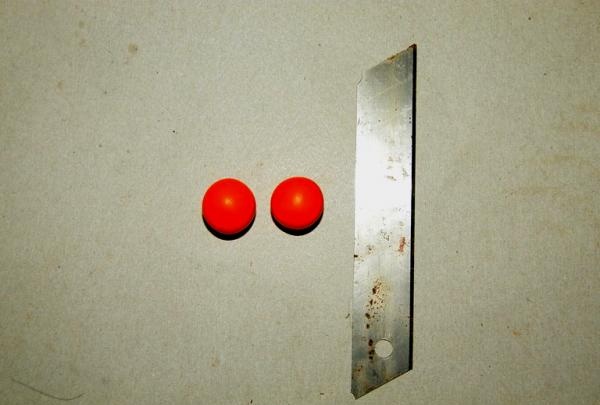
- Sharp long blade for plastics.
- Board for polymer clay.
- Toothpick.
First, we prepare the workplace and place all the necessary tools nearby. Wipe the board and rolling pin. Next, cut off a little less than half a stick of orange polymer clay and knead it well with your hands. When the plastic has become soft enough, put it on the board and roll it into a small sausage. Take a blade and cut the resulting sausage in half.
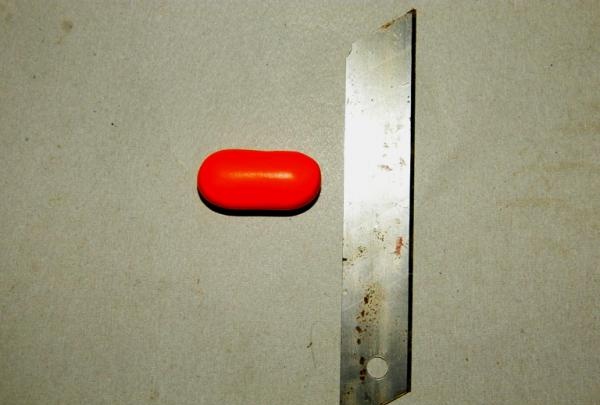
Now roll each piece into a ball. If you see that one ball is a little larger, then cut off a small piece from the large ball and add it to the smaller one. So, we align the two balls.
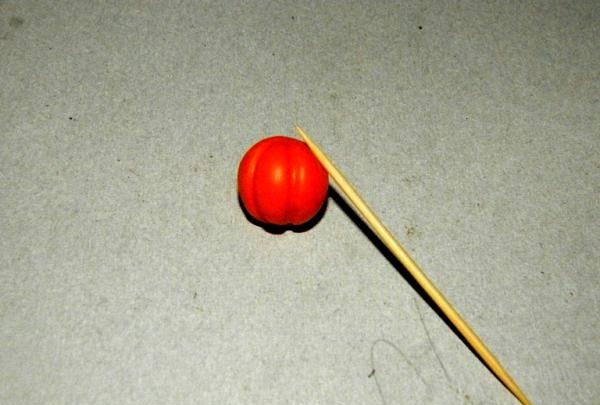
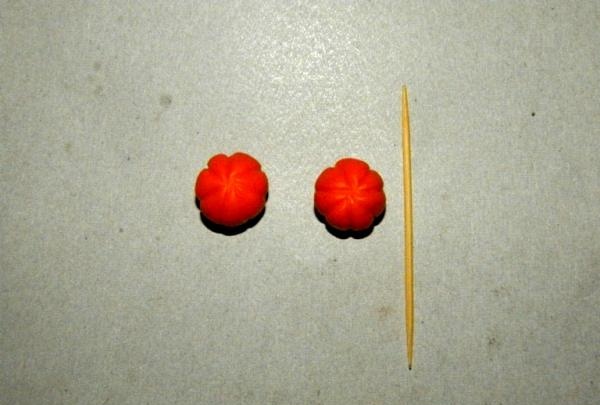
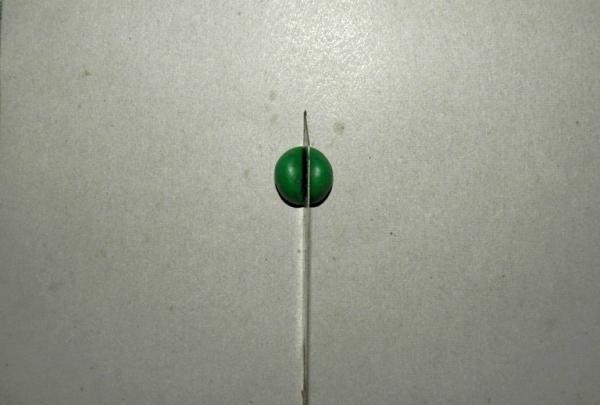
Next, using a toothpick, we make stripes on the ball so that the ball looks more like a future pumpkin. We do the same with another ball.
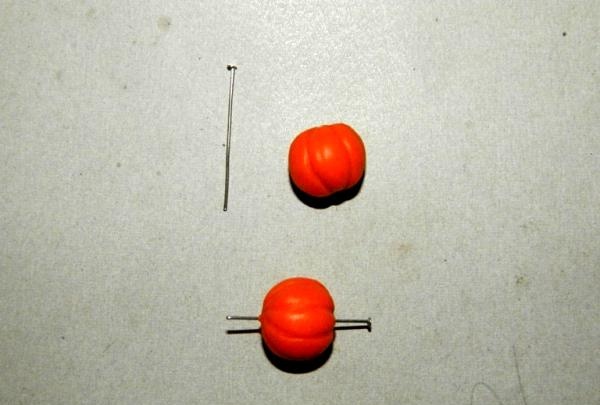
We take two nails for jewelry and pierce the pumpkins in the middle. Now you can put the pumpkins further on the table and start making leaves.
To make leaves, we take green polymer clay, previously softened in our hands. Roll a small ball and place it on a polymer clay board. Then use a blade to cut it in half. From each half we form the shape of a leaf with our hands, then with the back of a blade or knife we make stripes on the leaf.
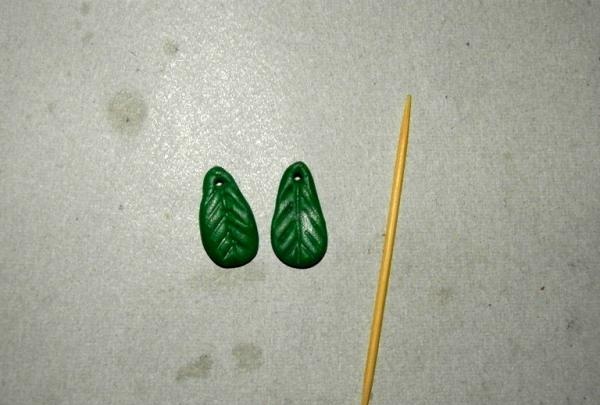
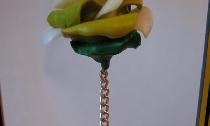
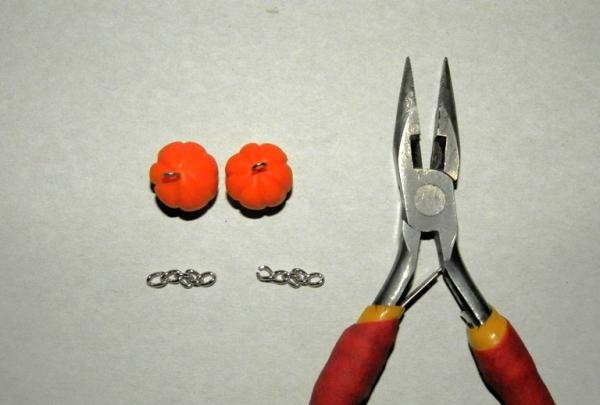
Now use a toothpick to pierce the leaf in its upper part. Place all pumpkin elements on foil and turn on the oven. Bake our pumpkins for about 10-15 minutes. But it's better to take them out of the oven and make sure they are baked. You can touch them lightly; if they are baked, they will not crumble. We paint the baked pumpkins and leaves with polymer clay varnish and wait until it dries. Now we take the chain and, using pliers, separate two parts of five links each. We twist the carnations into rings on the pumpkin and attach each pumpkin to a chain.
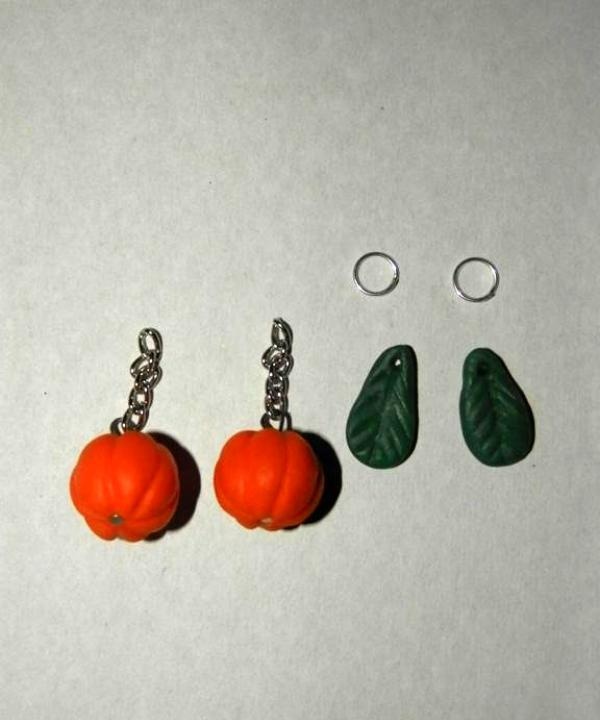
We put a ring on the leaves and attach them to the chain.
Now all that remains is to take the earring clasps and attach them to each chain.
Here are the pumpkin-shaped earrings ready.