Do it yourself
Life hacks, master classes, useful tips, recipes.
home » Present » Gift wrapping » Handmade money box
Do pleasant and unexpected things present It’s always a pleasure for all my friends and family, even for myself. So, as they say, if you do something nice for another person, it will somehow make you feel good and pleasant. It has long been no secret that, in order not to fool our heads for a long time, when we go to a birthday party, we most often give money. It’s not that a person is completely without imagination and can’t think of what to give, but sometimes it’s actually better to give money, because he will need it much more than some other little thing or trinket. And this way a person can collect the required amount and buy something really necessary that one person cannot give. But don’t forget a rather important thing: any gift should be given with a twist and taste. And for this you need to have good imagination and certain skills so that you can always make a beautiful box for money.

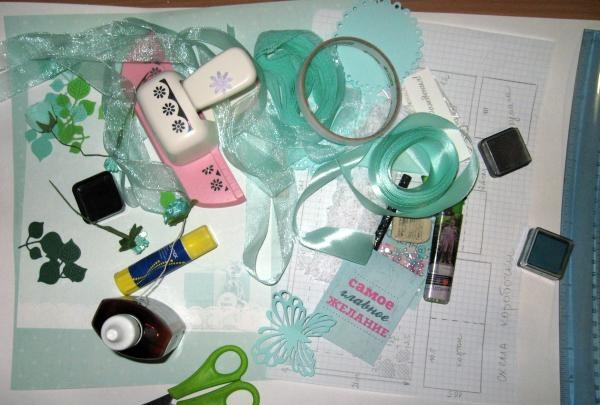
The master class will be useful for this and we will need to take:
• Watercolor paper, A2 format;
• Mint-colored paper sheet size 30*30 cm;
• The picture with the inscription is also mint color;
• Box diagram;
• Two inscriptions stamped “Happy Birthday”;
• Curb hole punch;
• Mint organza ribbon;
• Metal flower pendant and plain metal brads;
• Satin mint ribbon 25 mm wide;
• Semi-pearl mint;
• Ink green pad;
• Rose mint latex;
• Stamens and berries in sugar;
• Green cut out leaves;
• Mint lace and white ribbon with roses;
• Double-sided tape, scissors, ruler, glue stick, simple pencil, hot-melt gun, double-sided tape effect glue.

Handmade money box

Handmade money box

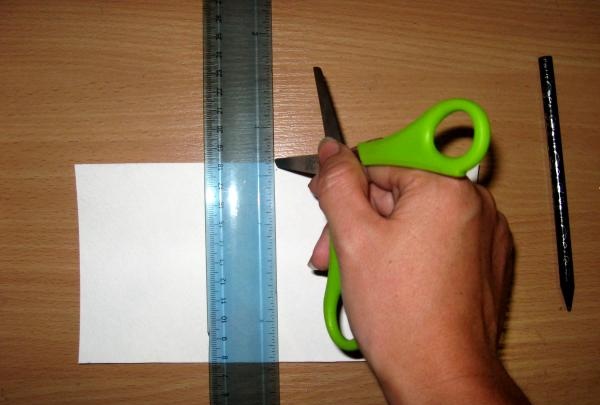
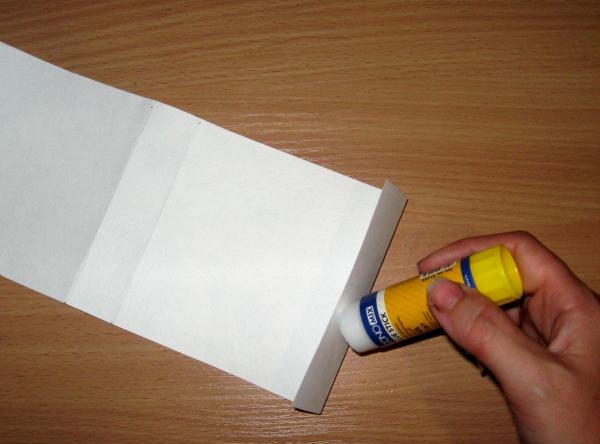
The first thing we start with is cutting out all the blanks from watercolor paper. In the diagram, the blanks are labeled cardboard. We cut out everyone one at a time, except for two 13*13 cm squares.
Handmade money box

Handmade money box

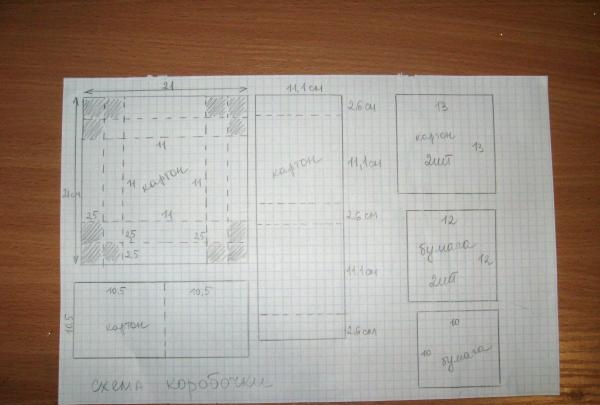
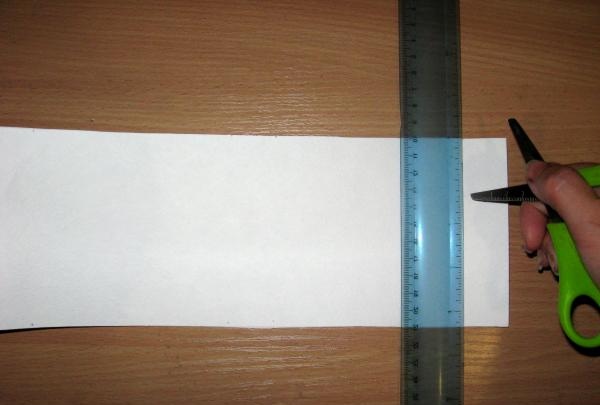
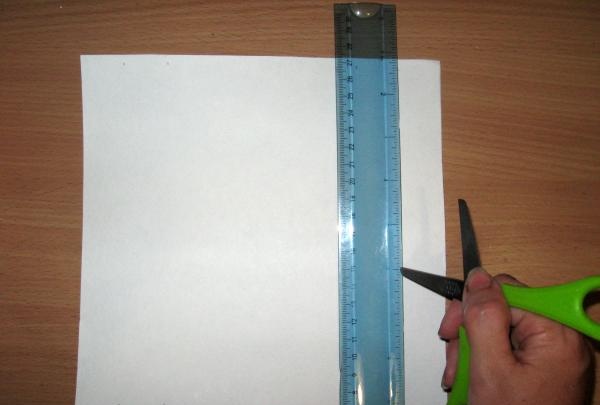
We take the longest workpiece and divide it into parts according to the diagram. We draw bending lines under the ruler.
Handmade money box

Handmade money box

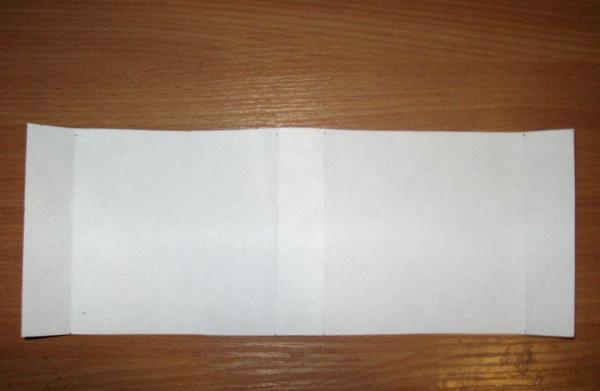
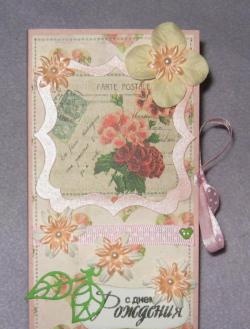
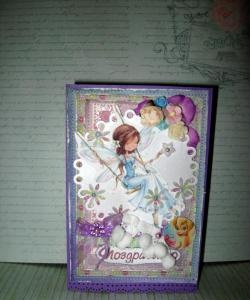
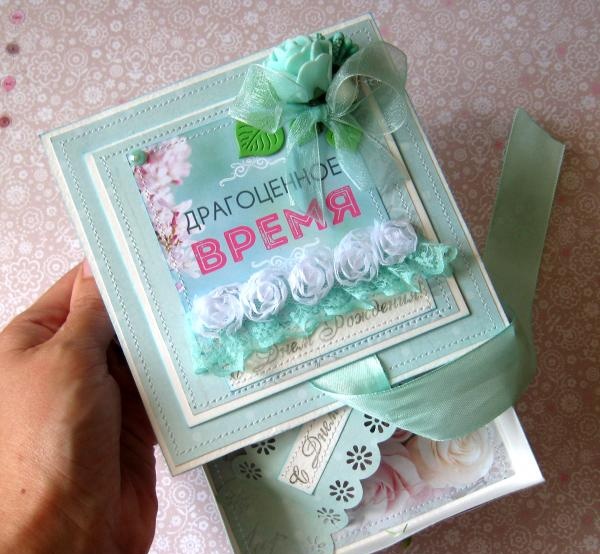
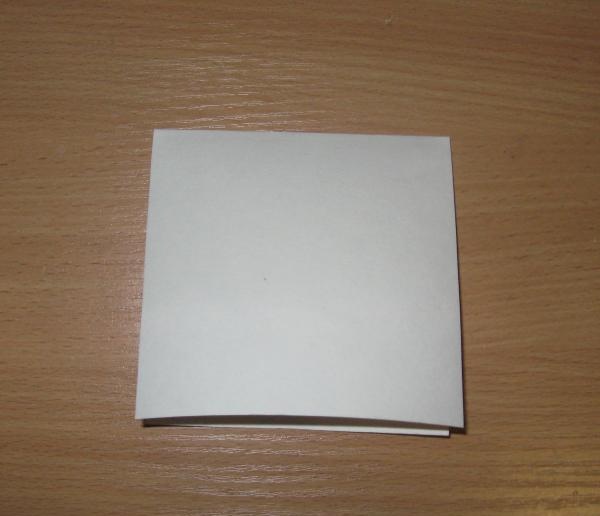
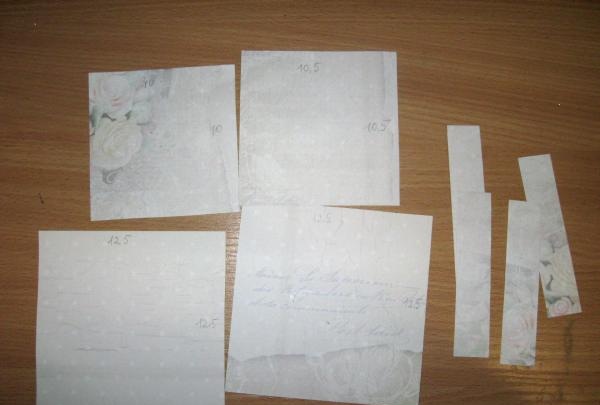
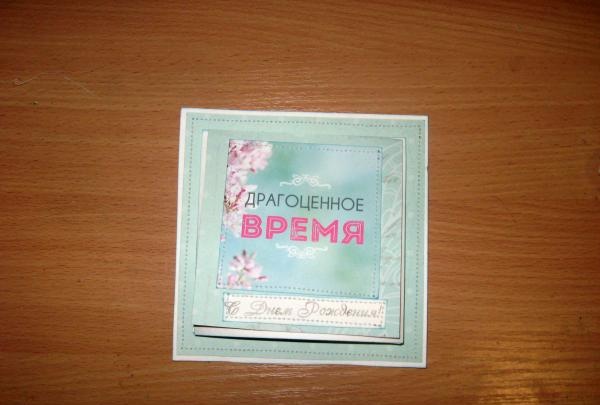
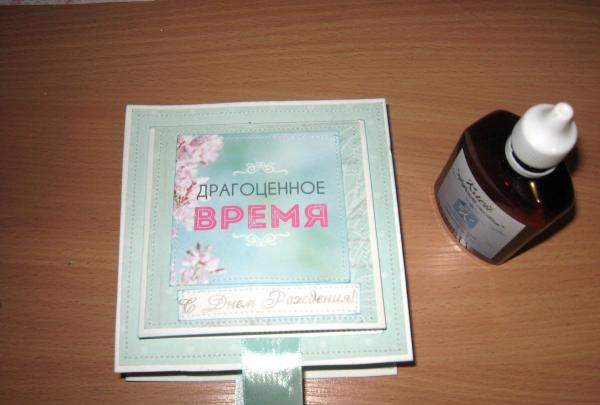
Now we divide the 10.5*21 cm blank in half, fold it and we get the top blank, it will be decorated on top and this will be our postcard.
Handmade money box

Handmade money box

We divide the largest square according to the diagram, cut off the extra corners that are squared off in the diagram.
Handmade money box

Handmade money box

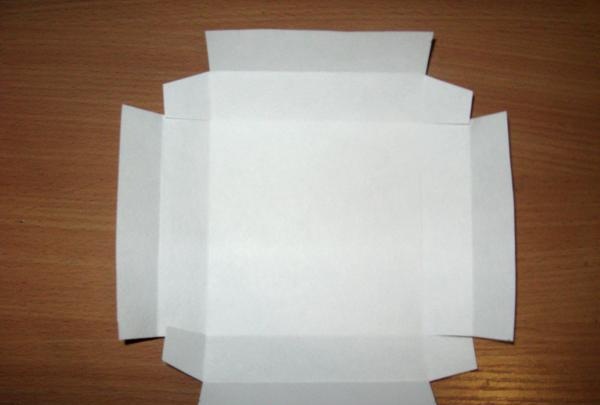
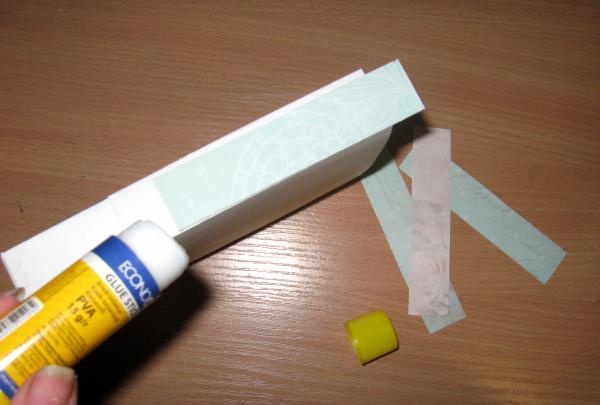
We fold the blank, this will be our drawer in the future. We glue the long piece at one edge.
Handmade money box

Handmade money box

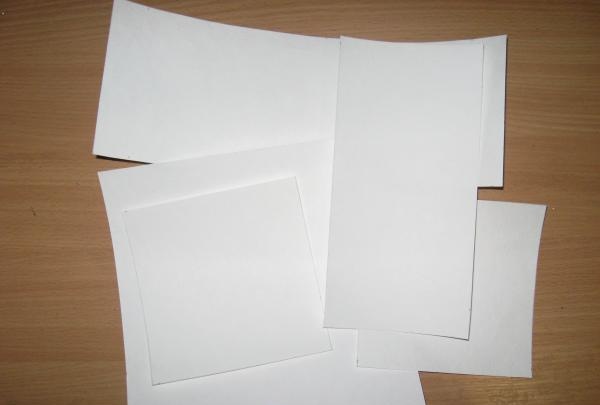
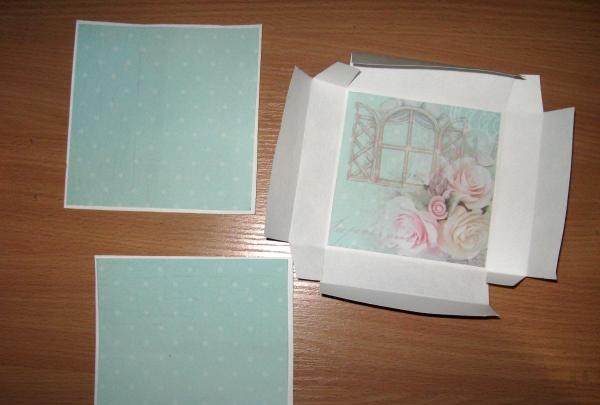
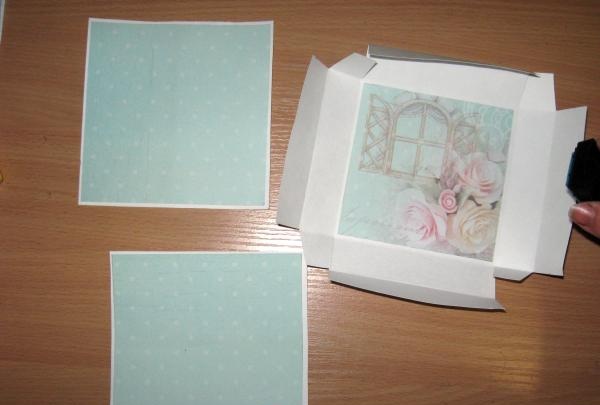
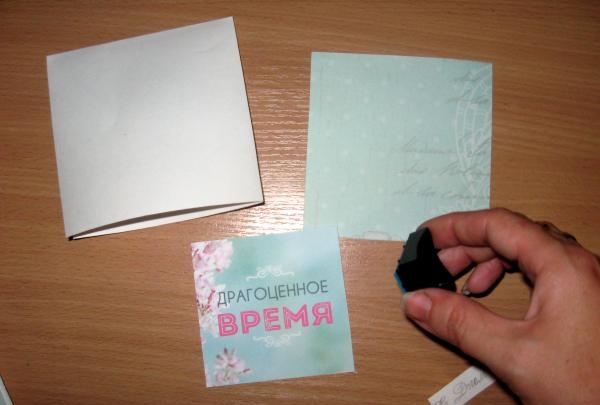
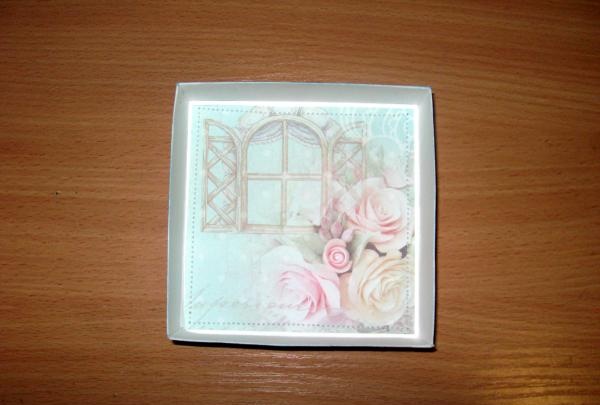
This will be the outer part of our further box. We cut out the following shapes from scrap paper.
Handmade money box

Handmade money box

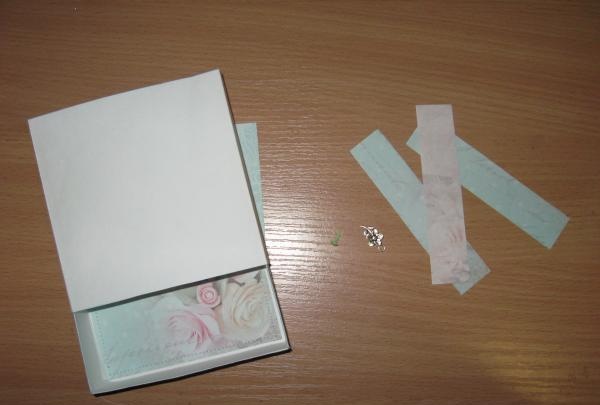
We glue one square to the bottom of the box with double-sided tape, and glue two squares onto simple watercolor squares. For greater solidity, we tint all the watercolor blanks along the edges.
Handmade money box

Handmade money box

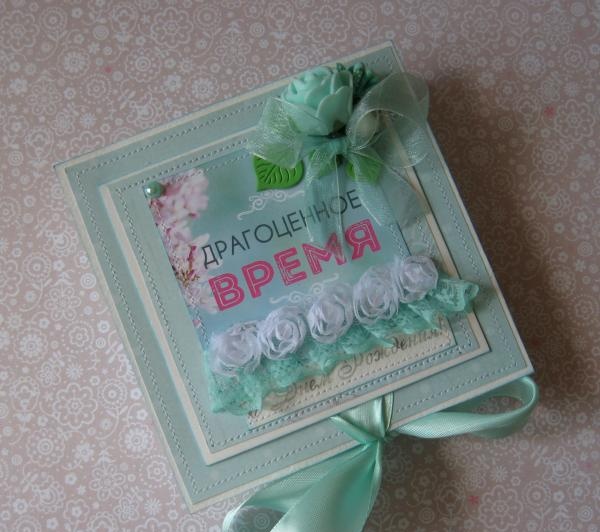
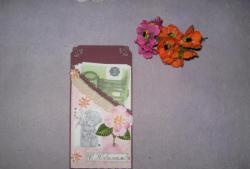
We tint the picture. We make a lace strip under which we will put the money. We cut out two inscriptions, glue one onto the strip, and the second under the picture.
Handmade money box

Handmade money box

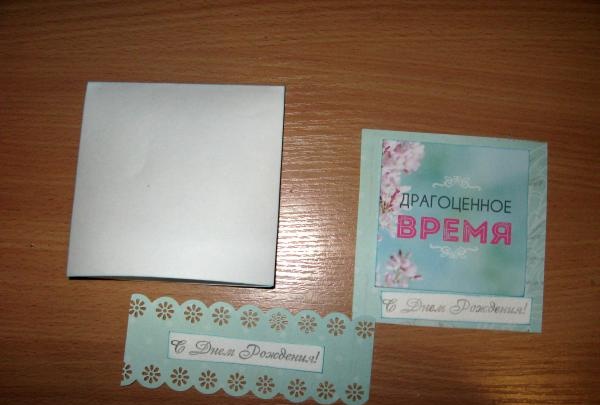
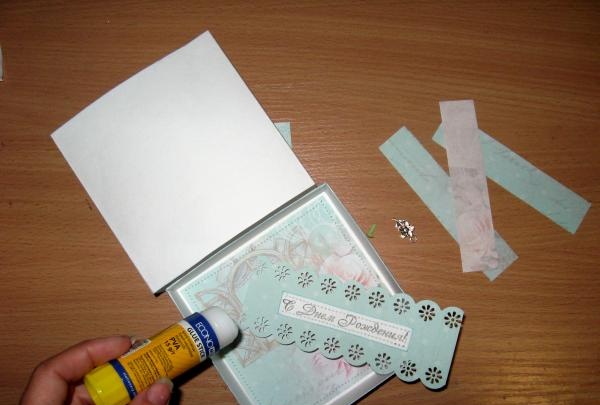
We sew everything glued on the machine. We glue our box at the corners.
Handmade money box

Handmade money box

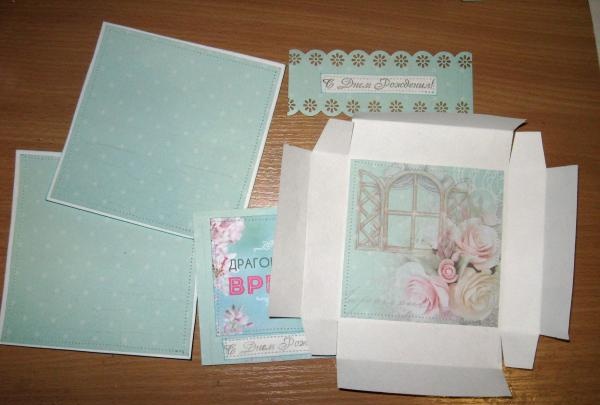
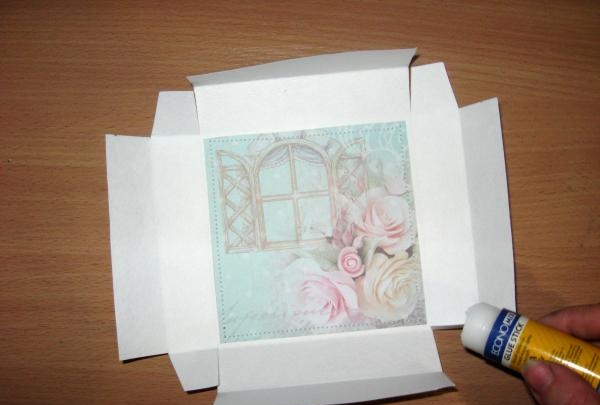
We glue the square with the picture onto the postcard blank and sew it on the outside, then from the inside we sew it onto a 13*13 cm square.We cut out two strips of satin ribbon, glue them onto large squares on top and bottom with tape.
Handmade money box

Handmade money box

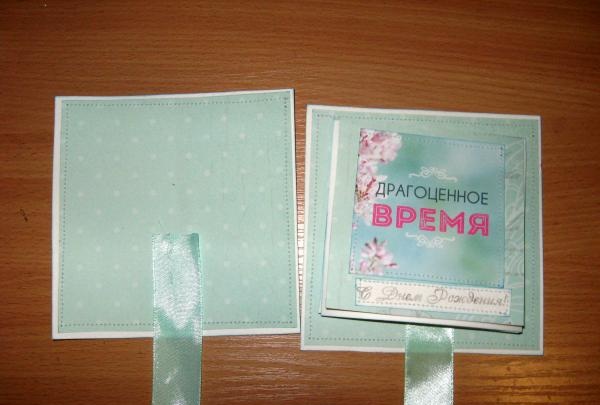
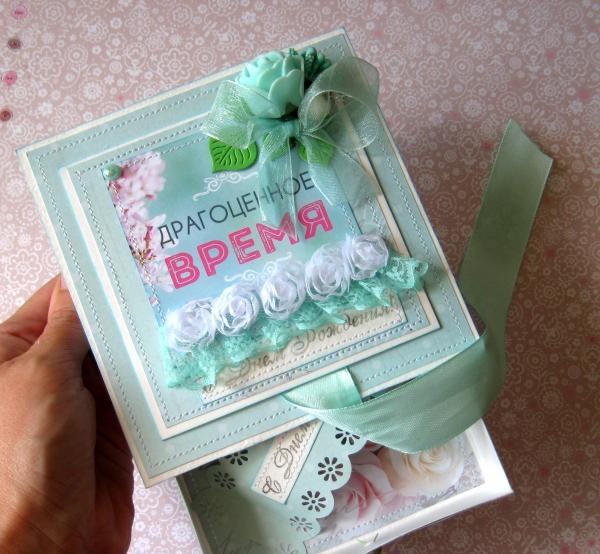
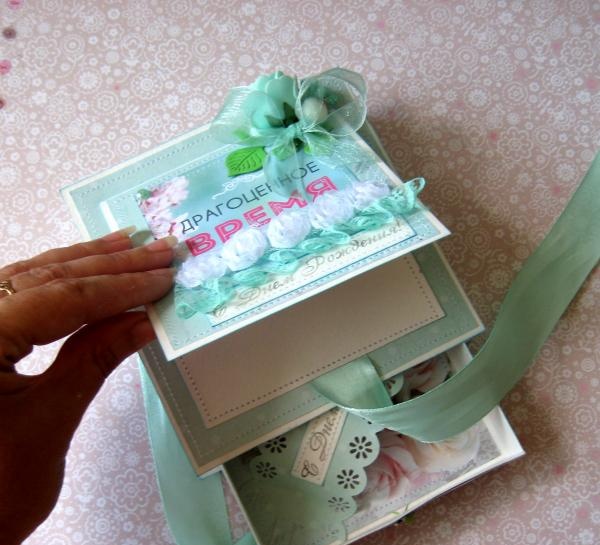
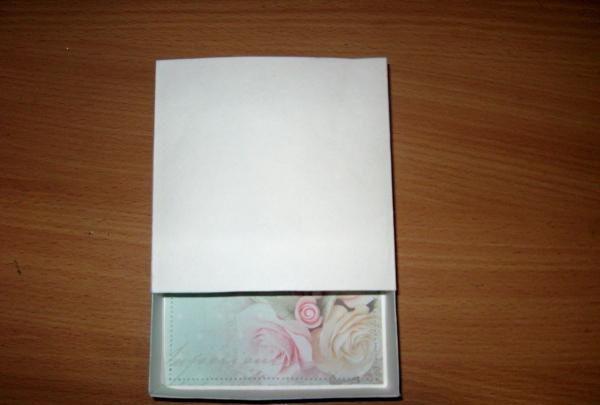
We close the drawer.
Handmade money box

Handmade money box

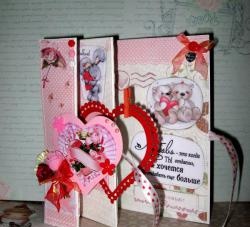
We glue the sides of the box and insert a flower on the brads in front. This will be the handle with which the drawer will be pulled out.
Handmade money box

Handmade money box

We glue a strip inside the box.
Handmade money box

Handmade money box

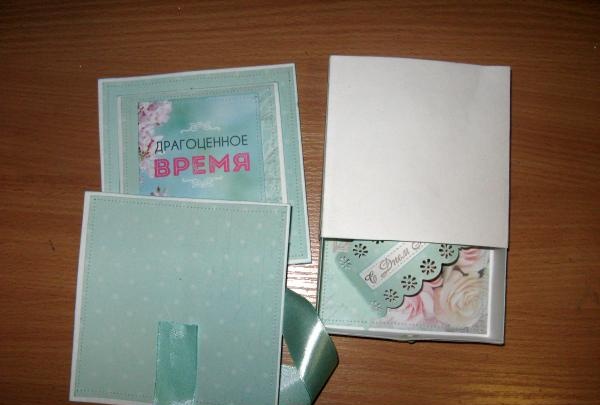
Now we glue our box between the squares, so to speak, like a sandwich.
Handmade money box

Handmade money box

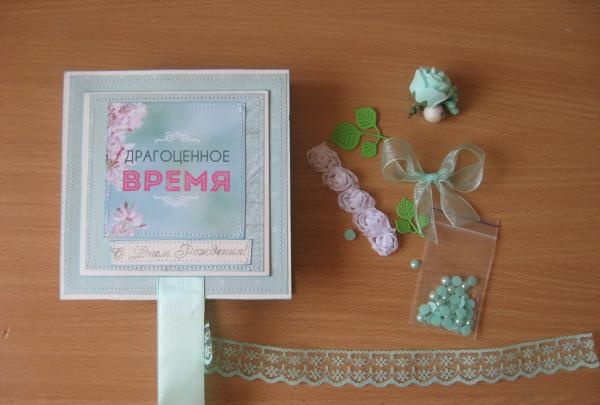
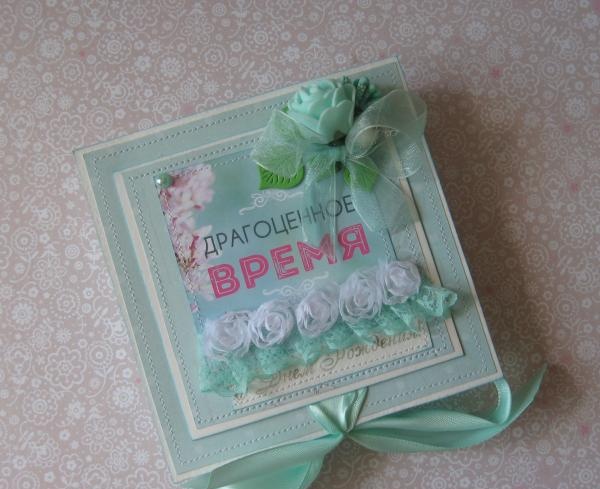
Now glue on the decorations and you're done!
Handmade money box

Handmade money box

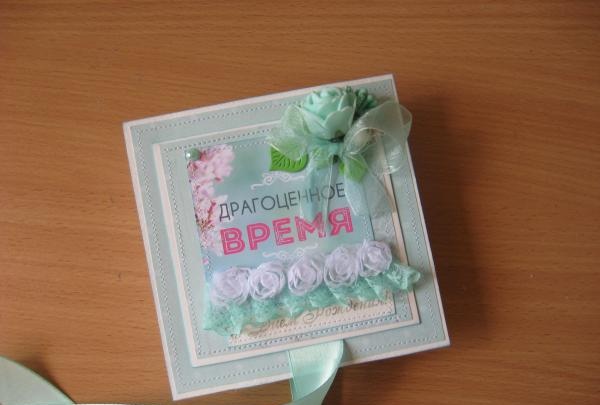
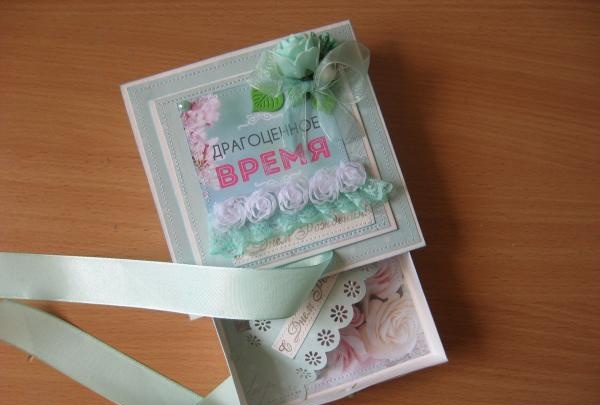
We get such an interesting box for money! Thank you for your attention and see you again!
Handmade money box

Handmade money box

Handmade money box

Handmade money box
come back
Comment
  • bowtiesmilelaughingblushsmileyrelaxed relaxedsmirk
    heart_eyeskissing_heartkissing_closed_eyesflushedrelievedsatisfiedgrin
    winkstuck_out_tongue_winking_eyestuck_out_tongue_closed_eyesgrinningkissingstuck_out_tonguesleeping
    worriedfrowninganguishedopen_mouthgrimacingconfusedhushed
    expressionlessunamusedsweat_smilesweatdisappointed_relievedwearypassive
    disappointedconfoundedfearfulcold_sweatperseverecrysob
    joyastonishedscreamtired_faceangryragetriumph
    sleepyyummasksunglassesdizzy_faceimpsmiling_imp
    neutral_faceno_mouthinnocent
3+three=
Comments (0)

Panama hat for girls | Do it yourself

Unattractive notepad | Do it yourself

How to unfasten a plastic zip tie with bare hands

Do it yourself - crafts and master classes | Page 47

«Do it yourself - with your own hands» - a site of interesting homemade products made from scrap materials and items at home. Step-by-step master classes with photos and descriptions, technologies, life hacks - everything a real master or just a craftsman needs for needlework. Crafts of any complexity, a large selection of directions and ideas for creativity.

We recommend reading

Washing machine error codes