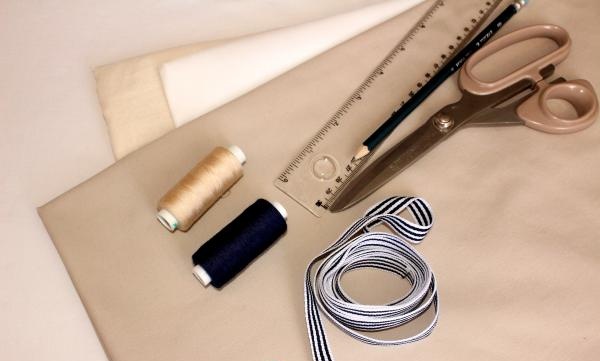
To sew a Panama hat, it is better to choose dense natural fabric. You can even use old jeans. Thin cotton fabric is suitable for lining. You will need 0.3 m of main fabric and 0.2 m of lining fabric with a width of at least 1.4 m. You will also need thin plastic dublerin or non-woven fabric, threads in color, scissors, a ruler, a pencil and grosgrain braid for decoration.
We sew a Panama hat:
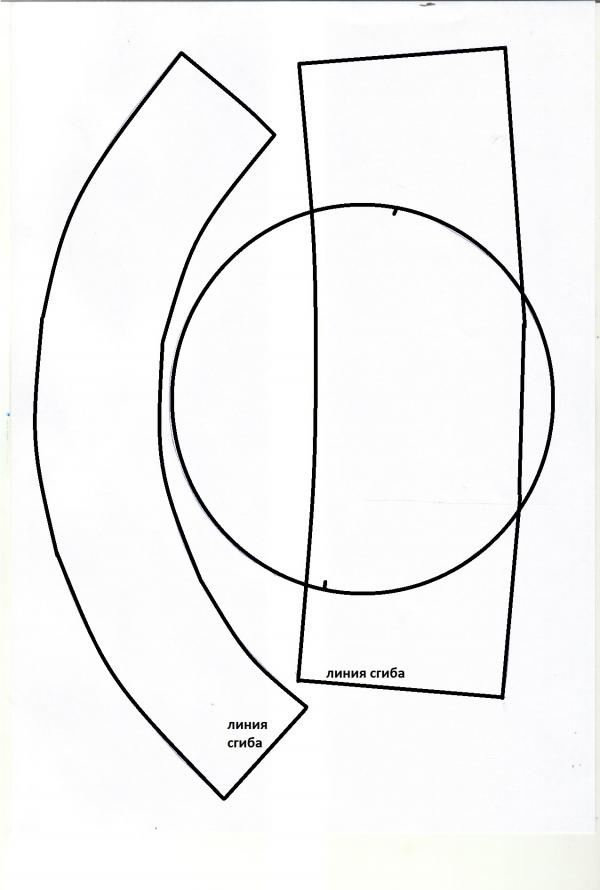
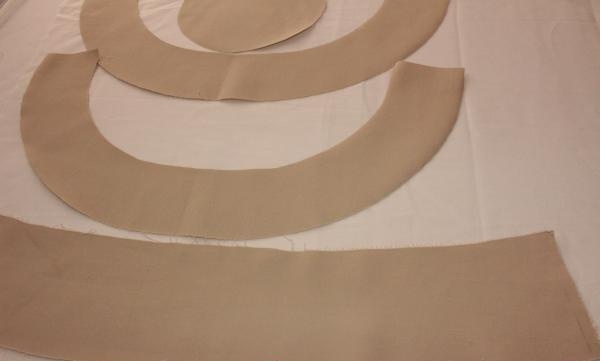
1. Setting the margins to 0, print and cut out the details of the pattern: the top (bottom) and bottom of the crown, the margins. The pattern is suitable for children 1-2 years old, head volume 46-48 cm.

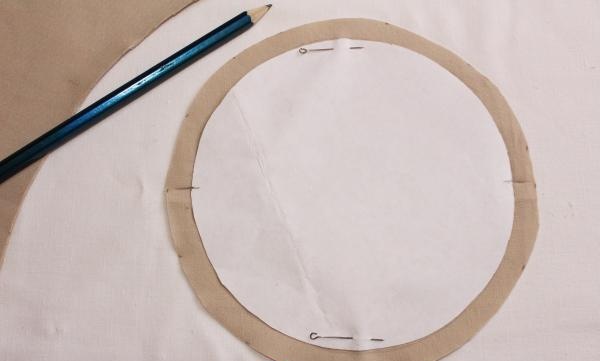
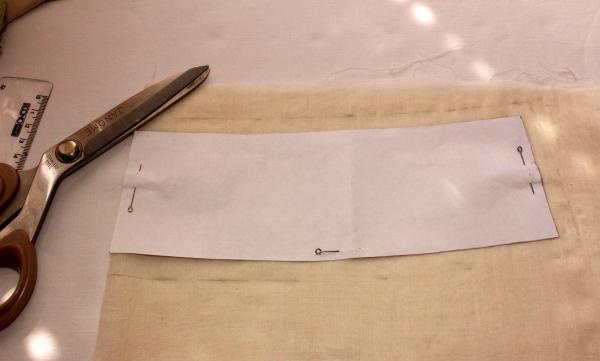
2. From the main fabric, cut out the upper part of the crown 1 piece, the lower part of the crown 1 piece with a fold, the brim 2 pieces with a fold. Only the crown parts are cut out from the lining. The fold must be along the grain thread. All seam allowances are 1 cm.
3. Reinforce all parts made of the main fabric with doublerin or non-woven fabric. You need to iron with an iron without steam in the “cotton” mode through a thin fabric.
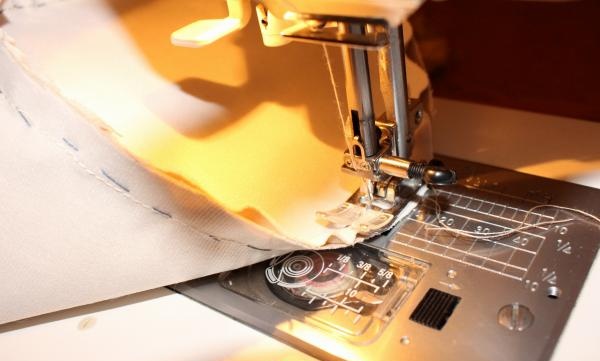
4. Sew the brim and lower part of the crown into a ring.Smooth out seams.


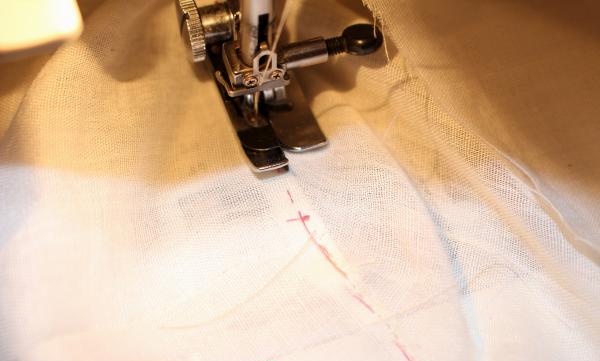
5. Sew the top of the crown to the bottom. To get a neat seam, the parts must first be basted and stitched from the bottom side.
6. Baste and then sew the edges together along the outer edge, right sides facing in.
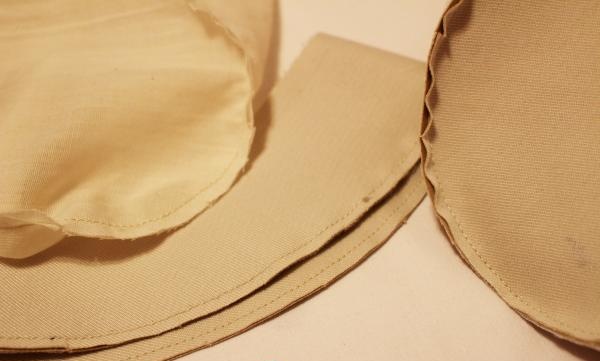
7. Cut seam allowances to 0.5 cm, carefully turn out the crown and brim.
8. Turn the allowances along the stitching line of the bottom of the panama hat onto the lower part of the crown and sew on the front side, departing 2 mm from the seam. Secure the cuts to the lining in the same way.
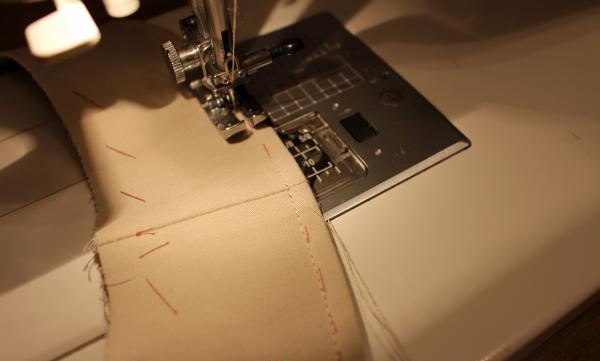
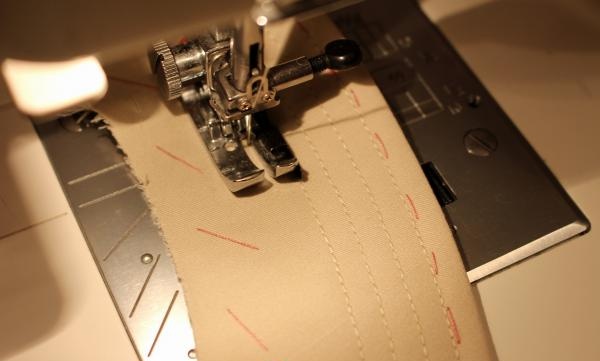
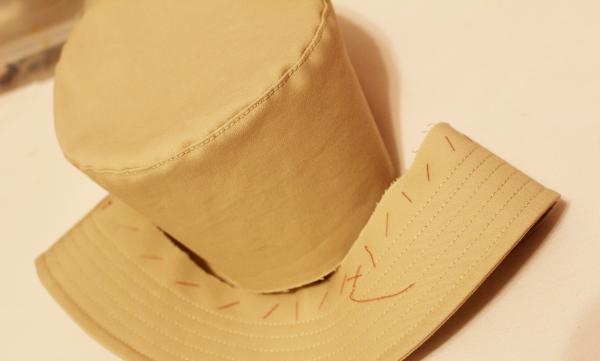
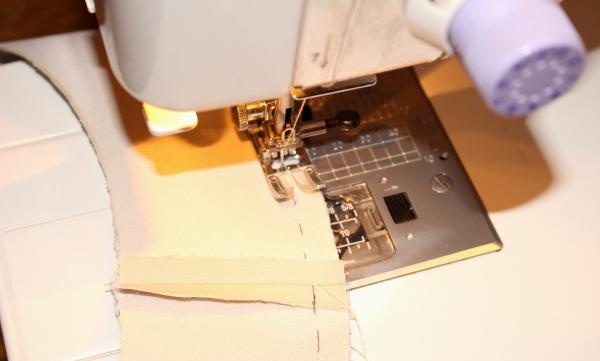
9. The margins are tightly swept and stitched. Place the first line at a distance of 0.6 cm from the edge, then make another 5 lines parallel to it with an interval of 0.6 cm. Steam the margins well.
10. Connect the brim and crown, making a seam at a distance of 0.8 cm from the outer line on the brim. Cut the allowances to 0.7 cm, turn them to the side of the crown.
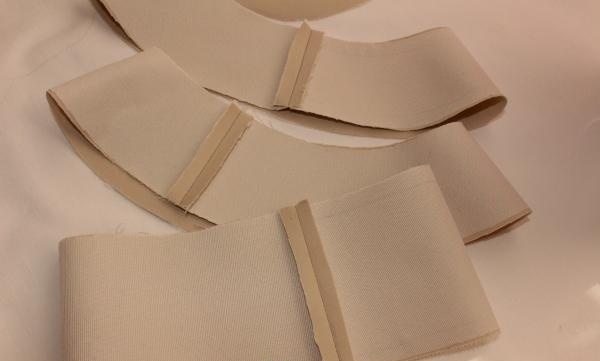
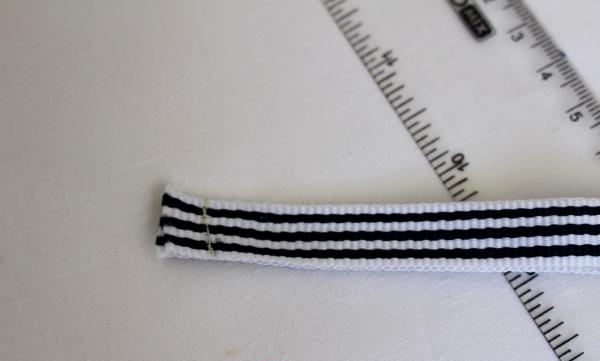
11. Sew a 49 cm piece of grosgrain ribbon into a ring. At the same time, lay the seam slightly obliquely so that you can tightly sew the ribbon to the Panama hat.
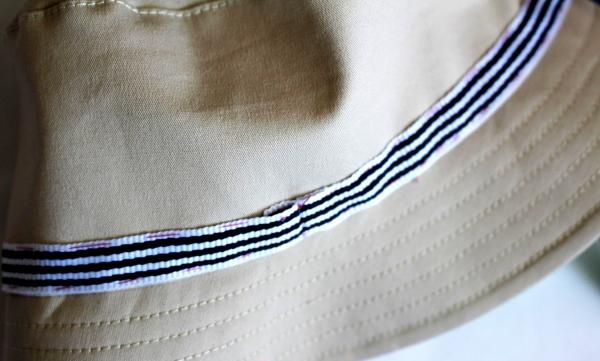
12. Stepping back 1 mm from the brim stitching seam, sew the ribbon to the crown using two lines at the top and bottom.
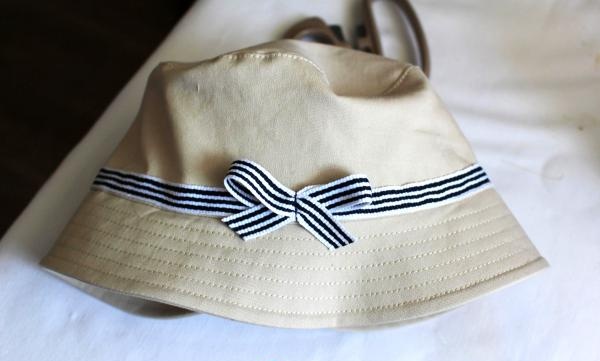
13. From the remaining piece of grosgrain ribbon, fold a bow and stitch it to the Panama hat, covering the seam on the ribbon with it.
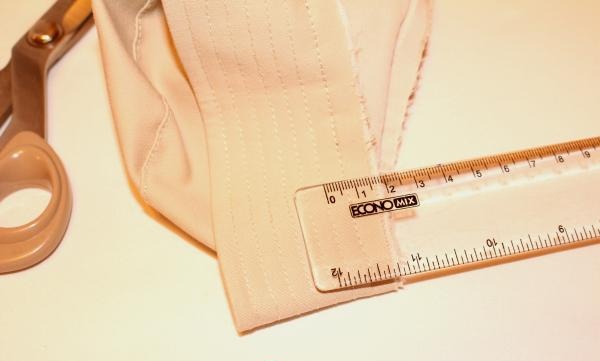
14. Turn the open 1 cm wide sections of the lining to the wrong side and iron them.
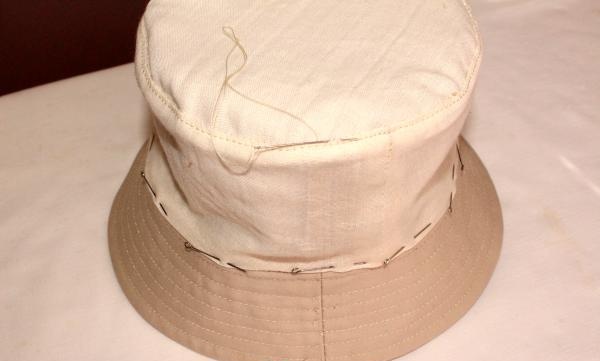
15. Turn the Panama hat inside out and put the lining on the crown, aligning all the stitching seams.
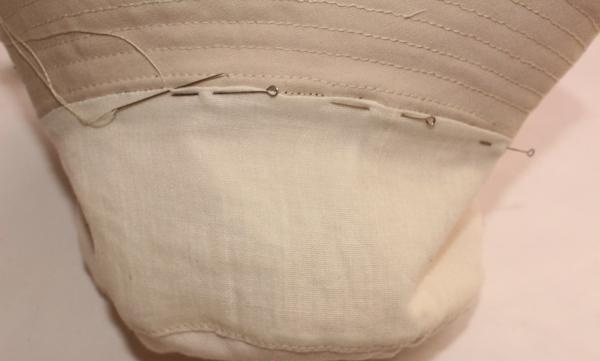
16. Pin the lining to the Panama hat and sew it by hand using a blind stitch. In the same way, sew the lining along the bottom stitching line.

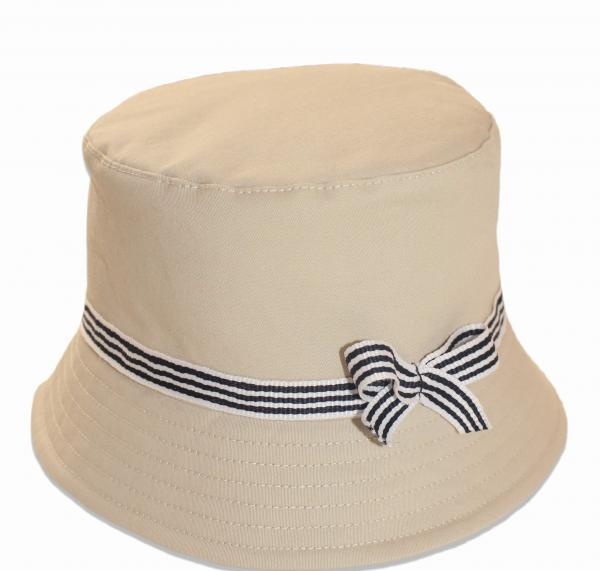
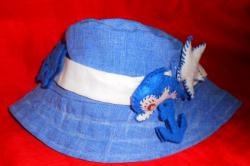
Reliable and beautiful sun protection for the little lady is ready!