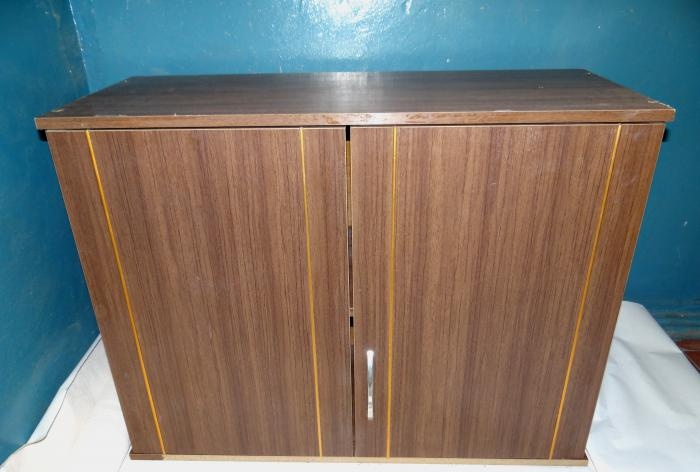
This is how charming verandas and rooms are born, uniquely decorated in their own style. This article is addressed to those housewives and owners who know how and love to make cute little things with their hands. Let's talk about decoupage of an old cabinet (for books? for dishes? for shoes?).
To work you will need:
In order to complete decoupage and decorating an old cabinet into a beautiful piece of furniture, you will need:
1. Wardrobe;
2. White paint – 1 can (1.2 kg);
3. Watercolor paint (red);
4. Wide brush, roller;
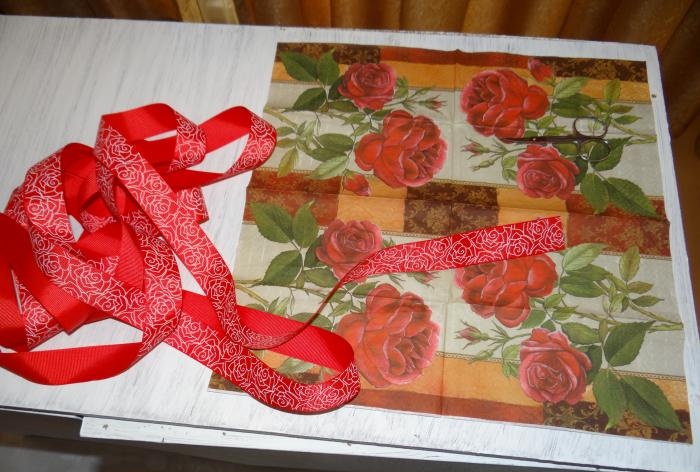
5. Decorative braid 3-4 meters;
6. Transparent wallpaper glue or decoupage glue;
7. Scissors small and large;
8. Lighter;
9. Phillips screwdriver;
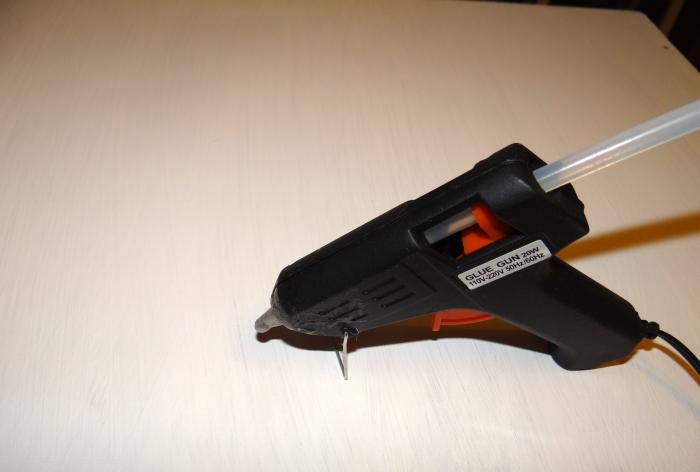
10. Glue gun with one rod;
11. Napkin with decorative elements (rose flowers in this case).
Preparing the surface for decoupage
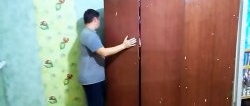
First, inspect the outside of the cabinet for any problems. If necessary, tighten the hinges and make minor repairs.
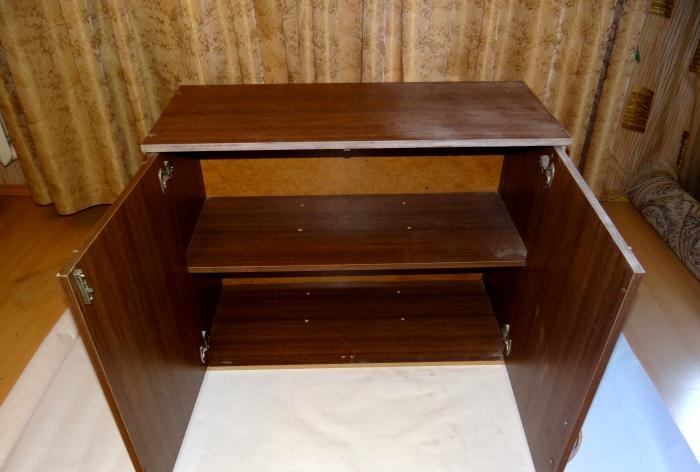
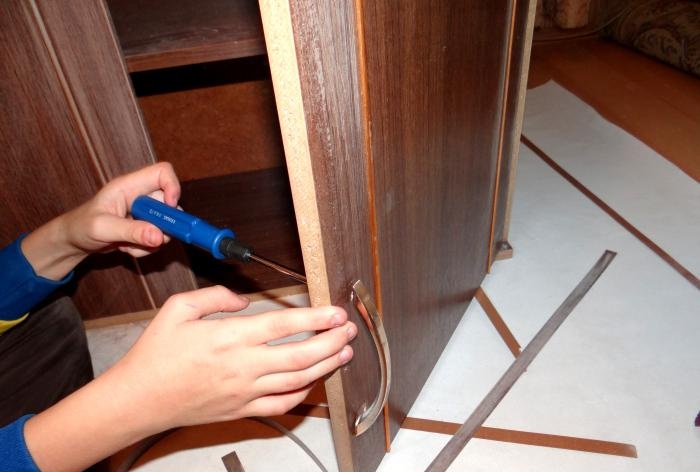
Use a suitable screwdriver to remove handles and fittings from the furniture. For ease of operation, the doors can also be removed.
The first step in any furniture remodel is always sanding. This is usually a long, difficult process. You can connect a sander, but if you don’t have one, sandpaper No. 60 and No. 40 will help you. Sand the cabinet on all sides, not forgetting the ends. If furniture veneer comes off easily from the ends, remove it by carefully picking it up with a knife.

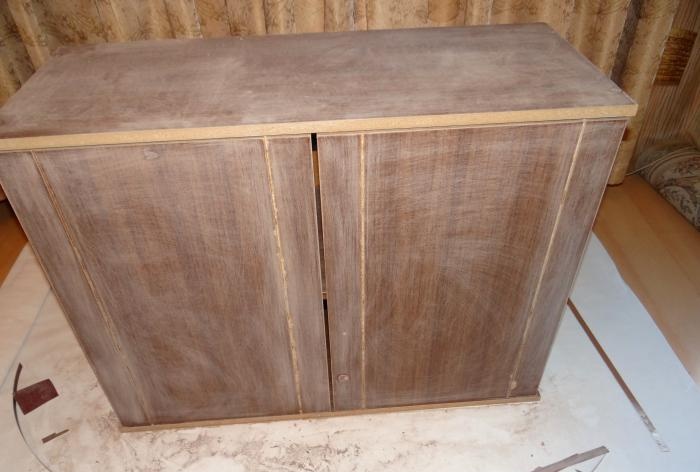
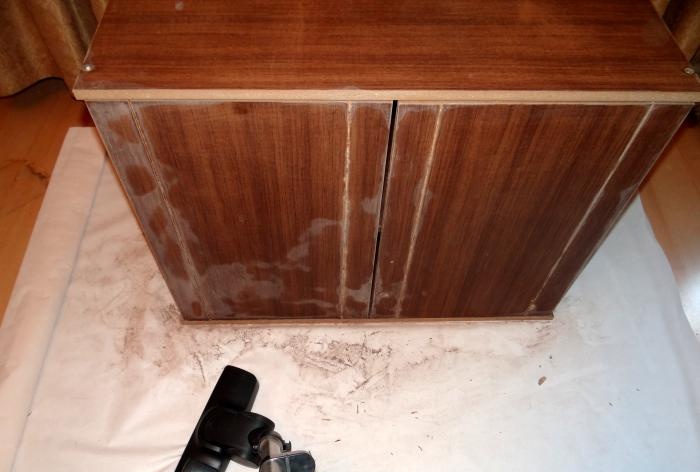
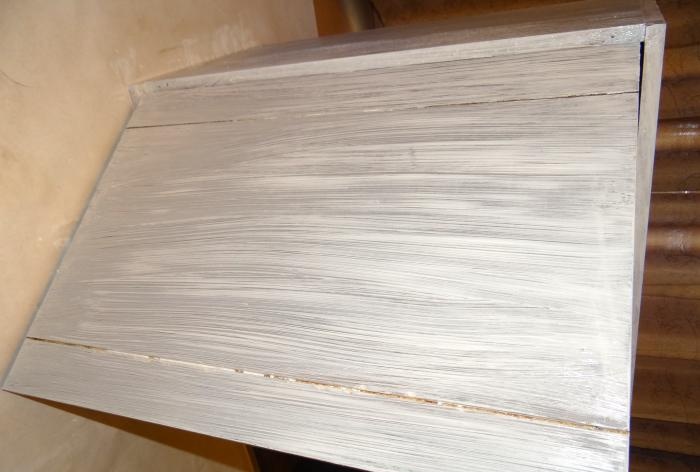
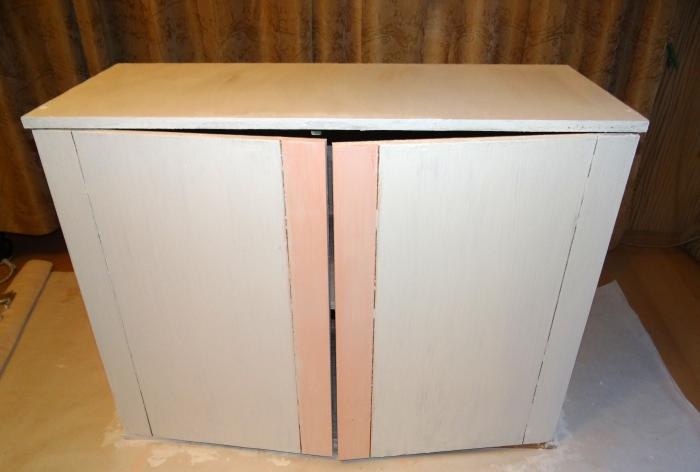
This is what the furniture looks like after the first stage of sanding. If you haven't run out of energy, start sanding with a finer grain a second time.
Now it is important to remove dust from the surface. By the way, these small particles are very unpleasant: when working with sandpaper, protect your face with a bandage or special glasses. Be careful! With intensive sanding, you can burn your hands even through fabric gloves.
To remove dust, stroke the cabinet with a wet gloved hand.

While it dries, let's tidy up the work area, a vacuum cleaner will help us with this.
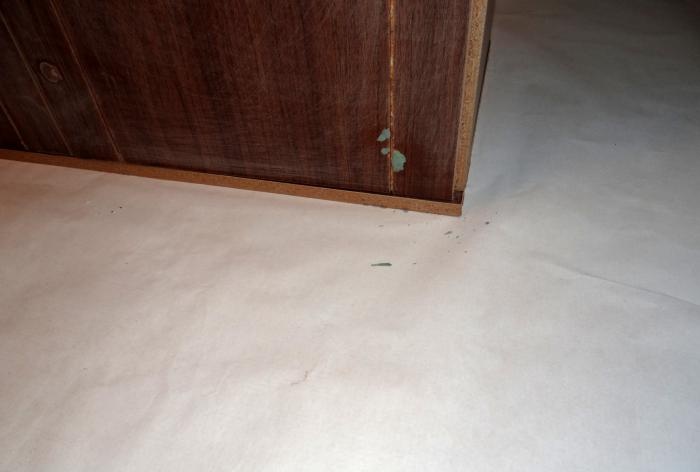
We remove decorative elements from the doors. If the door surface is damaged during this process, use a primer.
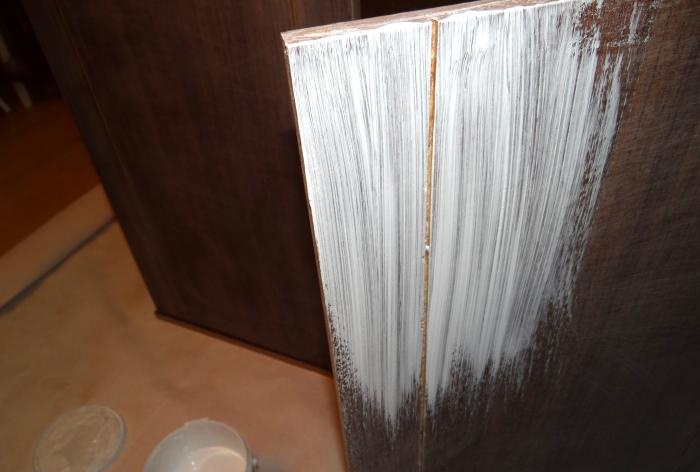
Now it's time to start painting the surface. We paint twice, carefully spreading the paint until a uniform color is achieved, avoiding streaks. We paint the doors and sides in the direction from bottom to top or top to bottom, the top - as convenient: widthwise or lengthwise.
After the first layer has dried, you can paint the inside of the cabinet, if desired.
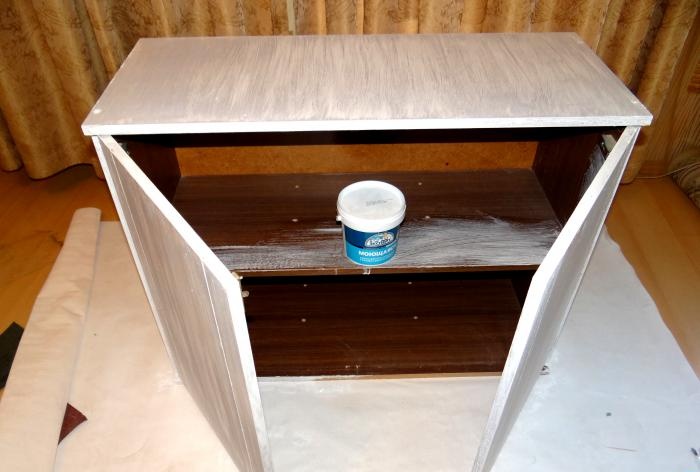
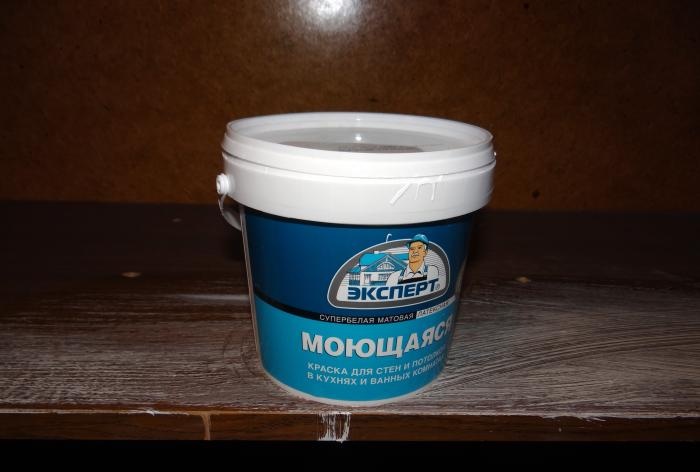
Here's the paint I used: This is a washable paint.
Let's paint it a second time.
Decoupage
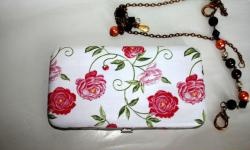
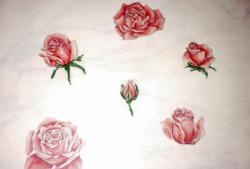
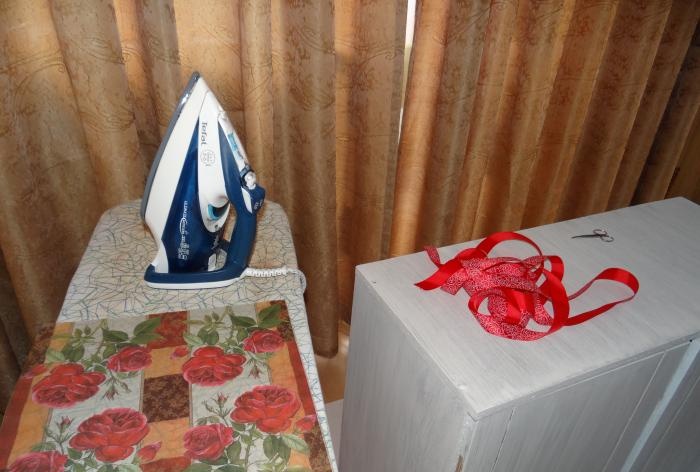
While the paint is drying, you can begin preparing napkins for decoupage. I took napkins with large rose motifs. These are three-layer napkins; their bright layer is the thinnest.
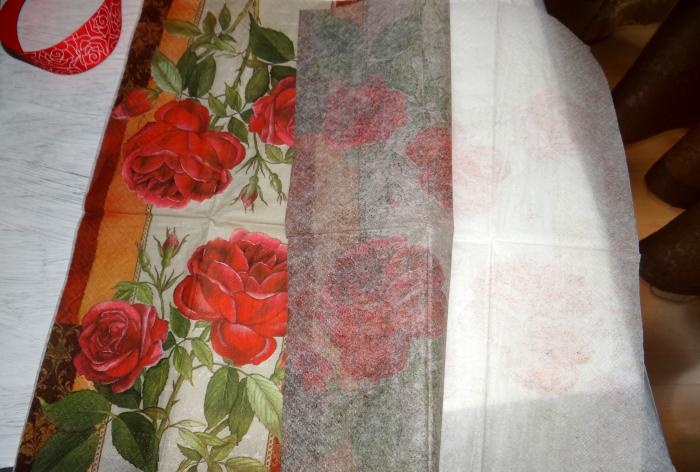
The preparation sequence is as follows:
1. Separate the paint layer;
2. Straighten the napkin and iron it from the front side.
3. Cut out the motif.
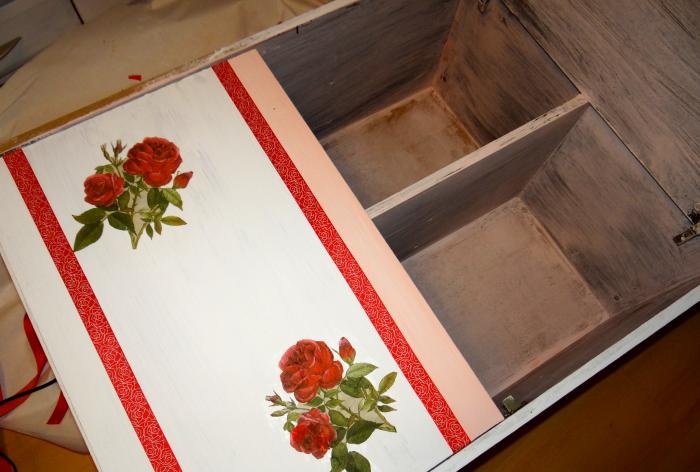
The closet is waiting for decoupage while standing. Lay him on his back and try on the fragments.
Dilute the wallpaper glue a little thinner than needed for wallpapering.
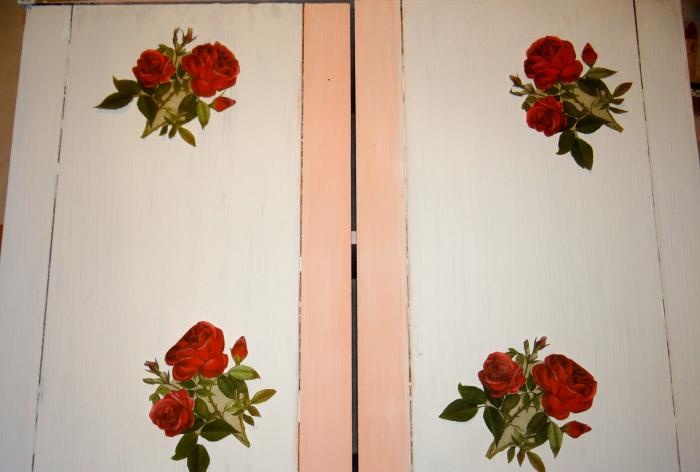
Apply glue to the surface in the places where the motif will be.
Place the napkin and look carefully from the center to the edges. If necessary, carefully add glue with a thin brush. Remove excess with a white napkin or cotton pad.
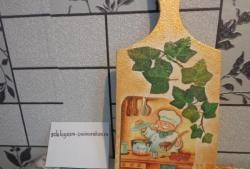
This is the motive you will get:
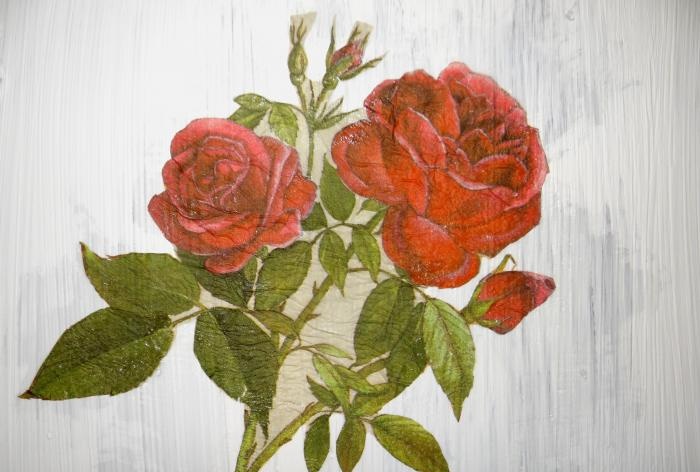
When dry, the glue will “retract”, stop shining, and will not be visible. Cover the top with clear decoupage varnish.
Decor
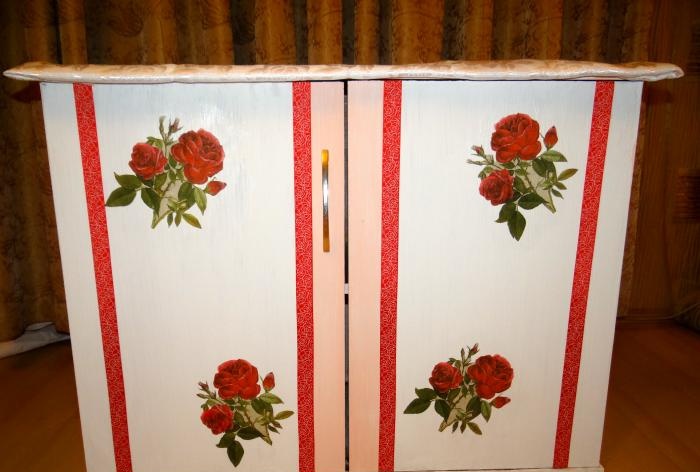
It is convenient to decorate a closet with ribbons if it also lies on its back.
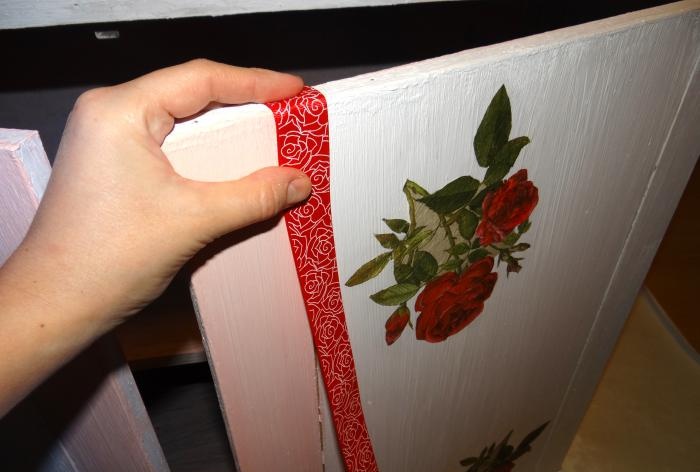
Let the glue gun warm up. Treat the edges of the braid with a lighter.
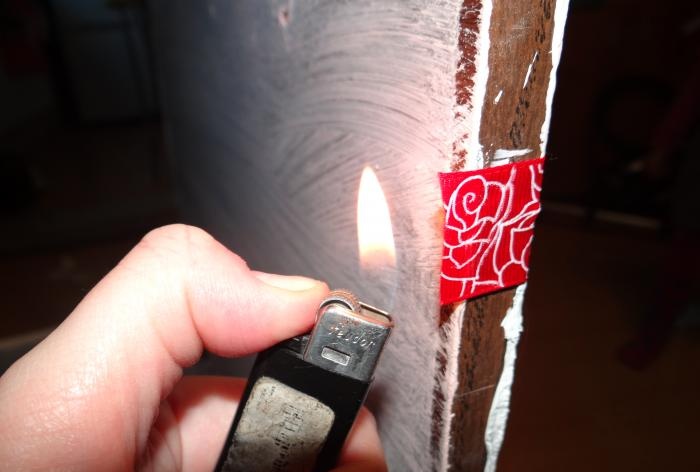
My door height was 65 cm. It took 4 cuts to cover the places where there used to be metal decor.
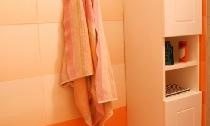
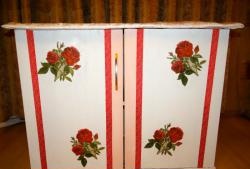
What a cute closet we have! Shoes, dishes, toys, and books - all these items will thank you for your updated home!