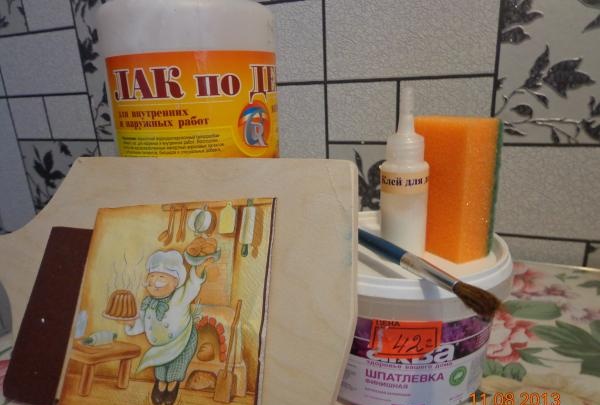
Do it yourself
Life hacks, master classes, useful tips, recipes.
home » Handicraft techniques » Decoupage » Decoupage furniture » Decoupage cutting board
The decoupage technique has recently become increasingly popular. It is a varnished applique made from napkins, postcards or various paper pictures. You can decorate absolutely any surface with decoupage - from furniture to a banal cutting board. It is through her example that we will begin to master the basics of this technique. It won’t take much time, and the result will definitely not disappoint you.

So, we need:
1. Cutting board.
2. White acrylic paint or acrylic primer.
3. Acrylic varnish.
4. Glue for decoupage (can be replaced with regular PVA).
5. Sandpaper (zero grade).
6. Paper napkin.
7. Brush.
8. Foam sponge.

we will need


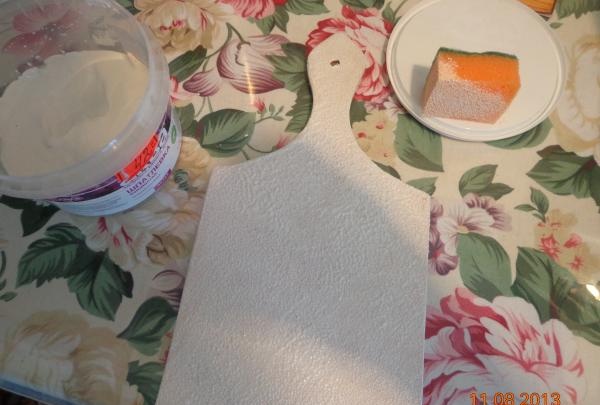
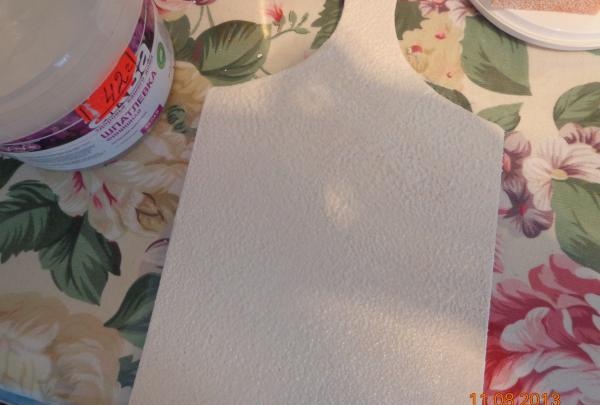
First, the surface of our board must be primed. To do this, apply white acrylic paint on it with a sponge in 2 layers with intermediate drying.

prime the surface of the board

wait for the primer to dry


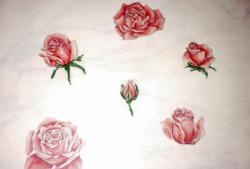
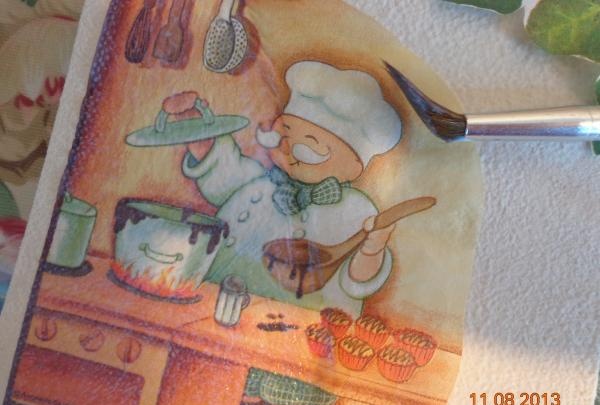
From a pre-selected napkin, cut out the desired composition and carefully remove the excess paper layer from it. Be careful, if the napkin is two-layer, then 1 layer will be superfluous, but if it is three-layer, then 2 layers.

cut out the desired composition


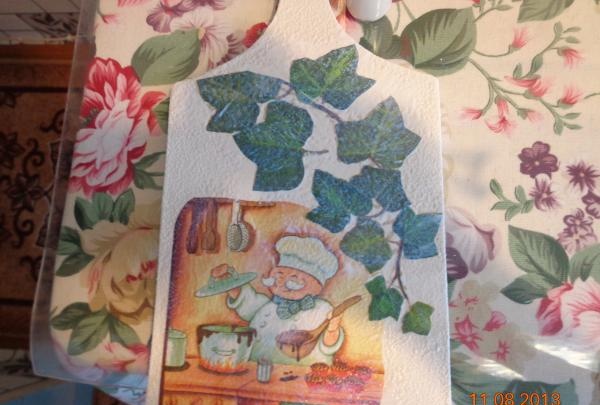
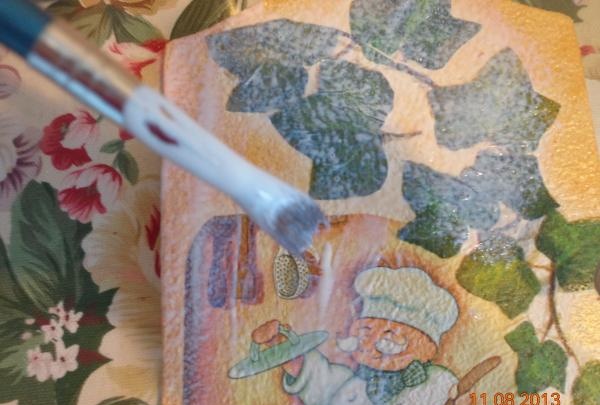
We place our drawing on the surface of the board and carefully cover it with glue diluted with water in a 50/50 ratio. Do this very carefully from the middle to the edges. The already thin glue napkin will become even more vulnerable. Try to smooth out the wrinkles with light brush movements.

cover the drawing with glue


Let the glue dry for some time.

Let the glue dry

apply acrylic varnish


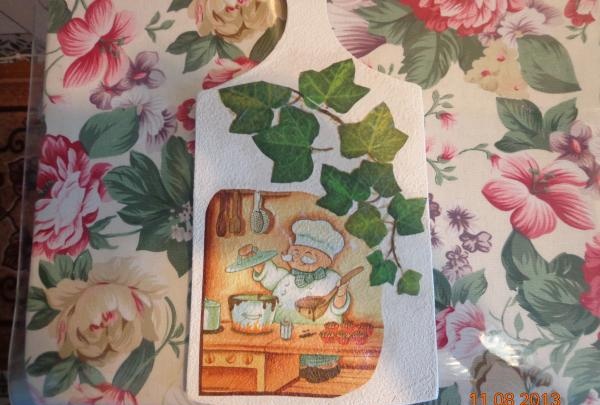
If your composition only partially occupies the surface of the board, then the empty spaces should also be decorated. Dab a piece of sponge into a suitable shade of acrylic paint and “poke” the empty areas. You should not use gouache for this, otherwise after coating the varnish it will be smeared and your board will look untidy. After drying, apply acrylic varnish with a brush or sponge and let dry again. Don't be alarmed, the varnish will be white at first, and as it dries, it will gradually become transparent.

apply acrylic varnish

Coated with acrylic paint


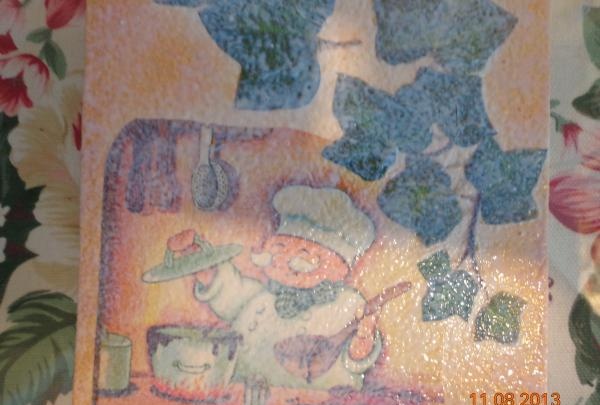
Take a sandpaper and carefully run it along the side of the cutting board. This way you will erase small imperfections in the form of paint or glue.

erase small mistakes


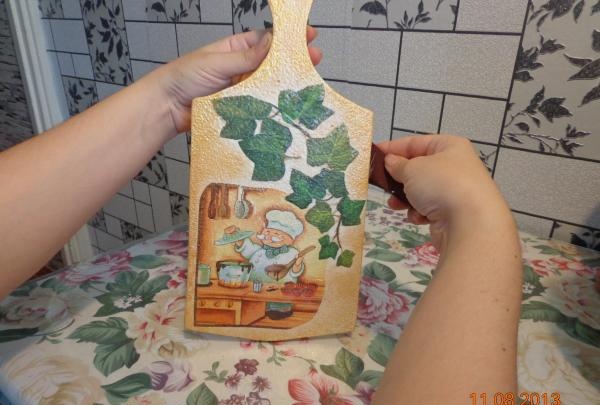
If desired, you can go over the surface with varnish again. The more such varnish layers, the more durable your work will be. Well, if you decide to use the board for its intended purpose, then you need to add another layer of any furniture varnish. Don't forget that acrylic washes off with water.
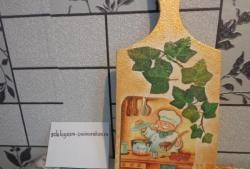
And this is what you might end up with:

Decoupage cutting board


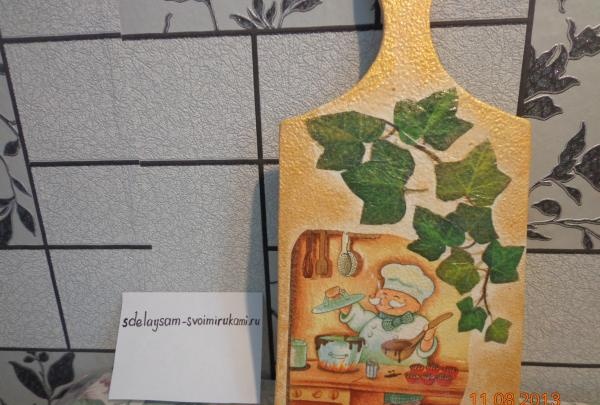
By the way, the whole process took only 2 hours, and that was just due to drying!
come back
Comment
  • bowtiesmilelaughingblushsmileyrelaxed relaxedsmirk
    heart_eyeskissing_heartkissing_closed_eyesflushedrelievedsatisfiedgrin
    winkstuck_out_tongue_winking_eyestuck_out_tongue_closed_eyesgrinningkissingstuck_out_tonguesleeping
    worriedfrowninganguishedopen_mouthgrimacingconfusedhushed
    expressionlessunamusedsweat_smilesweatdisappointed_relievedwearypassive
    disappointedconfoundedfearfulcold_sweatperseverecrysob
    joyastonishedscreamtired_faceangryragetriumph
    sleepyyummasksunglassesdizzy_faceimpsmiling_imp
    neutral_faceno_mouthinnocent
4 minus one =
Comments (0)

How to easily disassemble an engine armature into copper

How to make a half-bridge converter with TDKS

Installation of hidden sockets | Do it yourself

Lubrication of a maintenance-free computer cooler

«Do it yourself - with your own hands» - a site of interesting homemade products made from scrap materials and items at home. Step-by-step master classes with photos and descriptions, technologies, life hacks - everything a real master or just a craftsman needs for needlework. Crafts of any complexity, a large selection of directions and ideas for creativity.

We recommend reading

Washing machine error codes