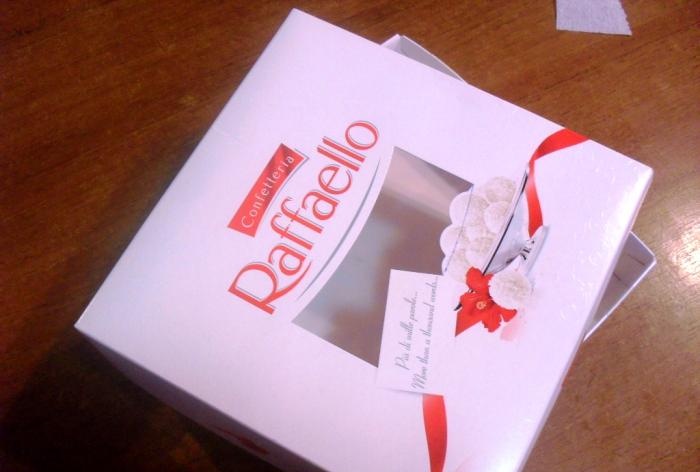
Materials for work:
- Cardboard box with lid – 1 pc.;
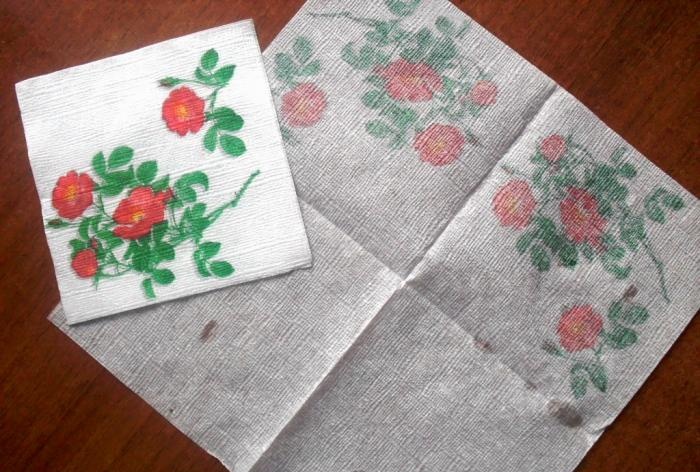
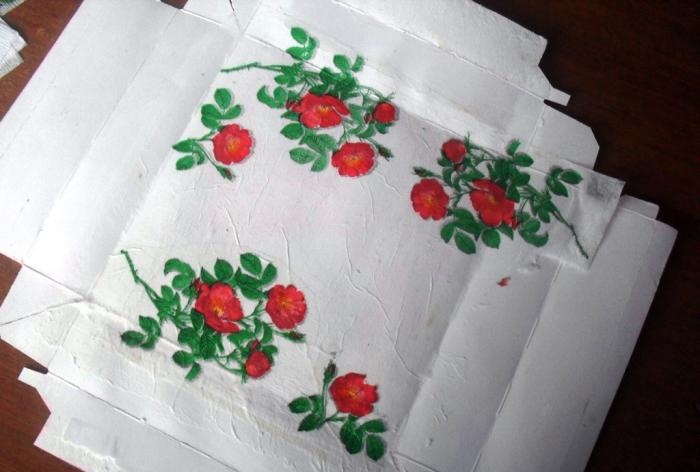
- Napkins with a pattern – 5 pcs.;
- Printout of a drawing with the image of a rooster and a congratulatory inscription, PVA glue, brush, white gouache, curly scissors, PF varnish.
Stages of work completion
First stage: adjusting the base.
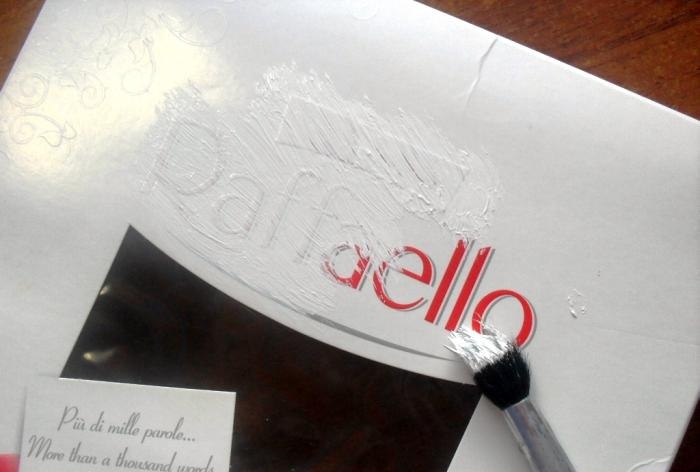
We degrease the box on all sides with an alcohol-containing solution.
We paint over the colored elements with white gouache. We dry it (to speed up the process, you can use a radiator).
Second stage: decorate the base.
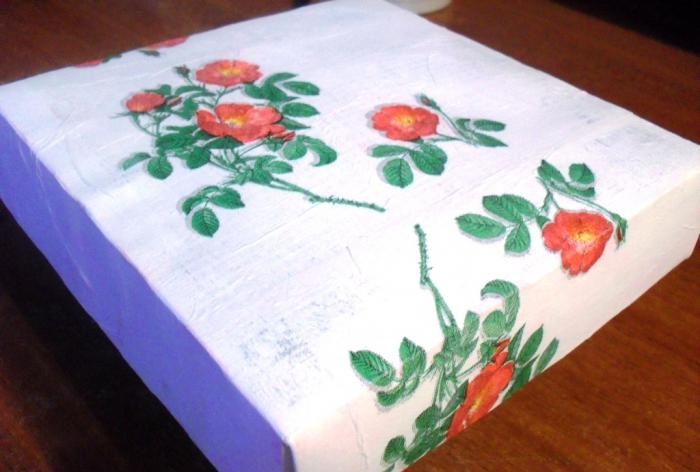
Turn the napkins face down and spray with water (preferably from a spray bottle).
Carefully place a wet napkin on the box (after turning the design upside down).If your hand is “not full,” you can spread out the file, place a napkin on it with the pattern down, wet it, and transfer the napkin to the box simply by turning the file over.
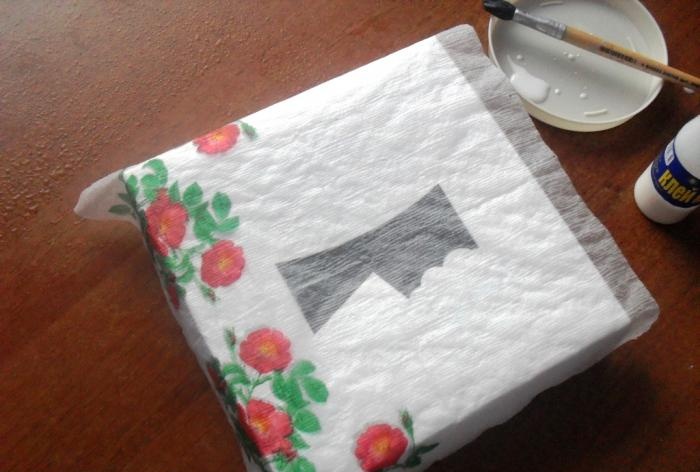
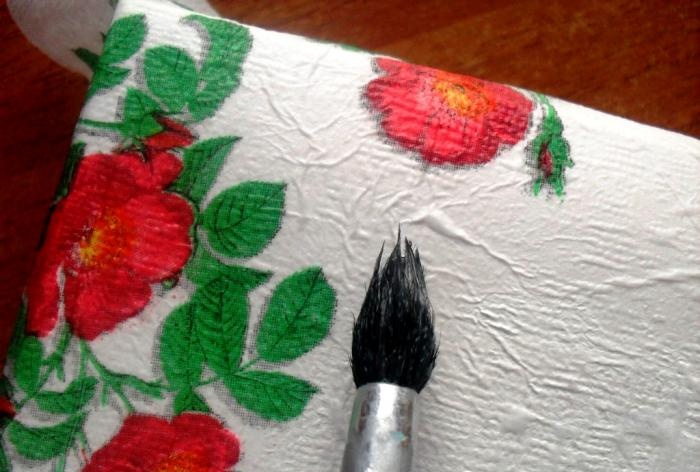
Using a soft brush, generously moistened with PVA glue, smooth out only the flowers (displacing all wrinkles and squeezing out air bubbles). On the other (white) part of the napkin, on the contrary, we form folds, chaotically, as they fall under the brush. Squeeze out air bubbles!
In this MK, a regular-sized napkin was used, so it was not enough to cover the entire surface of the lid (napkins for decoupage are larger in size and would cover the entire surface to be decorated). Cut off a piece of the plain part of the napkin.
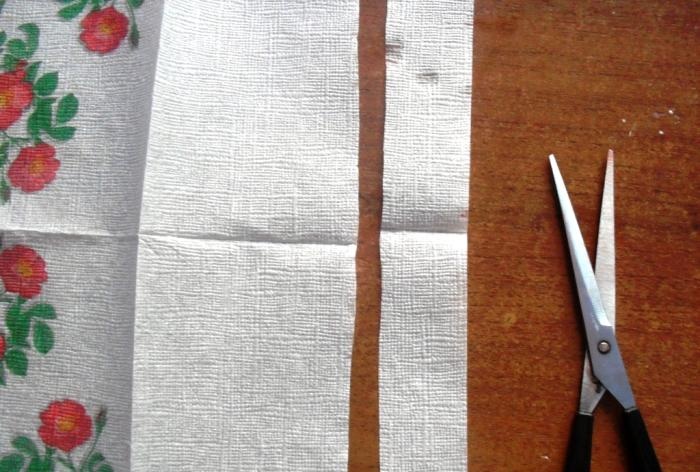
Place a pre-moistened strip of napkin on the box and cover it with a layer of PVA glue, making folds.
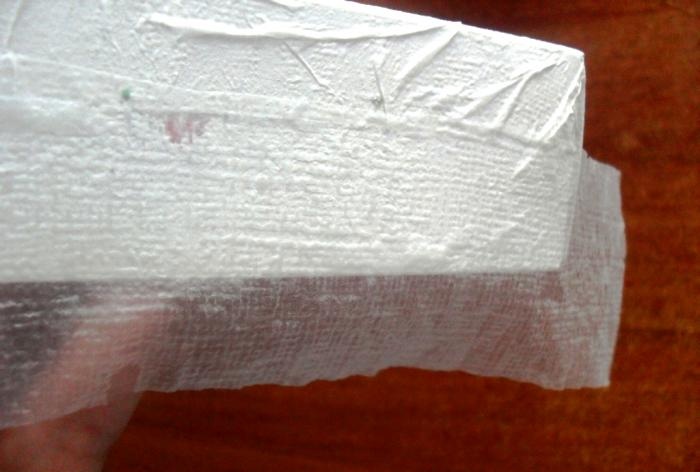
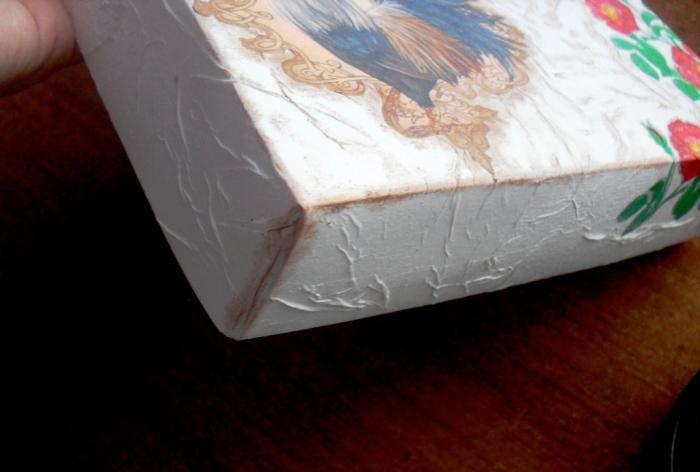
We bend the edges inward with a brush, carefully smoothing the surface (there should be no large or convex folds, otherwise the lid will not close or will begin to tear during use).
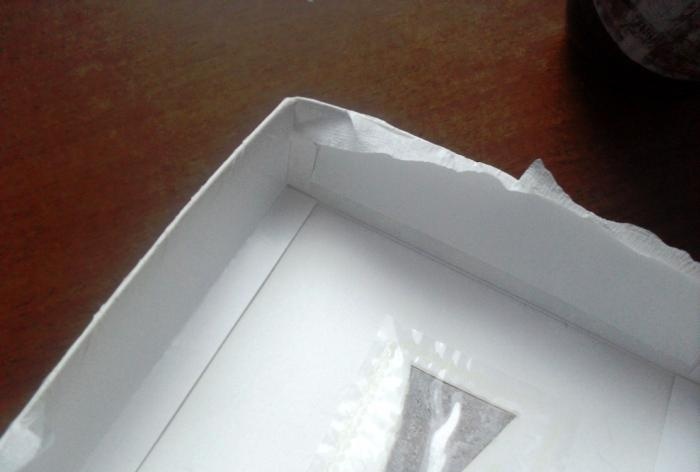
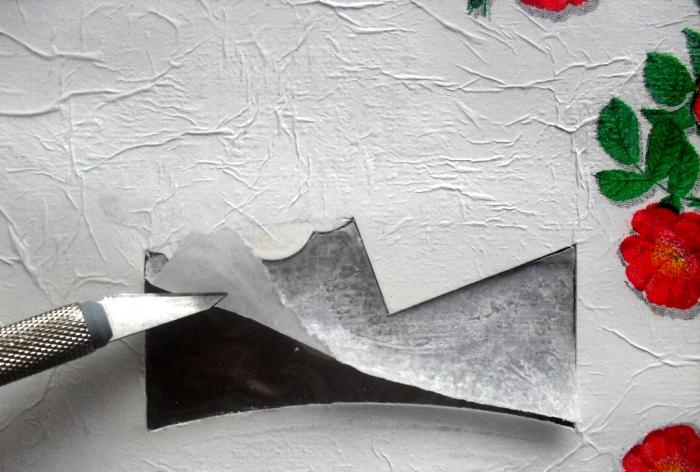
We cut off the napkin from the surface of the oilcloth window (after drying it, because the wet one will not be cut, but will tear).
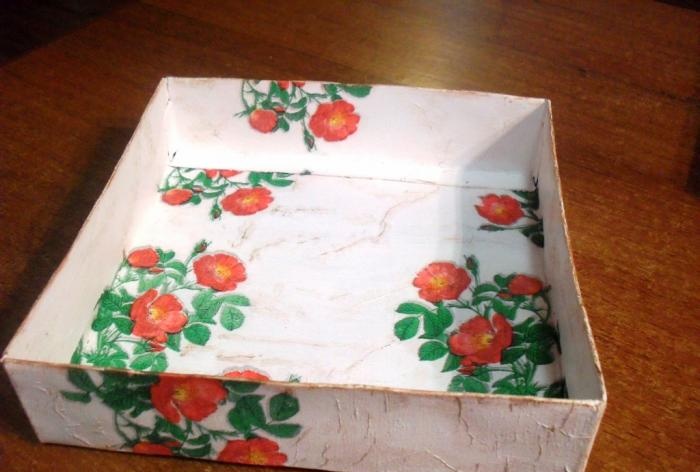
We carefully disassemble the lower part of the box and straighten it out. Place a moistened napkin on the central part and straighten it with a brush dipped in PVA (smooth out the flowers, fold the plain part of the napkin into folds). Dry it slightly on the radiator (not until completely dry, but so that your fingers do not stick to the drawing when decorating the reverse side).
We also cover the back of the box with a napkin and tear off the extra corners. We fold the box right away, while the napkin on the outside is still completely damp (if it dries, it will tear at the folds when folded). We bend the edges of the napkin with a brush soaked in PVA inward.
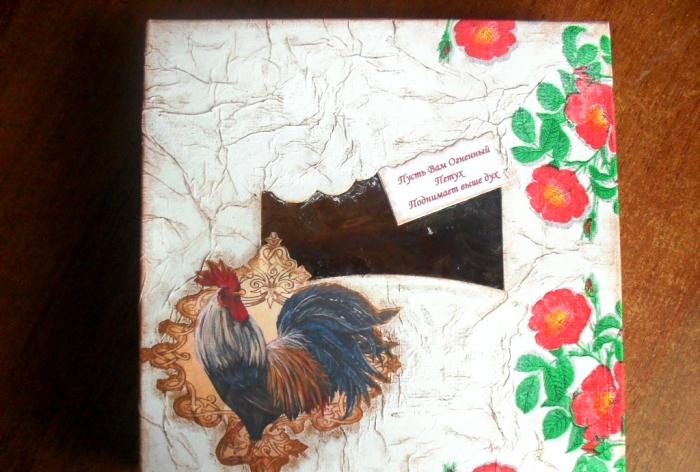
It turns out so beautiful.
Third stage: glue the printouts.
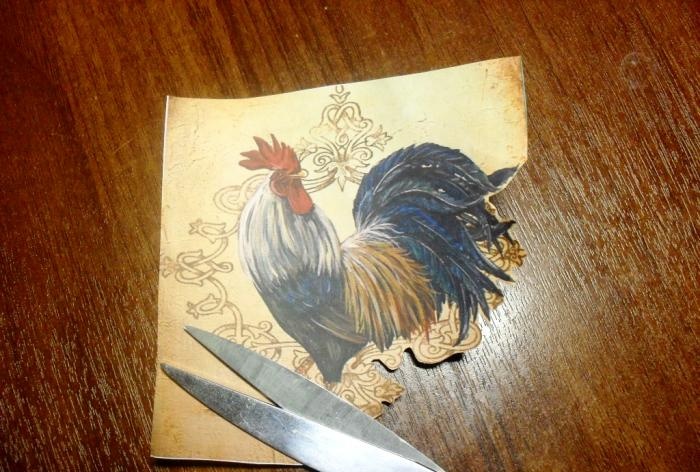
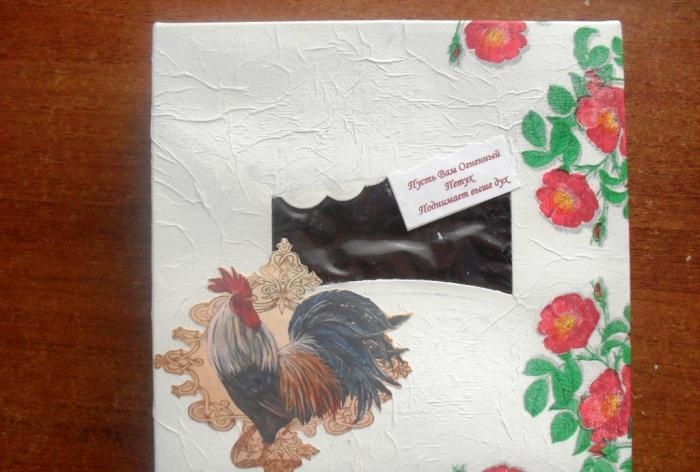
We crop the rooster drawing, removing clear boundaries.
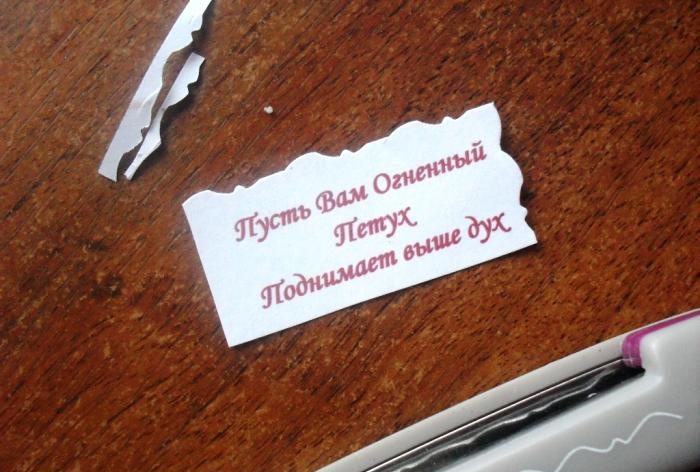
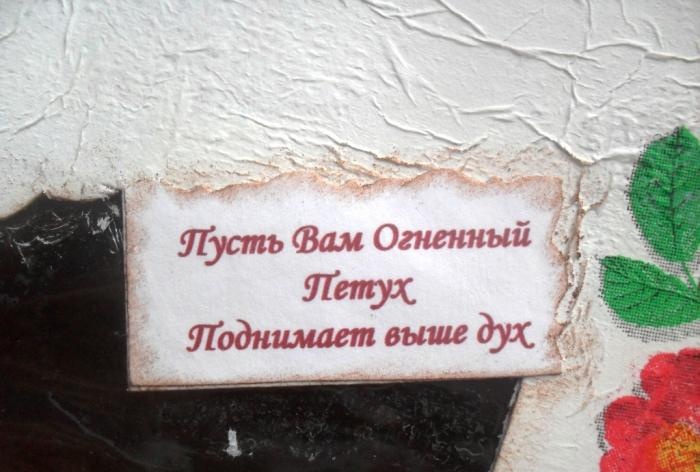
We cut the congratulations on both sides with curly scissors.
Glue the printouts with a PVA pencil. Smooth it out.
Stage four: apply tint.
Use eye shadow to hide the edge sections of the rooster and the inscriptions. Apply shadows to the folds (without pressing, so that the box does not become tinted).
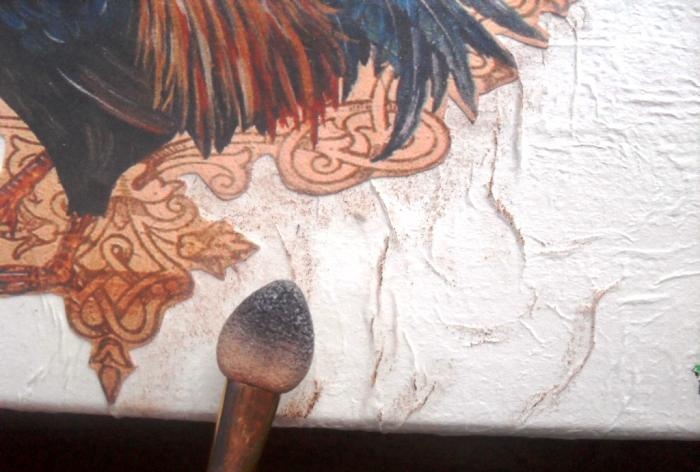
We cover all the sides and edges of both parts of the box with shadows, carefully rubbing them into the surface. We also tint the folds on the bottom of the box.
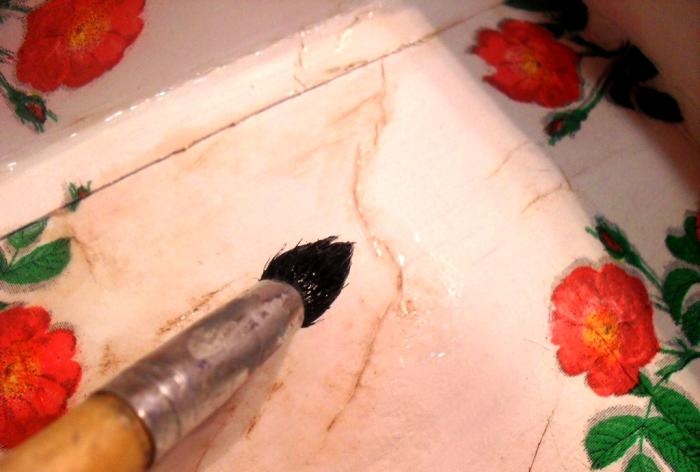
Fifth stage: varnish.
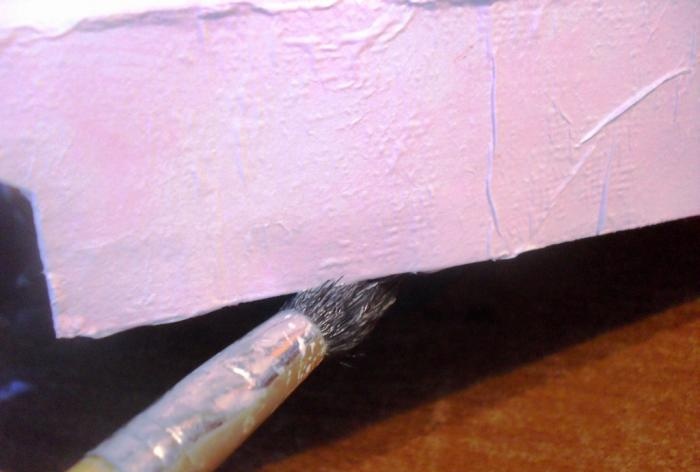
We apply several layers of PF glue to the entire surface of both parts of the box (it dries instantly, covers the paper well, does not give a yellow tint, and does not make the surface look wooden).
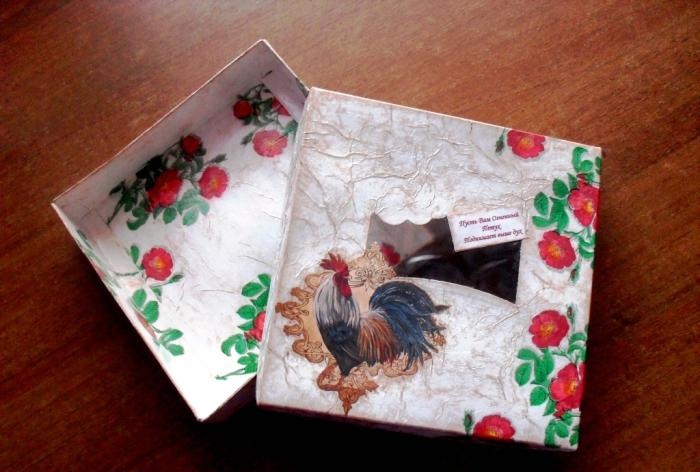
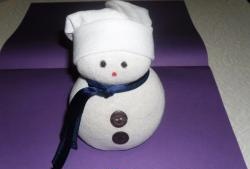
We dry the resulting beauty, let the smell of the varnish dissipate, fill it in and give it away! Happy New Year!