Do it yourself
Life hacks, master classes, useful tips, recipes.
home » Electronics » DIY electronics » Simple lie detector
A simple detector that will show whether a person is lying or telling the truth. Of course, it is far from a real, modern lie detector - a polygraph, but it deserves attention, since anyone can make it with their own hands. Like any, even the most modern polygraph, it does not show 100% that a person is lying. It shows that the human body has changed its state in the readings that the detector tracks. And the detector operator decides whether to take these readings into account or not.
Simple DIY lie detector

The principle of detecting lies


The device is a threshold detector that measures the resistance of an area of ​​the human body. The device reacts to changes in this resistance, and depending on the reading, the state of the indicator changes.
In general, the resistance of the human body is by no means constant; it depends on many factors. Thanks to this property, we will track a sharp change in this value.

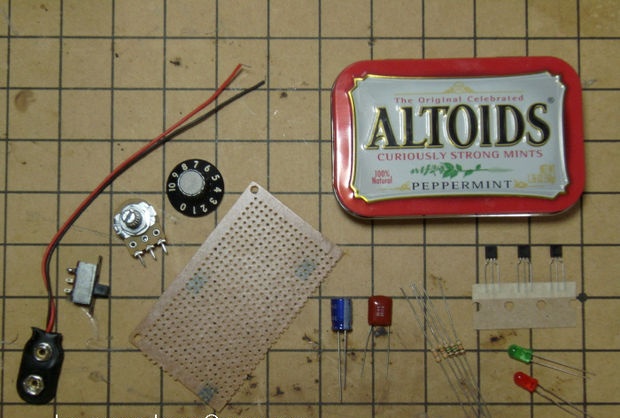
What is needed to build a lie detector


I will not list all the elements - they can be seen in the diagram. There are no special requirements for them - you can use any.
Transistors 2N3904, domestic analogs of KT315, KT3102, or any others of the same structure.
Simple DIY lie detector

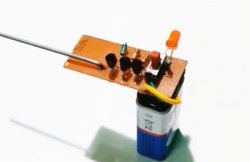
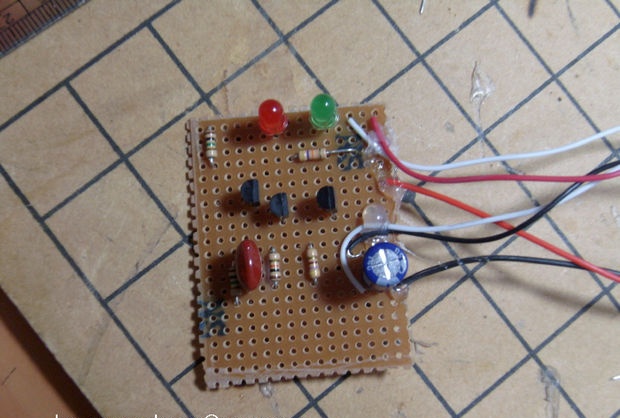
Scheme of a simple polygraph


The circuit is built on three transistors. The first transistor is a DC amplifier. A Schmitt trigger is built on the other two, which can be stably in one of two states: false - true.
Using a variable resistor, the response threshold is adjusted.
Simple DIY lie detector

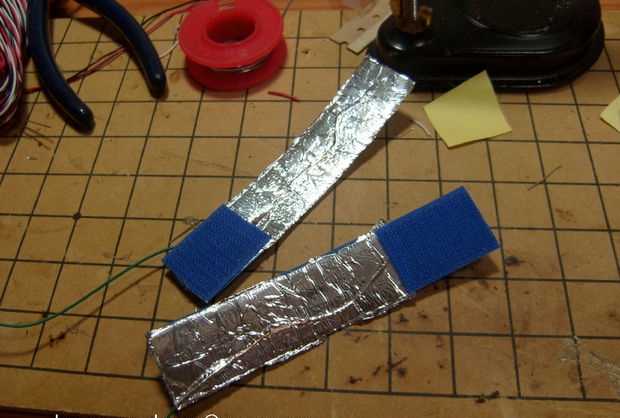
Lie detector sensors


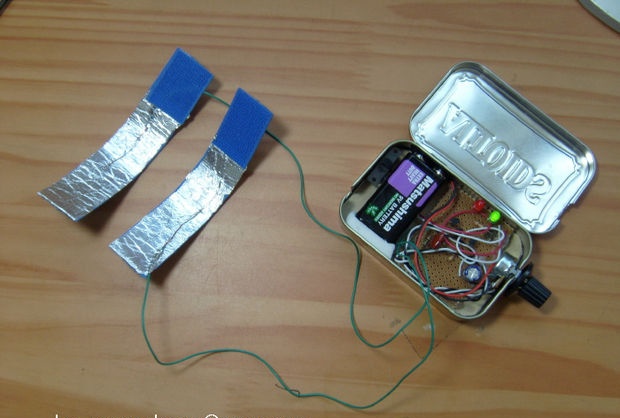
To take readings from a person we need two sensors. I made them into Velcro clothes by gluing aluminum foil to the back and connecting wires to it.
The sensors can be of a different design, the main thing is that they have a large area of ​​contact of the current-carrying part with the human body.
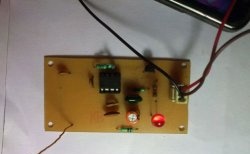
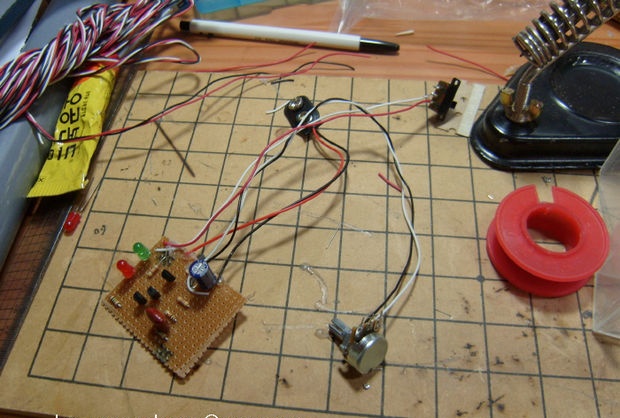
Simple DIY lie detector

Circuit assembly


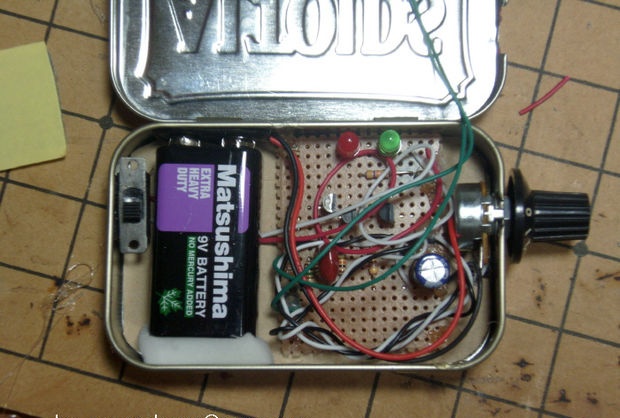
I assembled the circuit on a breadboard. I added a switch and a capacitor for power supply, which are not on the diagram. I think it will be better and more stable this way, although you can do without all this.
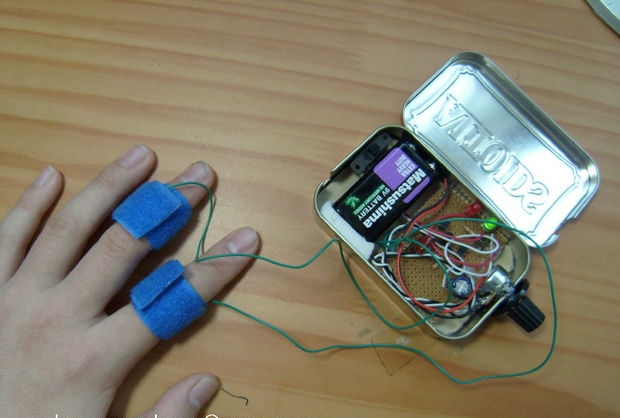
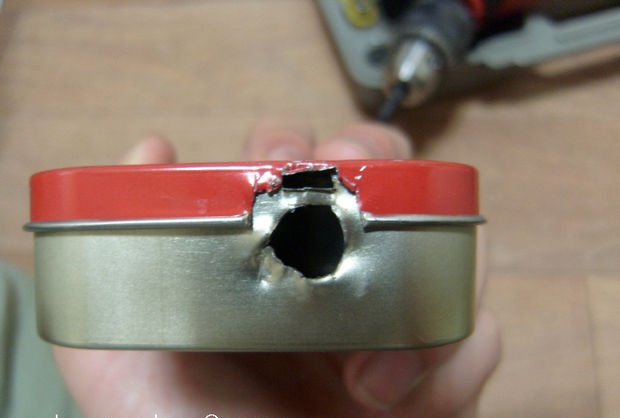
Simple DIY lie detector

Simple DIY lie detector

Detector body


The body was made from a tin box. Drilled a hole for the variable resistor. I put a piece of cardboard on the bottom so that the board does not short out to the case. I glued the switch with hot glue and propped the battery up with a piece of insulation. Common (minus) connected to the body. The design turned out to be shielded and it is not afraid of interference from outsiders.
Simple DIY lie detector

Simple DIY lie detector

Simple DIY lie detector

Everything is ready - tests

Now your lie detector is ready to use. Place sensors on the “suspect’s” fingers.
Turn on the power to the circuit. Turn the variable resistor smoothly until green (True) lights up and red (False) goes out. This will be the threshold.
Ask the “suspect” a question. If after a few seconds the red light comes on, he is lying.
Simple DIY lie detector

Enjoy the results!

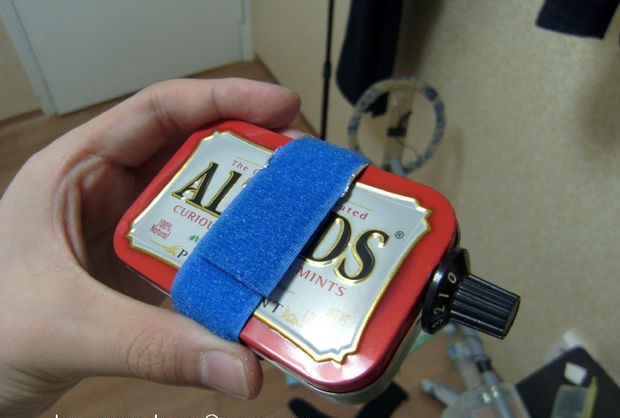
The detector is small in size and you can take it with you anywhere. It is fully functional and quite working.
You are sure to have a lot of fun after assembling and testing.
Simple DIY lie detector

Simple DIY lie detector

Simple DIY lie detector

Original article in English
come back
Comment
  • bowtiesmilelaughingblushsmileyrelaxed relaxedsmirk
    heart_eyeskissing_heartkissing_closed_eyesflushedrelievedsatisfiedgrin
    winkstuck_out_tongue_winking_eyestuck_out_tongue_closed_eyesgrinningkissingstuck_out_tonguesleeping
    worriedfrowninganguishedopen_mouthgrimacingconfusedhushed
    expressionlessunamusedsweat_smilesweatdisappointed_relievedwearypassive
    disappointedconfoundedfearfulcold_sweatperseverecrysob
    joyastonishedscreamtired_faceangryragetriumph
    sleepyyummasksunglassesdizzy_faceimpsmiling_imp
    neutral_faceno_mouthinnocent
5+two=
Comments (6)
  1. Guest Pavel
    #1 Guest Pavel Guests 9 January 2019 18:17
    0
    What kind of capacitor is on the board (electrolytic, round)? Isn't it on the diagram? Is it possible without it?
  2. Guest Pavel
    #2 Guest Pavel Guests 9 January 2019 18:20
    1
    What kind of capacitor is on the board (round)? It's not on the diagram! Is it needed? Is it possible without it? If nuzhek, then what kind of animal is it?
    1. Guest Victor
      #3 Guest Victor Guests 24 February 2019 19:04
      1
      A capacitor parallel to the power supply reduces power ripple. If the ripple is strong, the instrument readings may change without adjusting the trimmer capacitor. But in this case it is possible without this capacitor.
  3. guest
    #4 guest Guests 28 March 2019 15:11
    5
    Can you give me the name of all the details, I’m just not sure at all: I’m new to this business
  4. Mandolorian
    #5 Mandolorian Guests 25 October 2021 18:35
    0
    Can you give me the name of all the details, I’m just not sure at all: I’m new to this business
  5. Eugene
    #6 Eugene Guests March 19, 2023 08:47
    0
    Assembled and checked.To be honest, it’s kind of a trigger. It's easy to have 2 lights on at once.

Paper tulips | Do it yourself

Crafts - Do it yourself, step-by-step master classes | Page 48

Repair | Page 3 | Do it yourself

Cute gnomes for Christmas tree decoration or decor | Do it yourself

«Do it yourself - with your own hands» - a site of interesting homemade products made from scrap materials and items at home. Step-by-step master classes with photos and descriptions, technologies, life hacks - everything a real master or just a craftsman needs for needlework. Crafts of any complexity, a large selection of directions and ideas for creativity.

We recommend reading

Washing machine error codes