In houses built back in Soviet times, there were mainly two forms of release - straight, also known as horizontal, and oblique. In this article we will talk about installing a toilet with an oblique outlet.
Assembling and installing the toilet after laying the tiles is not a very difficult job. It is enough to follow some installation rules and choose the right auxiliary materials. You will also need tools, because without them you cannot install a home throne.
So, what tools are needed:
- Hammer or impact drill.
- A drill or drill for tiles with a diameter of 10 mm.
- Wrench size 10 mm.
- Adjustable wrench.
- Caulk gun.
- Screwdriver Set.
- Thin pencil or marker.
Now the list of materials: - Disc cuff size 110-90 mm for cast iron socket.
- Toilet cuff, corrugated, straight or eccentric with a diameter of 110 mm. The type of cuff depends on how the plumbing fixture fits into the drain.
- Worm clamp size 100-120 mm.
- Silicone sealant.
- Set for fixing the toilet to the floor. Consists of two anchor bolts, two dowels with a diameter of 10 mm, two washers and caps.
Operating procedure
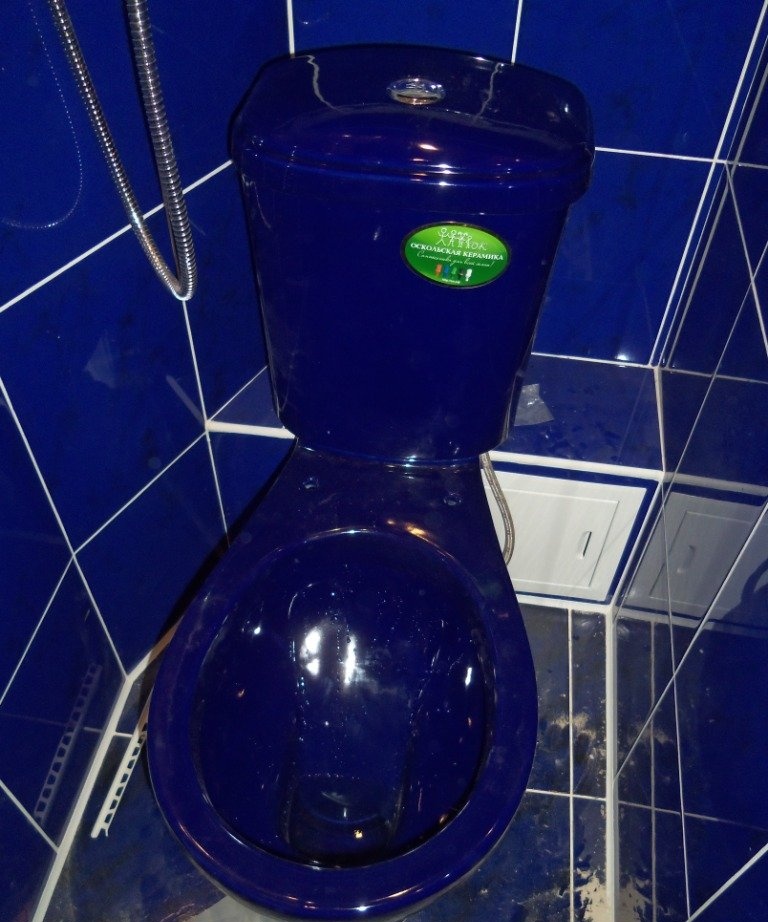
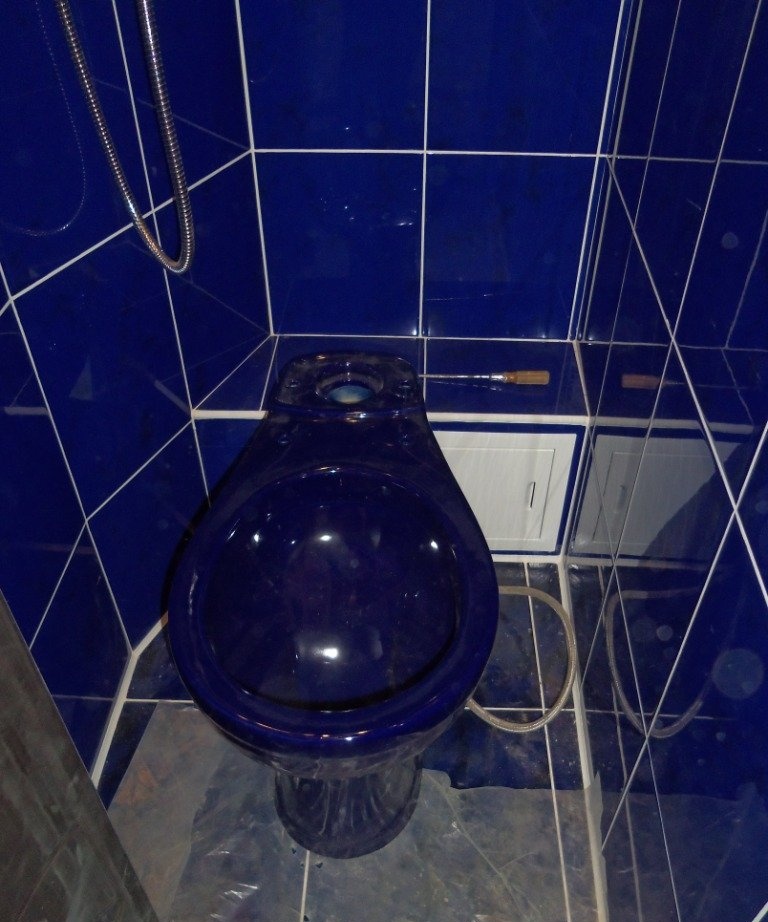
After the work on dismantling the tiles and the old toilet has been completed, and new tiles have been laid, we begin assembling and installing a new faience “horse”. It will take its place for many years and we must approach this task very responsibly.
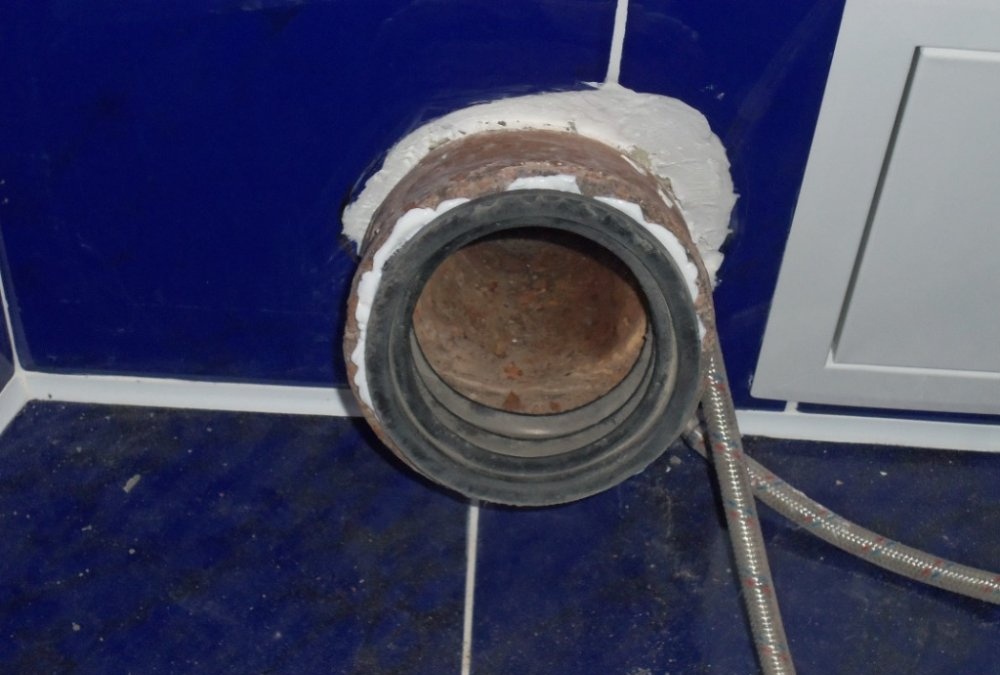
First, we install the disc-shaped cuff in the cast-iron sewer socket. For tighter contact between rubber and metal, we additionally apply silicone sealant to the cuff before installation.
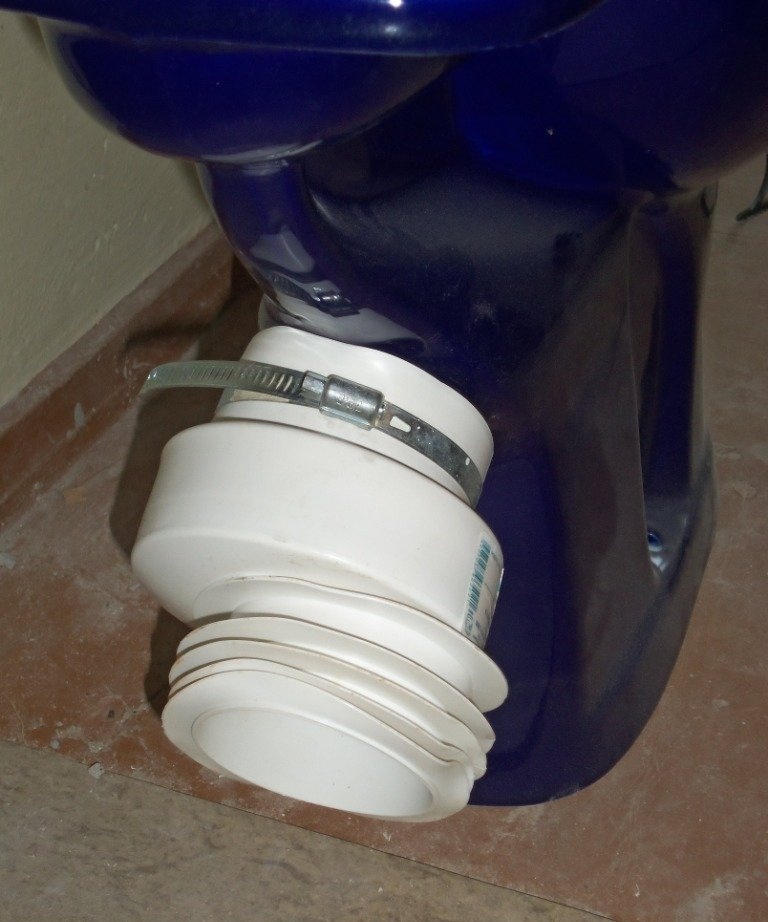
Then we place the toilet against the drain and watch how the toilet neck and the socket meet. In our case, we had to use an eccentric collar, since after pouring the screed and laying the tiles, the toilet rose about 20 mm from the floor.
We put the eccentric cuff on the neck of the product and try it on again. By turning the cuff, we adjust, if necessary, its height relative to the bell. Then we put a worm clamp on the cuff and tighten it.
After this, we put the toilet in place and, having checked the correct installation, mark the places where the body is attached to the floor with a thin pencil or marker.
We make holes in the tiles with a tile drill or using a drill. You need to drill the tile carefully and slowly, in a non-impact mode, trying not to overheat it and the drills.
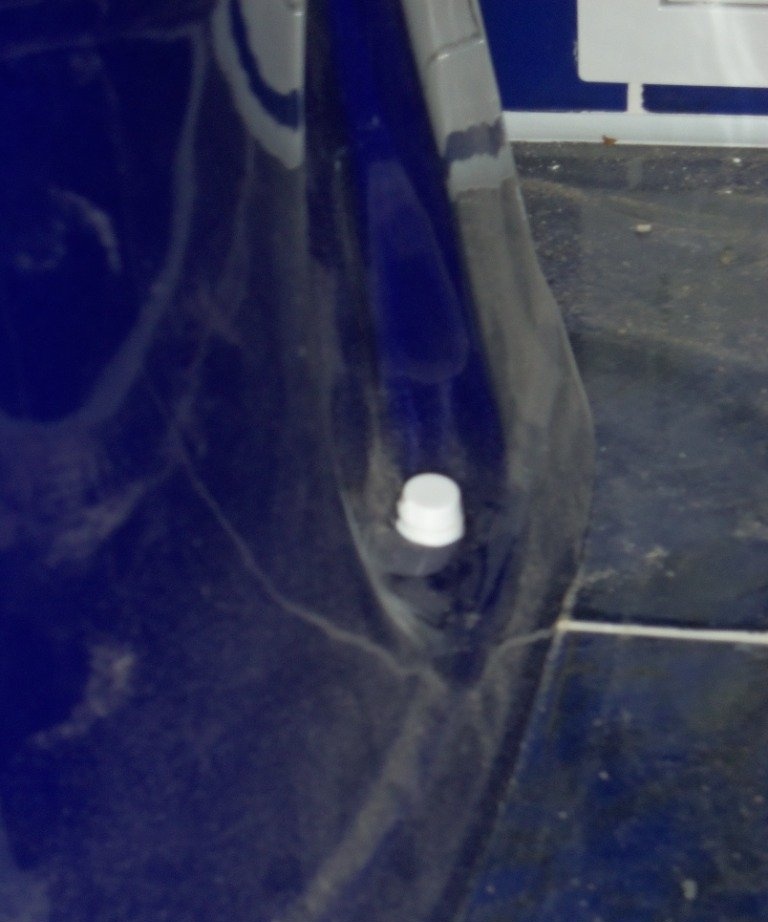
Then we use anchor bolts to tighten the toilet to the floor. There is no need to exert much force when tightening the bolts to avoid breaking the housing.After tightening the anchors, we put decorative caps on them.
Let's start assembling and installing the tank.
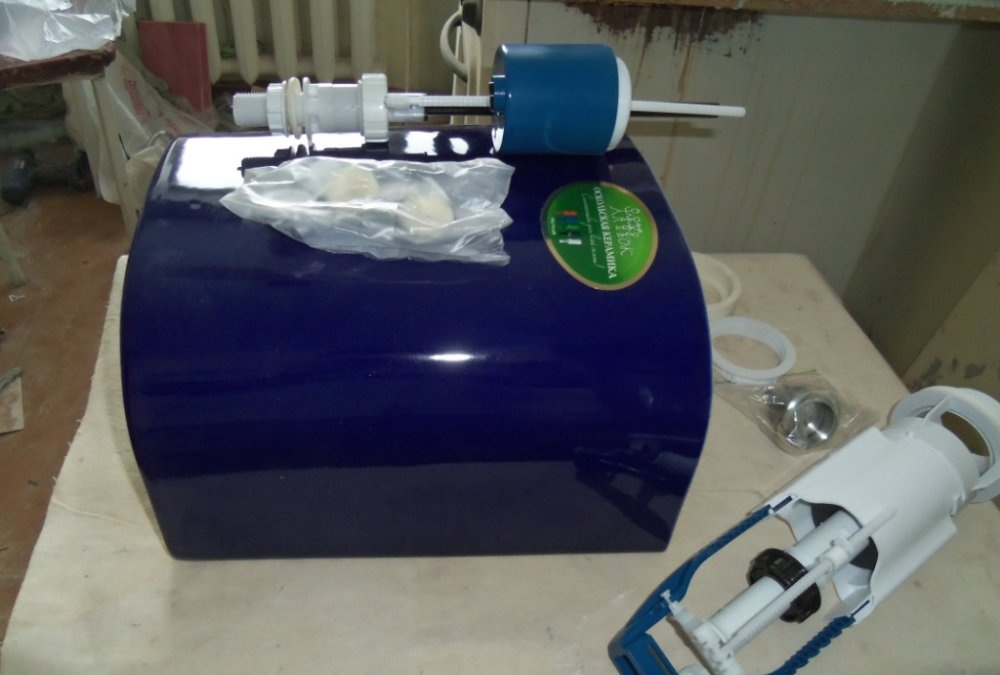
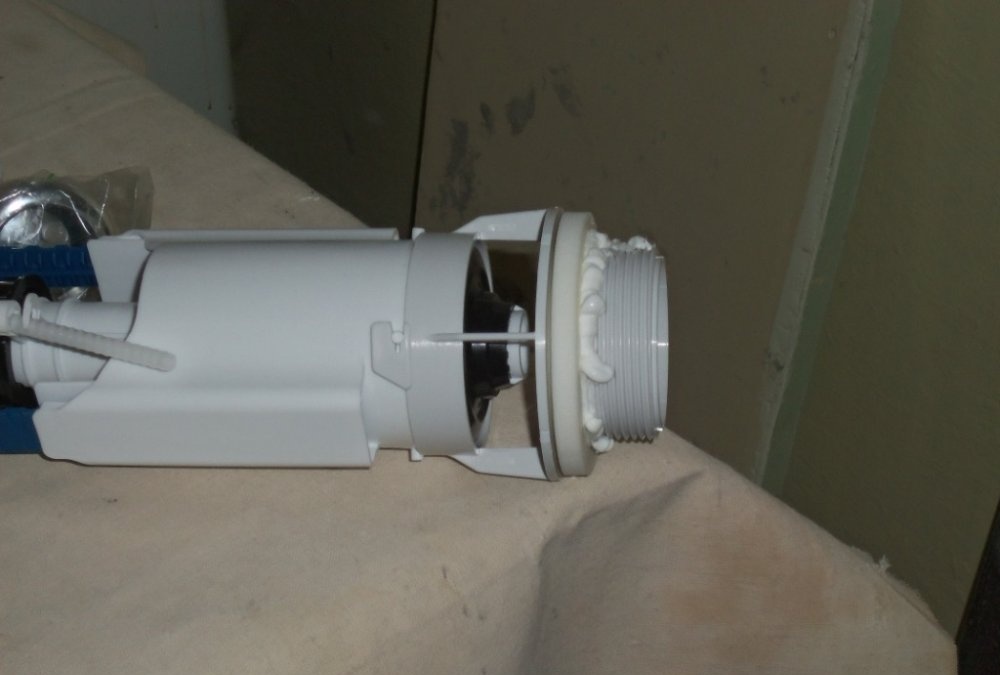
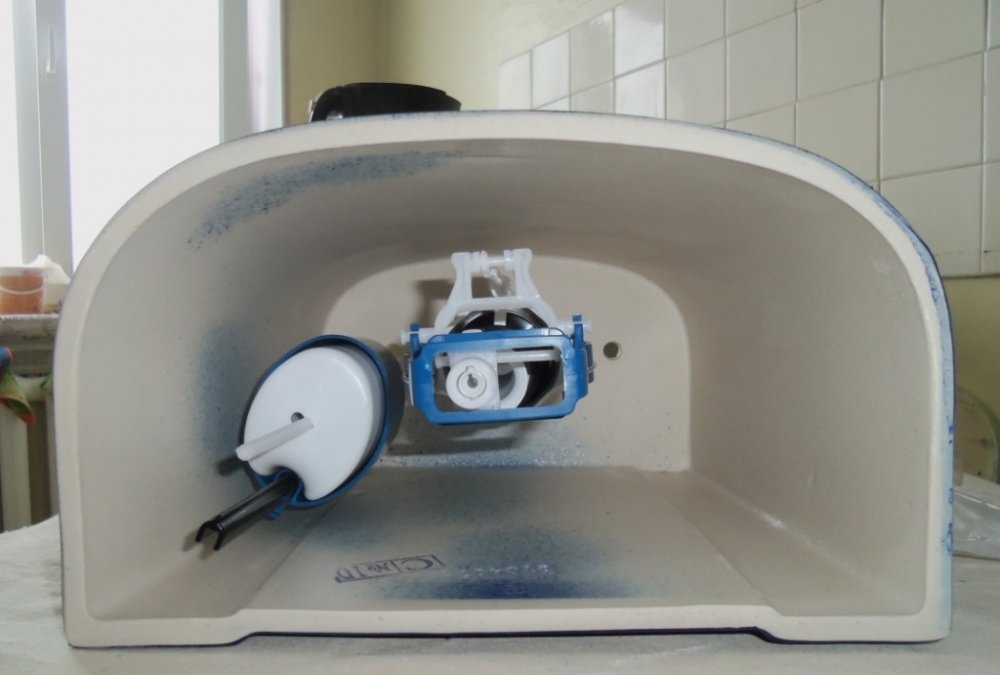
First we install the drain fittings. Having lubricated the rubber sealing washer with sealant, install the fittings into the hole of the tank and clamp it with a plastic nut, tightening slightly with a gas wrench.
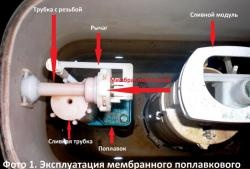
Then we install the float valve. Having installed it in the tank, we clamp it with a plastic nut. It is very important that the float valve does not touch the drain fittings.
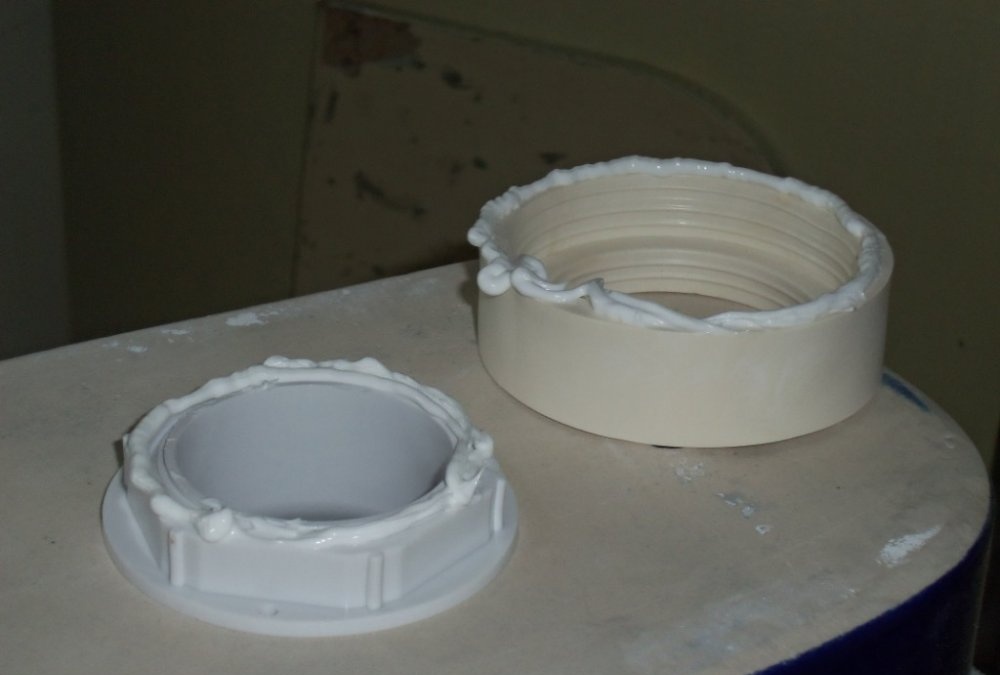
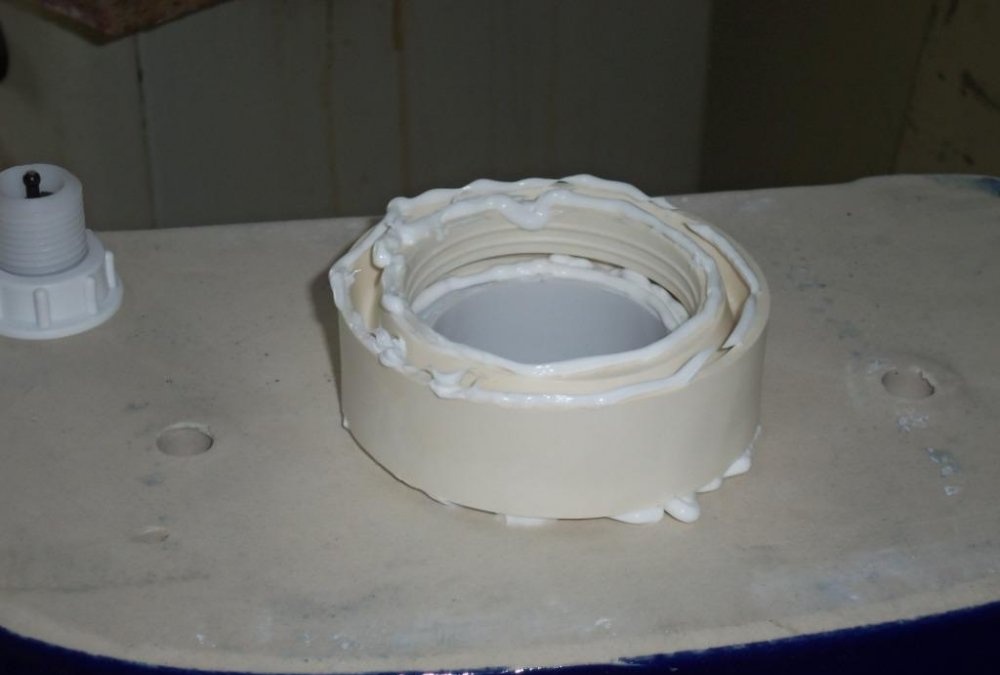
We install the flush tank on the toilet body. We generously lubricate the large rubber washer, which is installed between the tank and the body, with silicone sealant.
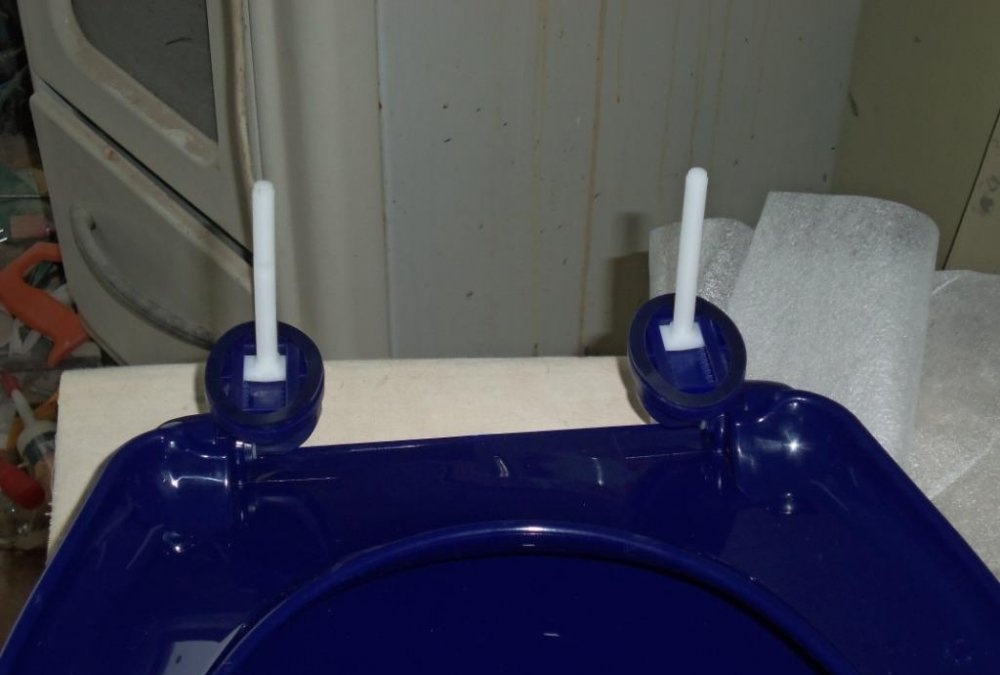
Then we first put plastic washers on the bolts that secure the tank to the toilet. Following them we string conical rubber ones.
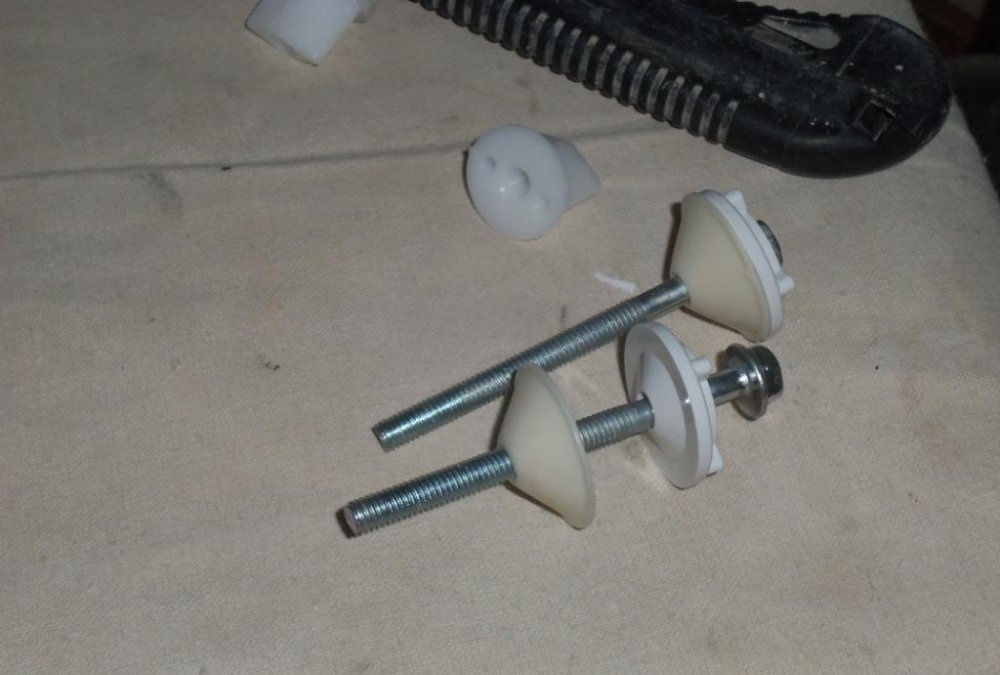
Having placed the tank on the body and inserted the bolts into the holes, tighten the latter, gradually pulling the tank towards the toilet. It is necessary to ensure that there are no distortions.

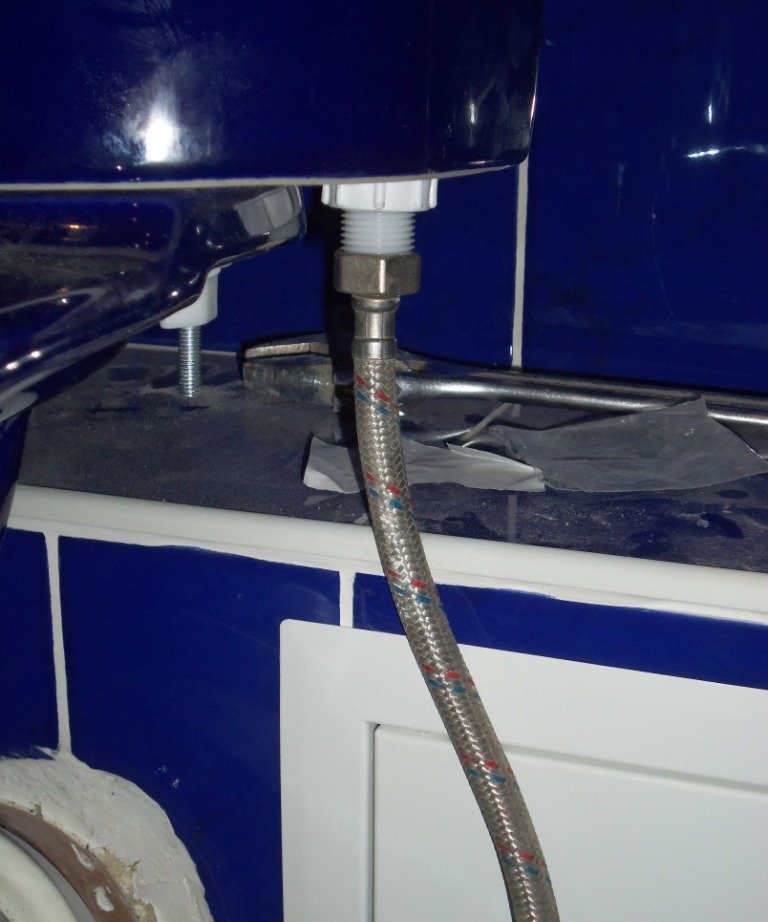
After installing the tank, connect a flexible connection to the float valve to supply cold water. Open the shut-off valve and check the operation of the drain mechanism and float.
If necessary, adjust the water level in the tank by raising or lowering the float.
The drain fittings are also adjusted by raising or lowering the mechanism. It is necessary to make sure that after installing the tank lid, the drain button has a slight free movement. When you press it, the water should drain without interruption. And after draining, the button should rise automatically.
Once the toilet is installed, all that remains is to attach the seat. Install the plastic mounting bolts into the hinges. Then, having inserted the seat with hinges, we mount the structure on the toilet, screwing it to the body with conical nuts.