Attention: The operation of a fog machine involves heating, and careless use of it can lead to undesirable consequences.
Required Components
You will need:
- Glycerin and distilled water to create vaping liquids.
- Air pump.
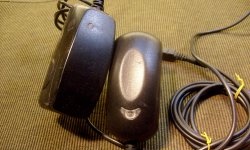
- Electronic cigarette mouthpiece.
- WeMos microcontroller.
- Two MOSFETs.
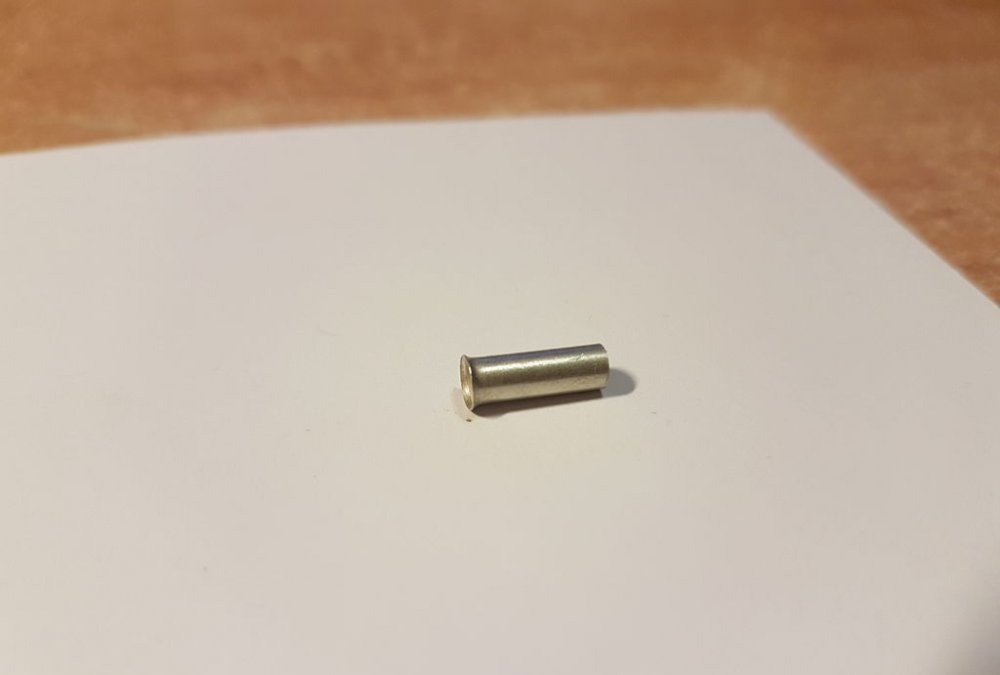
- Wire clamp.
- Pipes and connecting elements for them (with an internal diameter of 3 or 4 mm).
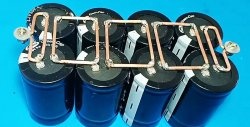
- Battery (I used a lithium-ion battery from an old phone).
Additionally:
- Power management board.
- Some kind of foam filler for sound insulation.
- A box that will hold everything.
I ordered almost all the parts for the project online and they cost me less than $10.
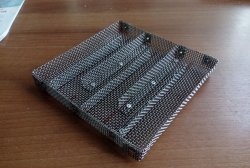
Preparing the Evaporator
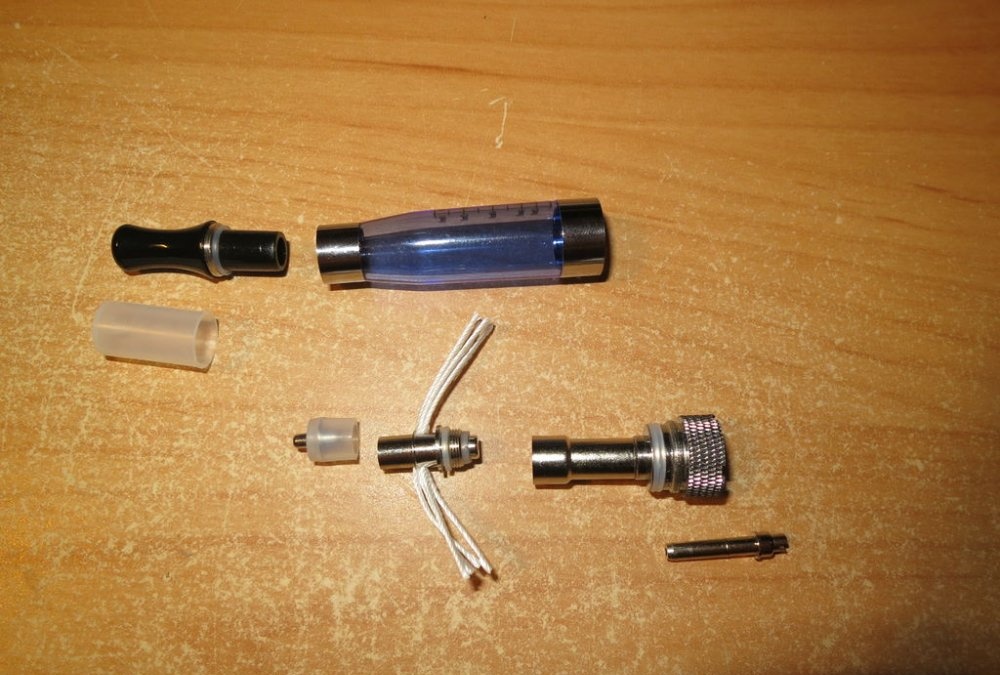


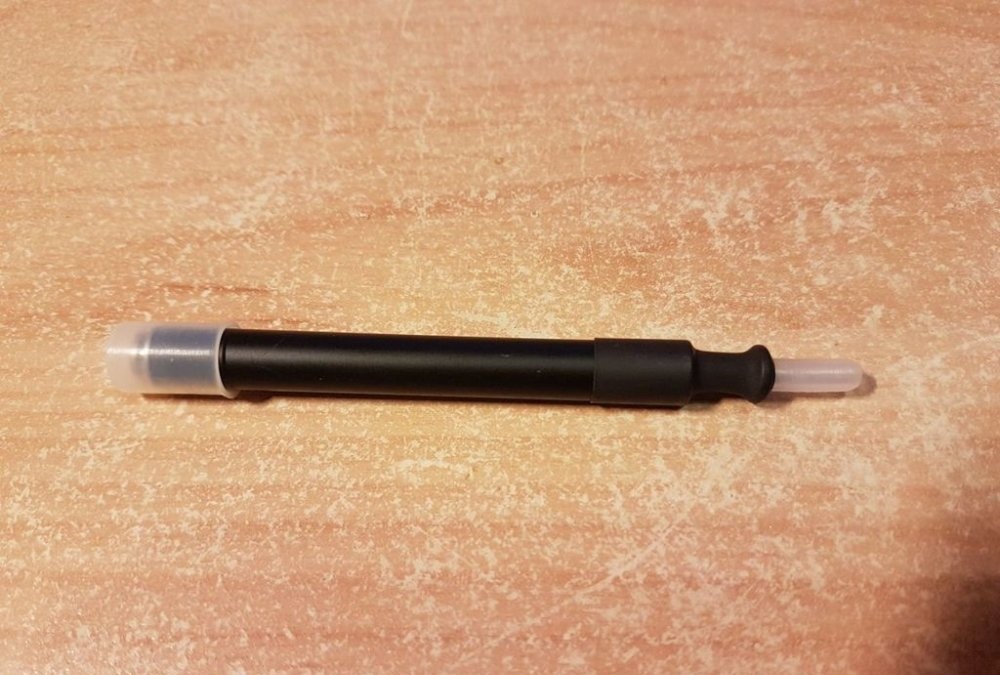
This part of the job will require some dexterity on your part.
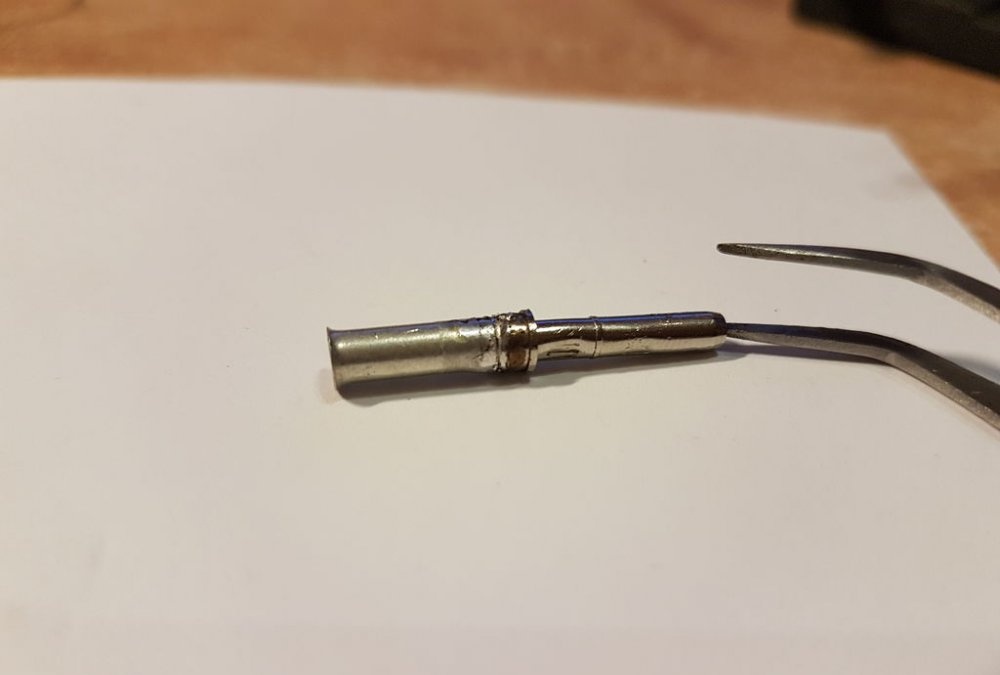
Take long-nose pliers and remove the evaporator core. Place a wire clamp on the outer end (about 3 mm outer diameter) (the pipe will fit onto it). To join them, heat both metal parts and apply a small amount of solder.
To create a vaping liquid, mix 80% glycerin and 20% distilled water. If you want the smoke to be thicker, add more glycerin to the mixture and vice versa. The ratio of 80 to 20 seemed optimal to me.
Add liquid to the evaporator. It is better not to fill the entire container, but just wet the fibers inside. Since when the evaporator is positioned horizontally, excess liquid in it may interfere with the heating of the coil. In this case, you will hear a hissing sound (as if it is functioning), but there will be no smoke. If this happens, remove the cover, remove excess liquid and reassemble the evaporator.
Preparing the Remote Controller
If you have not yet installed the Blynk application, you can do so using this link. After installation, you must register.
To install the development environment for Arduino, follow the link. Download and install the development environment, and create an empty project in the Blynk application.
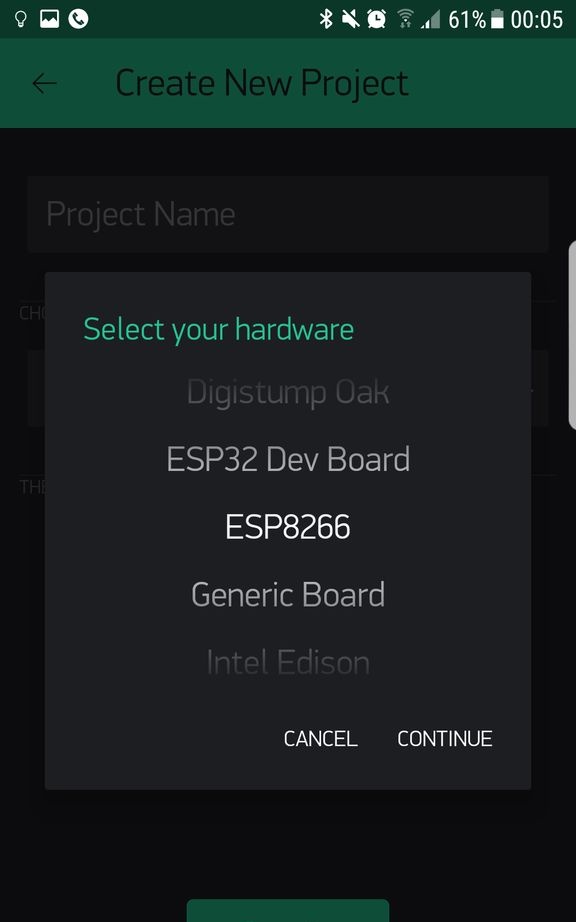
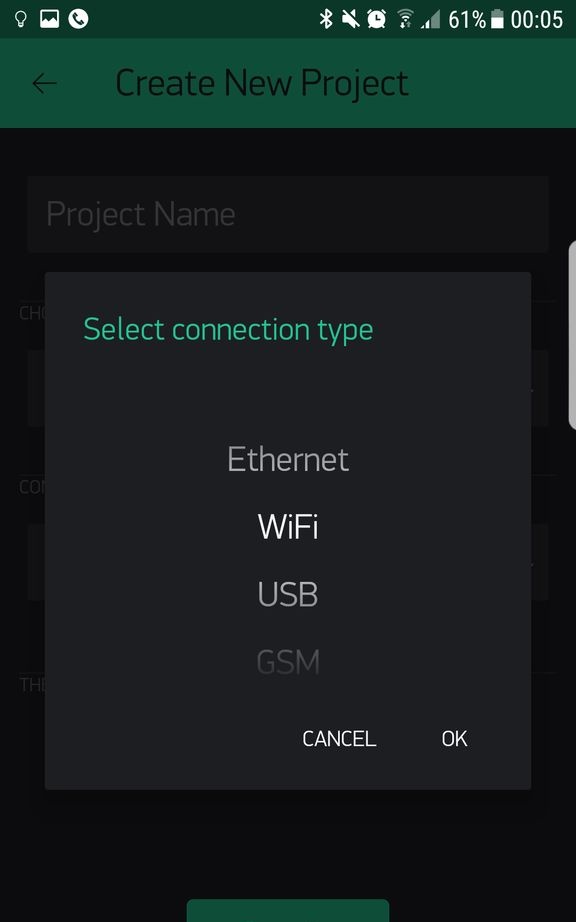
Select ESP8266 as the controller and WiFi connection type. A developer key will be sent to your email. We'll need it soon.
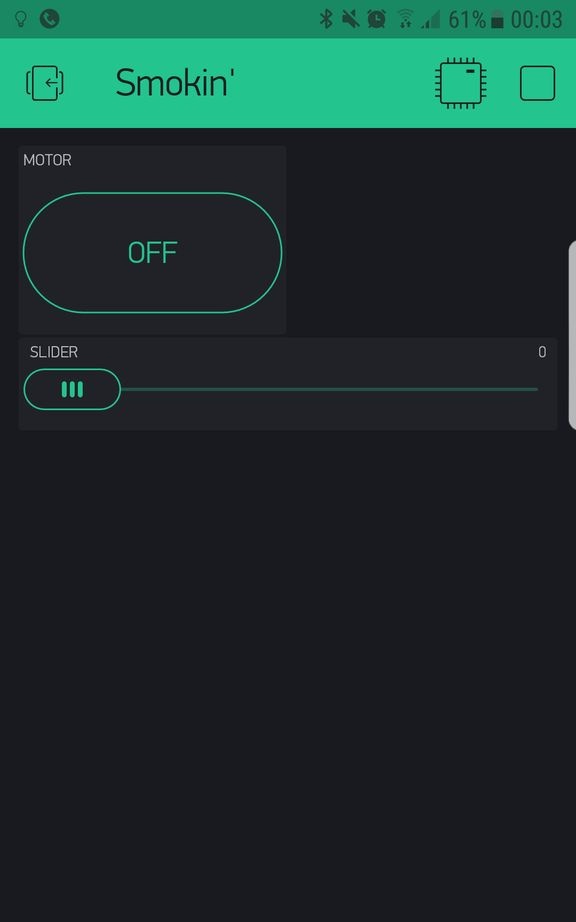
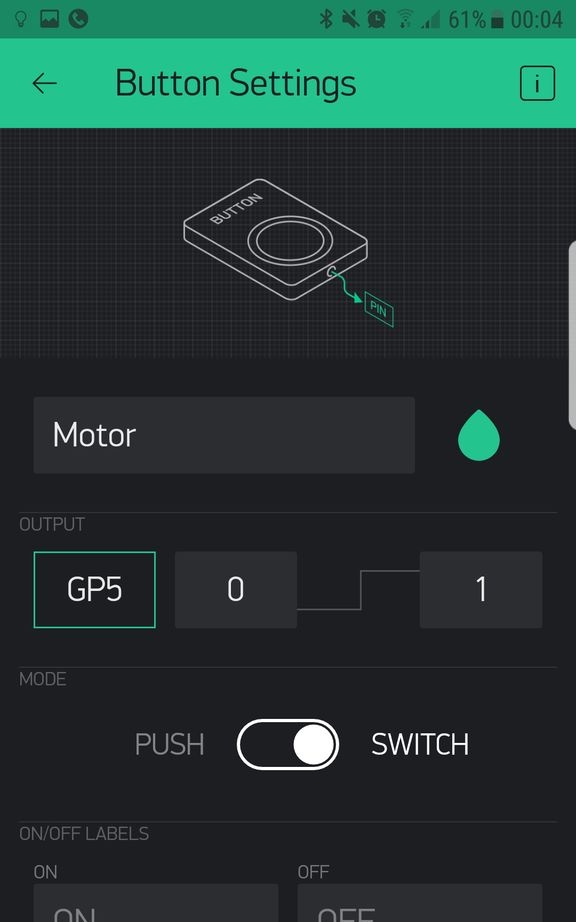
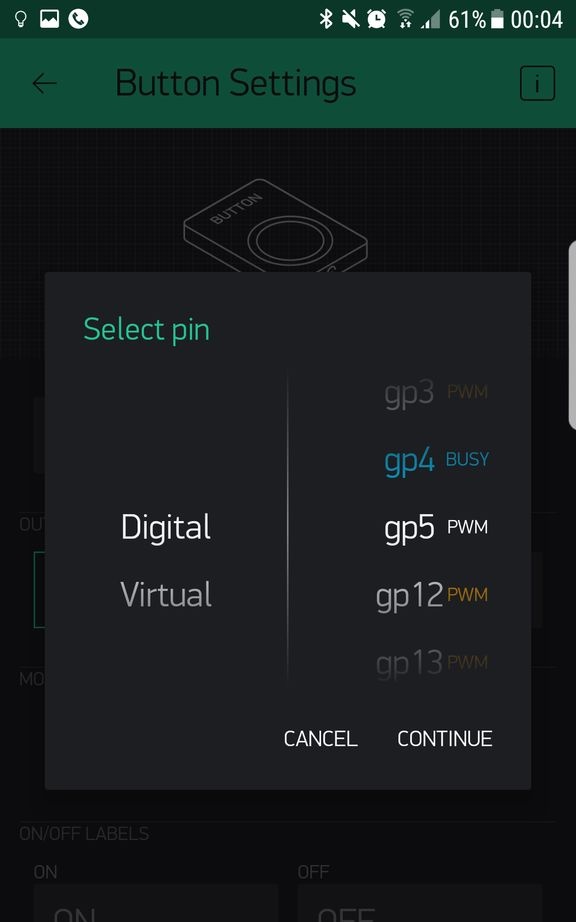
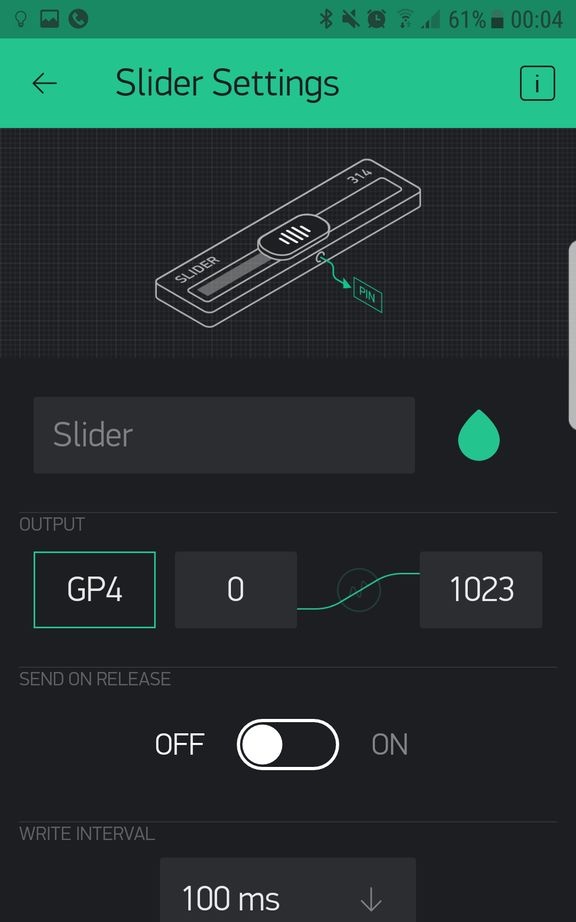
Add a button and a slider to the project and assign the corresponding functions to them (you can do this as shown in the images). Instead, you can add two buttons, but with a slider you can adjust the density of the smoke.
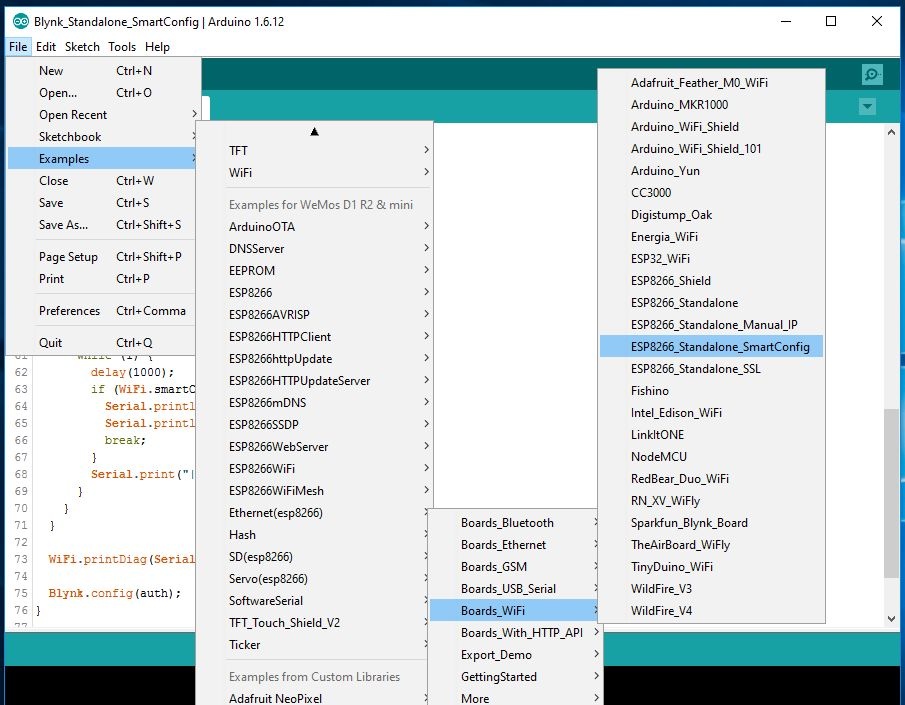
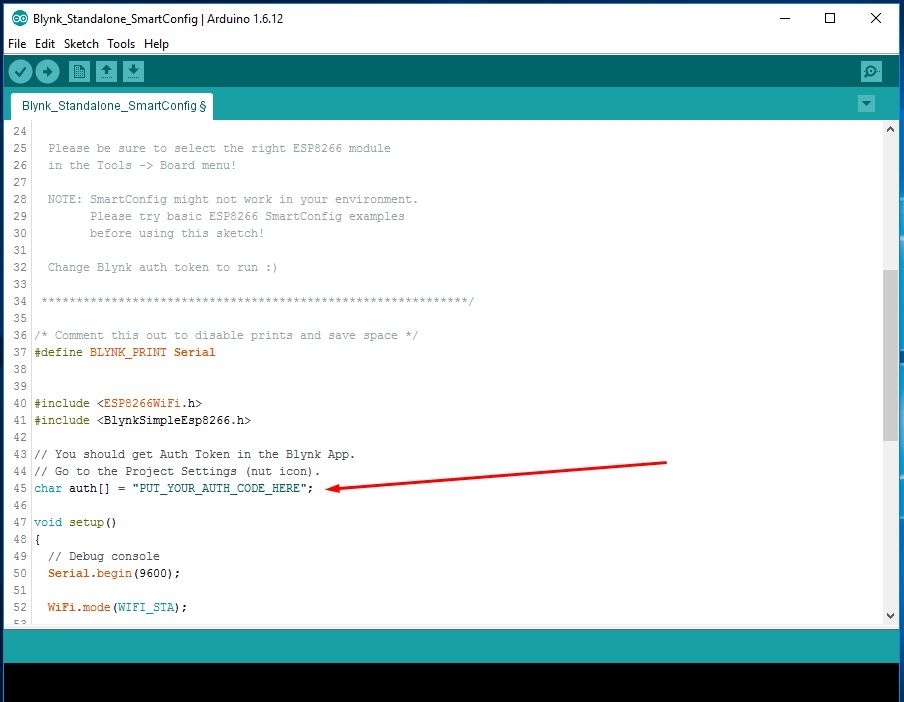
Connect the WeMos controller to your computer, open the Arduino IDE, select ESP8266_Standalone_Smartconfig from the options provided, replace the developer key with the one you received and upload the code to the controller.
After this you will need an application ESP8266 SmartConfig.
Open it, enter your WiFi password, restart WeMos, wait a few seconds and in the application dialog, click on the confirm button. It will tell you that the ESP is tied to the current network. From this moment (as long as the WeMos board is within range of the registered network), you can control the controller from anywhere (you do not have to connect to the same network).
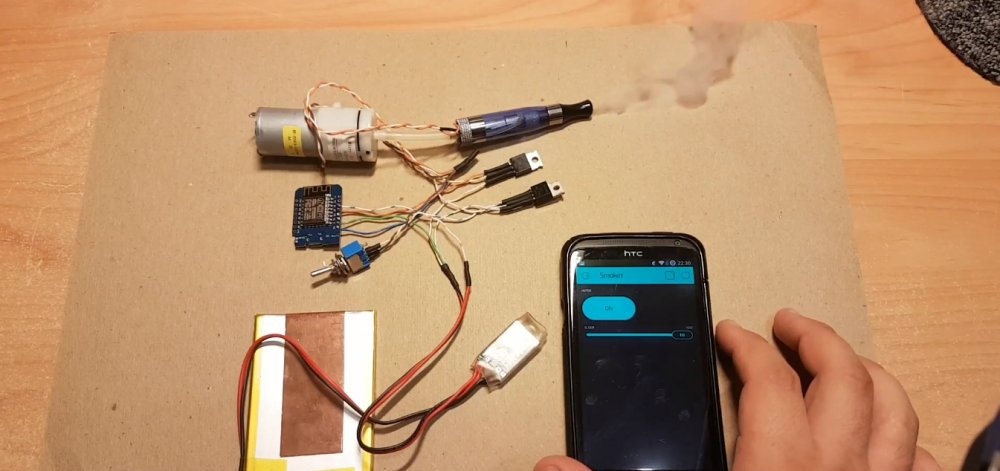
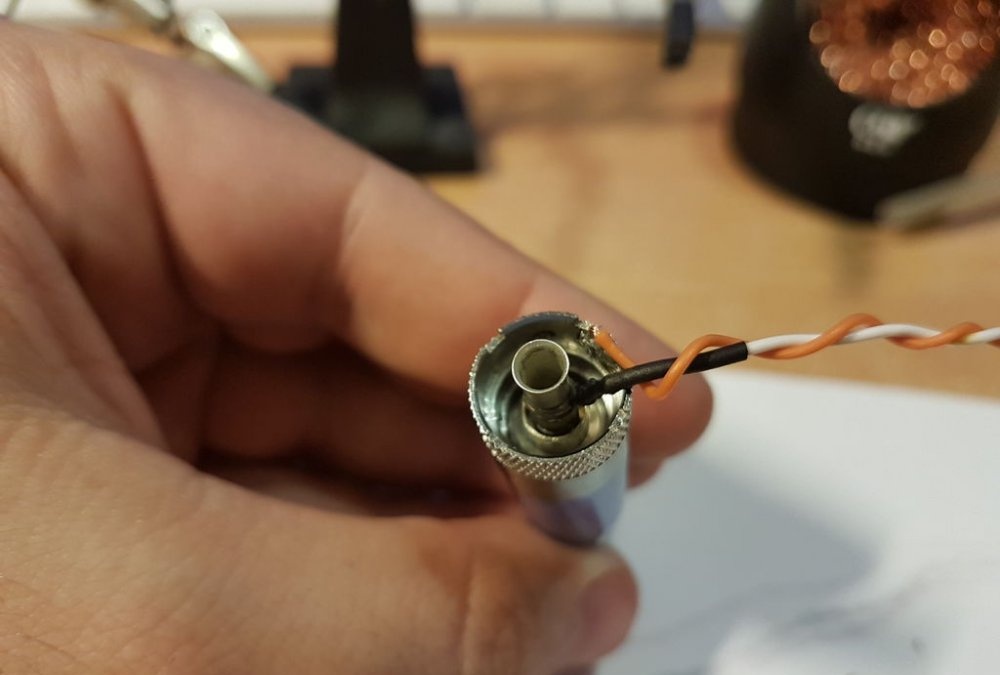
Soldering the device
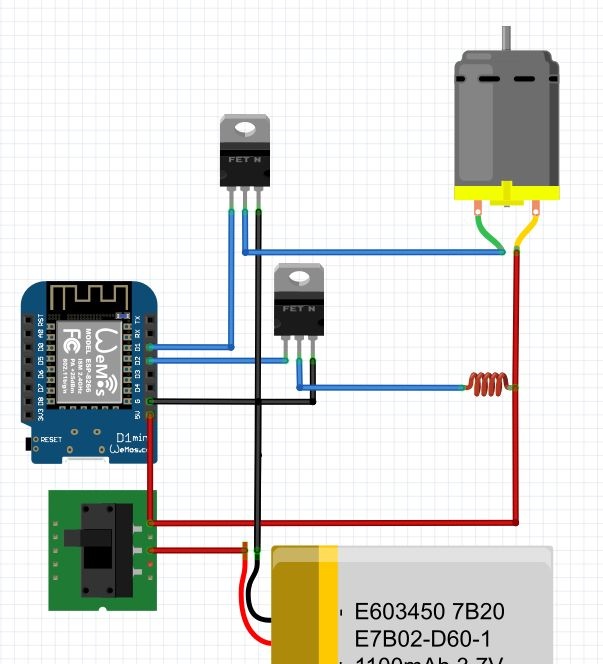
Following the connection diagram, solder the wires and insulate them.
Exposed wires should not touch parts of the microcontroller board (you can use electrical tape).
Check the system operation.
If everything is functioning properly, then you can pack everything in a box.
In my version, I added a simple charging controller between the switch and the battery.
Using a remote controlled smoke machine
I used this device to prank my colleagues.
At low smoke emission rates, the machine can be used to study air flows. For example, I checked the operation of my computer's fan and did some experiments on it.
You can also make a vortex cannon and fill it with smoke so that the rings can be seen.
WARNING: Due to ongoing processes, the evaporator may become hot. If the device operates for more than one minute, its temperature will become quite high. Keep this in mind and do not leave the vaporizer unattended.
Test video
Practical jokes
Be sure to watch the video on how to play a very creative prank on your friends or colleagues.
Original article in English