If you have a mixer lying around unnecessarily in your household, do not rush to throw it away or scrap it: it may turn out that it is quite ready to serve, you just need to work a little magic on it.
Let's try to figure out how to disassemble and what to repair, using just such an example as an example.
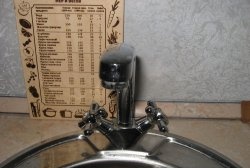
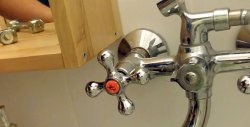
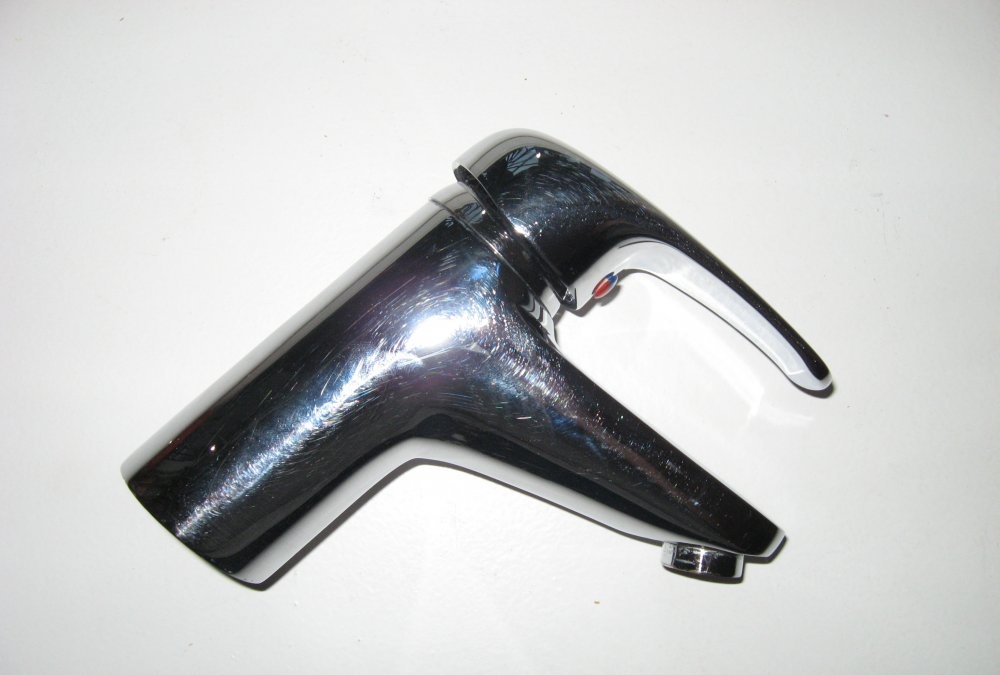
We had at our disposal a sink faucet from the Swedish company Osgard.
The design is a regular single-lever, so I think there won’t be any difficulties. Let's begin the first stage of our work.
Dismantling the crane
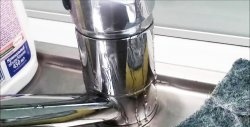
First, we need to disassemble the product in order to understand the degree of its suitability and the wisdom of replacing some of its parts if necessary. But before that, it won’t be superfluous to connect it to the existing water supply in the house: we need to make sure whether it holds water pressure or not. Based on the result, we can conclude whether we will have to change the cartridge or will we just get by with cleaning.
List of tools that we will need:
- - flat screwdriver,
- - hex key (in this case 2.5 mm),
- - locksmith's beard,
- - hammer,
- - adjustable wrench,
- - WD-40.
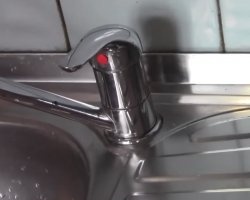
Let's get started.First, we need to remove the lever - use a screwdriver to pry it up and remove the red-blue technical plug.
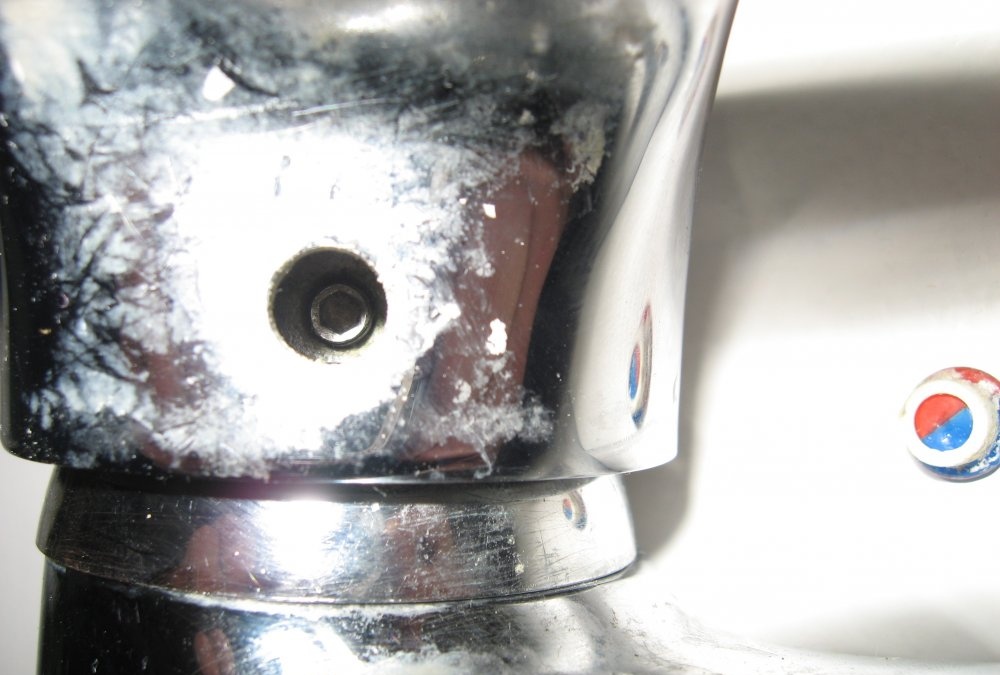
By removing it, we gain access to the hexagon screw. It holds the handle on the cartridge.
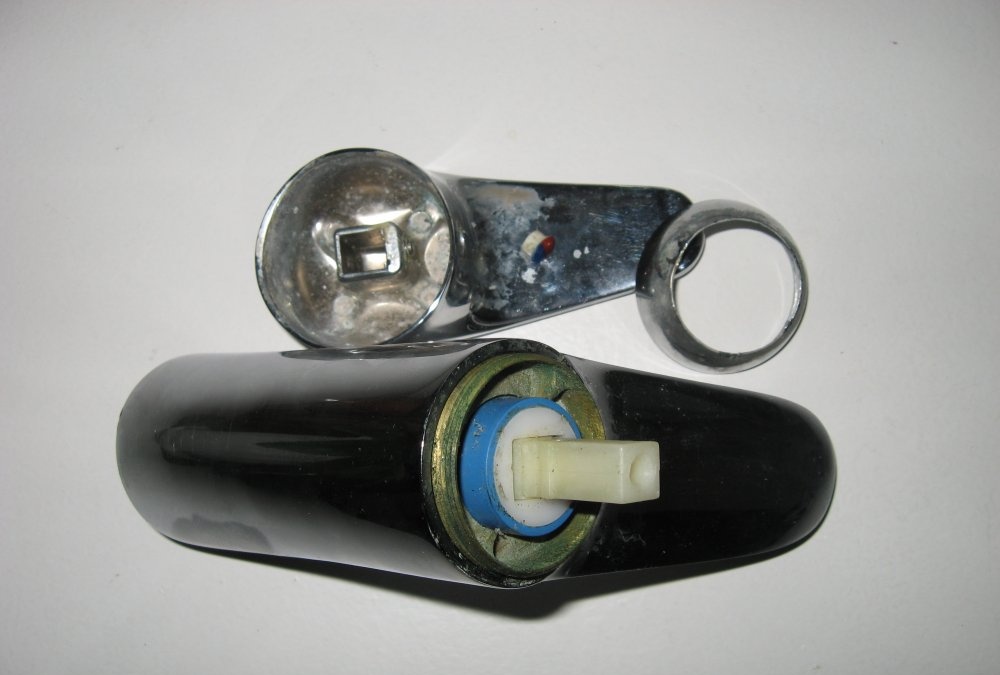
Having unscrewed it, remove the upper part and screw off the cap.
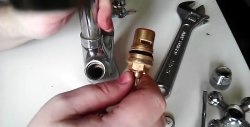
Now we have to remove the threaded connection. It is yellow (brass). Most likely, over the years of service it has become stuck, so it won’t be possible to unscrew it just like that. But it doesn’t matter: we take WD-40 and lubricate the gap between the body and the connection with it. Leave it for a while.
After that we try to unscrew it. In general, there is a special key for this operation, but, as you yourself understand, it is difficult to find. We can do without it - an ordinary mechanic's bit or an impact screwdriver and a hammer will help us out.
We place the mixer on the floor or table (after laying down the fabric), place the tool on one of the ledges and, gently tapping, move it in the direction of unscrewing.
Do not forget that the chrome surface of faucets is easily scratched, so during all operations with them, try to prevent the faucet from coming into contact with materials that could damage it!

Having unscrewed the connection, we take out the cartridge, it is blue here. We carefully inspect it for damage.
If the cartridge is intact and in good condition, then we continue to work.
We remove and clean the aerator. Despite its unsightly appearance, it will still serve, although it can be replaced with a new one - the price of a new (simple) one is only about 50 rubles.

Disassembly is complete. We wash all parts and, if possible, remove layers inside the case.
DIY faucet repair
If upon inspection it turns out that the cartridge does not hold water (it drips or runs), then it will need to be replaced.This is the most expensive part in the mixer (after the body), so we take this part and go to a plumbing store and find out their availability (they differ from one manufacturer to another) and the cost. Having received the information, we conclude whether it’s worth buying or whether it’s easier to throw away the faucet. Here, of course, the initial price of this model plays a big role: if, for example, such a new mixer costs 2 thousand rubles, and the cartridge costs 700 rubles, then it’s worth considering whether the game is worth the candle.
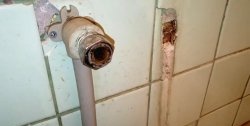
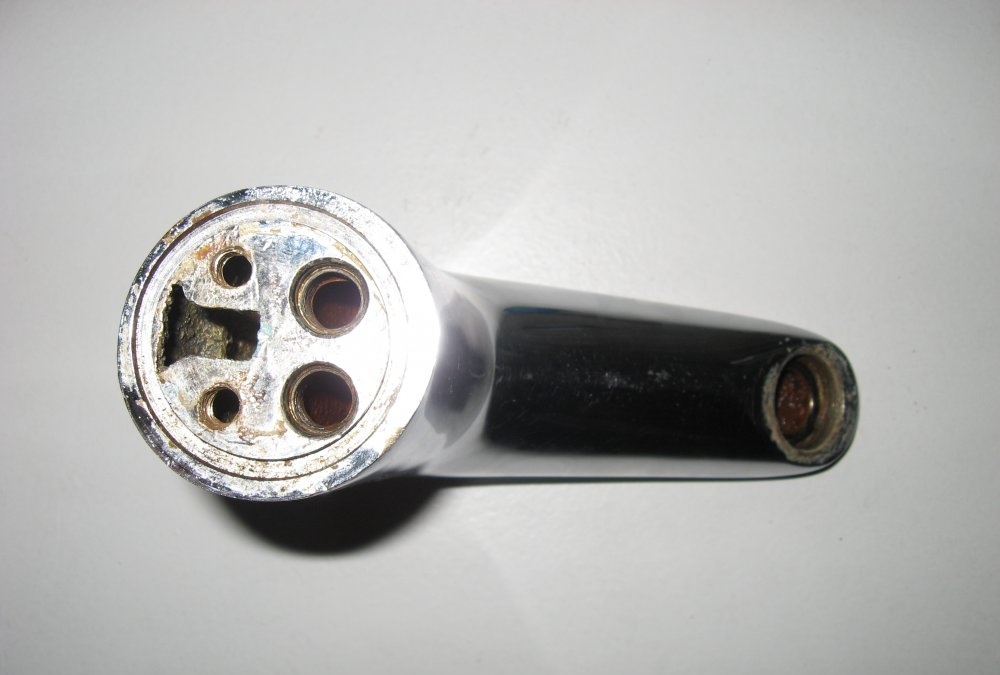
In addition, it may well turn out that the pins with which the faucet is screwed to the sink are simply rotten and there is no way to unscrew them.
This situation is possible with inexpensive models; in high-quality faucets, these elements are made of brass!
It’s okay, we’ll deal with this problem too. True, for this we will need additional tools: a hacksaw and a metal drill, a drill, a tap, a wrench.
Use a hacksaw to cut off the studs. Don’t rush to throw them away: you can use them to select new ones, knowing their diameter and thread pitch.
Then we drill out the remaining tips of the studs using a drill or screwdriver. We select the drill so as not to touch the walls of the holes. If they are still damaged, you will have to renew the threads.
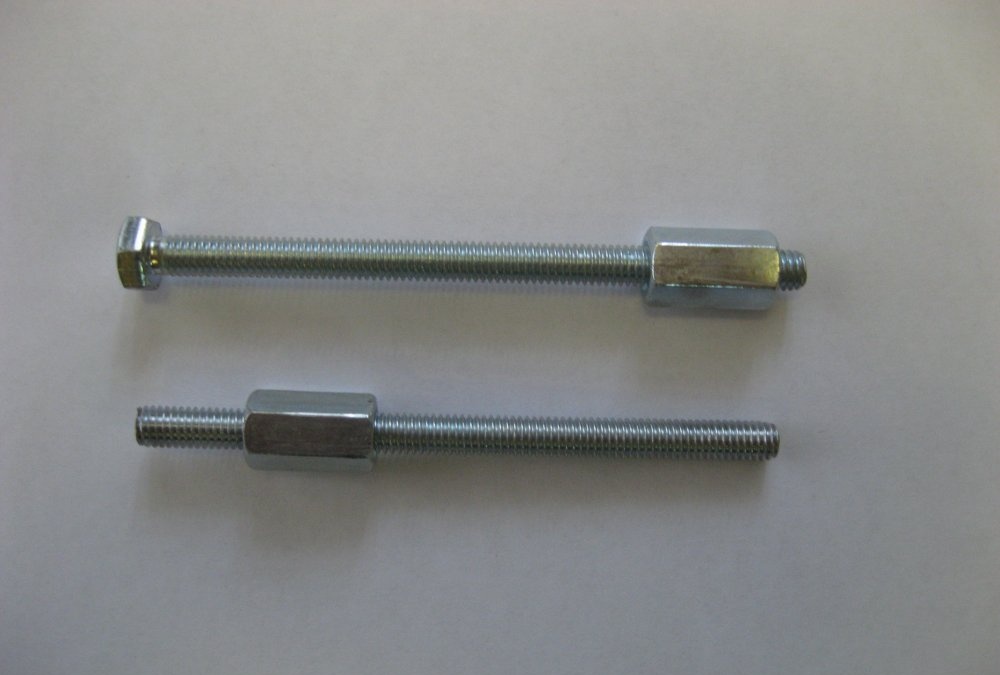
To find out which tap you need, you need to measure the diameter of the hole with a caliper and measure the thread pitch with a special metric thread gauge (M60). Surely you have neither one nor the other. This is where an old hairpin comes in handy - if you bring it to any tool store, they will pick it all up for you.
At the same time, do not forget to buy two bolts with the required dimensions and nuts for them. Why bolts? Because the studs are sold only by the meter, and we will cut off the heads with a hacksaw and get what we need.
In our case, it was also not possible to drill accurately, so we had to update the thread with an M6x1 tap. Mixer bodies are made of non-ferrous metals, i.e. not hard, so the cheapest tap will do.
Having done this, we screw in the new studs, and that’s basically it. All that remains is to tidy up the mixer: clean it of dirt and lime deposits.
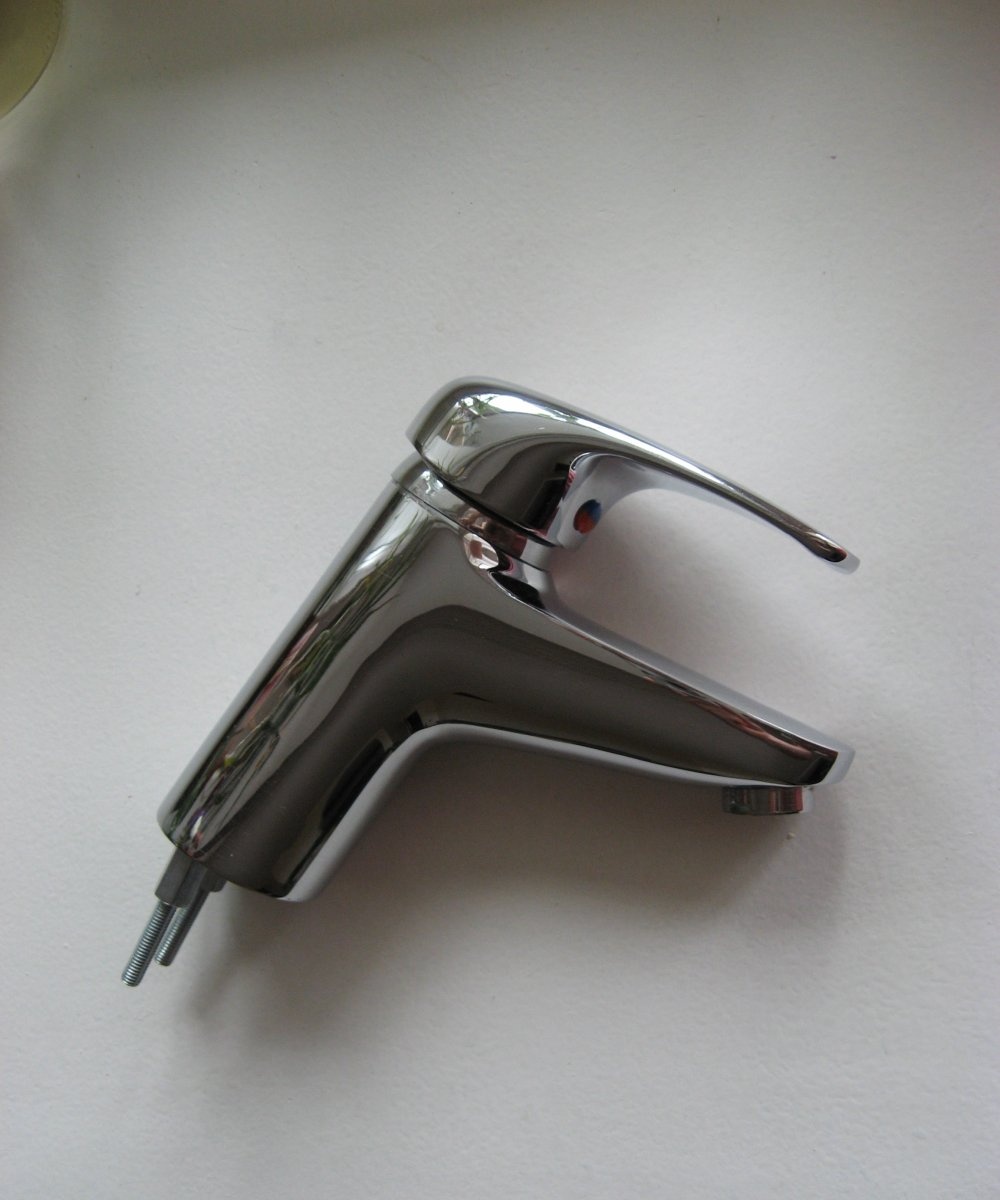
Thanks to a good cartridge and aerator, repairing this faucet cost only 100 rubles. - this is the cost of two bolts and nuts, plus an M6 hand tap.