Firing wood is one of the simplest ways to decorate and protect the surface from a number of harmful influences. How to properly perform such an operation at home is described step by step in the article.
Who invented burning wood?
According to one version, it is generally accepted that the Japanese were the first to burn wood. At the same time, they used this technology, oddly enough, not on their products. Initially, in this way they saved forests from fire during the fire season. The burned lower part of the barrel became difficult to ignite and, accordingly, was less susceptible to fire.
The second popular legend also comes from Japan. If you believe this version, then the Japanese once noticed that after a fire in the forest, charred trunks survived longer than those that had escaped the fire. In particular, they noted for themselves that burnt wood does not rot so quickly, and it is also not sharpened by insects at all.
Later, this technology, suggested to people by nature itself, began to be used in construction. So, before installation, the roofing board, wall beams, and wooden piles were fired. This made the building more durable, protected from insects and, partly, from fire.
Even later, firing began to be used to decorate wood products, in particular, for furnitureused outdoors. The goal, in this case, was not only to protect the material from harmful influences, but also to give the surface an attractive appearance.
There is also a version that the Vikings began burning wood long before the Japanese. They used this technology to process their ships.
Benefits of charred wood
The advantages of wood treated with open fire are as follows:
- presentable appearance;
- unattractive to insects;
- increased fire resistance;
- compacted surface;
- increased strength;
- improved moisture resistance;
- wear resistance;
- protection from ultraviolet radiation.
In addition, in the process of firing low-quality lumber, almost all defects are eliminated - darkening, blueness, slight rot. The processed product also does not require planing and finishing sanding.
Application of technology at home
In everyday life, firing of lumber is used everywhere. The technology makes it possible to transform pine into rare wood without the use of stains, toners and oils. In particular, with deep firing, which is described in this article, the most defective pine easily turns into wenge (grows mainly in Africa).
It is especially useful to use firing in the manufacture of products and structures that will be used outdoors. This could be garden furniture, a fence, a gazebo. Also, wooden elements of housing are often treated with fire - sheathing, front boards, terraces, staircase balusters, and so on.
Burnt wooden boxes, gift cases, picture frames, grooves and photographs, various stands and lamps will look beautiful.
What kind of wood can be fired?
Not all wood can be protected and decorated in this way. First of all, this applies to fruit trees, oak, ash and alder. However, the most common lumber – pine and spruce – can be fired perfectly. Veneer and multi-layer plywood can also be treated with fire.
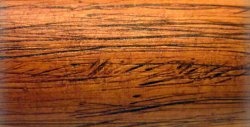
For firing, it is best to choose a material on which the ornate structure is visible. During processing, the soft wood will fade and be removed, and the hard fibers will be highlighted in a darker color. At the same time, knots, blue stains, fungus and other defects are not a problem for fire.
When firing coniferous wood, it is better to use dried material. It burns much faster, it contains less resin, which will cause certain problems later. It is also quite possible to burn raw wood. However, it should be borne in mind that such treatment will partially clog the pores of the material, and the moisture remaining inside will take much longer to come out, which is not good.
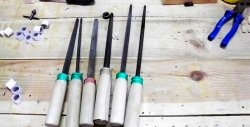
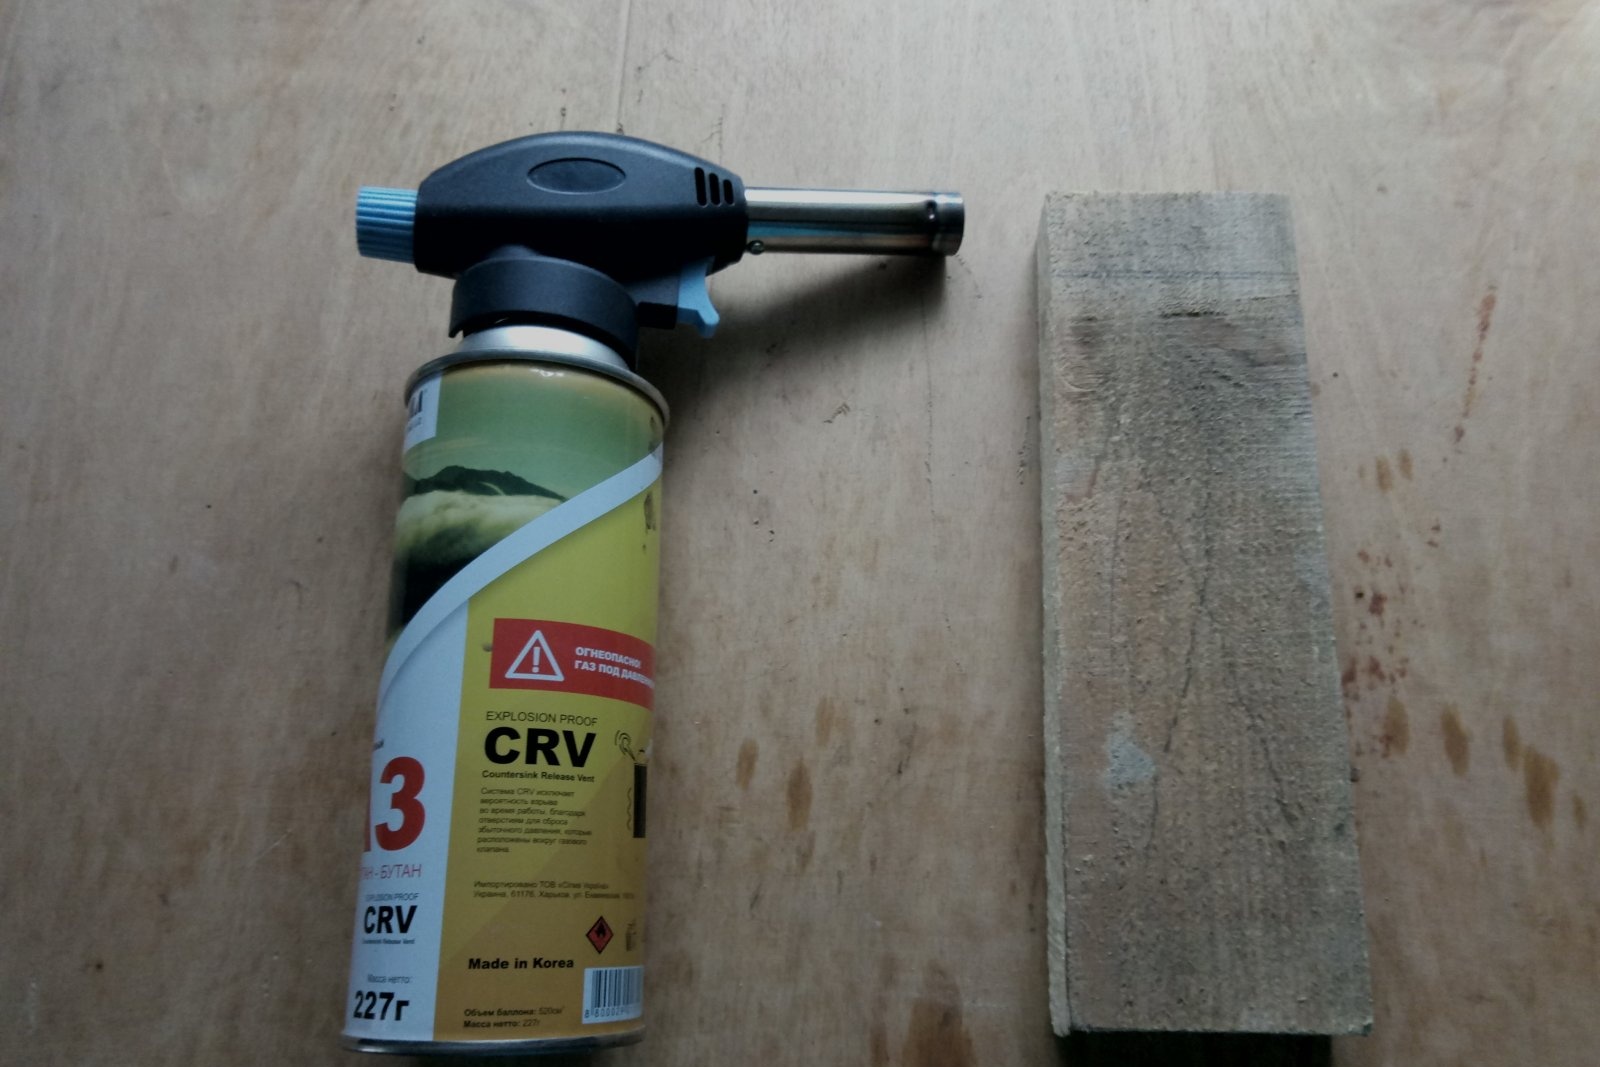
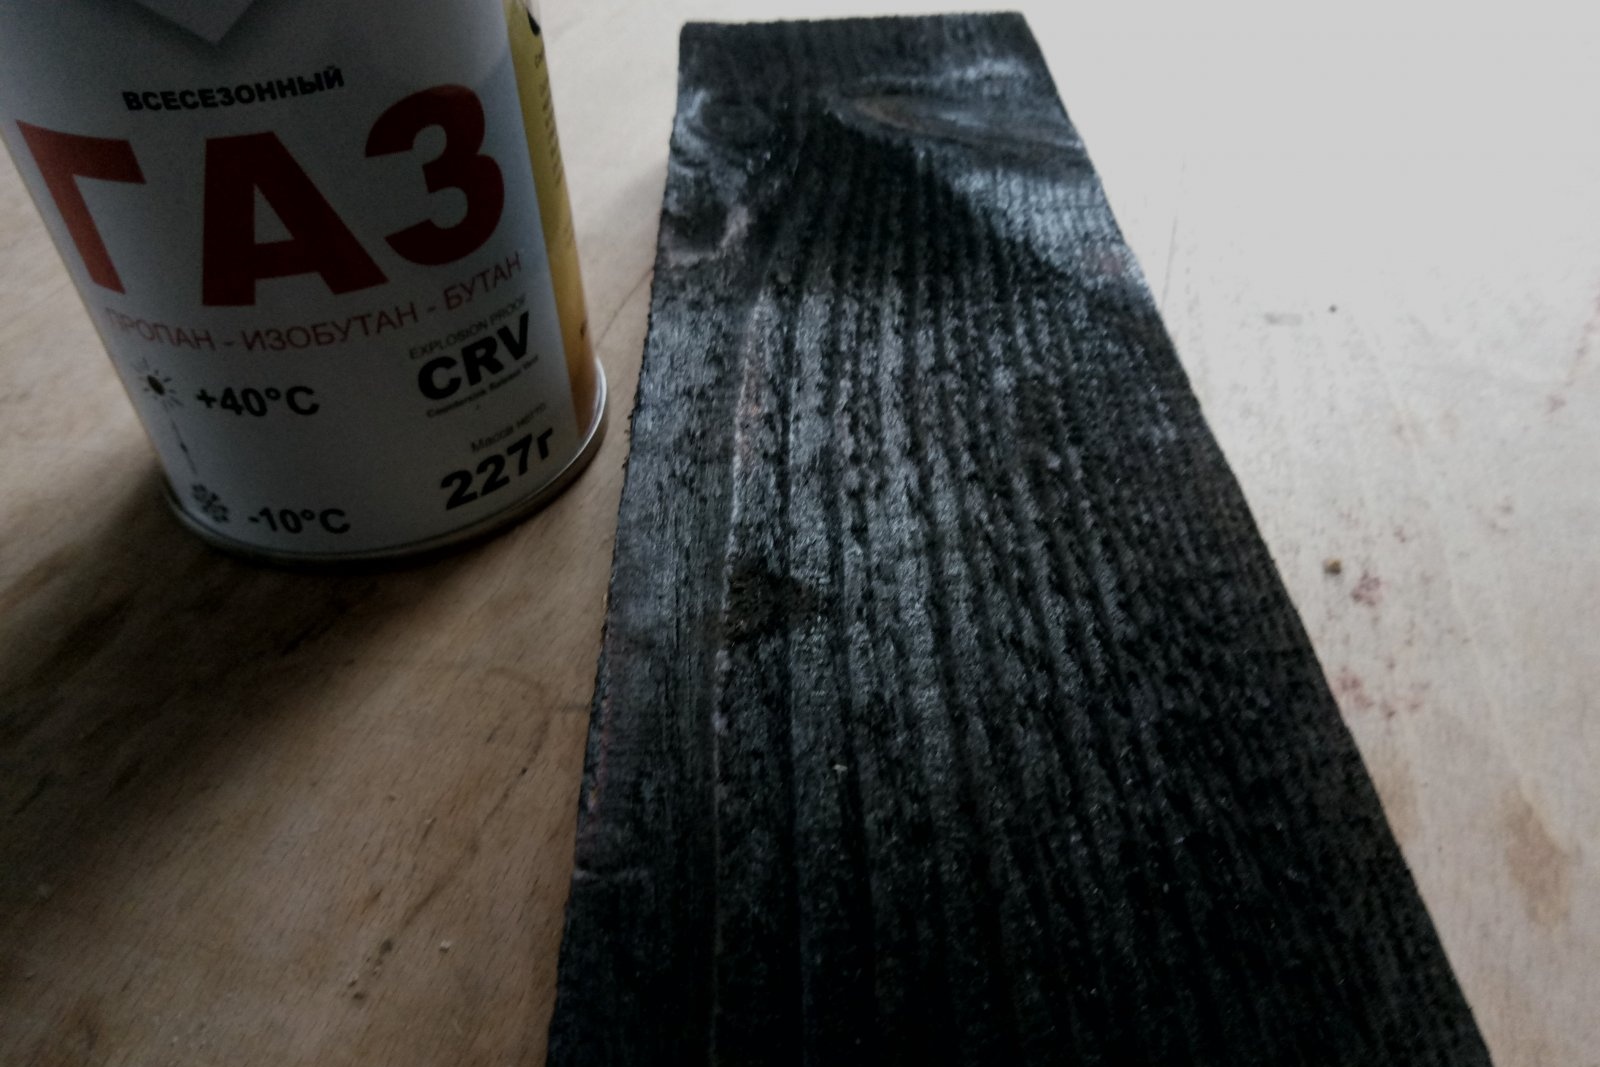
Firing tools and materials
The main tool in this matter is a gas burner. Just an open fire (gas stove, fire, etc.) is not suitable, and it will not be possible to evenly burn a large surface. It is also undesirable to use a gasoline-powered blowtorch. It burns, of course, excellently, but drops of unburnt fuel can fly out of its nozzle, leaving shiny spots on the wood. As an alternative, you can try using a hair dryer. But it takes a lot of time, and deep firing cannot be achieved.
A gas burner is best suited for this task. It costs a penny, is safe to use, easy to control and configure. You can get by with even the cheapest Chinese-made option, which, together with a can of gas, will cost about $5.
For large-scale work, it is better to get a large gas burner, which is designed for laying bitumen roofing.
In addition to a source of directed fire, you will also need felt. As a last resort, you can take a dishwashing sponge from the kitchen and use the harsher side for the job.
Essentially, that's all there is to it.
Stage-by-stage firing of wood. Nuances of technology.
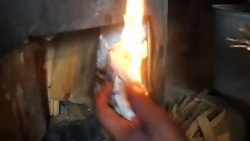
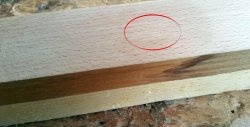
Deep firing should begin with a superficial passage of the burner through the material. At this stage, you need to heat the wood evenly, burn out any protruding lint, and also uncover places where resin is concentrated in large quantities. These areas will need special attention later.
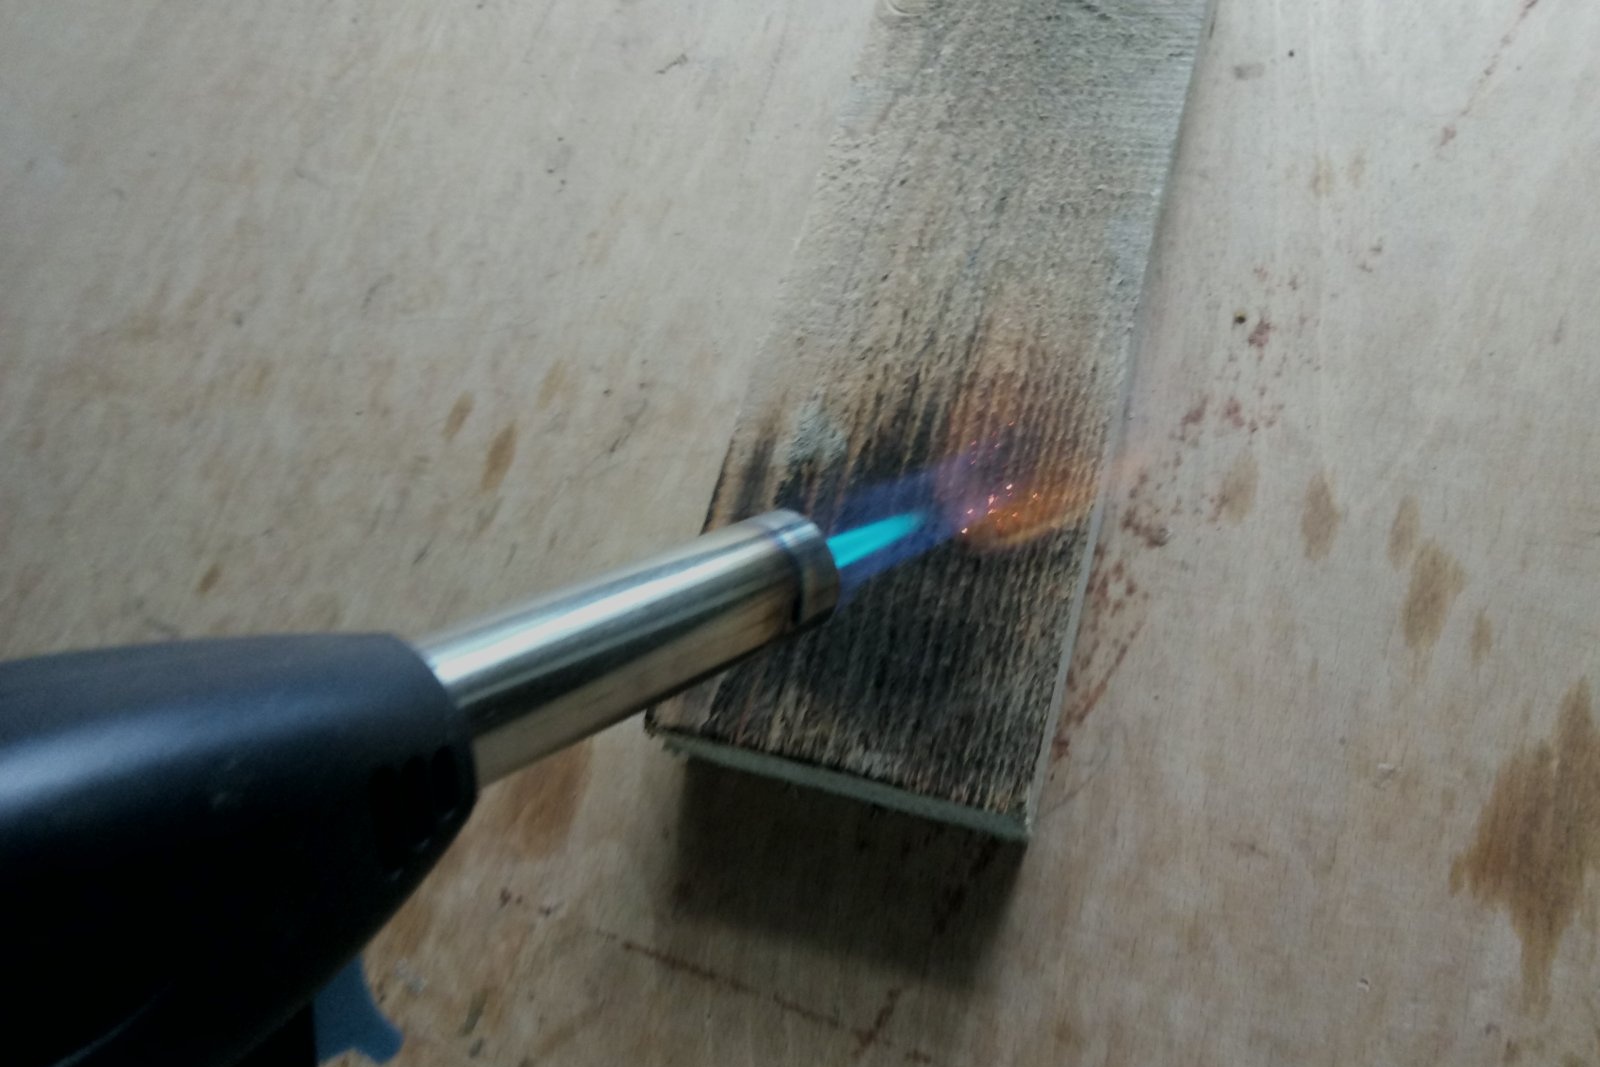
The photo clearly shows such places. As a rule, they appear on knots, and after the first pass they do not darken, but are covered with boiling resin. It is highly flammable and can ruin the entire result, so you should warm up the knots carefully. Warmed it up, waited until it boiled, then again. Repeat until the boiling stops.

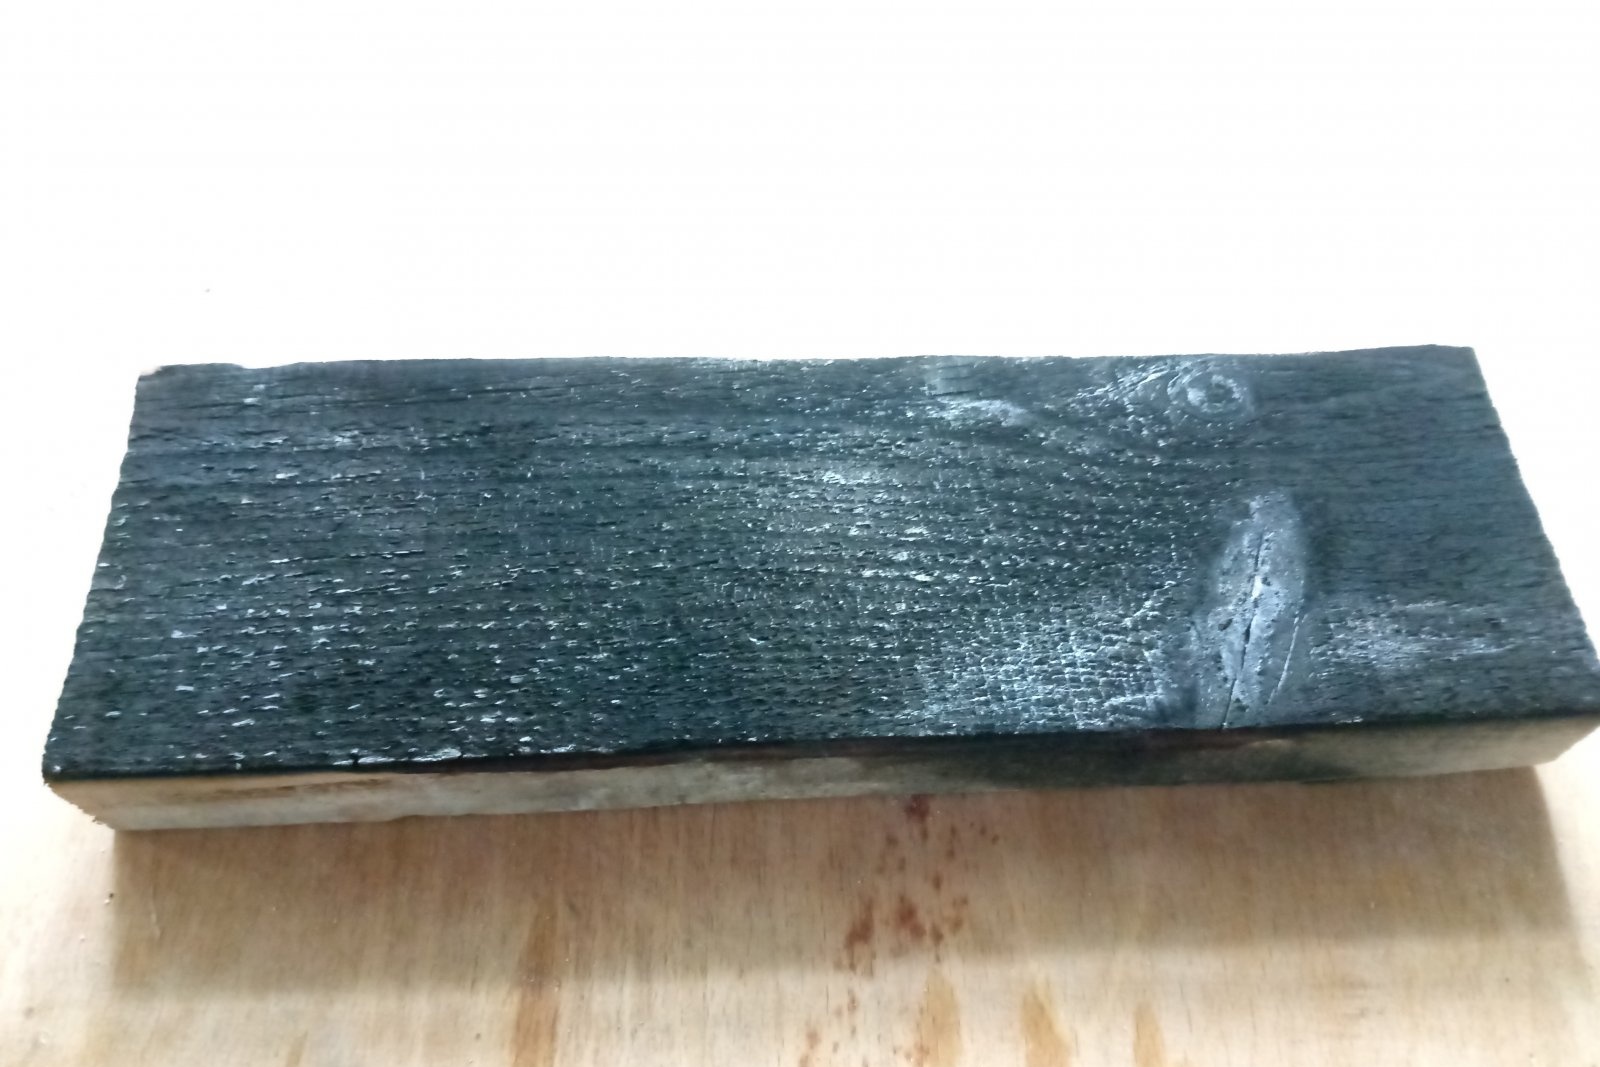
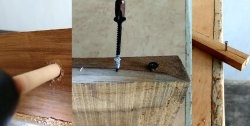
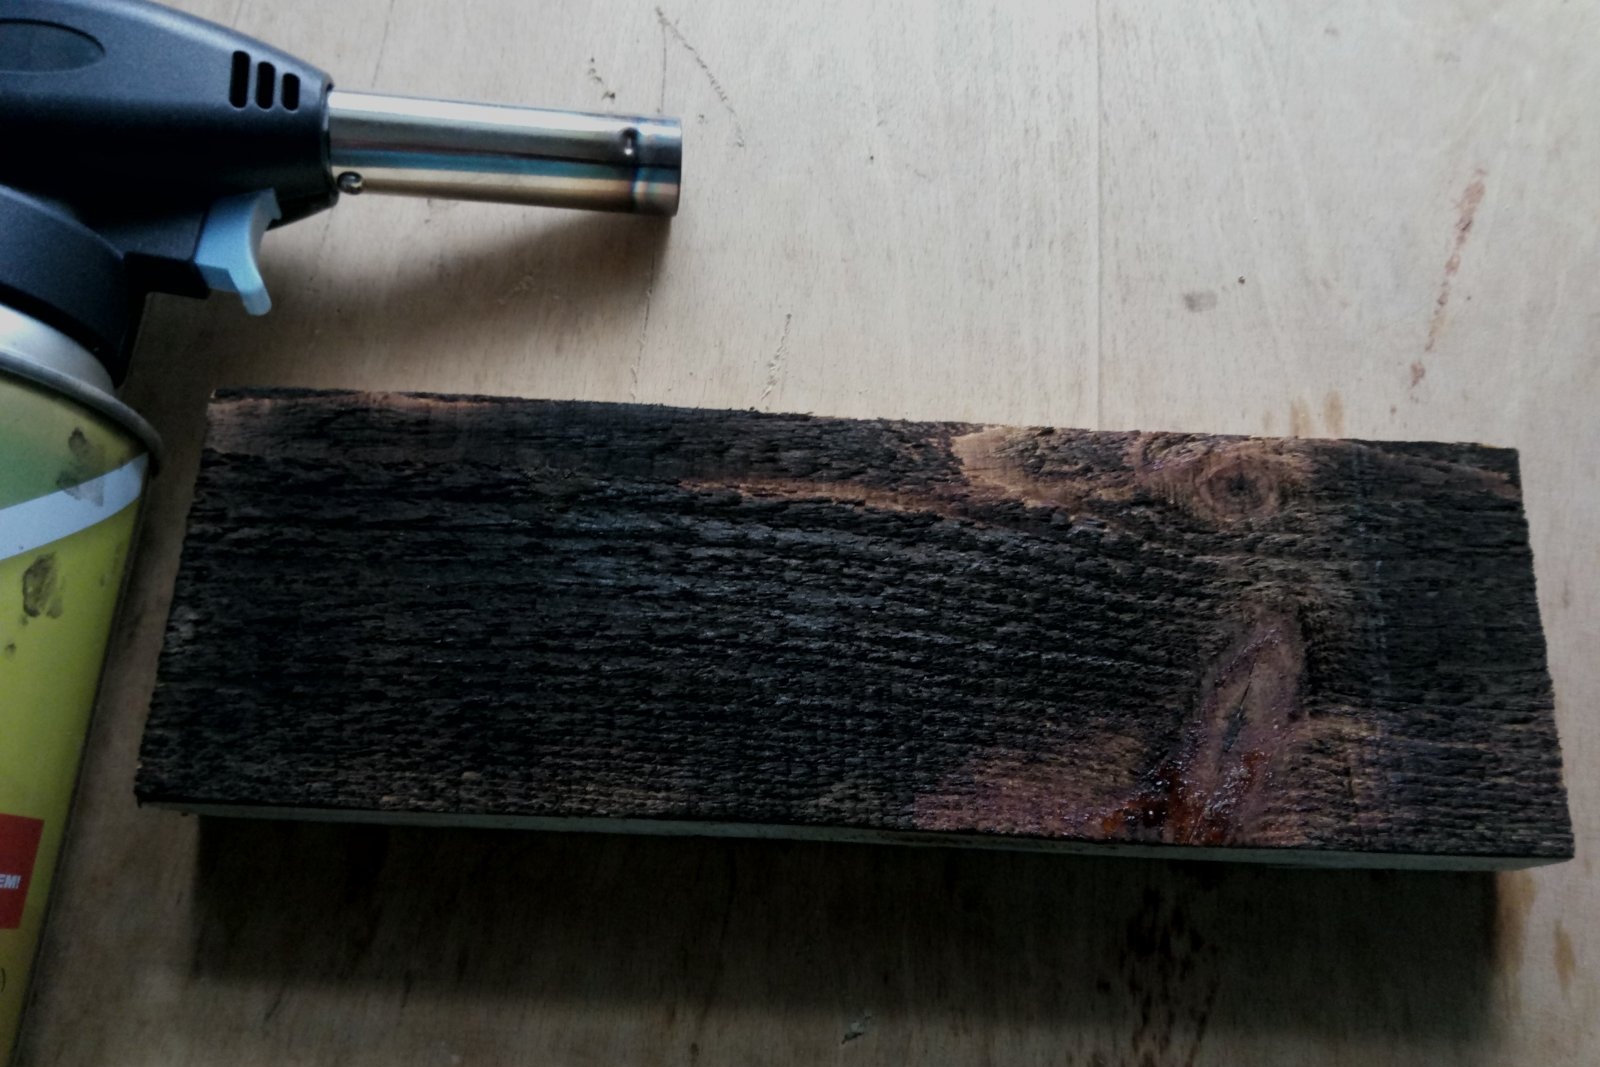
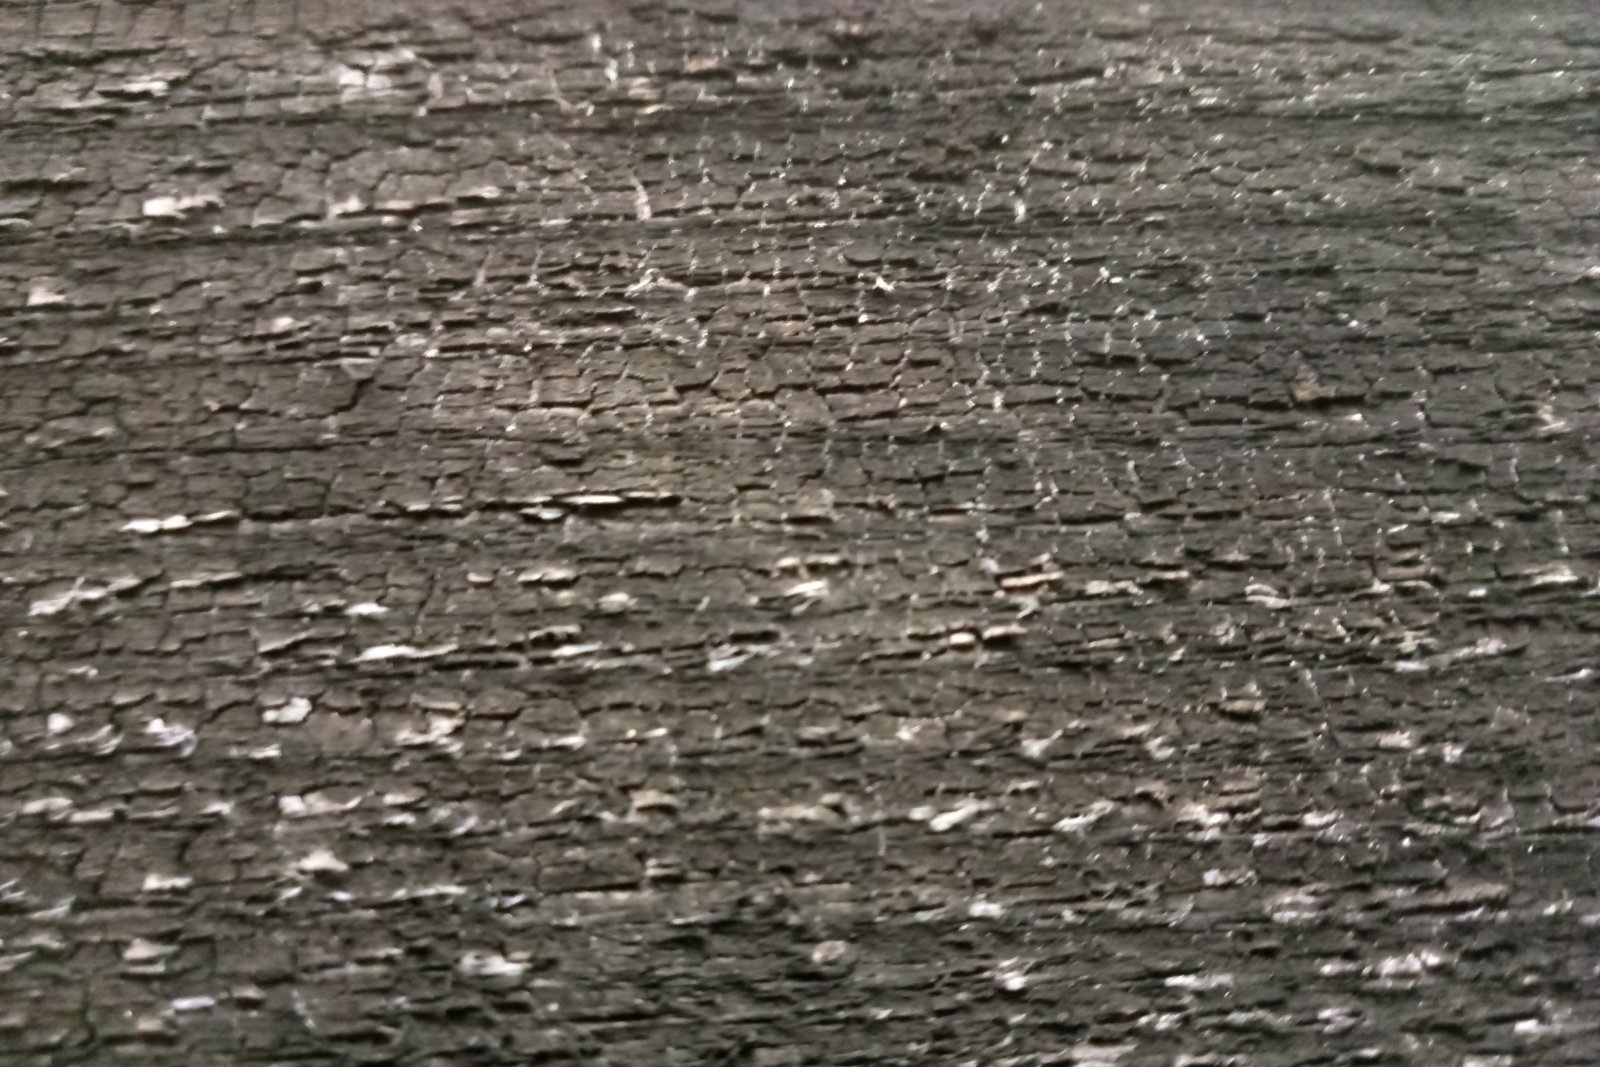
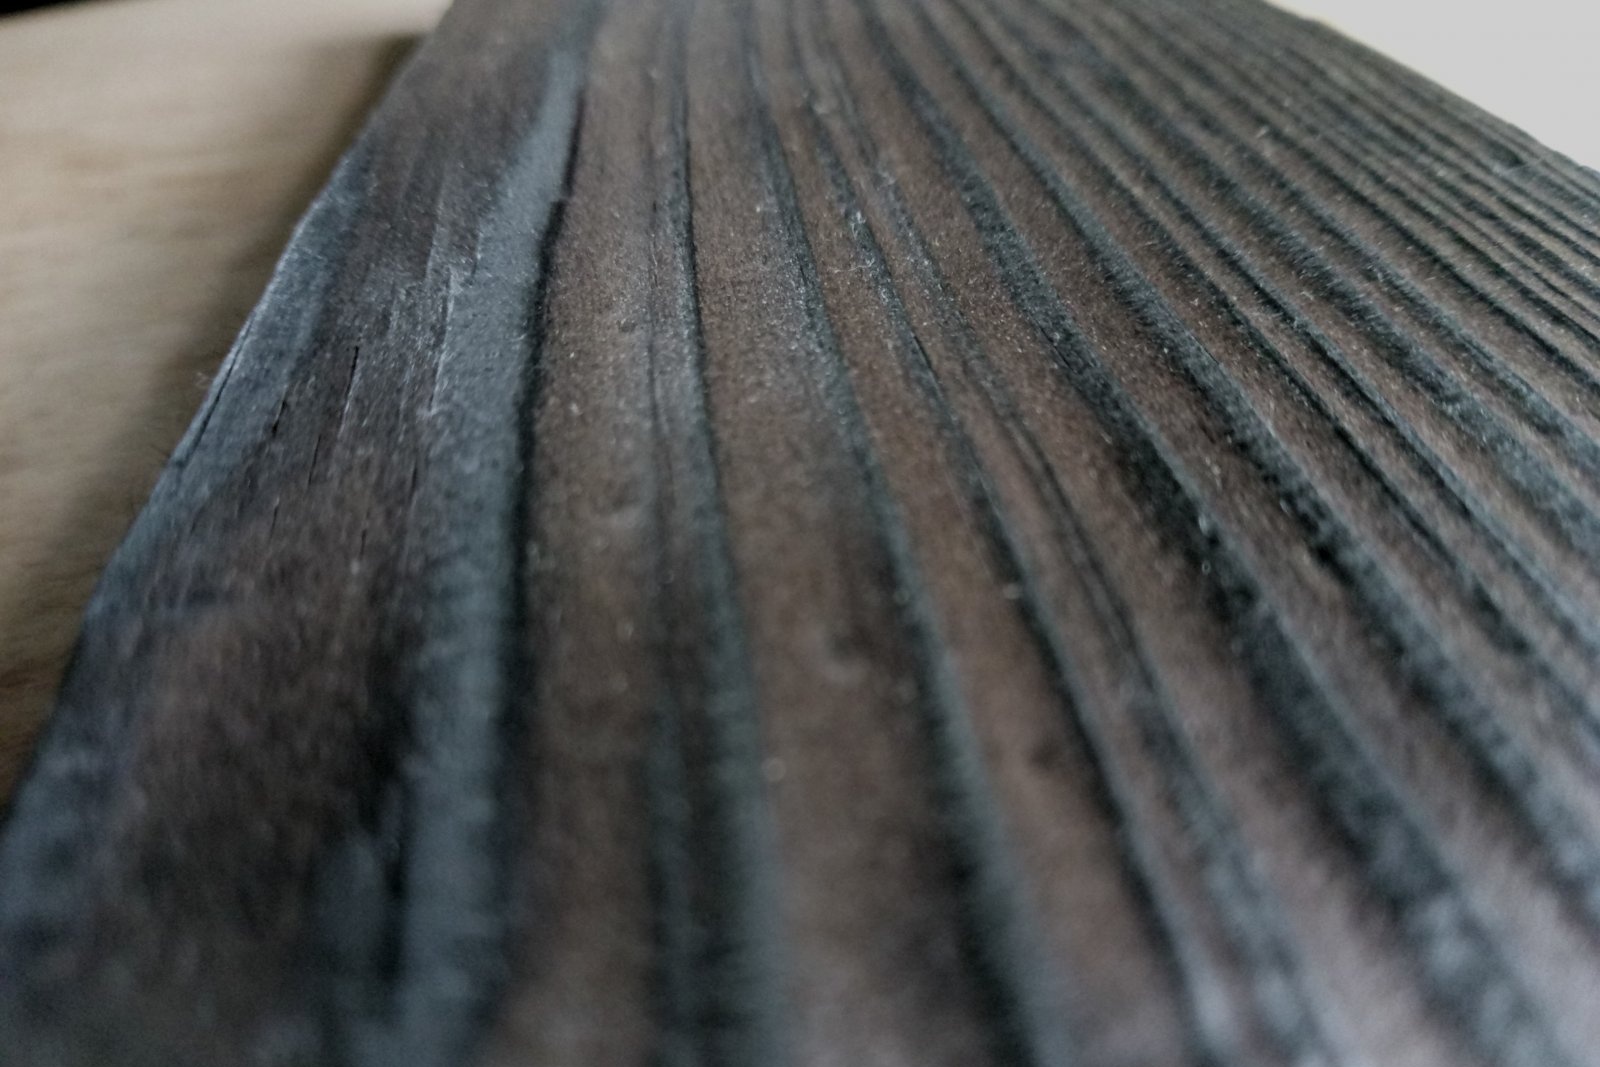
While the resin is boiling and the wood in these places is cooling, the second stage is carried out in parallel - deep firing. The goal is to get the surface to char and crack slightly. The photo below clearly shows what it looks like.
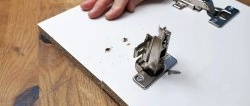
The next stage is cleaning the surface from soot. This can be done in several ways: using felt, a soft brush or a special attachment for an angle grinder (brushing brush).The only condition for all cases is that soot must be removed only in the direction of the wood fibers.
Sandpaper is not suitable for these purposes. It is advisable to use it only for surface firing of wood. In this case, it is necessary to remove all burnt soft fibers, and sandpaper without scratches will not cope with this task.
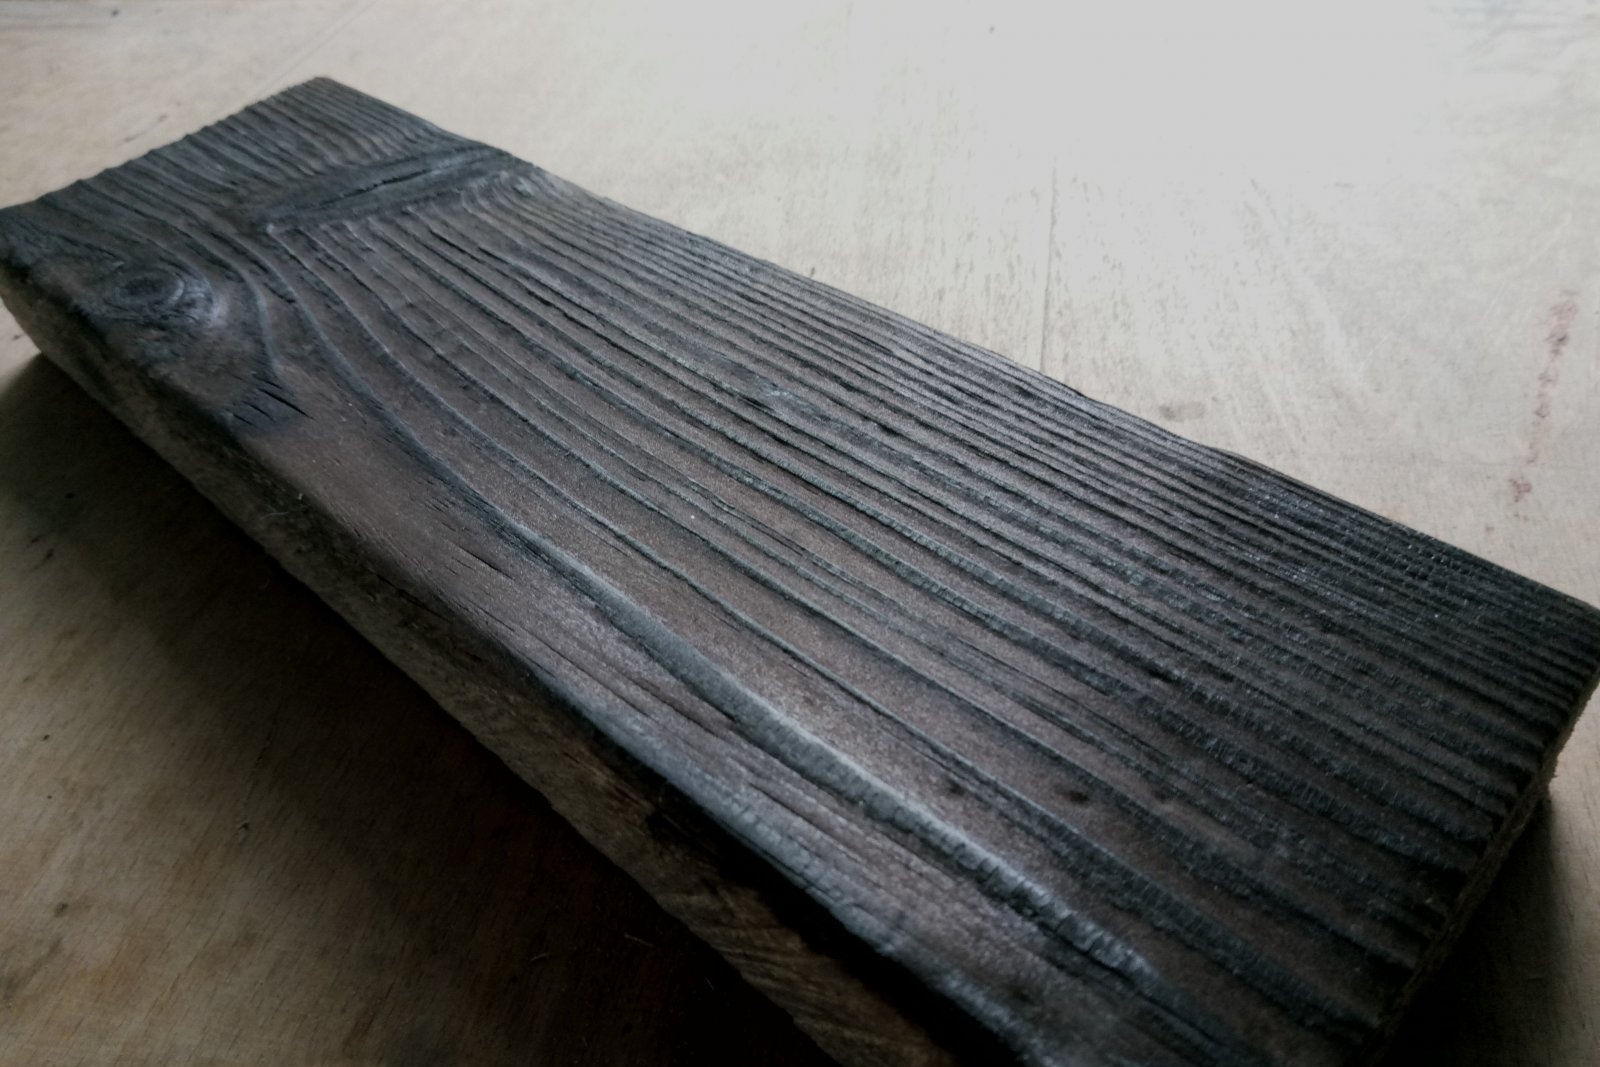
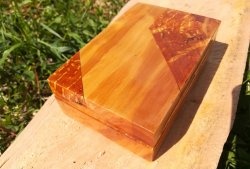
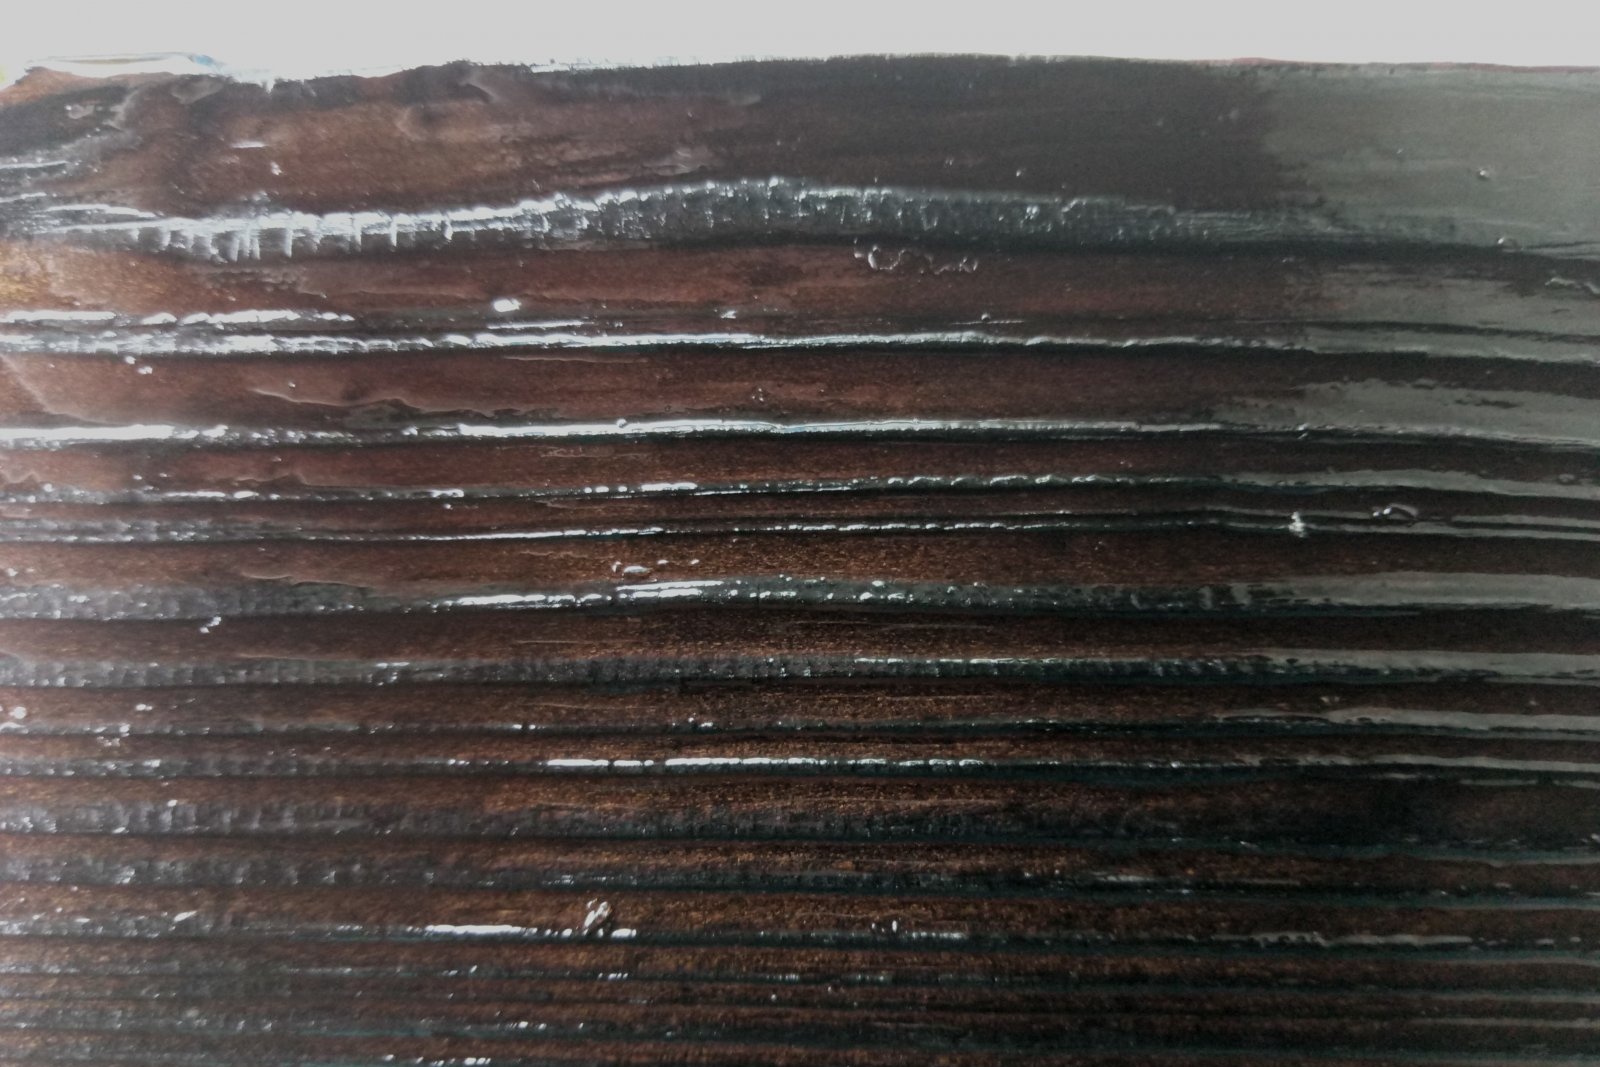
By the way, if you want the result to be lighter than in the photographs shown, you need to brush the surface longer. But you can achieve lighter shades only with a brush. You won’t be able to “reach” light wood with felt.
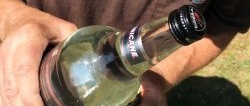
Some craftsmen wash off the soot with water, which, in principle, gives a good result. But it should be borne in mind that dry wood, in direct contact with water, will take on some moisture, which, in turn, can lead to deformations and other problems in the future. A more predictable result is obtained only dry.
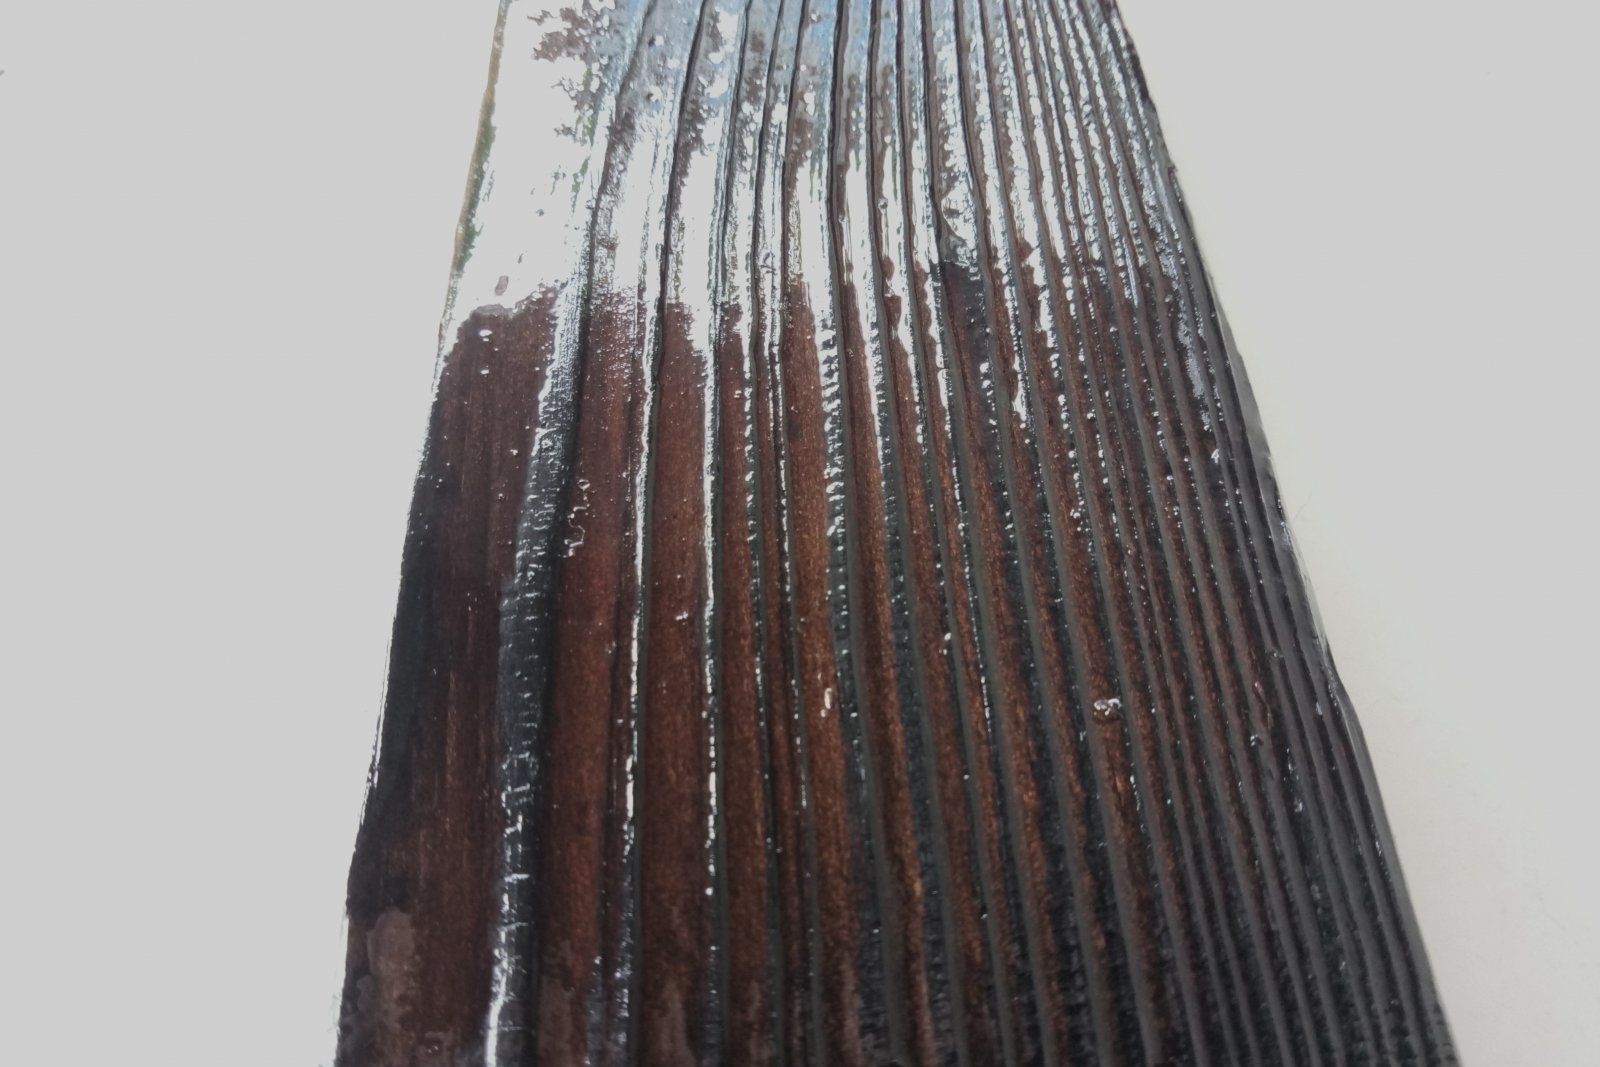
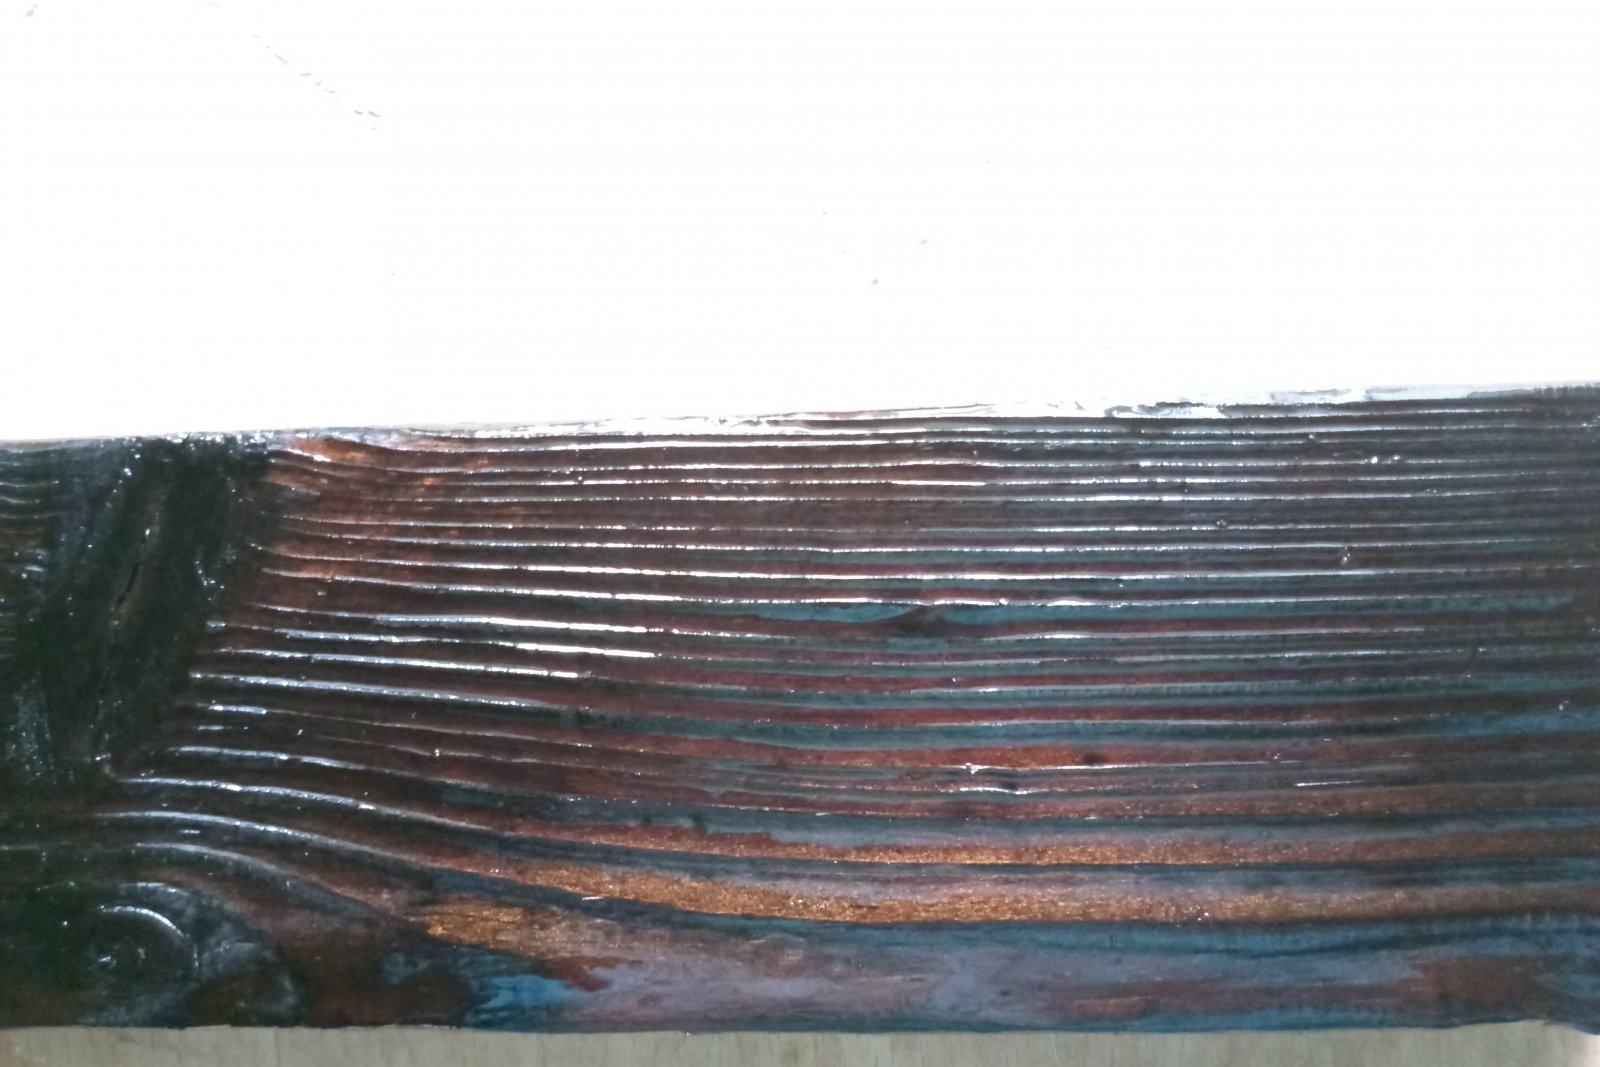
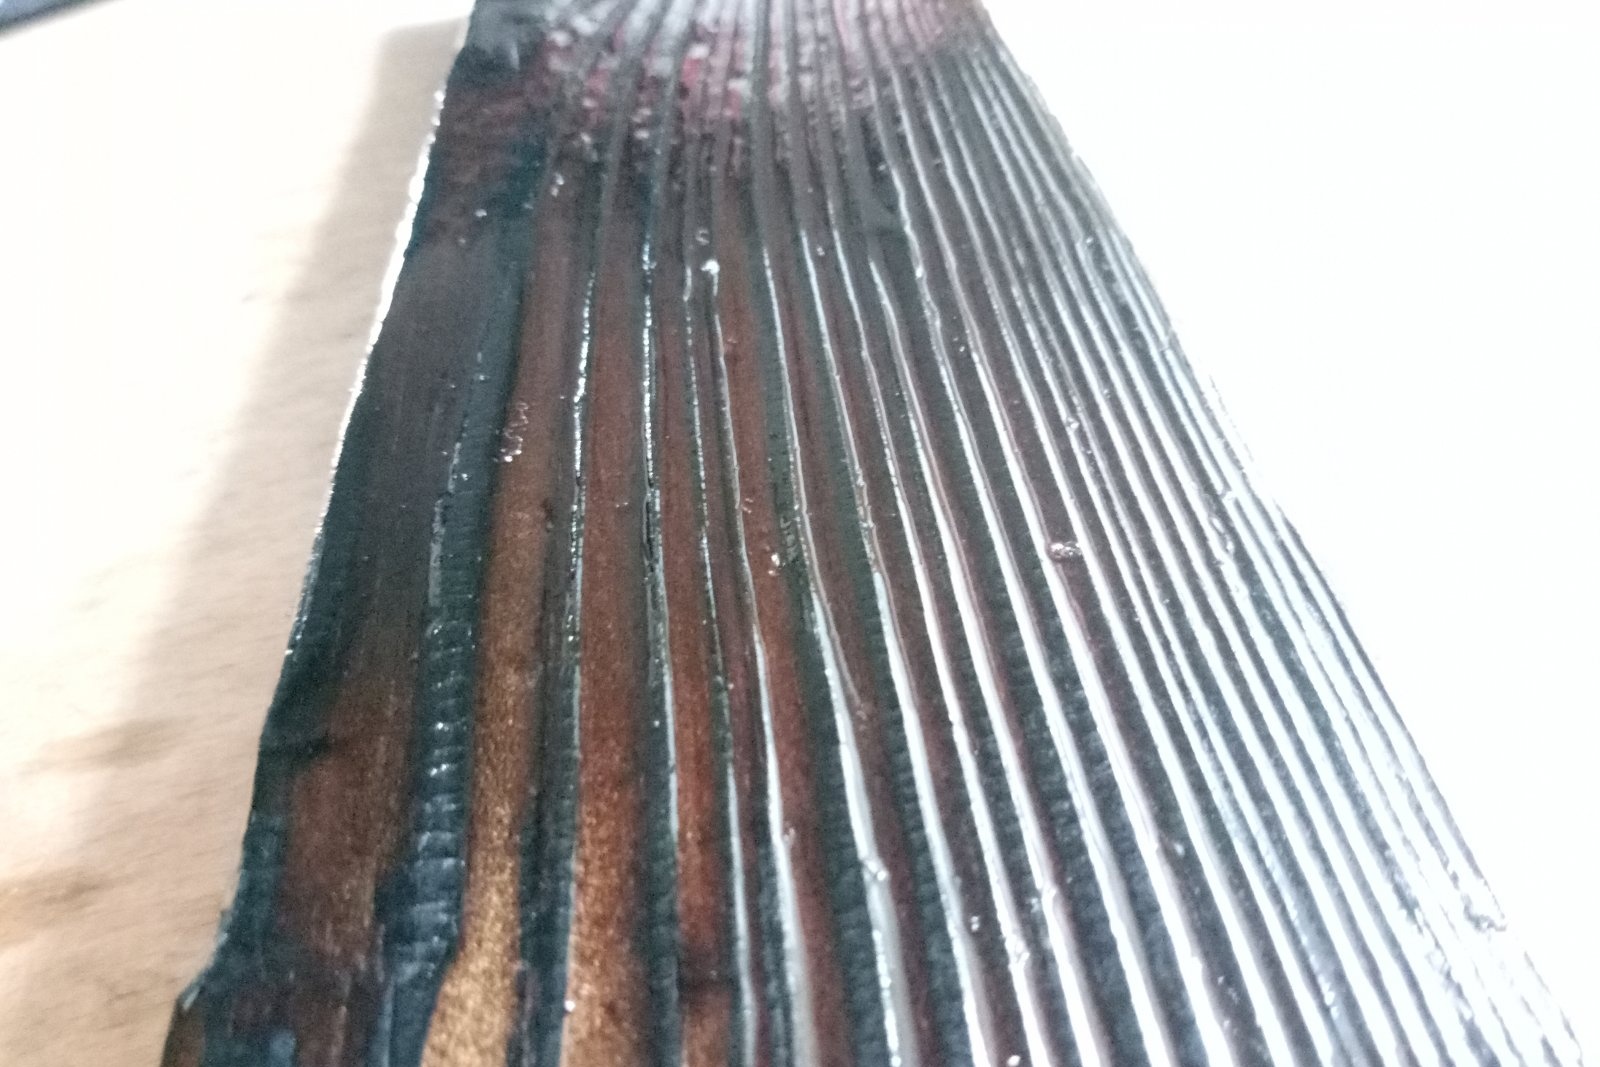
After firing, all that remains is to coat the wood with a protective compound. To get a silky, matte surface that feels like pure wood, use special oils. A glossy surface that shimmers under the sun’s rays and at different viewing angles from black to light is obtained after applying several layers of regular wood varnish.
Results
In general, decorating the simplest pine using firing is not a complicated procedure that requires experience, expensive tools and compounds. The main thing is to prevent prolonged burning of the wood, completely evaporate the resin, achieve cracking and remove soot only in the direction of the fibers.