Do it yourself
Life hacks, master classes, useful tips, recipes.
home » Construction and repair » Construction » How to install a fence post to last forever
How to Install a Fence Post to Last

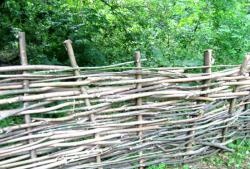
Hi all! I want to show you how to properly install fence posts, since there is not a lot of information on the Internet. If you install posts using this technology, your fence will be strong, even, and most importantly, will last a very long time. The method ensures complete stability and stability as a result of upward movement of the soil, protects against rise due to changes in natural seasons and temperatures.

Installing a fence post


We prepare the pillar. This is a 50x50 profile pipe, with a wall thickness of 3 mm. When choosing it, you should never save money, since this is the main support of the future fence.
How to Install a Fence Post to Last

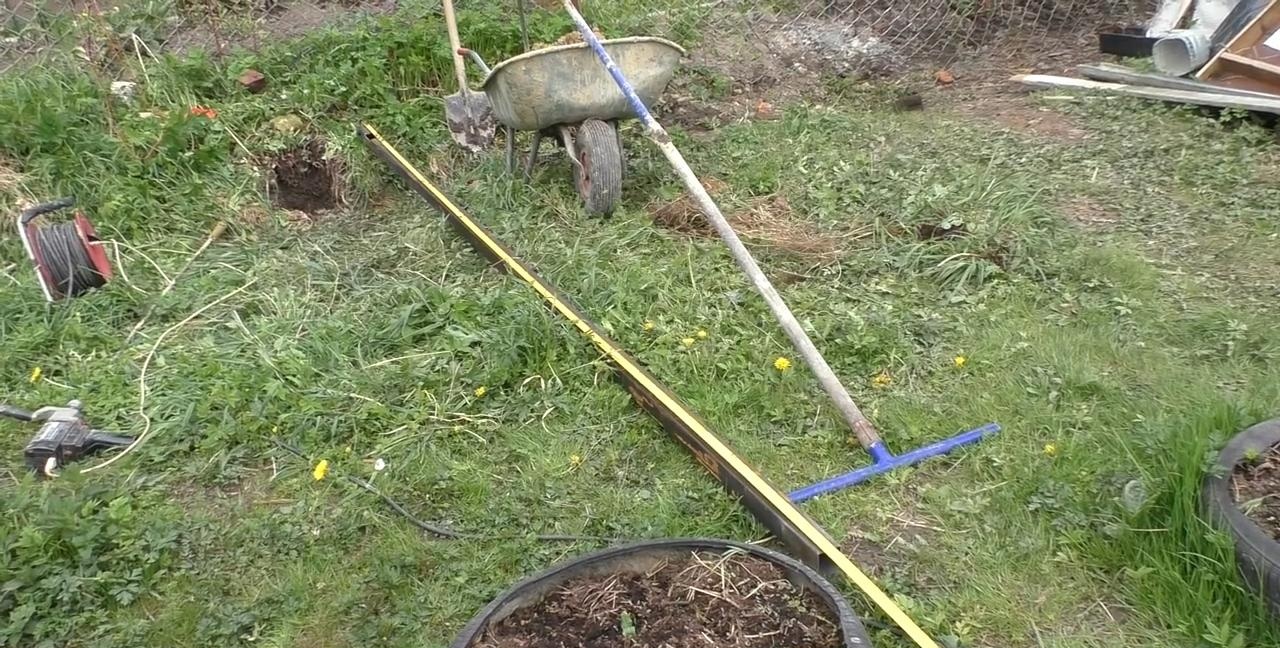
The length of the pipe is 3.5 meters.
How to Install a Fence Post to Last

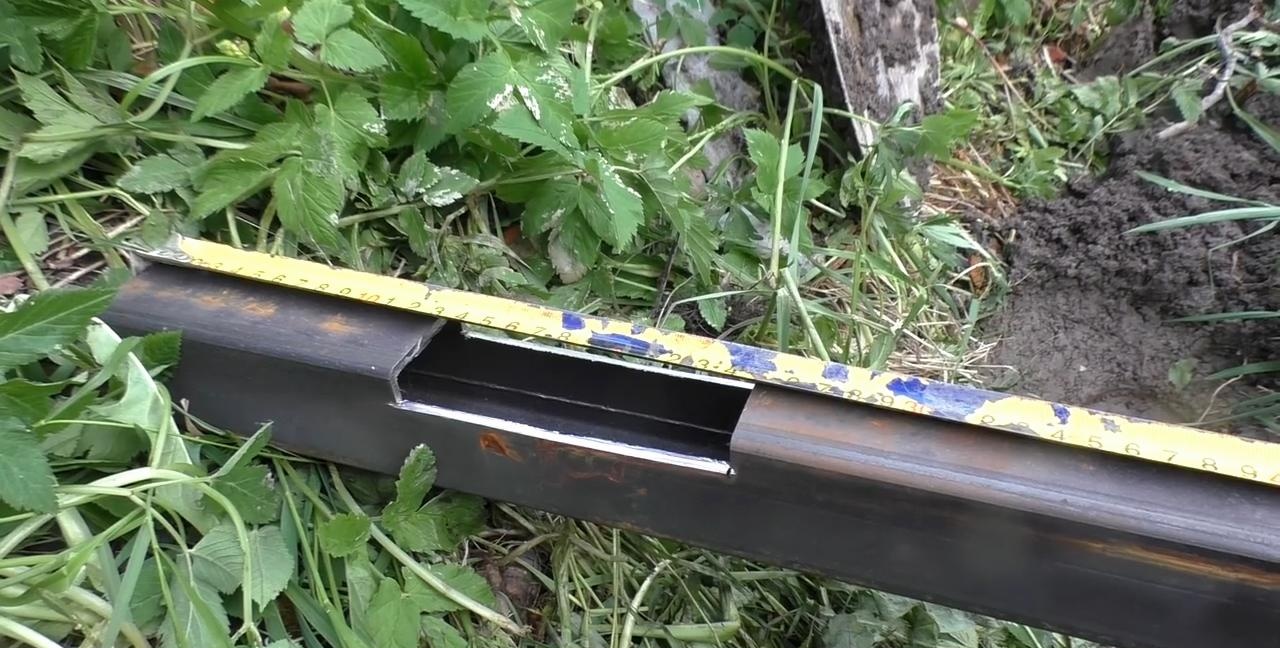
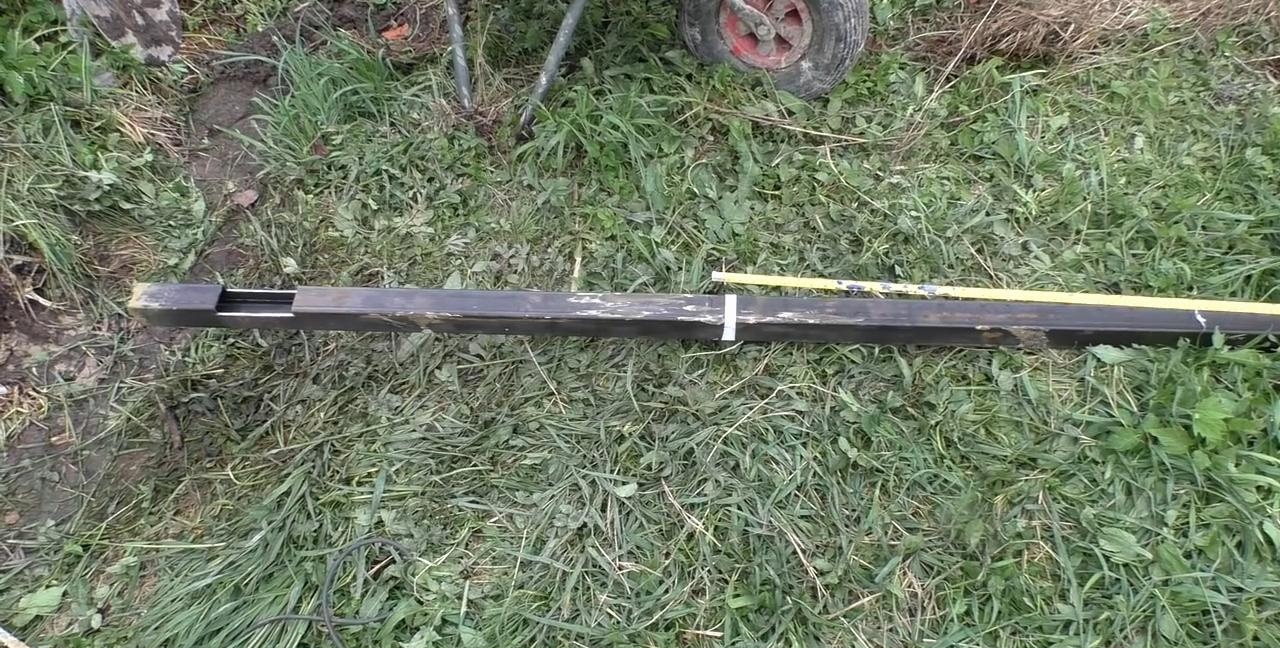
In the part of the pipe that will be in the ground, you need to make a rectangular cutout with a grinder. The dimensions are arbitrary: from the edge 12 cm and the length of the cutout is 12 cm. It is made so that the cement penetrates inside the pipe, hardens and becomes one whole. Due to this, it will be impossible to separate the pillar from the hardened block of cement.
How to Install a Fence Post to Last

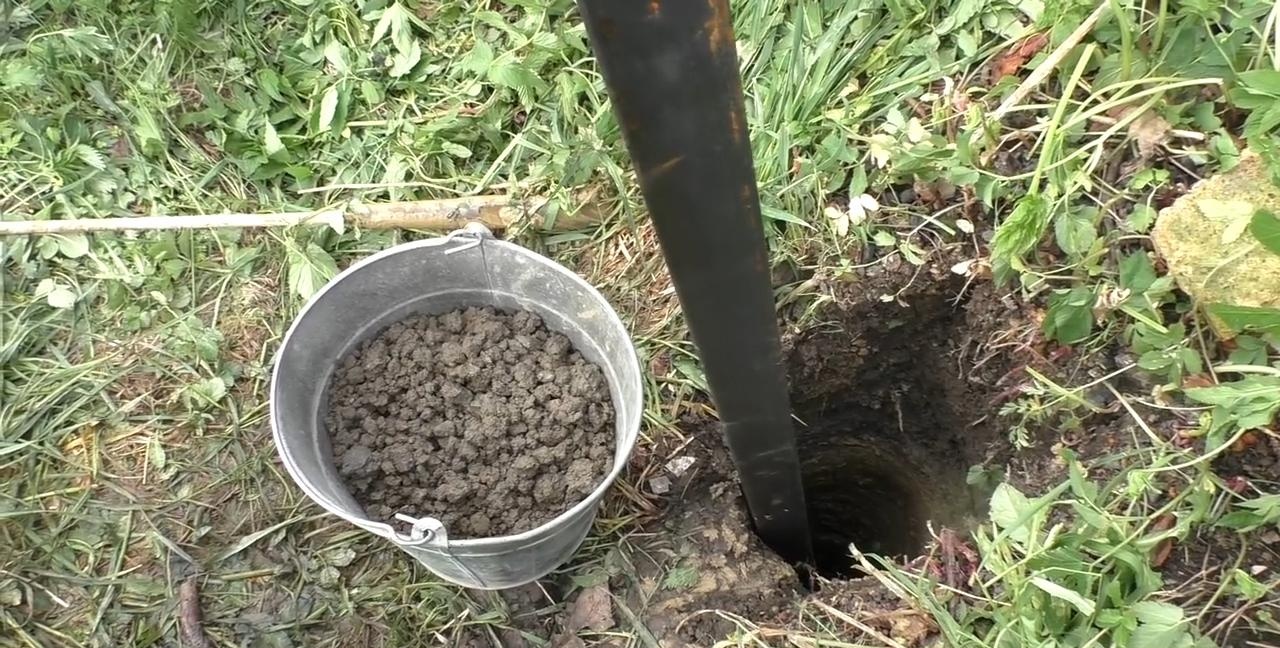
Then we prepare the well for filling and installation.
How to Install a Fence Post to Last

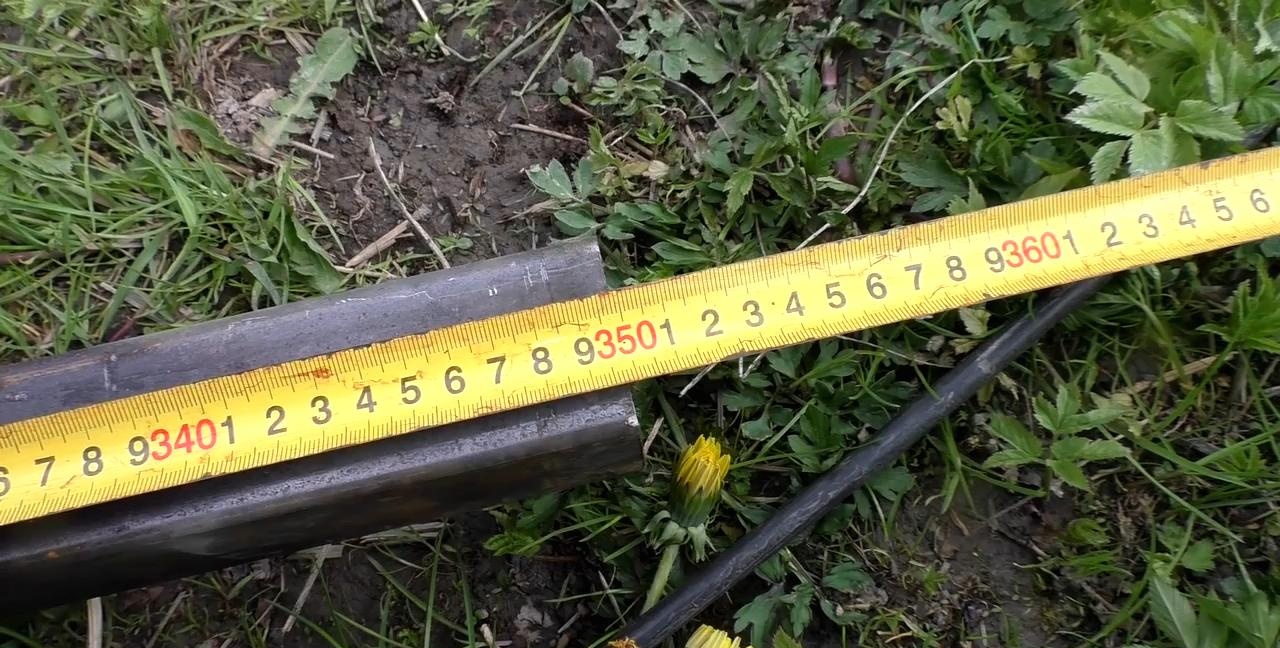
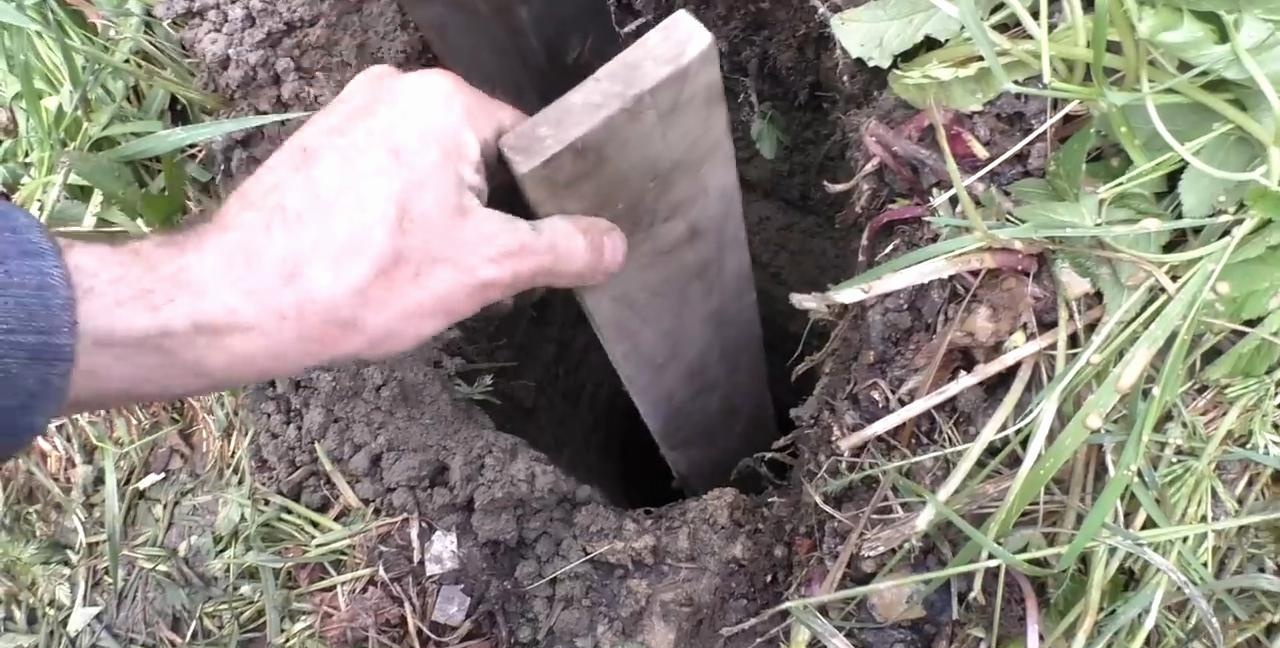
The well must be deep. We insert the pipe and make a notch.
How to Install a Fence Post to Last

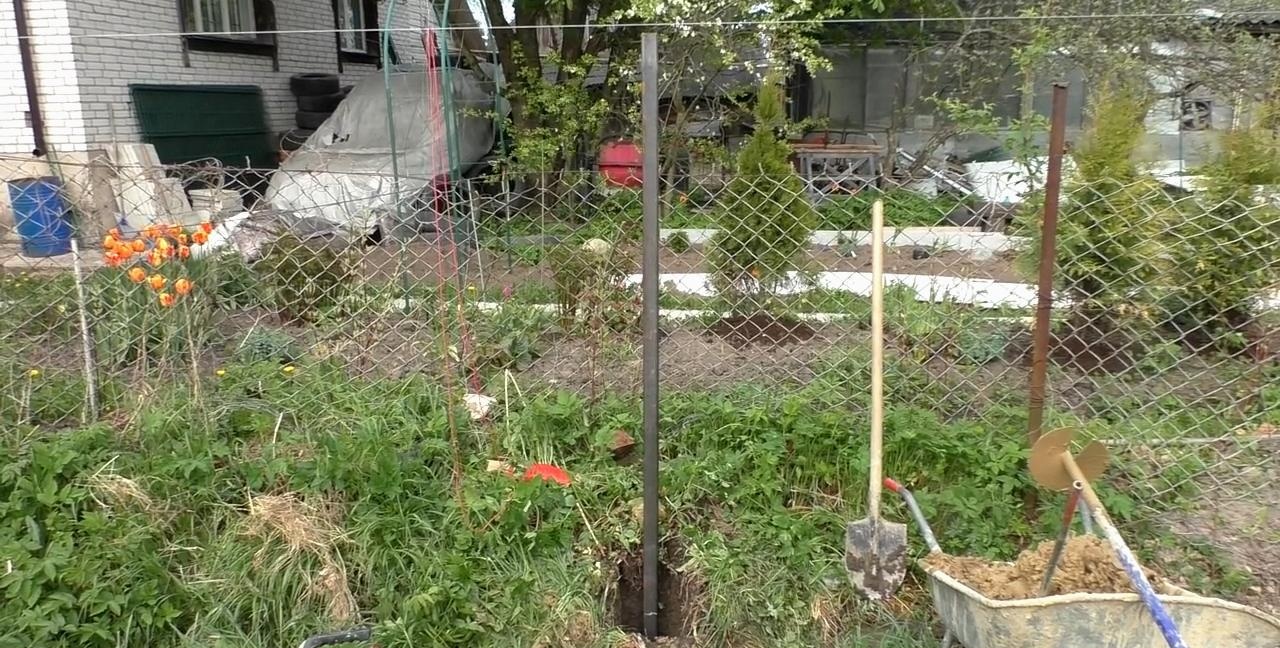
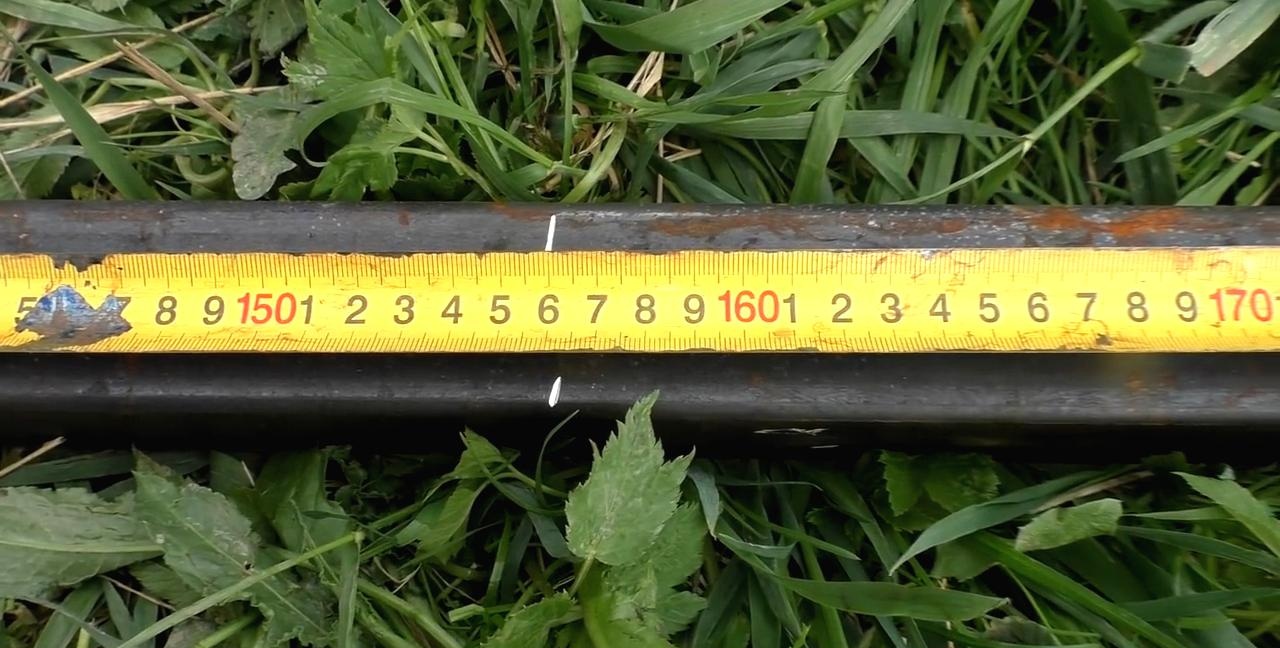
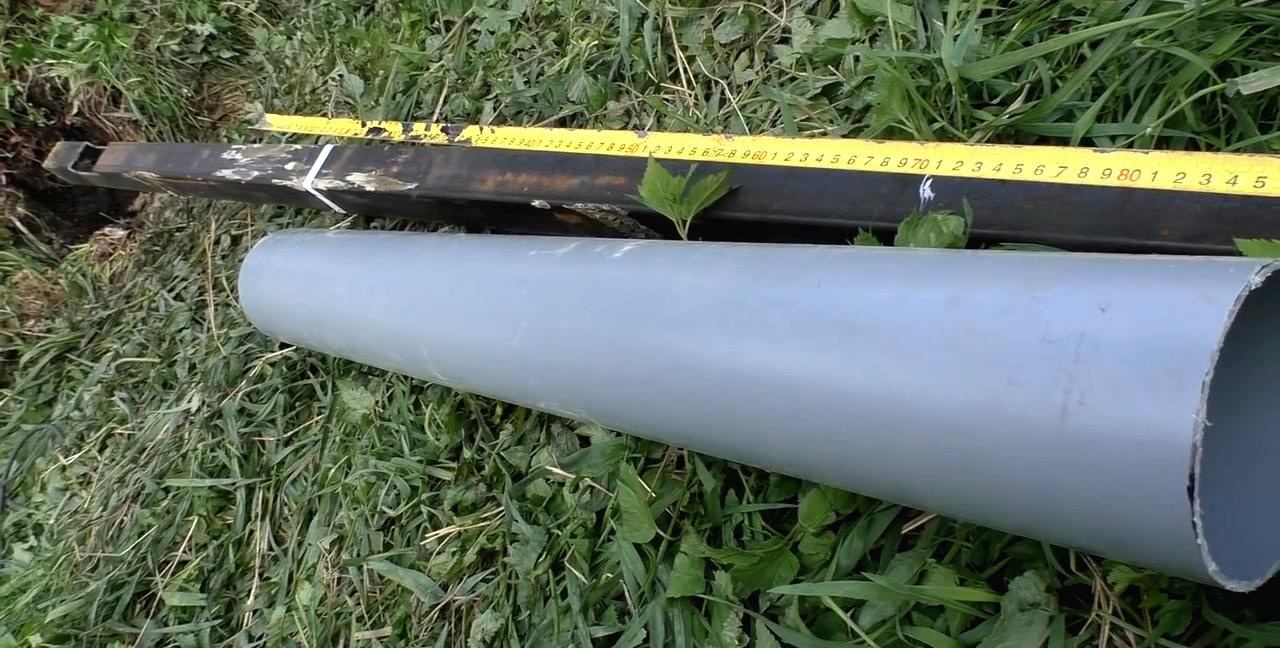
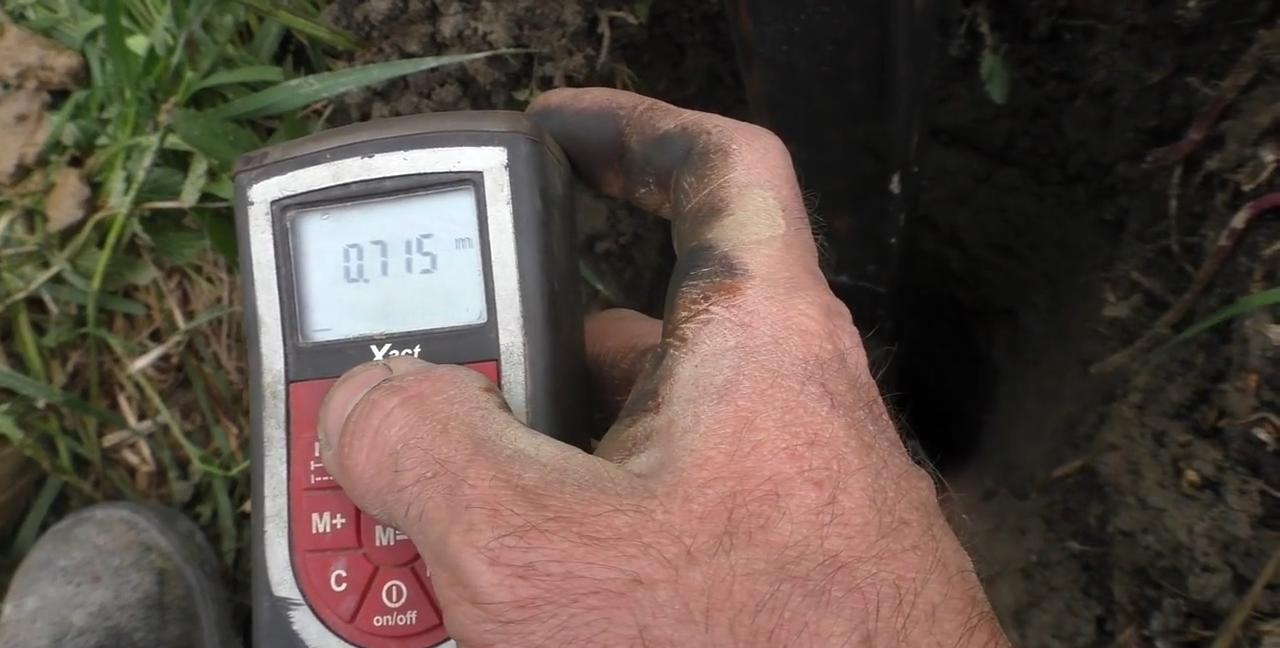
Next we measure with a tape measure, it turns out to be about 156 cm.
How to Install a Fence Post to Last

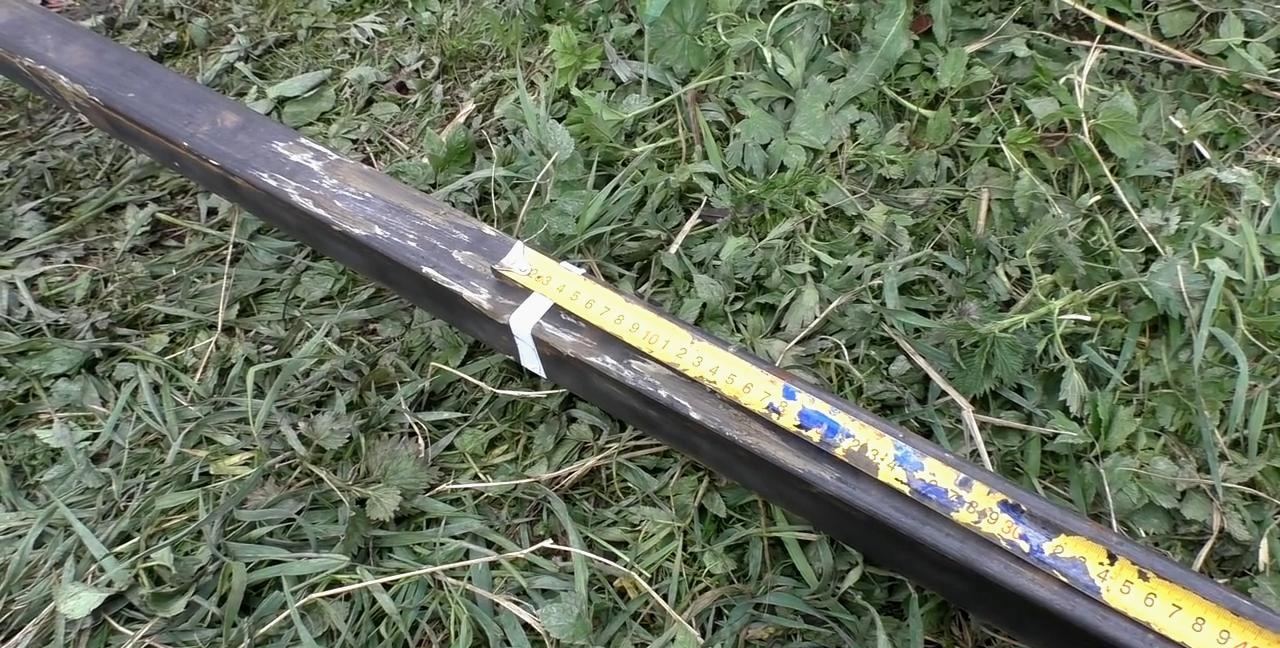
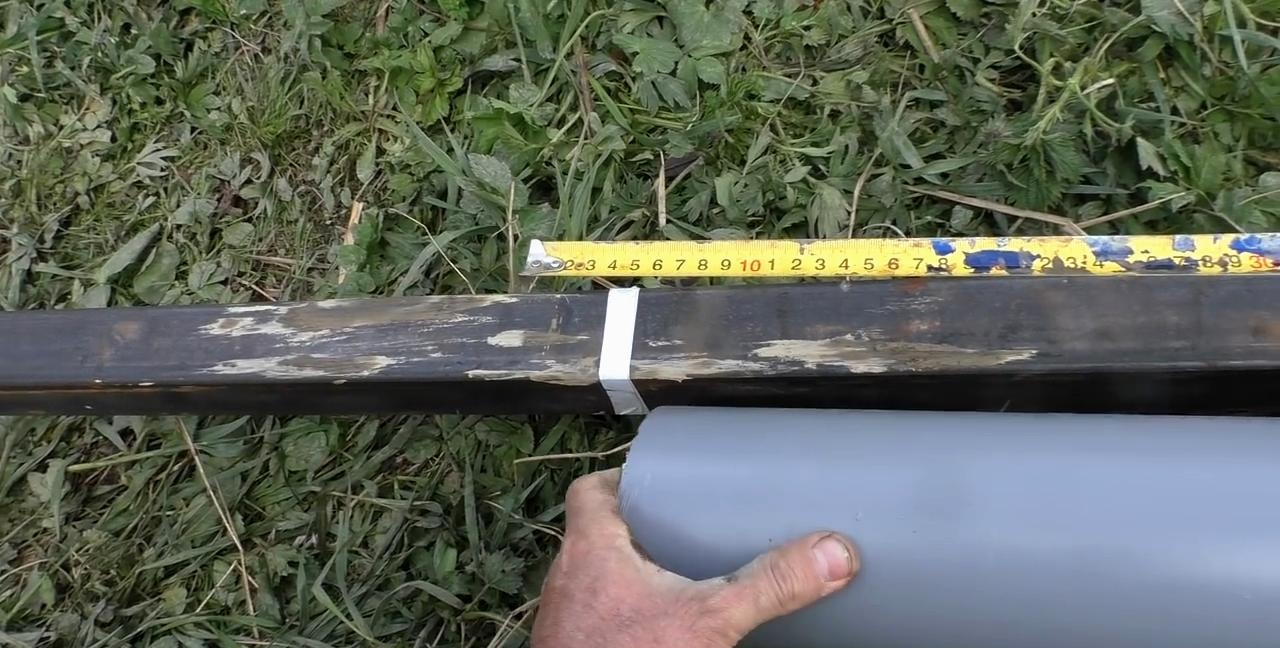
Now we measure 70 cm deep from the mark and make a note with white electrical tape for clarity.
How to Install a Fence Post to Last

To prevent the pillar from sticking out in winter, concreting must be done with two diameters.
How to Install a Fence Post to Last

These two diameters will be set using a drill with a diameter of 18 cm (lower diameter):
How to Install a Fence Post to Last

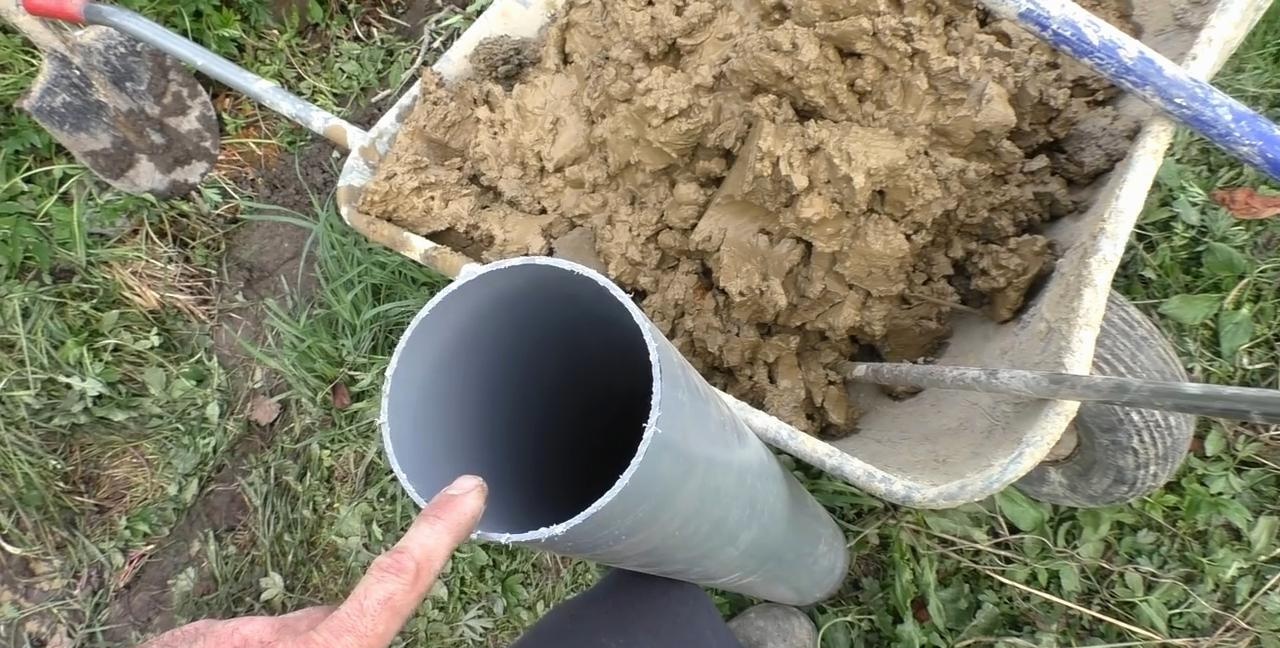
And PVC pipes 110 cm (upper diameter):
How to Install a Fence Post to Last

That is, up to the mark with white electrical tape below, concreting with a diameter of 18 cm will be made.
How to Install a Fence Post to Last

And then a plastic pipe is put on the profile and concreting is done after the mark with a diameter of 11 cm.
How to Install a Fence Post to Last

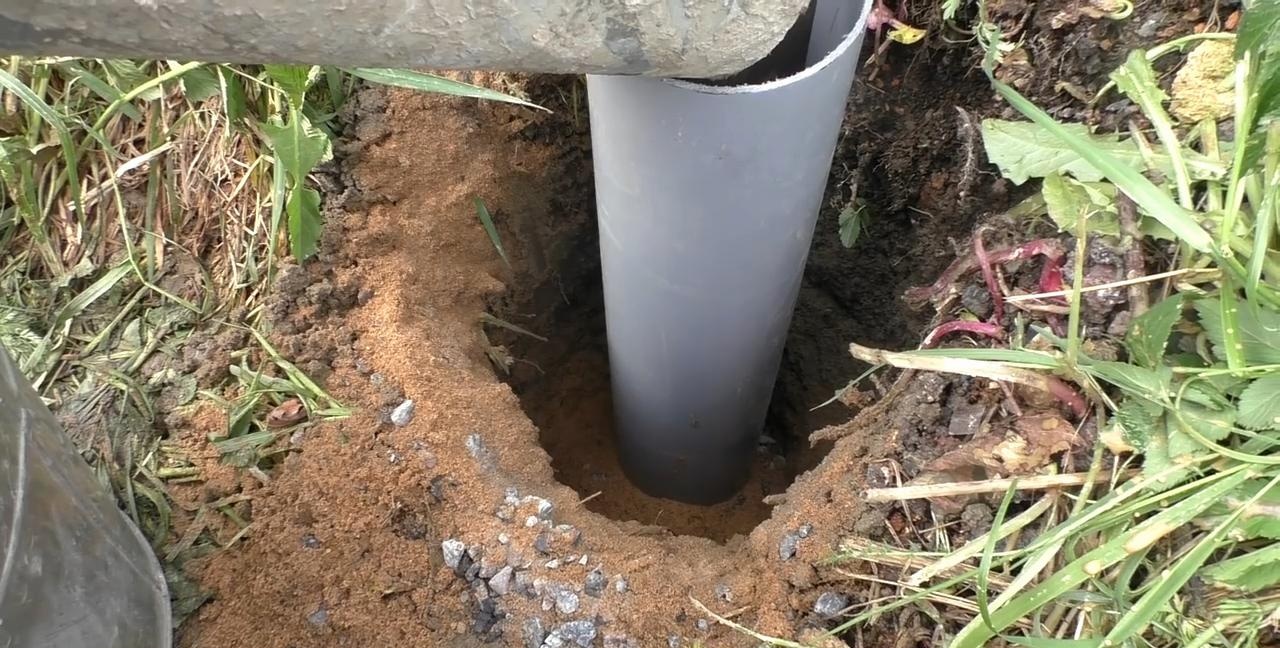
The outer area around the plastic pipe will be filled with sand and gravel backfill.
At the final stage, the fence post will look like this:
How to Install a Fence Post to Last

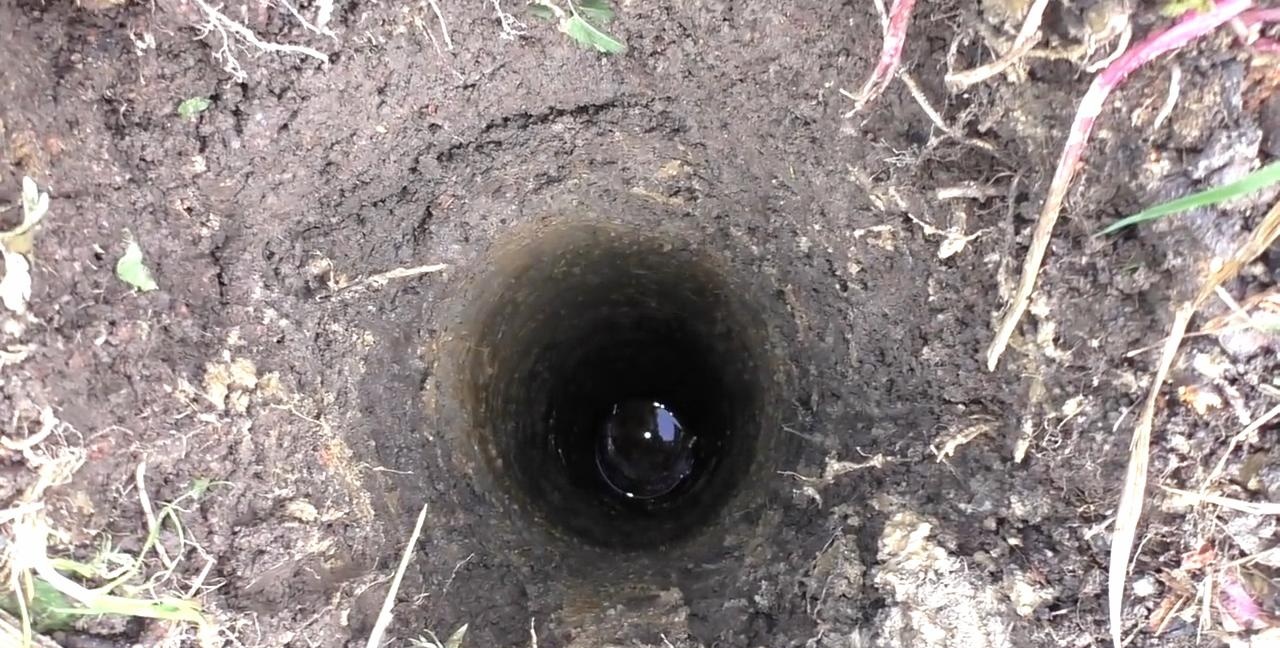
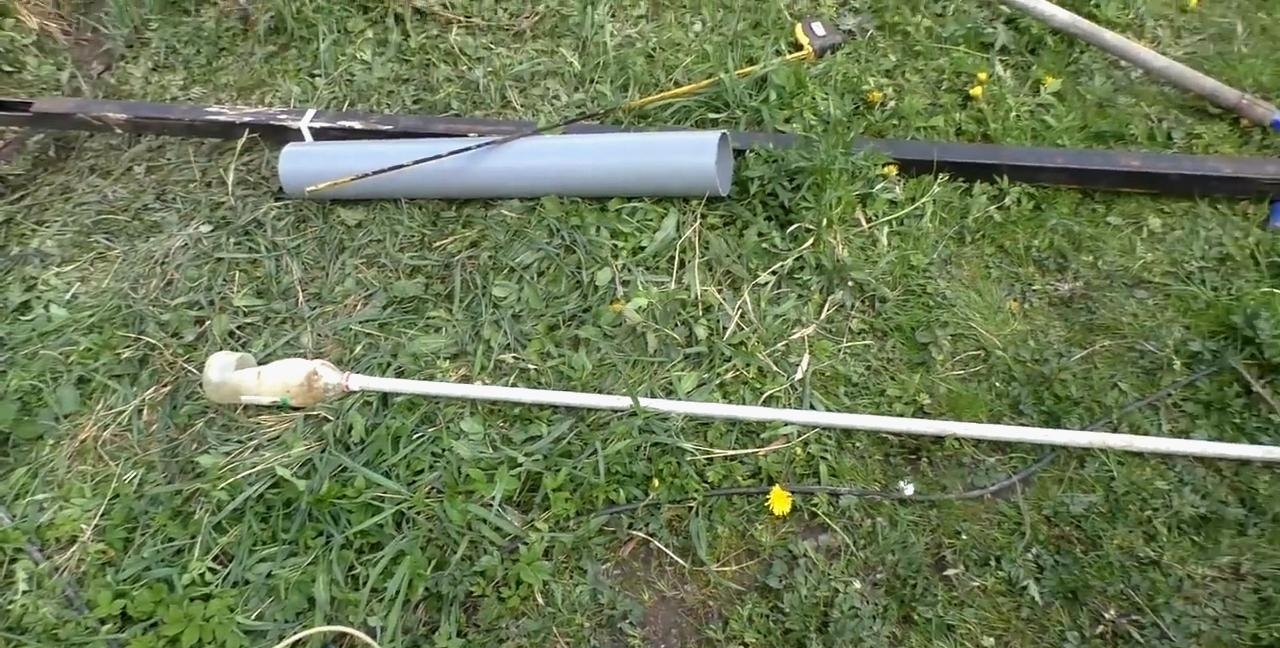
Before proceeding with the installation of the pillar, it is necessary to remove the water from the well, which is more likely to appear there. This can be done with the help of a simple device.
How to Install a Fence Post to Last

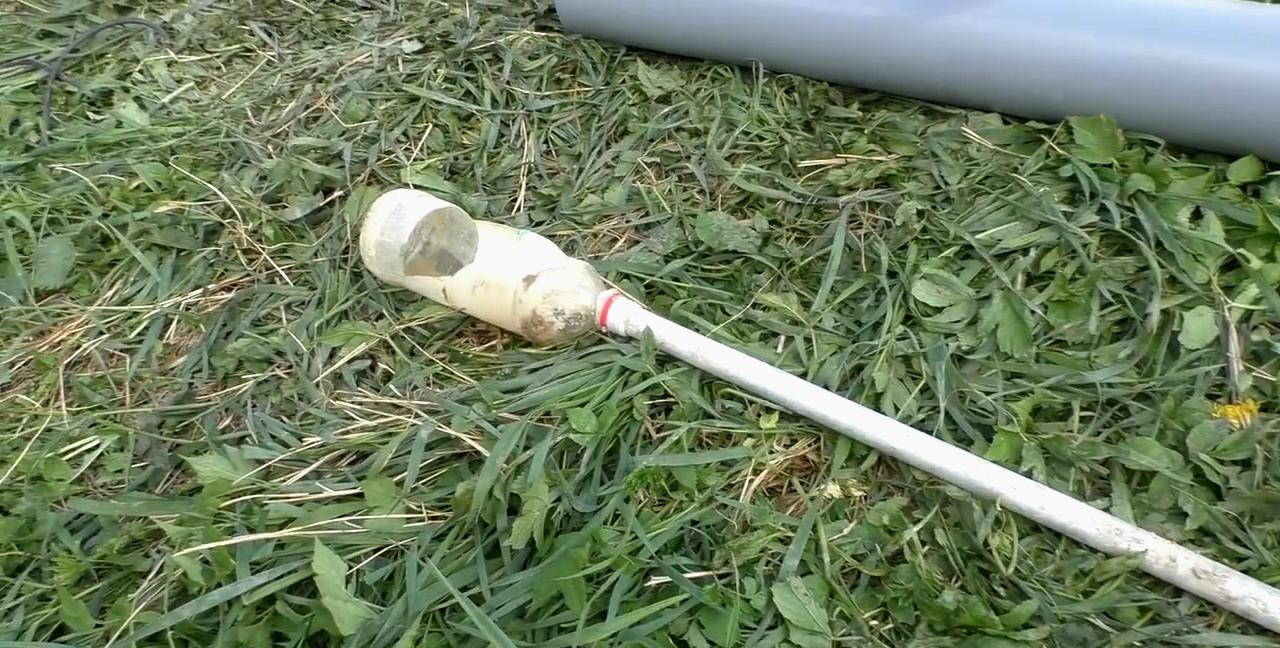
This is a regular plastic bottle with a side cutout and mounted on a long aluminum pole.
How to Install a Fence Post to Last

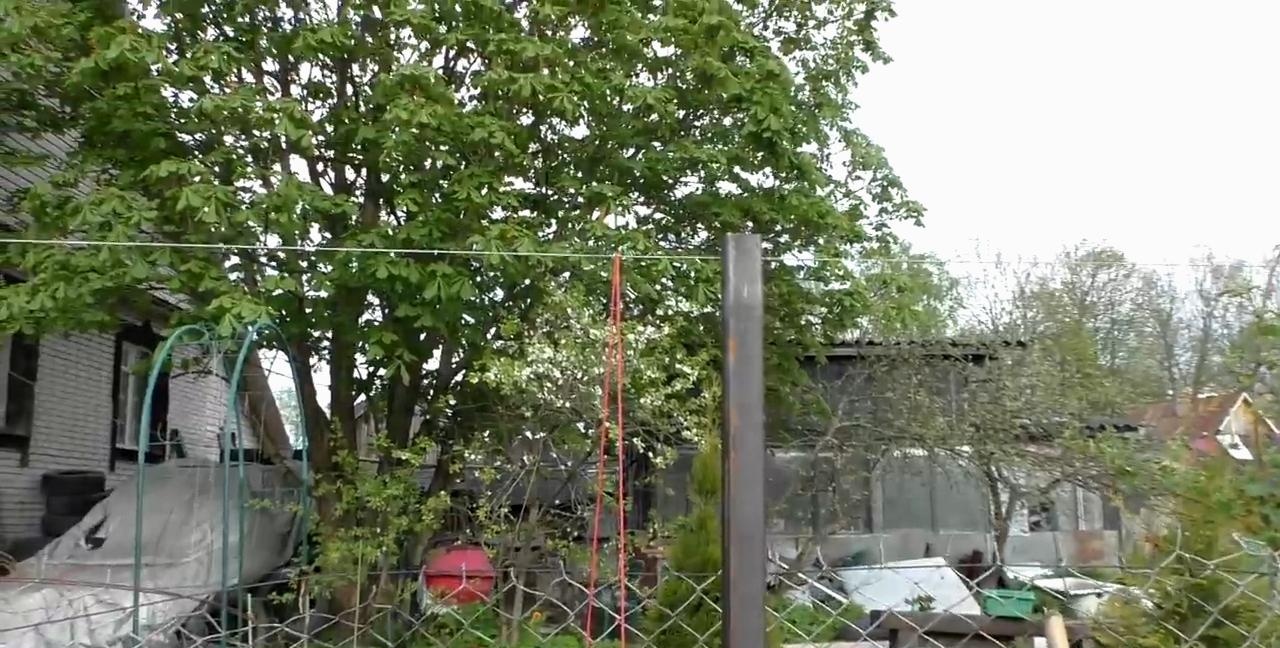
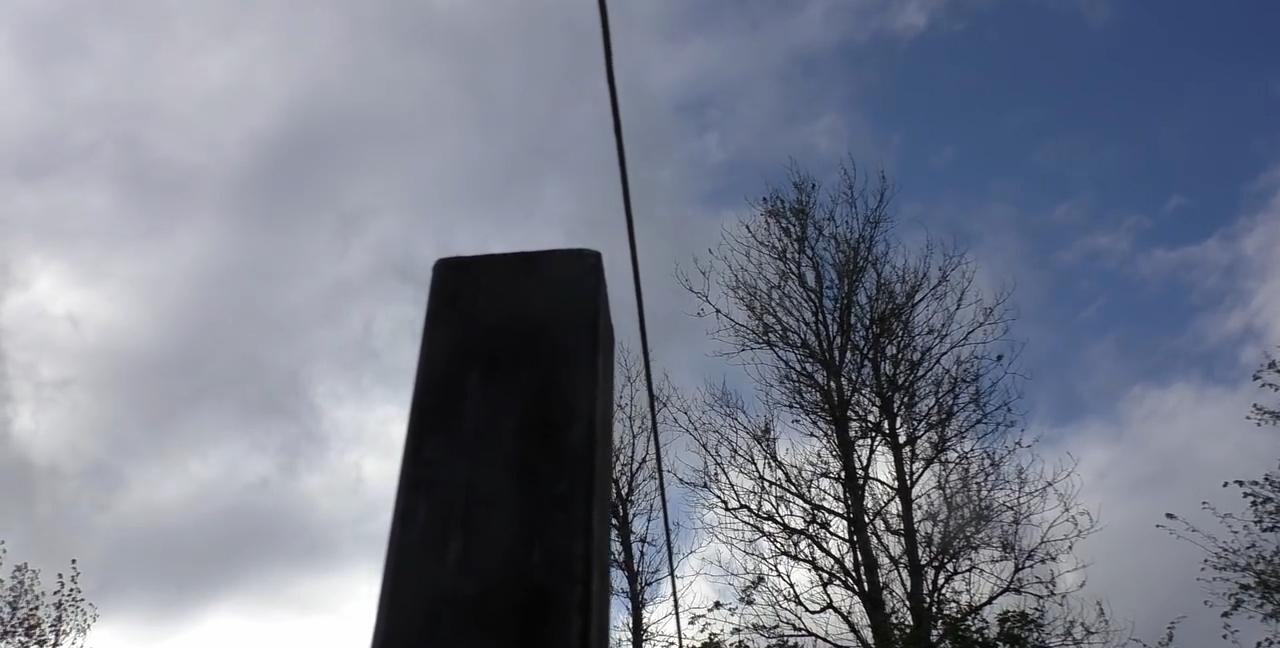
Now you need to tighten the string to align the pillars with each other. It is necessary to tighten it from the top, and not from the bottom, as is usually the case.
How to Install a Fence Post to Last

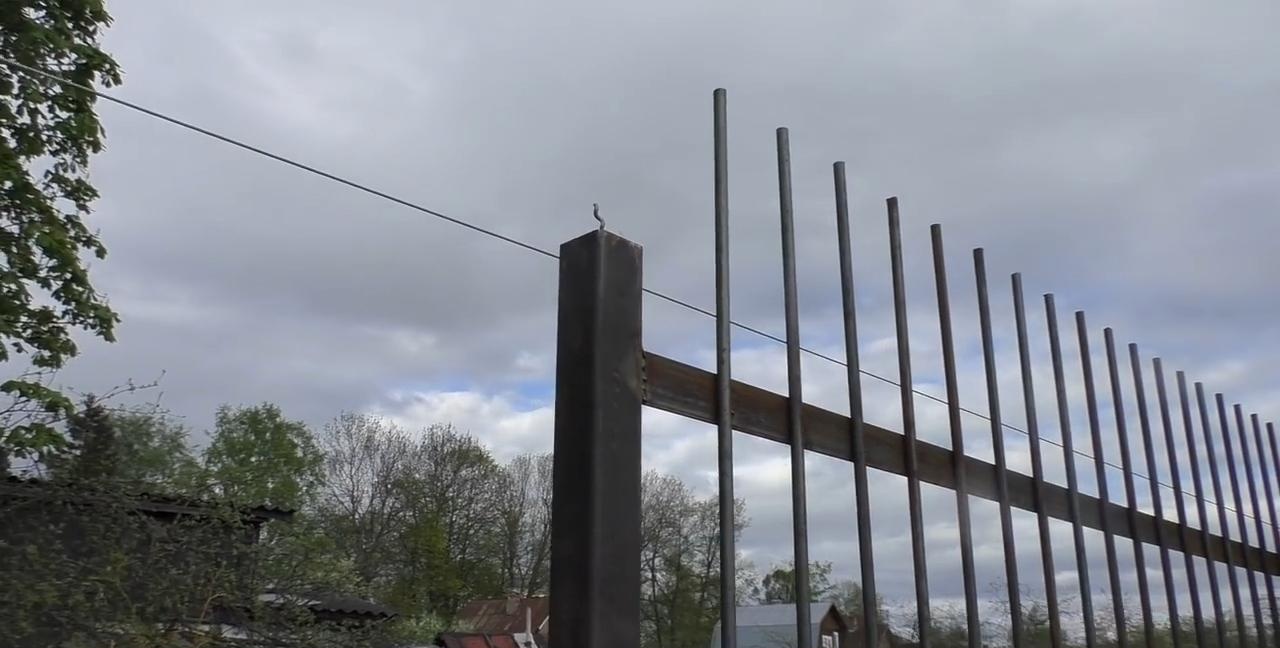
We stretch from one corner post to another. And if the string sags, we make additional stops and pass the string through the welded nuts.
How to Install a Fence Post to Last

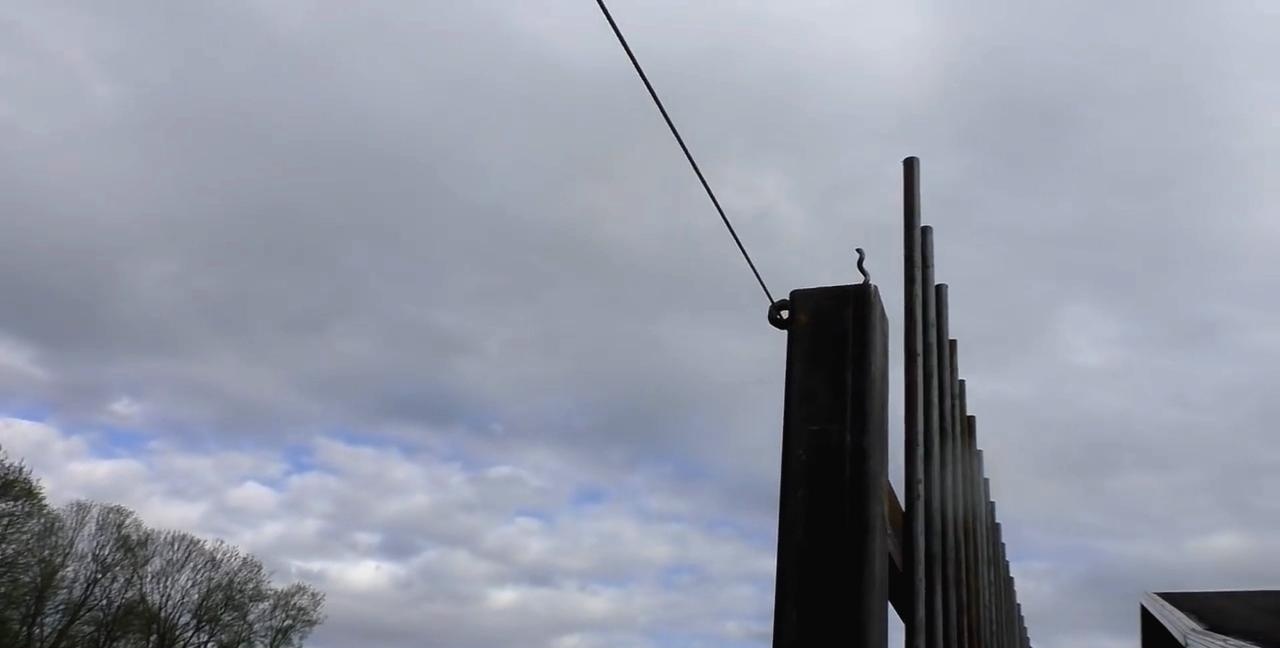
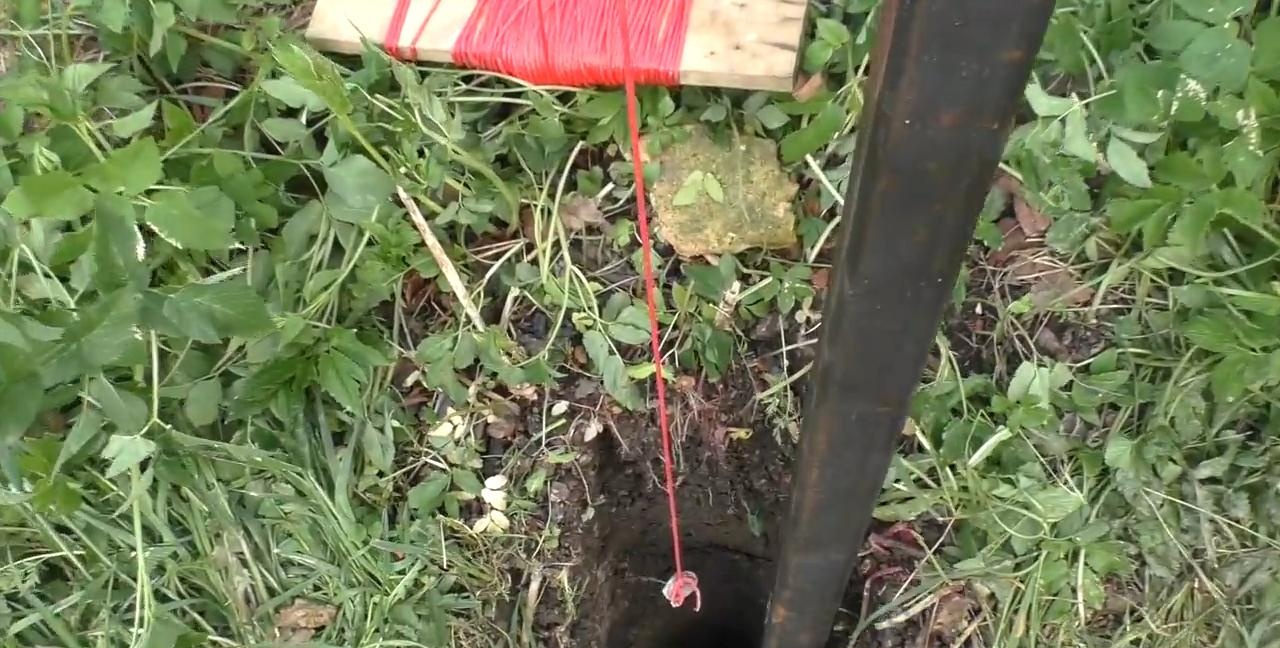
This string also sets the drilling locations. We make a plumb line and determine the location.
How to Install a Fence Post to Last

How to Install a Fence Post to Last

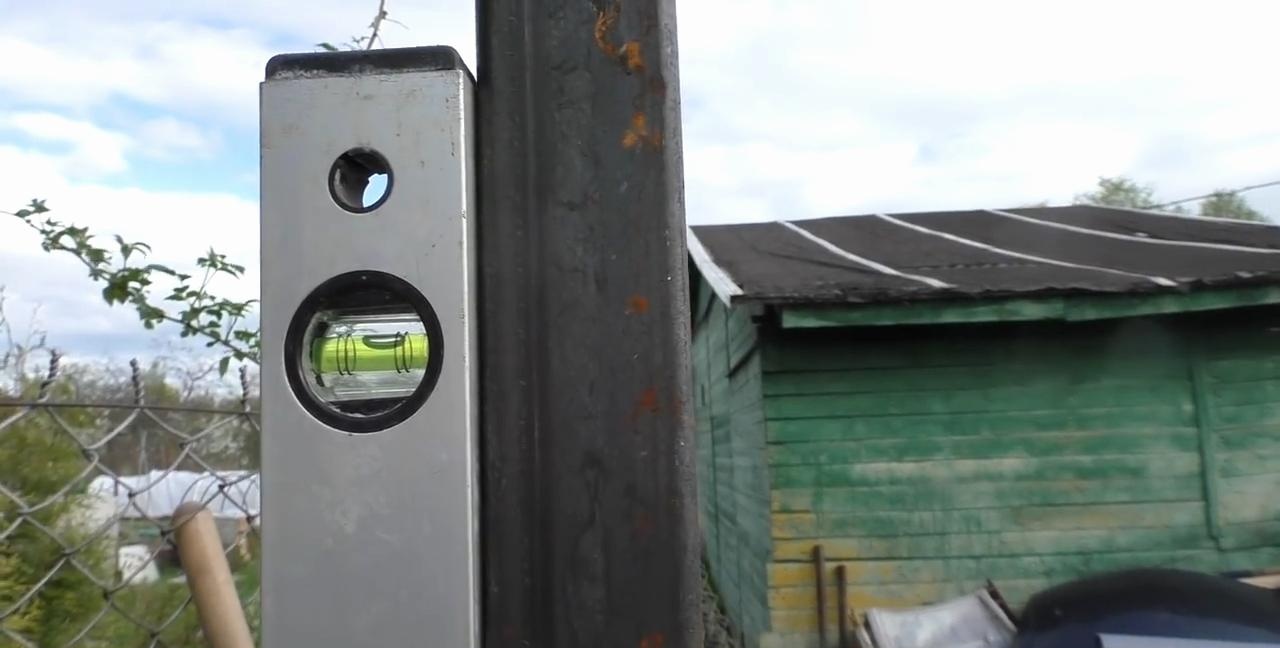
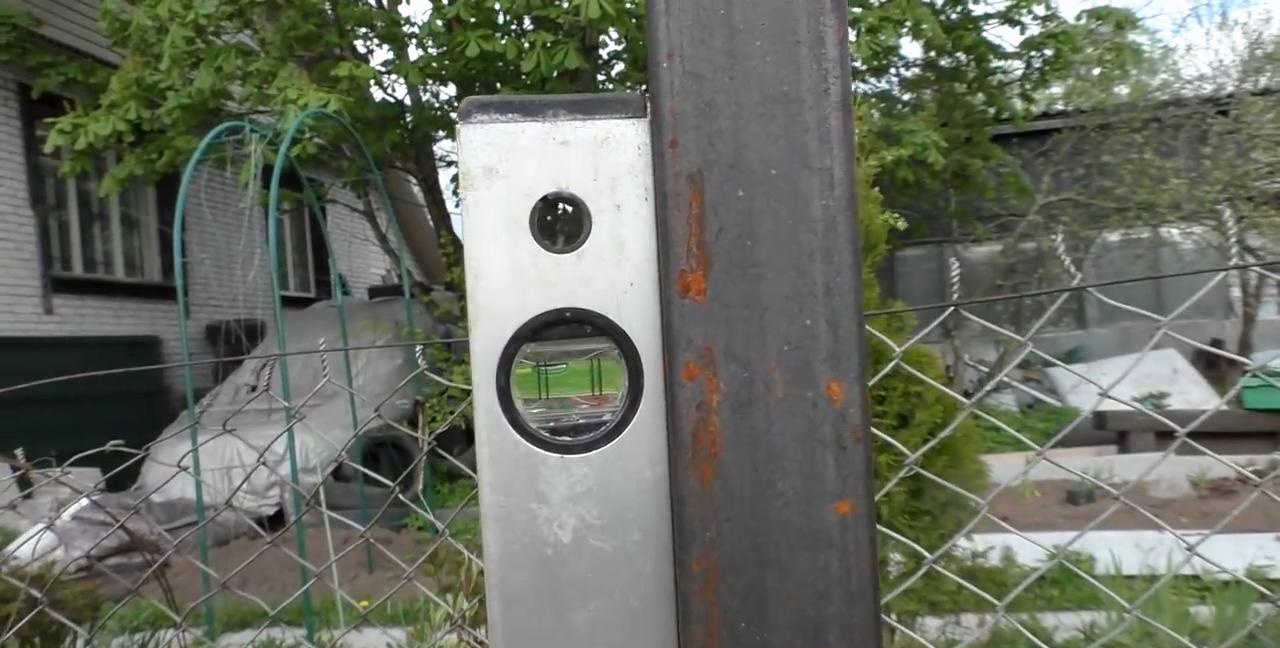
We align the post along the string, and set its straightness using a level from two planes.
How to Install a Fence Post to Last

How to Install a Fence Post to Last

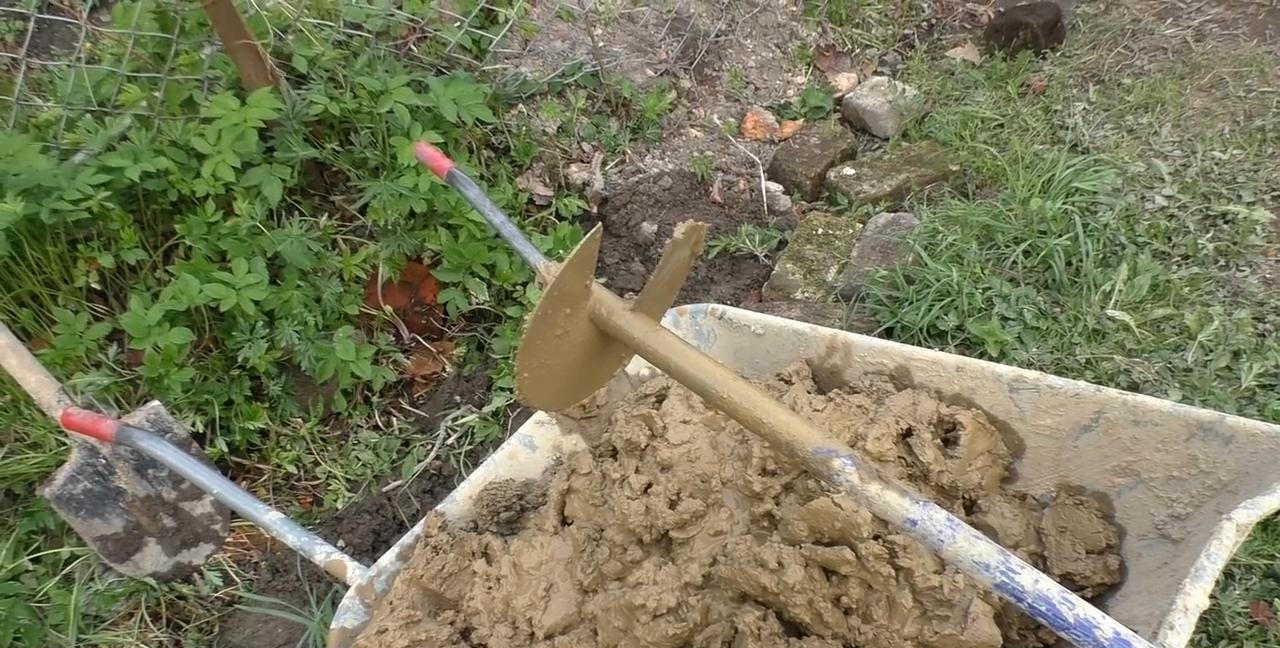
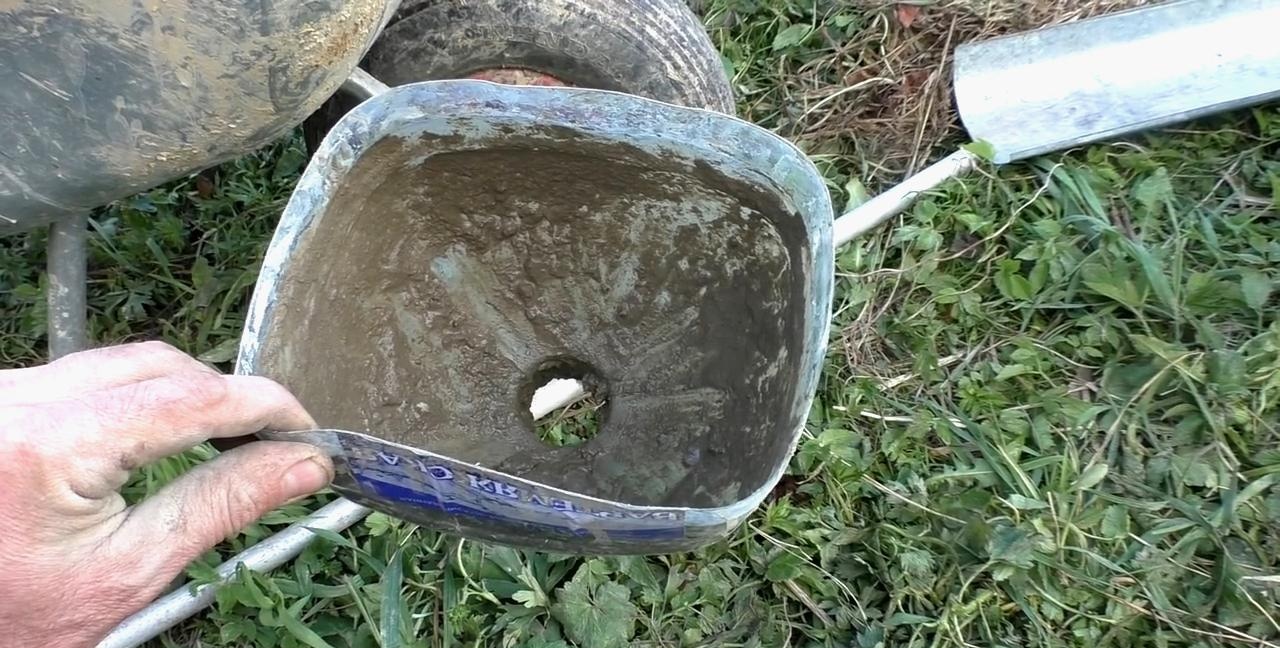
We start concreting and mix the mortar. If there is a lot of water in the well, then the first batches of concrete should not be made too liquid.
How to Install a Fence Post to Last

After each poured portion of concrete, we compact it. This can be done with an ordinary long wooden stick.
How to Install a Fence Post to Last

How to Install a Fence Post to Last

After 2-3 portions of the solution, you should try to level the column.
How to Install a Fence Post to Last

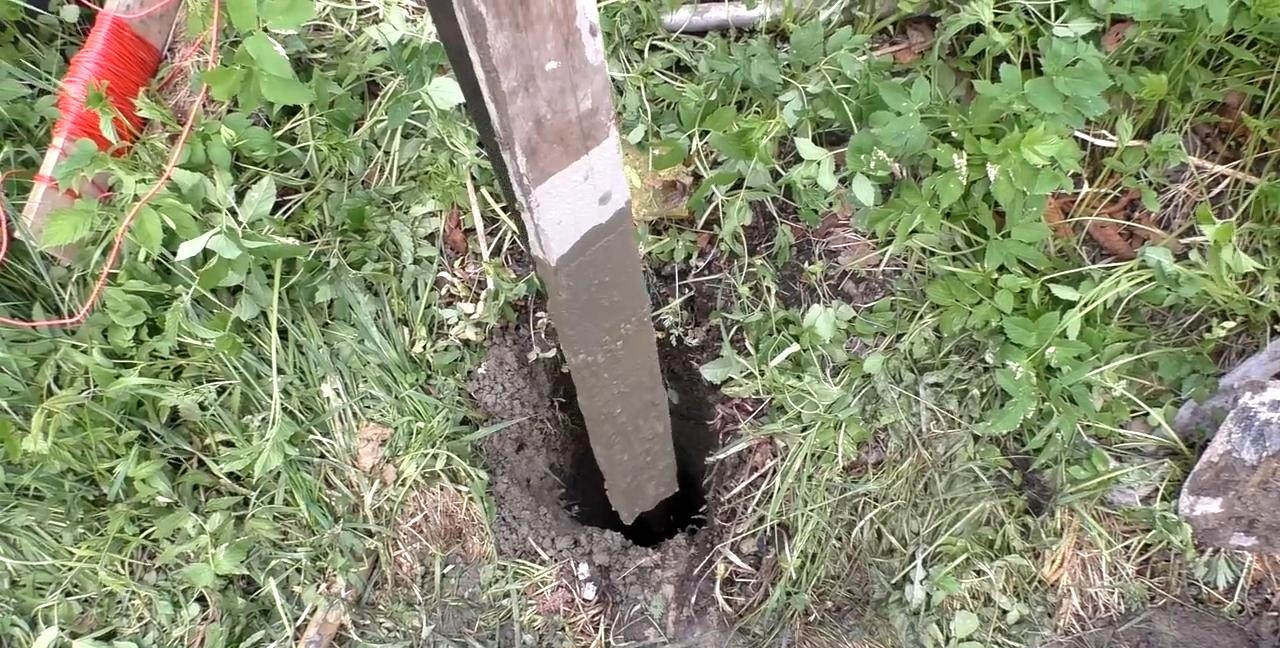
And when the distance of the poured mass has reached the mark, it’s time to put on the plastic pipe.
How to Install a Fence Post to Last

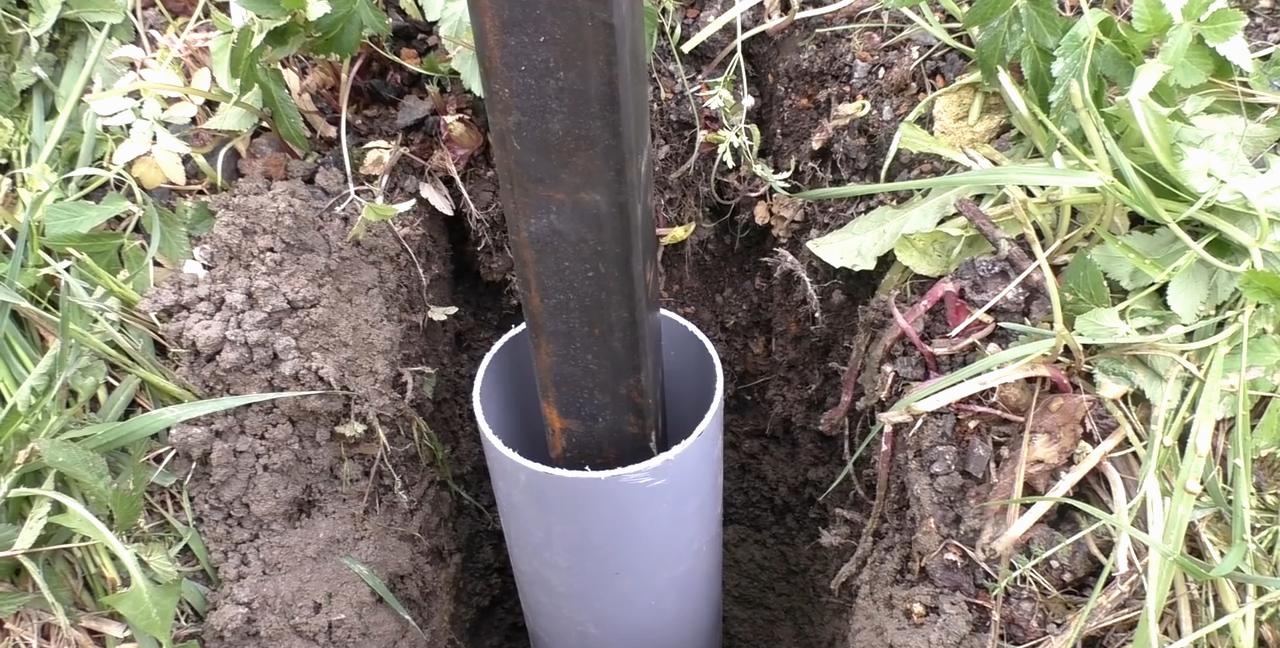
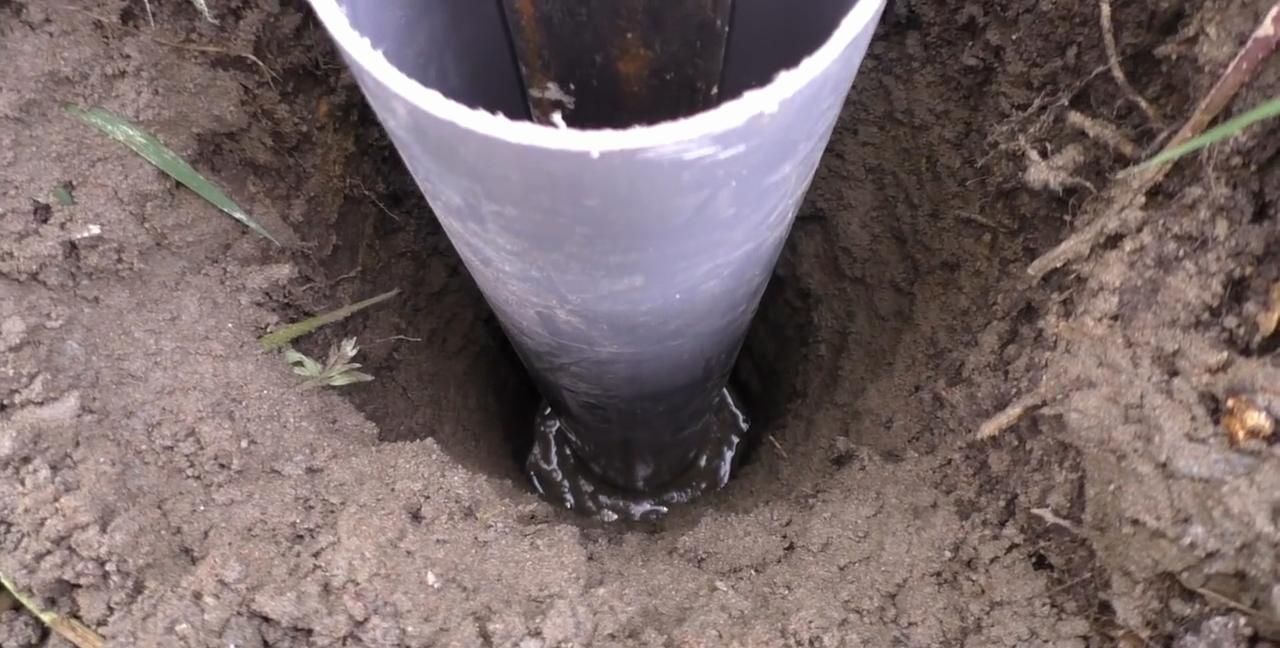
The PVC pipe should be positioned evenly so that the profile is in the center of it. At the same time, pay your attention to the difference in diameters.
How to Install a Fence Post to Last

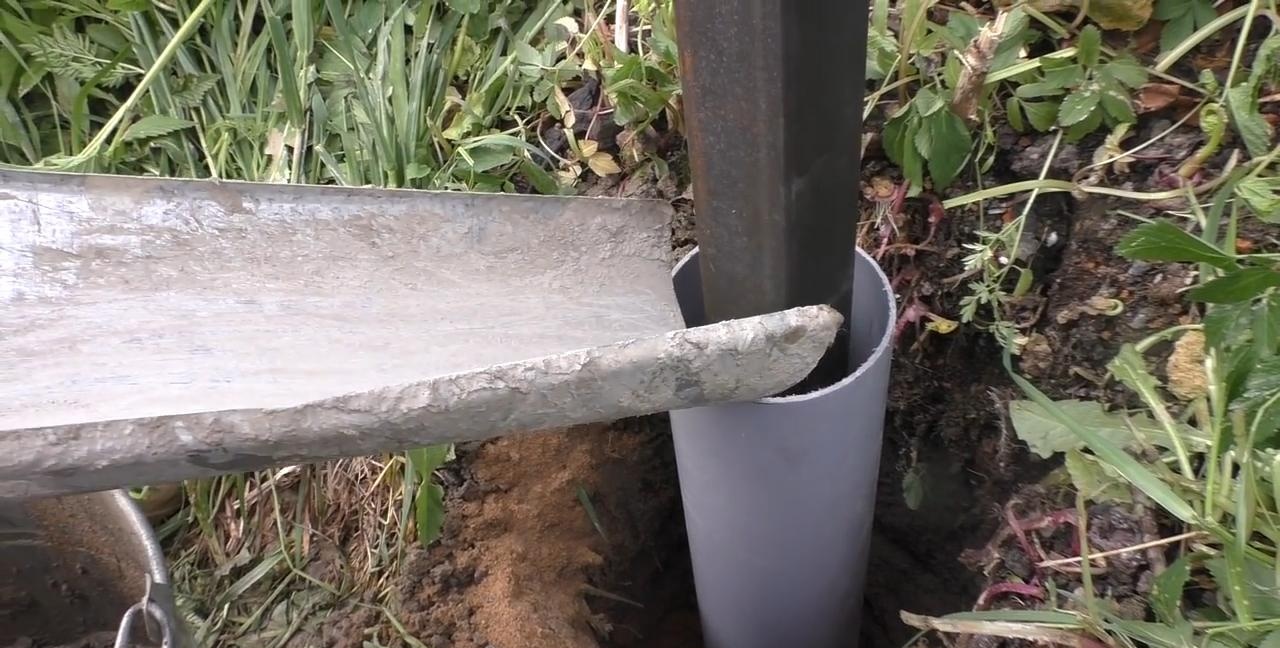
For convenient pouring, I recommend making such a trench for supplying the solution.
How to Install a Fence Post to Last

And fill the outer space around the pillar with a sand and gravel mixture.
How to Install a Fence Post to Last

It is not necessary to fill the concrete to the brim, since it will still rise up early during the hardening process.
How to Install a Fence Post to Last

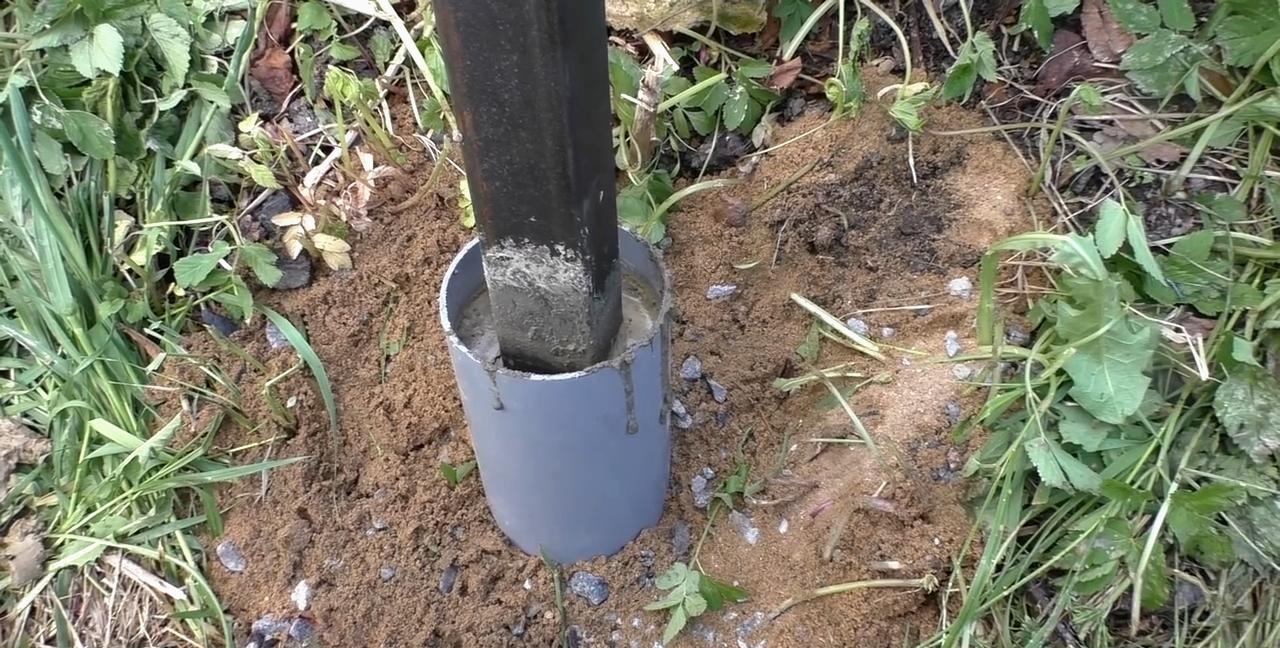
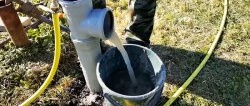
A liquid cement solution is also poured into the inside of the pillar in portions. And to make it convenient for them to fill the pipe, use the neck of a five-liter bottle.
How to Install a Fence Post to Last

We insert the neck and pour the concrete.
How to Install a Fence Post to Last

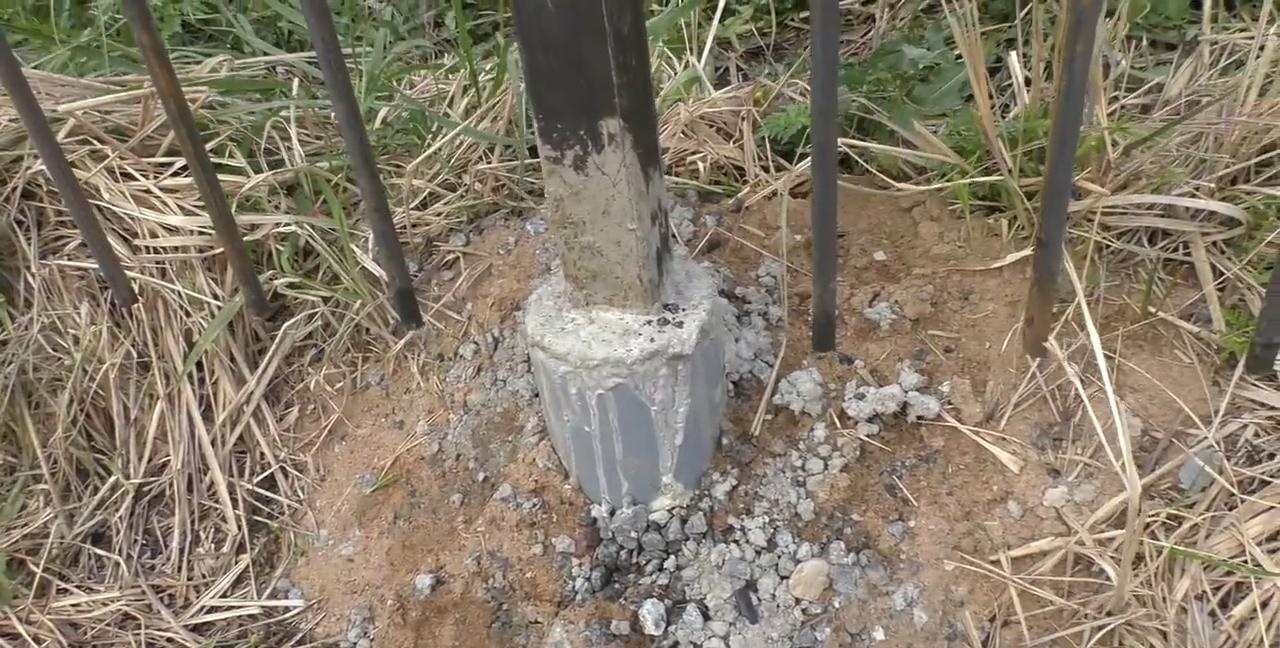
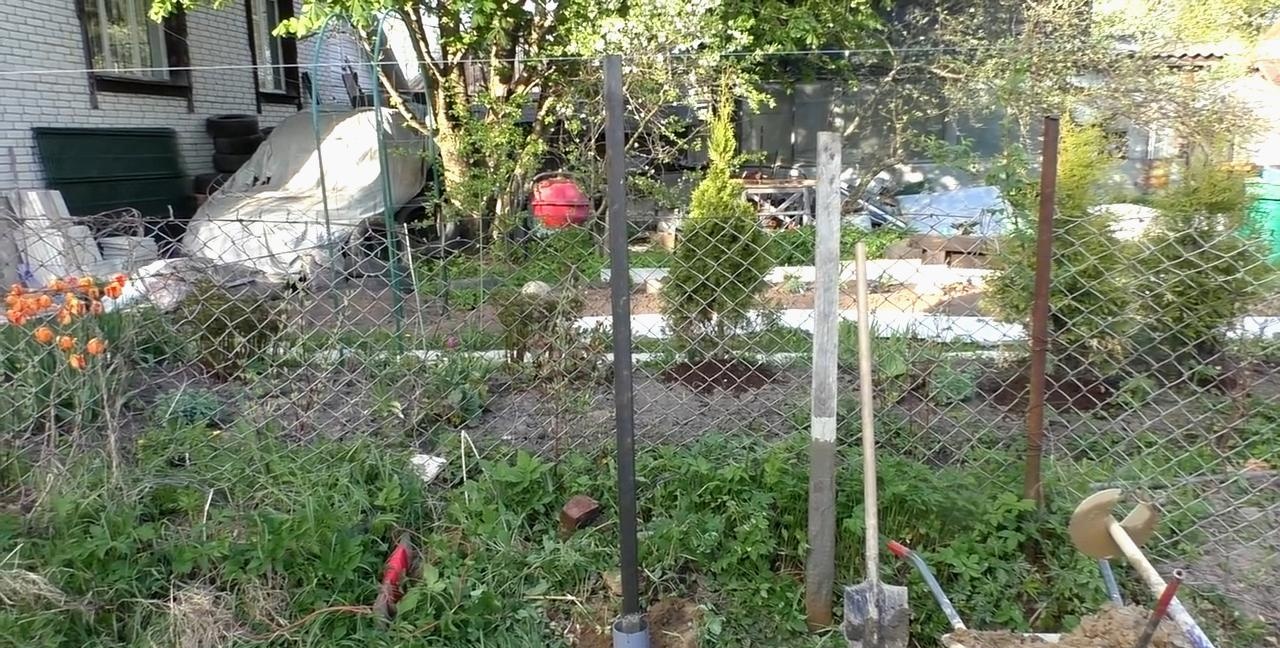
The post should be clearly in line.
How to Install a Fence Post to Last

The perfect strong fence post is ready!
How to Install a Fence Post to Last

This technology is noticeably more complicated than usual, but it has a number of the most important advantages, in view of which I recommend using this method of installing poles.

Watch the video


For a more detailed description with detailed step-by-step installation of the pole, see the video.
come back
Comment
  • bowtiesmilelaughingblushsmileyrelaxed relaxedsmirk
    heart_eyeskissing_heartkissing_closed_eyesflushedrelievedsatisfiedgrin
    winkstuck_out_tongue_winking_eyestuck_out_tongue_closed_eyesgrinningkissingstuck_out_tonguesleeping
    worriedfrowninganguishedopen_mouthgrimacingconfusedhushed
    expressionlessunamusedsweat_smilesweatdisappointed_relievedwearypassive
    disappointedconfoundedfearfulcold_sweatperseverecrysob
    joyastonishedscreamtired_faceangryragetriumph
    sleepyyummasksunglassesdizzy_faceimpsmiling_imp
    neutral_faceno_mouthinnocent
5+two=
Comments (19)
  1. Denis
    #1 Denis Guests June 7, 2018 08:49
    15
    Nonsense. In the Moscow region, such pillars will be lying around in the spring.will squeeze them out.
    don't do that.
    1. Guest
      #2 Guest Guests 10 June 2018 09:02
      3
      About squeezing out pillars due to the expansion of wet soil, read the commentary dated June 9, 15:58!
      This technology allows you to MAXIMIZE REDUCE EXTRUSION + protection of the bottom part of the post, which is most susceptible to corrosion due to possible contact with soil, grass, etc., which eventually appear at the base of the post, preventing the evaporation of moisture.
  2. Guest Evgeniy
    #3 Guest Evgeniy Guests June 7, 2018 09:29
    8
    This is utter nonsense. You need to drill two meters, and fill the post with coarse sand or small crushed stone. That's all.
  3. Guest
    #4 Guest Guests June 7, 2018 11:35
    6
    The purpose of the PVC pipe is unclear; I would fill everything with concrete without the PVC pipe. The fact that they make a hole in the bottom of the support and additionally pour concrete inside the support is correct. Such a pole will really stand for a long time and firmly. The only thing worth doing is to paint the supports with a primer, or buy ready-made ones with polymer coating so that they do not rust.
  4. Commentator
    #5 Commentator Guests 7 June 2018 12:14
    7
    Is this a pillar or a groove on the Maginot Line? To prevent it from being pushed out in the winter, weld the cross member and anchor it. And don't complicate things.
  5. Oltaviro Oltaviro
    #6 Oltaviro Oltaviro Guests June 7, 2018 12:50
    14
    When a cat has nothing to do, he... And the author teaches how to put up poles.
  6. Hippopotamus
    #7 Hippopotamus Guests 7 June 2018 22:12
    4
    It’s cheaper then to make a mold for concrete columns, since you’re pouring concrete this way and that. in short - it's a mess.
  7. Guest Sergey
    #8 Guest Sergey Guests 8 June 2018 14:52
    3
    If you pull the chain-link onto the poles, then why all this hassle? so that the pillars are not stolen? It’s enough just to compact them into the ground and they will stand until the rust eats them up.
  8. My name
    #9 My name Guests June 9, 2018 01:42
    4
    horror!...
    there is simply no more suitable word to describe this stupid activity
  9. Guest
    #10 Guest Guests 9 June 2018 15:58
    17
    All commentators who considered this technology nonsense have never seen how the soil rises in winter in areas with close groundwater. Depending on the depth of soil freezing, the rise can be up to 15 cm or more. The soil frozen with concrete forms a single whole and, when frozen, pulls the concrete upward. Earthen slurry penetrates under the rising pillar from below (where the soil is not yet frozen) and in the spring, after thawing, the pillar does not fall back. So the column rises 5-10 cm per year. The only way to prevent this is to ensure that the expanding soil slides along the post. This is exactly what plastic pipe is used for! So everything in the proposed technology is done intelligently.
  10. engineer
    #11 engineer Guests 10 June 2018 12:10
    16
    This whole story clearly demonstrates how money should be buried in the ground. Obviously strangers. But if there is no intelligence, that is, professional qualifications are no longer in sight, then the money is buried in the ground. Fencing turns into entertainment in itself. The fence requires a whole season to install and is economically similar construction skyscraper. The main items of exorbitant expenses: 1) drilling (very expensive equipment, site preparation, water control); 2) concrete production (expensive equipment, the need for covered storage of cement, water, sifted sand, high-quality crushed stone of a certain fraction, manually carrying large and heavy volumes of the mixture, the need for electricity); 3) payment for unproductive labor and time of workers (sawing cutouts with a grinder, welding some “nuts” for which a machine is needed, a welder is needed, sawing polypropylene pipes. And buy them and bring them.
    Manually pouring concrete into a pipe through a funnel and without a vibrator is like a medical enema. It seems useful, but here it is stupid and inappropriate. Long time, again poor quality. It seems easier to put a plastic cap on top of the pipe for 9 rubles and forget about this concrete through the funnel, like a nightmare.
    The proposed processes are hidden and require constant monitoring, otherwise hidden work will turn into hidden defects. The problem area is filling the required volumes in the ground with concrete. Two throws with a shovel and it seems to be “concreted.” In fact, it is impossible to drive concrete a meter deep and make sure that everything is fine without a vibrator and the appearance of a characteristic foam on the surface of the concrete. Therefore, bored foundations are made with a diameter of at least 300 mm. 200x200mm reinforcement frame, and there is space for a submersible vibrator.
    The worst thing about the “megafence” project is the time and its useless use. In short, the adviser moved on something, lost his mind and went to praise himself and the “technology”.
    In reality, everything happens differently. The first day they dig holes under the posts with a shovel. The second day they put up an empty barrel or trestle and drive the pipes from them into the ground. One worker first slightly holds the pole and looks at the plumb line, the second slave drives the pipe into the ground with a sledgehammer, standing on a barrel or sawhorse. They change in turns. The third day - the top of the pit of each pillar is filled with fine gravel with a simple shovel or stones, broken bricks, pressed down with a foot and a collar is made from mortar. Ready-made mixtures M300 in bags, water, and a shovel are used. As a snack, the flattened upper ends of the pipes are cut off from above using a grinder along the cord. All. Pull the crossbar under the corrugated sheet or galvanized wire (cable) by welding under the chain-link and forever.
    The author forgot that rust turns into magnetite, the original ore for smelting iron, and pipes in the ground stop rotting. Frost heaving is greatly exaggerated. The pipe itself is slippery. Fencing should be done in April, while the ground is soft and loose, just the soil is already swollen after winter. This means: the pillar is installed at the peak of all the negative processes of frost heaving that occurred without it. Then the soil will self-compact, hold the posts very tightly and re-heaving will simply put the post in the best condition, because it was installed at the right time.
    If “perfectionism” is very pressing, please paint the pipes with primer-enamel not after installation, but before installation. And not in one go, but in two, in a thin layer, as the instructions say. Well, you can also sharpen the ends of the pipes so that they can be driven in better. In short, everything needs to be prepared in the fall. And all these “miracle technologies” stem from the fundamental impossibility for an amateur to connect causes and consequences in his head. When money squeezes your thigh to make such fences, this is not a sign of genius.
    1. Guest
      #12 Guest Guests 10 June 2018 19:59
      7
      Frost heaving is not at all exaggerated. This is exactly what happens in areas with wet soil. And the earth clings not to the slippery pipe, but to the non-slip cement, so reducing friction due to contact with plastic is justified. Regarding the rusting of pipes: we were not talking about a pipe in the ground, where rust really does not eat it, but about the part of the pipe at the exit from the ground, where there is access to air and in this case rusting occurs very intensively.

Salt dough magnet “Smesharik Krosh” | Do it yourself

How to make a cool lounge chair with simple tools

How to charge a dead battery using another phone

Hot stand | Do it yourself

«Do it yourself - with your own hands» - a site of interesting homemade products made from scrap materials and items at home. Step-by-step master classes with photos and descriptions, technologies, life hacks - everything a real master or just a craftsman needs for needlework. Crafts of any complexity, a large selection of directions and ideas for creativity.

We recommend reading

Washing machine error codes