It's no secret that almost all flowers are light-loving. That's why they are often placed on window sills. But to place a large number of pots with plants on the windowsill, it is best to use special stands. Today, jardinieres made of metal are in great demand. But such structures are very heavy and expensive. It is much easier to make a special shelf for flowers from wood yourself. Firstly, you can make a shelf exactly the size you need. Secondly, the cost of construction will be quite low. Thirdly, such shelves look very stylish and fit into almost any interior.
Materials
To make a wooden shelf for indoor plants at home, you need the following materials:
- Wooden plank (length – 2.5 m, width – 0.1 m, thickness – 0.01 m) – 1 pc.
- Wooden plank (length – 2 m, width – 0.1 m, thickness – 0.01 m) – 1 pc.
- Wooden board (length – 0.85 m, width – 0.2 m, thickness – 0.01 m) – 1 pc.
- Wooden board (length – 0.7 m, width – 0.2 m, thickness – 0.01 m) – 1 pc.
- Wooden board (length – 0.55 m, width – 0.2 m, thickness – 0.01 m) – 1 pc.
- Wooden board (length – 0.40 m, width – 0.2 m, thickness – 0.01 m) – 1 pc.
- Wooden board (length – 0.25 m, width – 0.25 m, thickness – 0.01 m) – 1 pc.
- Wooden block (length – 0.25 m, width – 0.05 m, thickness – 0.05 m) – 1 pc.
- Wooden planks (length – 0.22 m, width – 0.1 m, thickness – 0.01 m) – 4 pcs.
- Metal corners – 2 pcs.
- Wood screws – 36 pcs.
- White paint – 1 b.
Tools
Tools needed to make a wooden flower shelf:
- Jigsaw;
- Screwdriver;
- Hand saw;
- Sander;
- Paint brush;
- The pencil is simple;
- Scissors;
- Protractor;
- Ruler or measuring tape.
Step-by-step production of a wooden shelf for indoor flowers
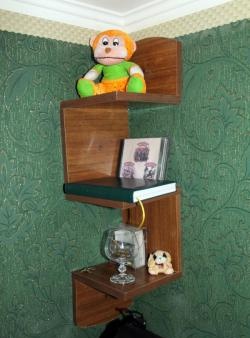
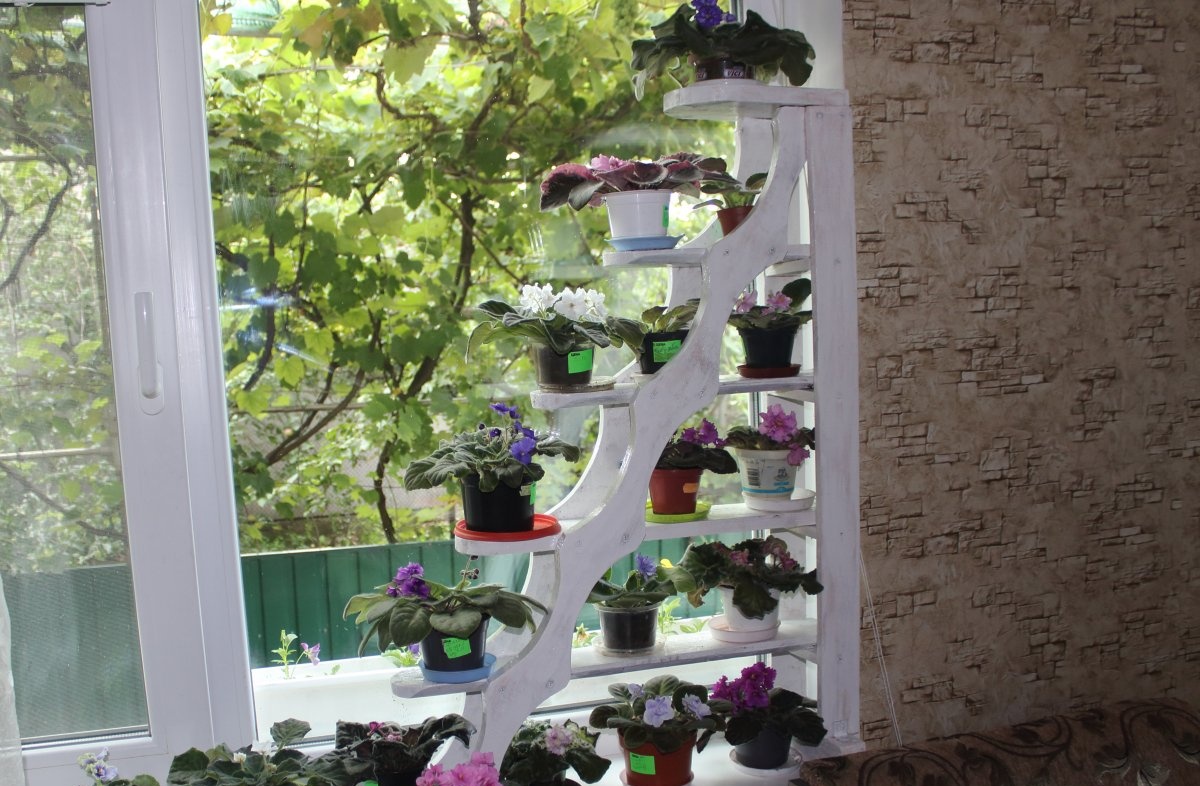
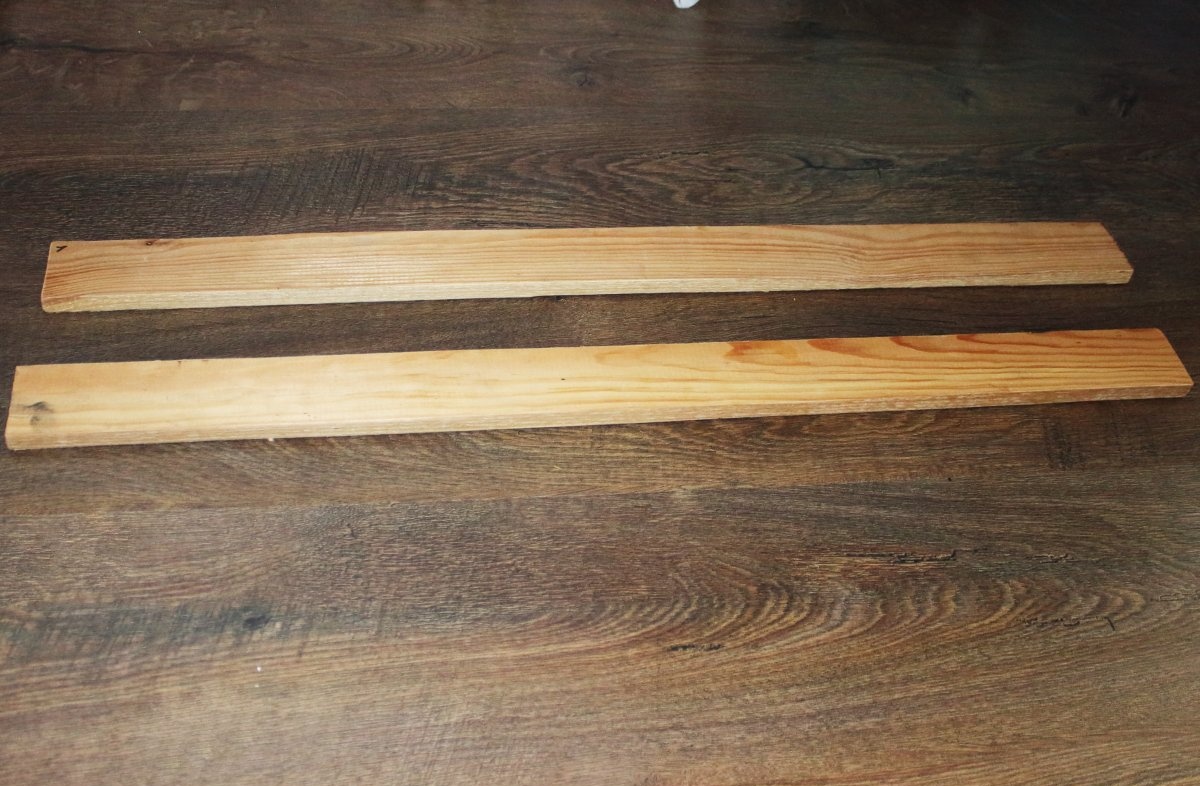
1. First of all, you need to decide on the dimensions of the structure. In this case, a shelf is made for small indoor plants, for example, violets. The height of the structure is 1 m, width – 70 cm, depth – 25 cm. The distance between the shelves is 20 cm. If you need a larger structure, the amount of materials for its manufacture will accordingly be different. First, start making the frame. To do this, you need to cut out 2 planks with a hand saw, the height of which should be 90 cm. To ensure that the planks are even and smooth, process them with a grinder.
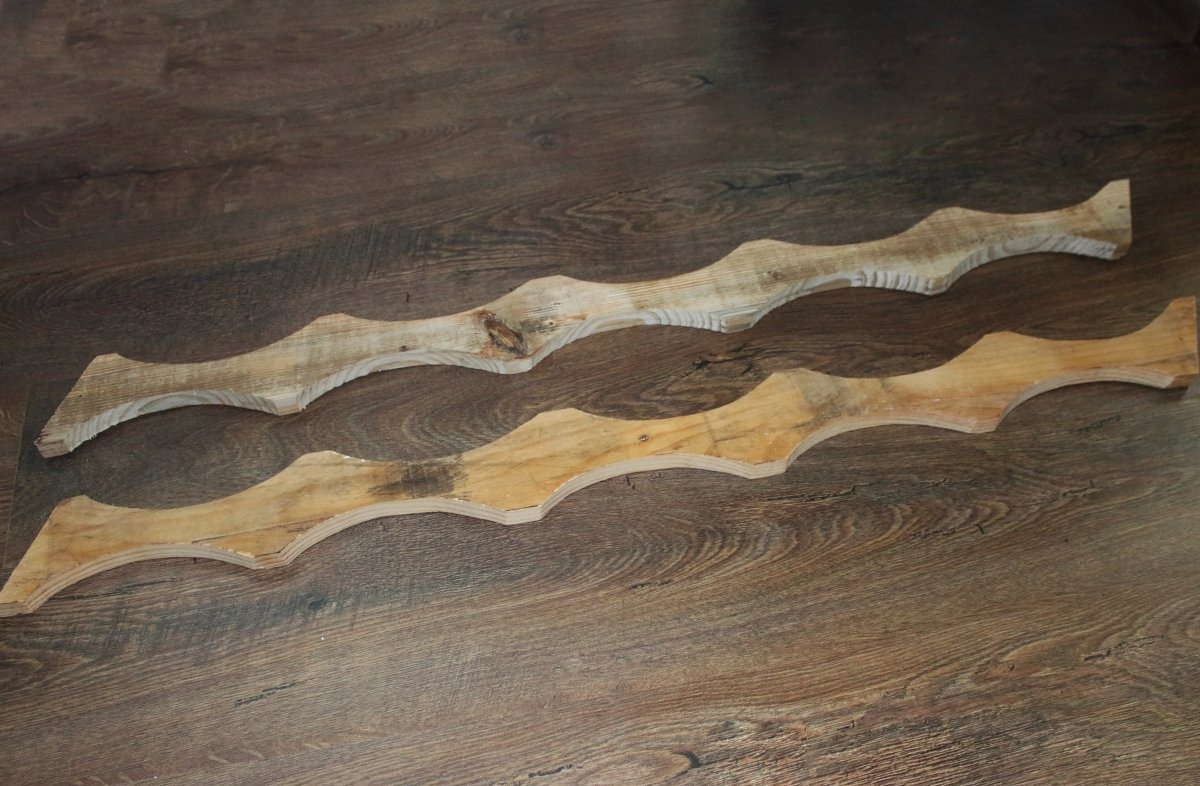
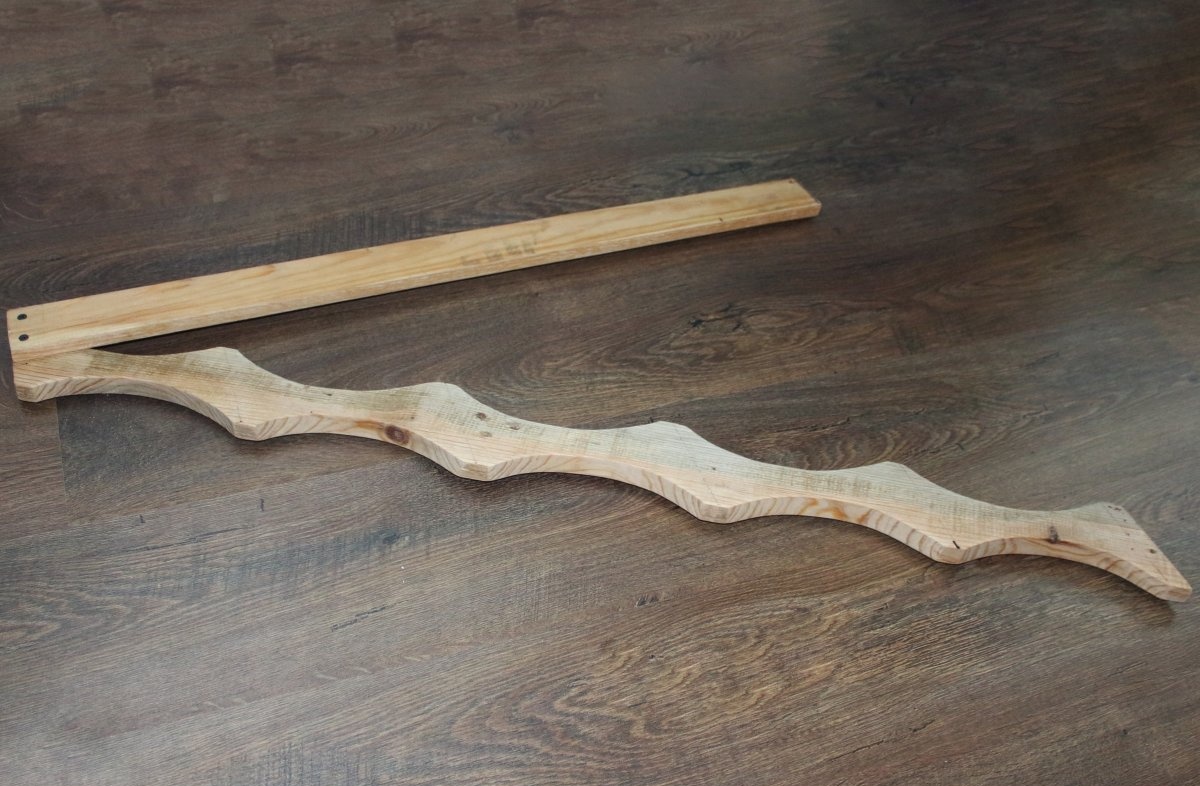
2. Prepare oblique supports.First, cut out 2 planks 122 cm long. Next, you need to make bevels on the planks. The bottom bevel should be 30 degrees. After you have made the bottom cut, draw the top line with a simple pencil. By the way, the upper cut should be parallel to the lower one. Use a handsaw to cut down the top corner. To make the shelf look elegant, you need to cut out arcs on the supports. Draw a straight arc on a piece of paper. The base of the arc should be 18 cm. Cut out the arc, attach it to the edge of one side of the plank and trace it with a simple pencil. Draw 4 more arcs, the distance between the arcs should be the same. Repeat the same procedure on the other side of the plank. Cut the arcs on the support using a jigsaw. Sand the shaped strips on all sides with a grinding machine.
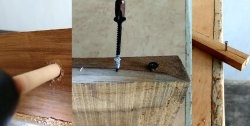
3. Attach the figured board to a flat plank and fasten them with two self-tapping screws. Tighten the screws using a screwdriver. Do the same with the remaining planks.
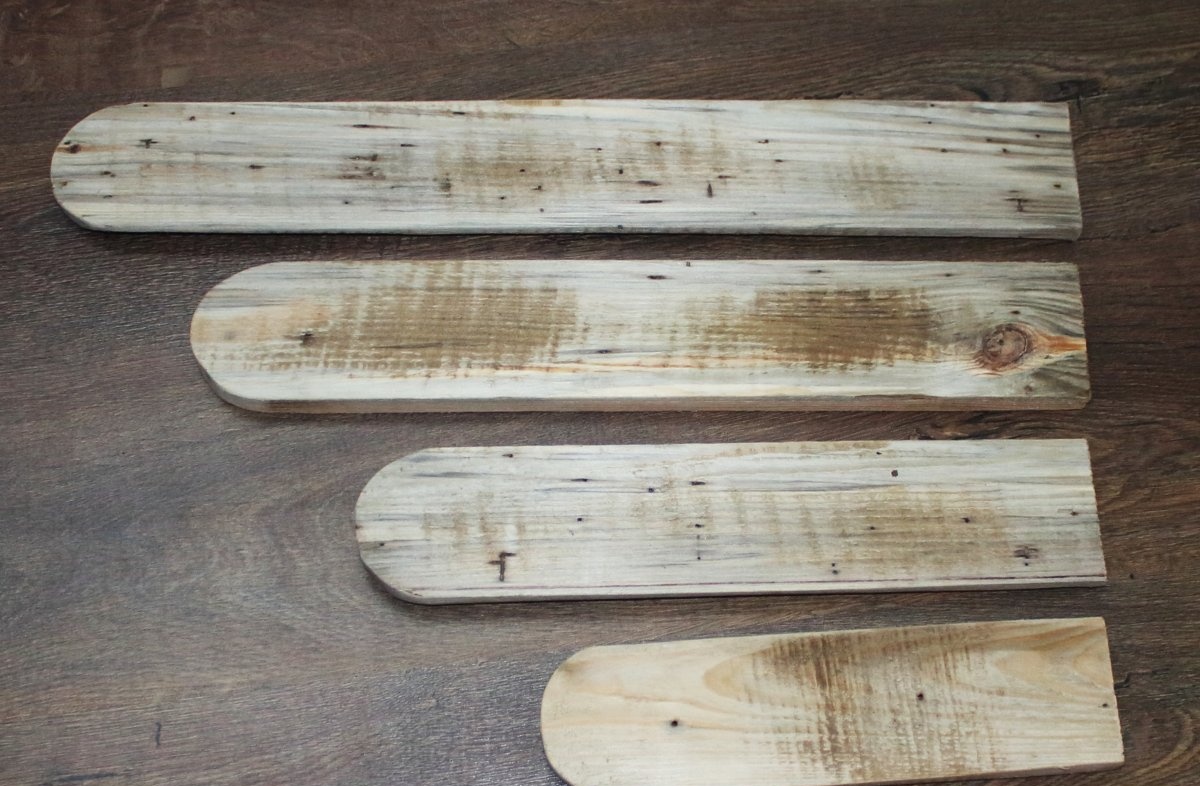
4. Start preparing the shelves. Place boards 85 cm, 70 cm, 55 cm, 40 cm and 25 cm long on a flat surface. To make them look more attractive, it is better to make them semicircular. Using a simple pencil, draw round corners on one side of all the boards. File off the corners using a jigsaw and then sand down the flower shelves.
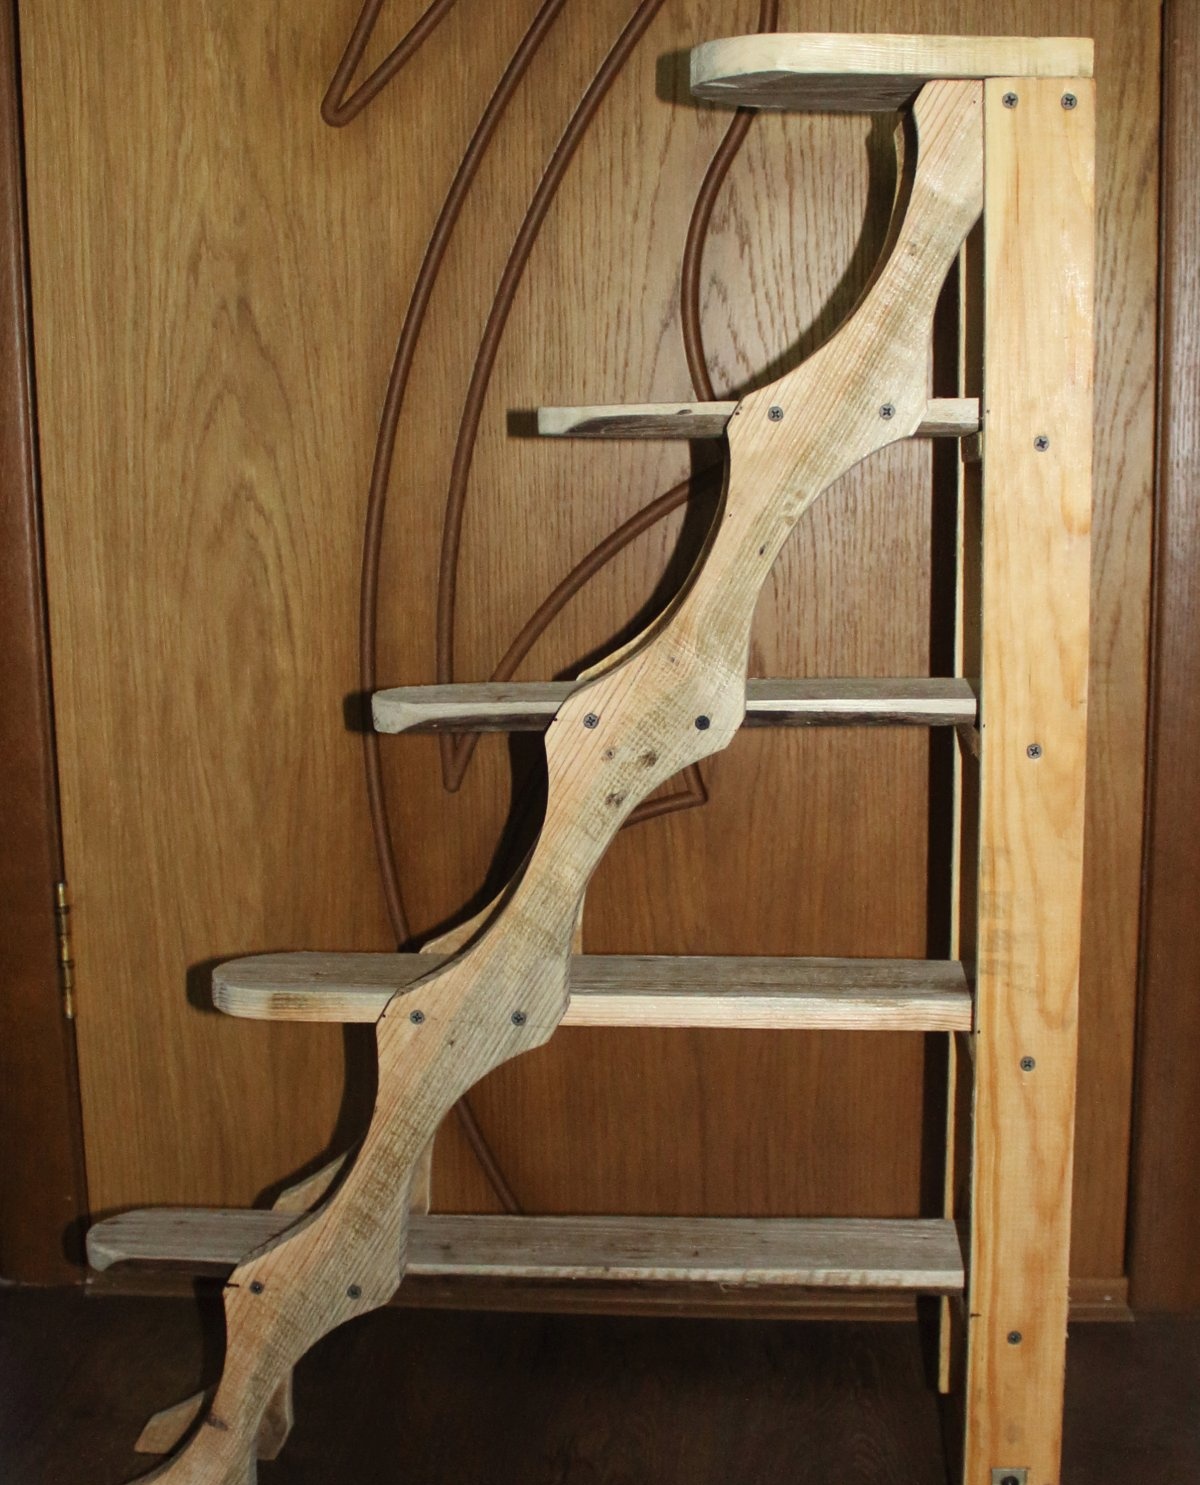
5. All auxiliary elements are ready. You can start assembling the structure. It is very inconvenient to assemble a shelf alone; it is best to ask someone from the household to help you. First, place two fastened planks opposite each other, connect them at the bottom with a beam. The timber is attached to the planks using metal corners and self-tapping screws. Thanks to the timber, the structure will be more stable.Place the top shelf on top of the structure and secure it with self-tapping screws. Since the slats for the shelf frame were overlapped, the width of the structure was 22 cm, and the width of each flower shelf was only 20 cm. To prevent the shelves from falling, you need to attach small slats. Remember that the planks are fastened with self-tapping screws at the same distance from each other. After that, start installing the shelves. Place one side of the shelf on the plank, and screw the other side to the figured board using four self-tapping screws. The flower shelf for indoor plants is ready.
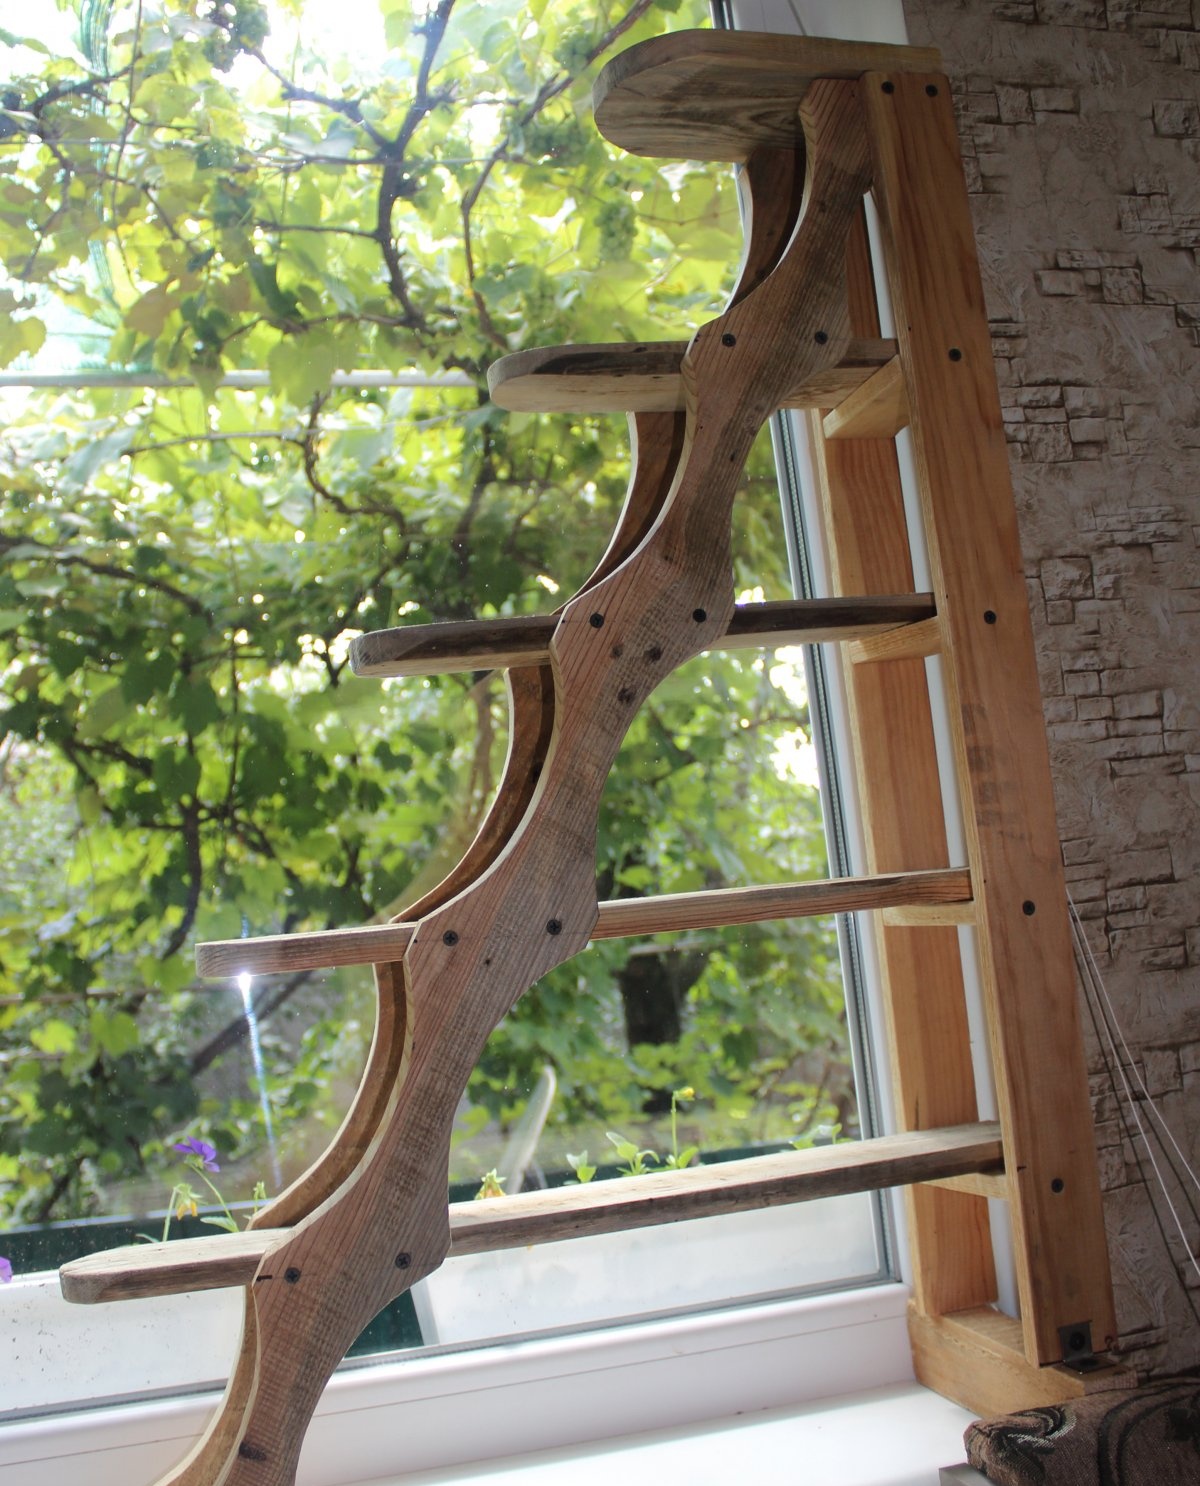
6. To make the structure look more delicate and elegant, it can be painted in any color, for example, white.
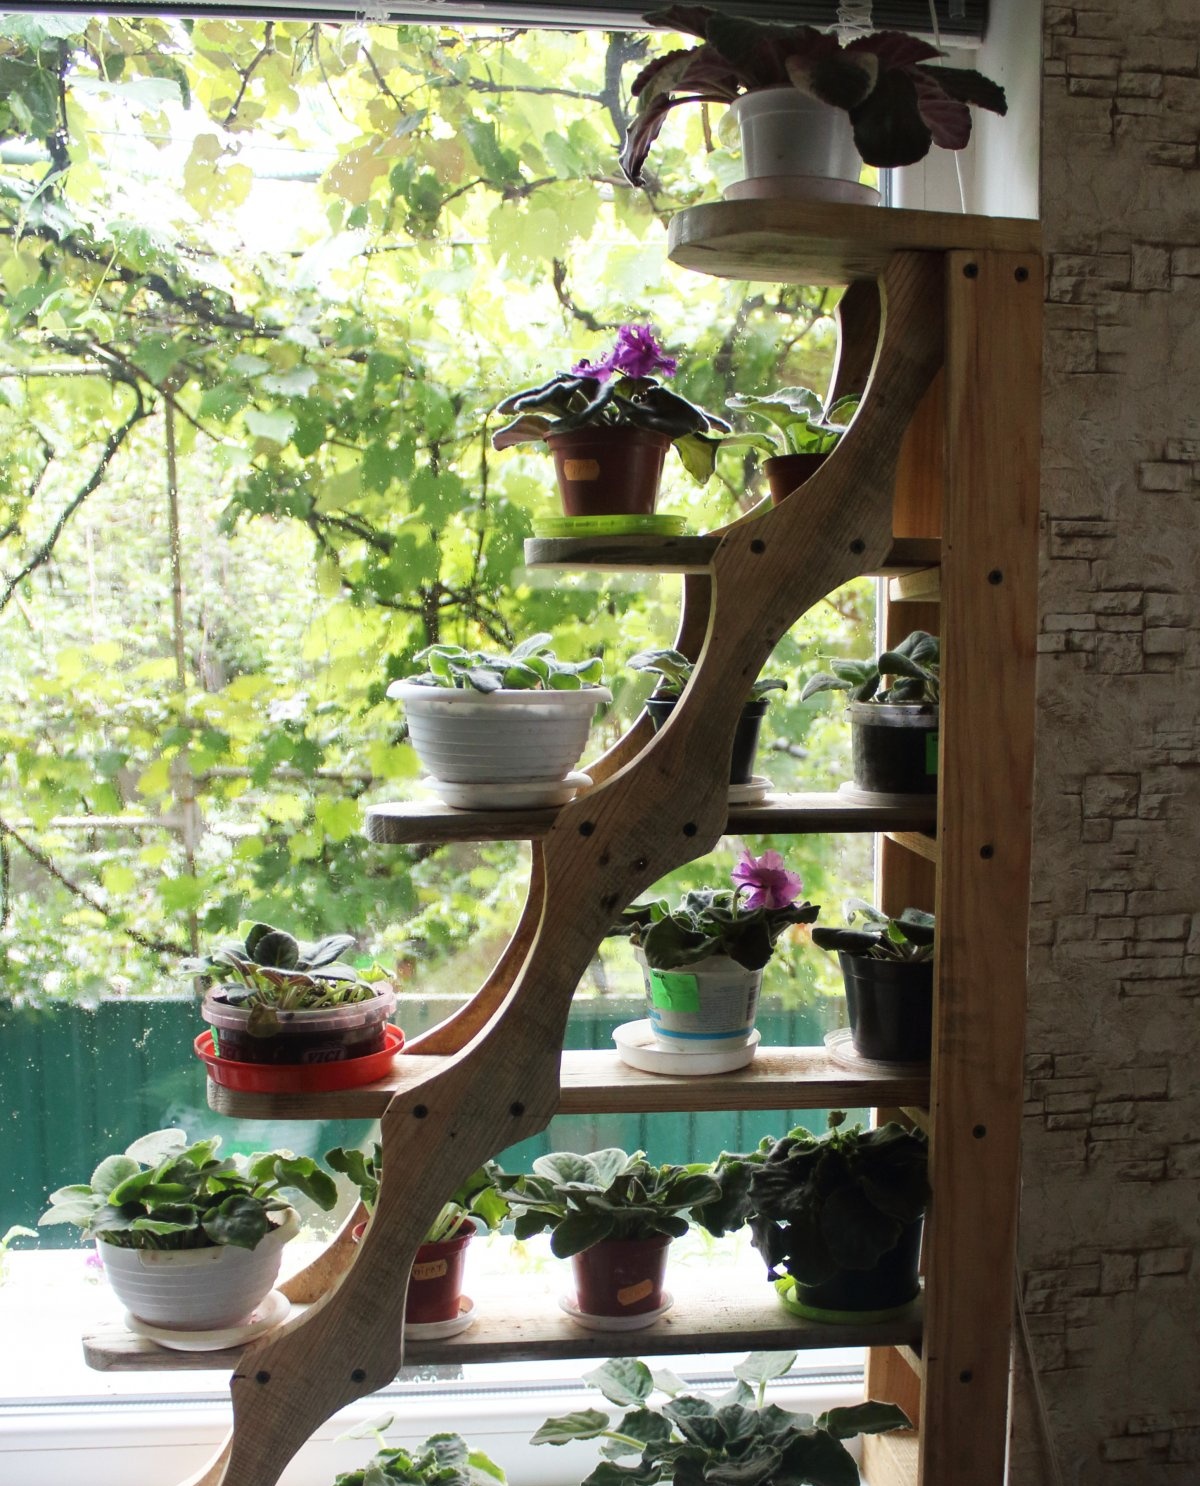
This shelf will fit perfectly into almost any interior. In addition, the design is stable and roomy. On this shelf you can place many plants and create a real garden on your windowsill.