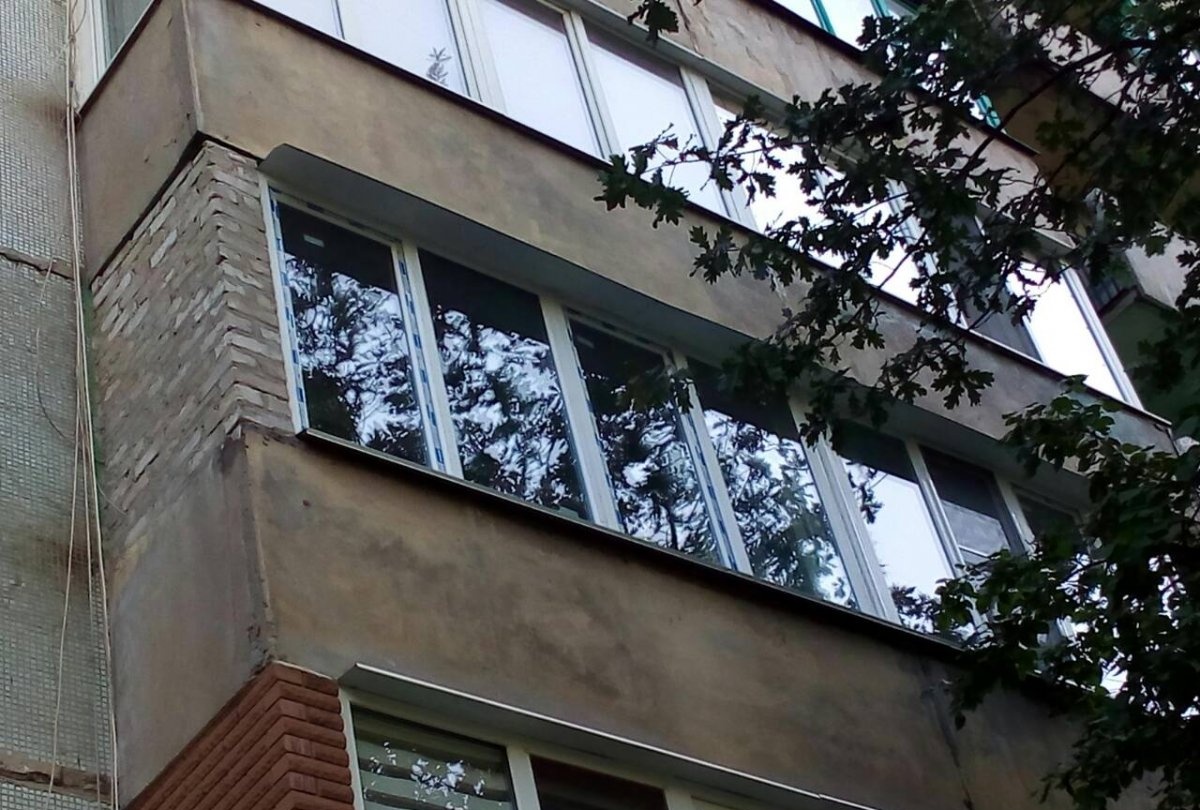
Those who have decided to replace old wooden windows with plastic ones may wonder: is it possible to install them yourself? Although this is a job of average complexity, it can still be done by those who have at least some construction skills. Installing small windows in private homes is much easier than installing large windows on the balconies of apartment buildings. In this article we will look at a more complex option for installing windows in a multi-storey building.
If you are not an expert in this matter, then it is better to ask a more experienced craftsman to calculate in advance what size plastic windows need to be ordered. So that they are not too big or too small. When the windows are delivered to you, immediately check that all components and fittings are present, and also check that the window dimensions are accurate. Only then sign the windows delivery documents.
Do-it-yourself installation of plastic windows
First you need to dismantle the old windows. To do this, you may need a wood saw to cut the beams and window sill. You will also need a pry bar.
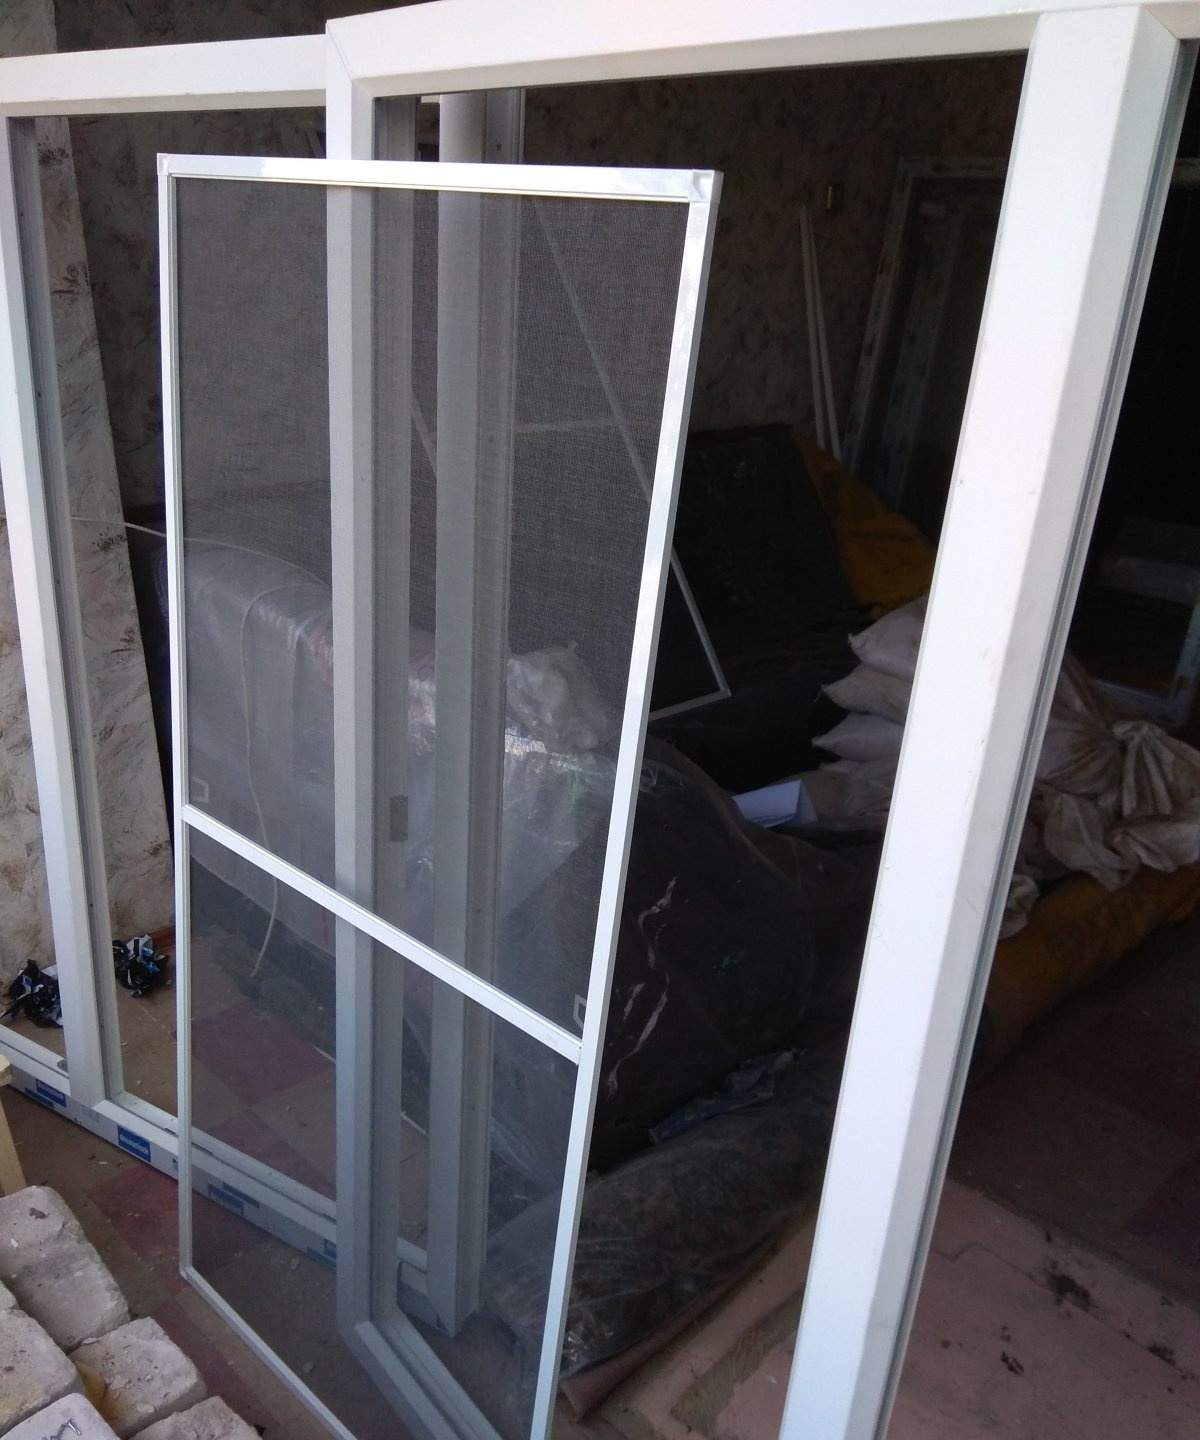
If you do not live on the first floor, then when the windows are delivered they will be disassembled to make it easier for the movers to bring them into the apartment. This is good because you also need it. In addition, you will have to additionally disassemble the double-glazed windows by removing the glass, since they provide the main weight. The glass must be dismantled so that it is convenient for you to attach the window sill and ebbs. Dismantling of the drains is carried out by removing the plastic bead.
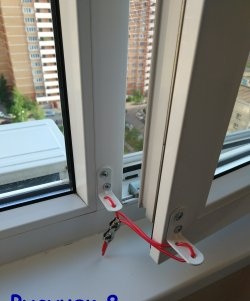
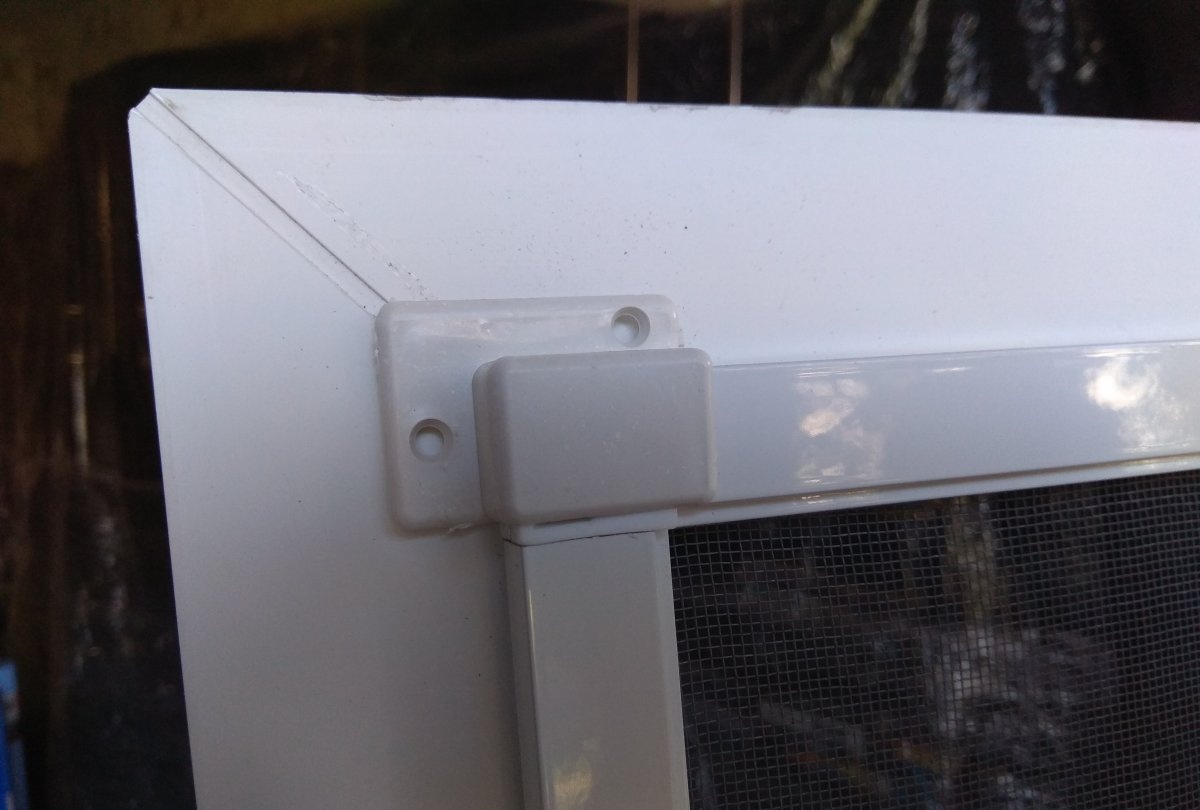
Before you start installing the windows, you need to attach the fasteners for the mosquito net, since then it will be difficult, because if you do not live on the first floor from the street, this will be impossible. To do this, place the mosquito net against the window opening and screw the top fastenings, then the lower ones, but in such a way that the net can be removed, for example in winter. Therefore, the lower fastenings should be slightly lower than the size of the mosquito net.
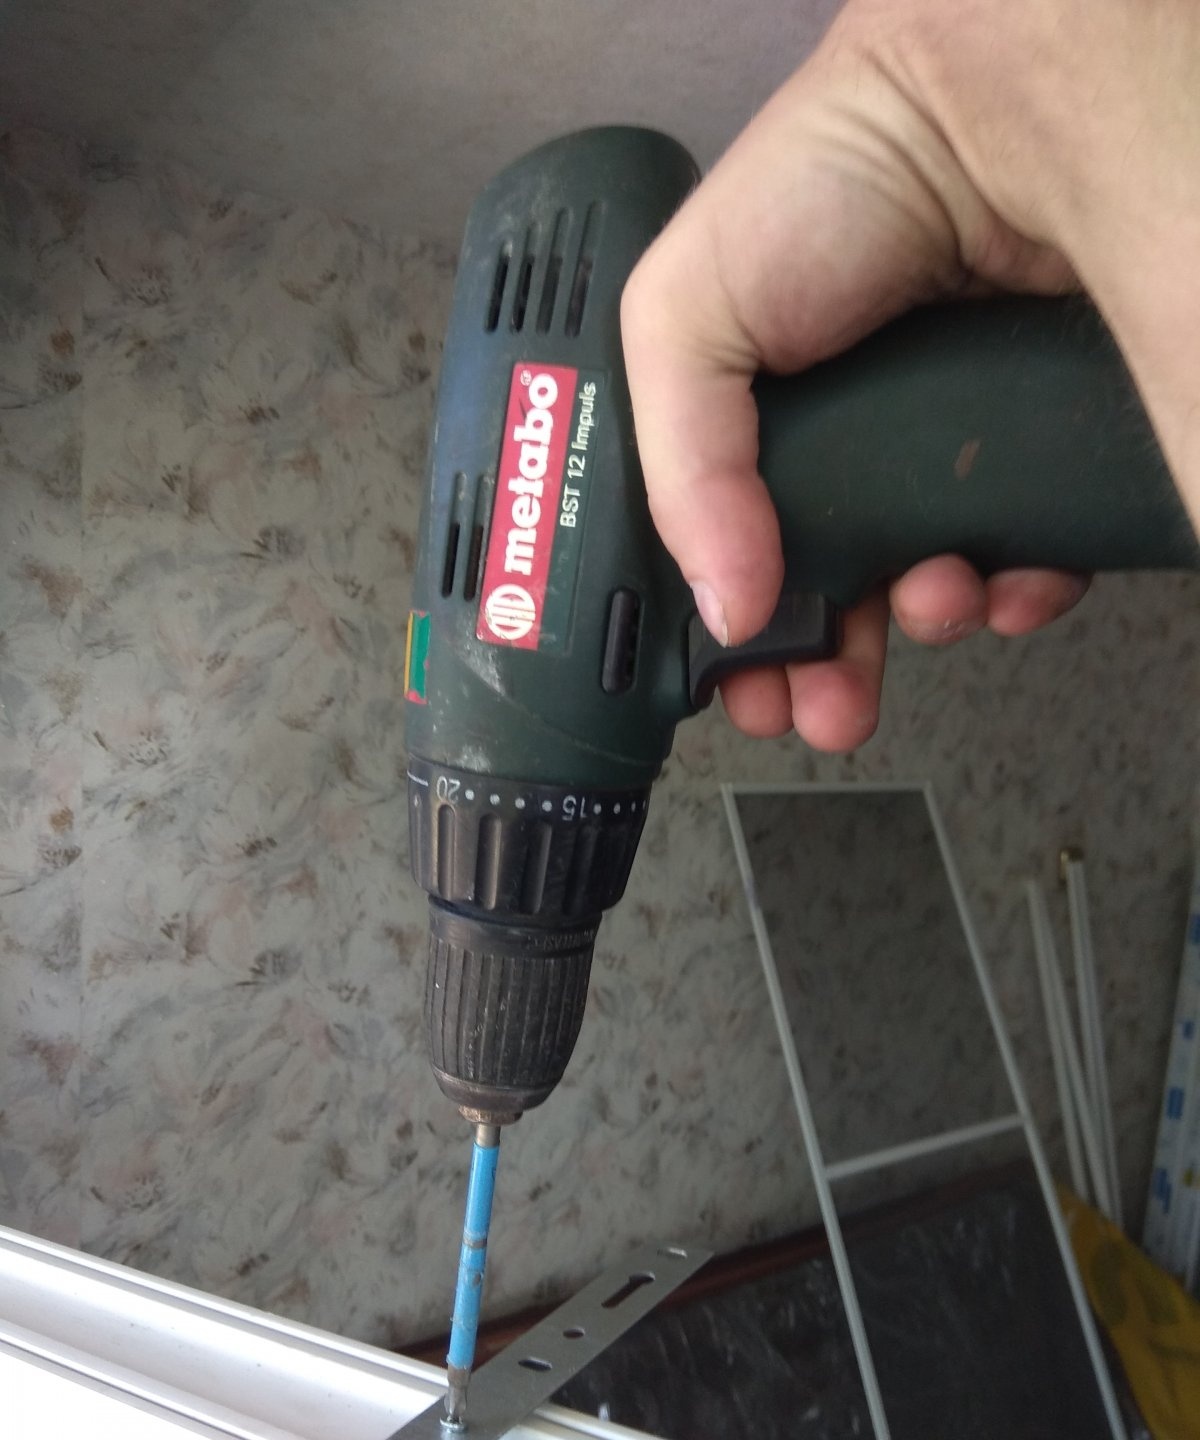
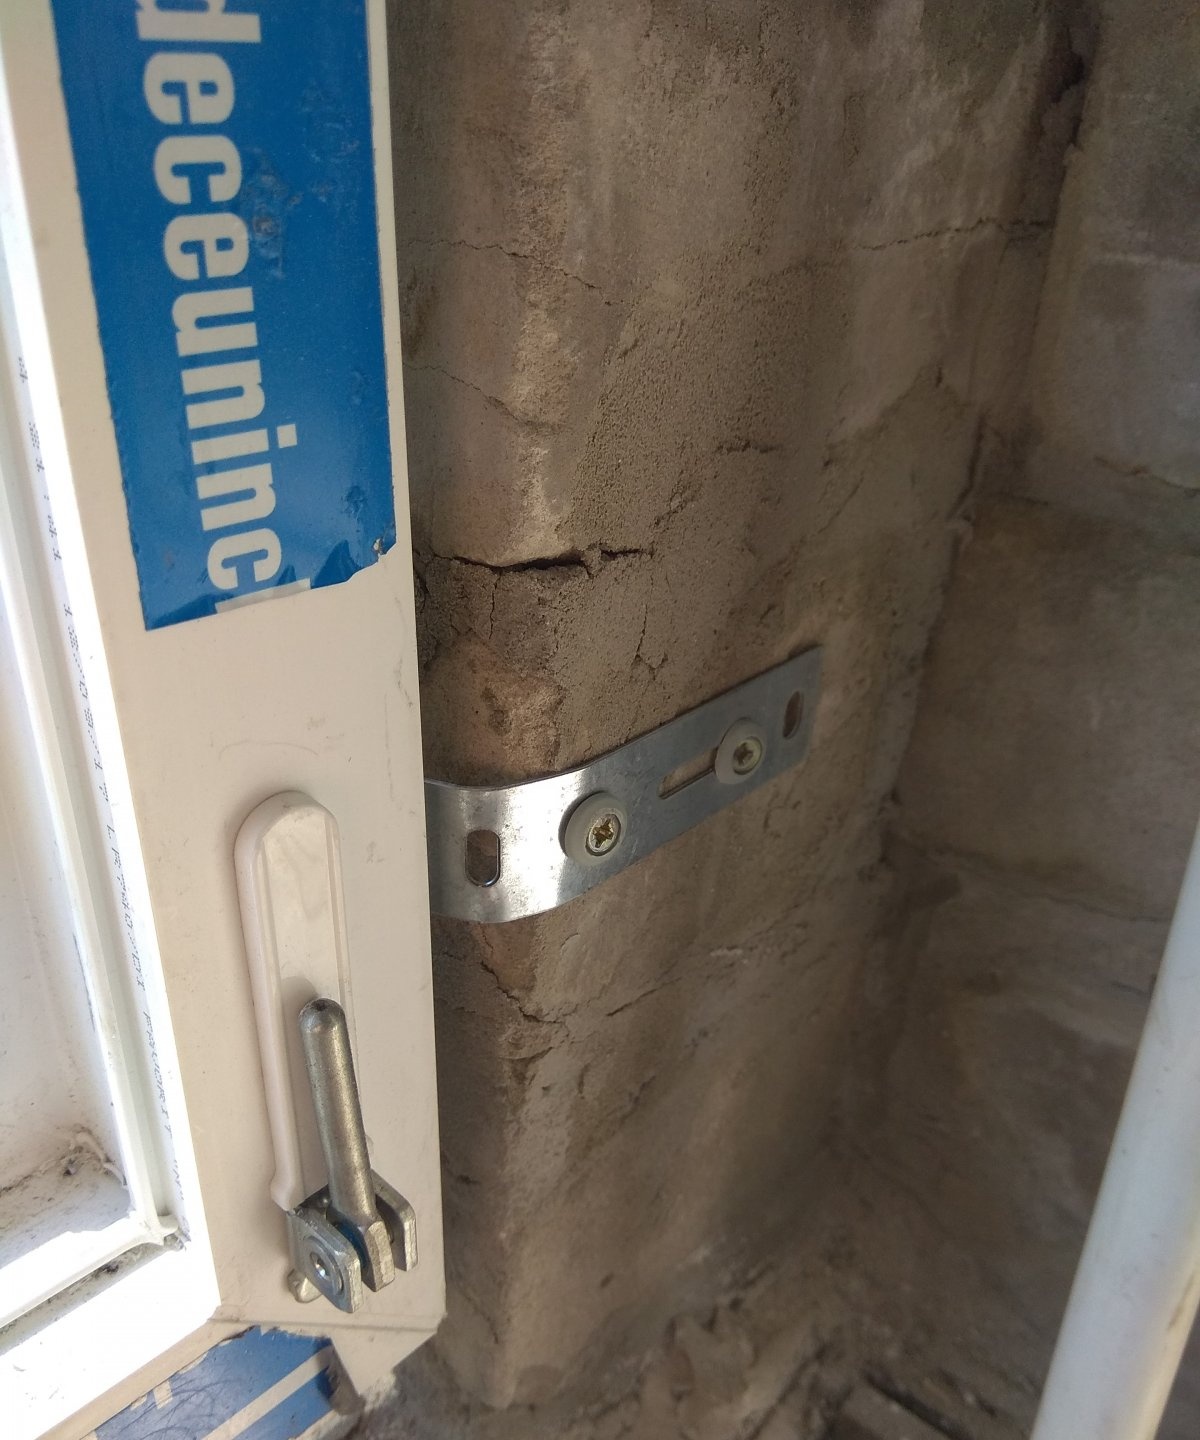
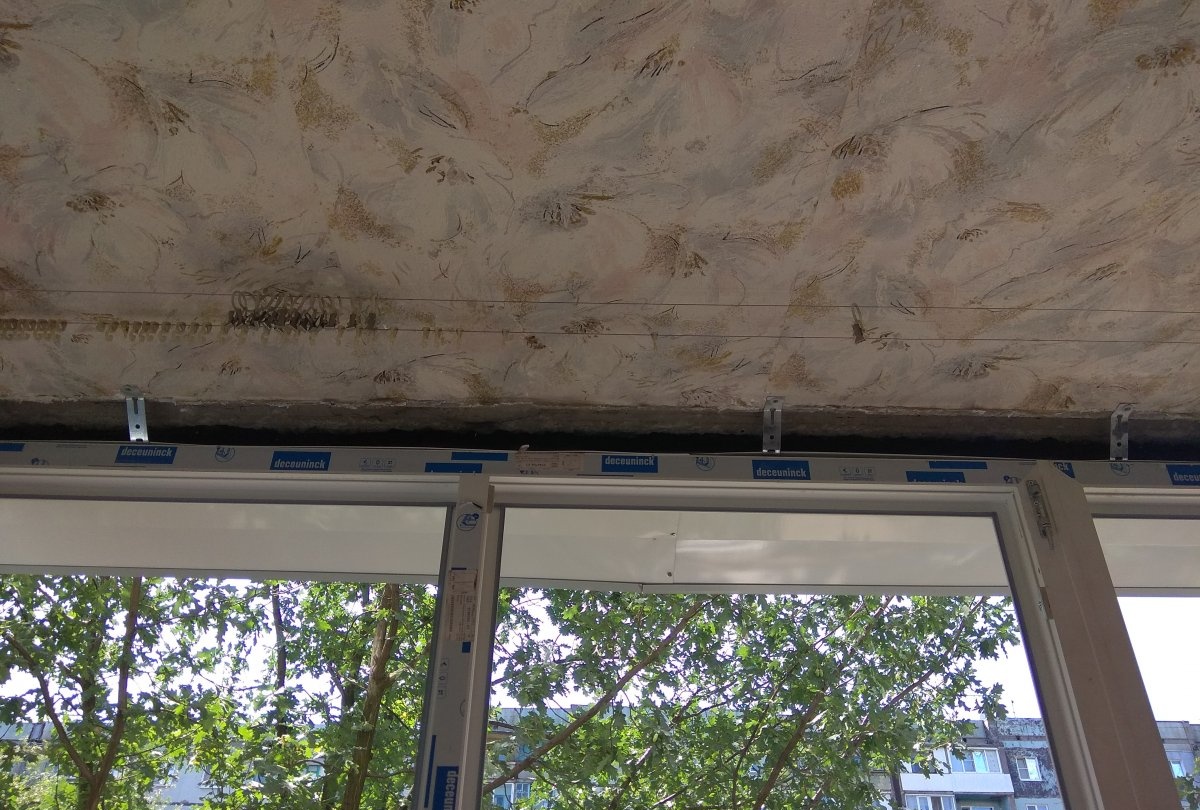
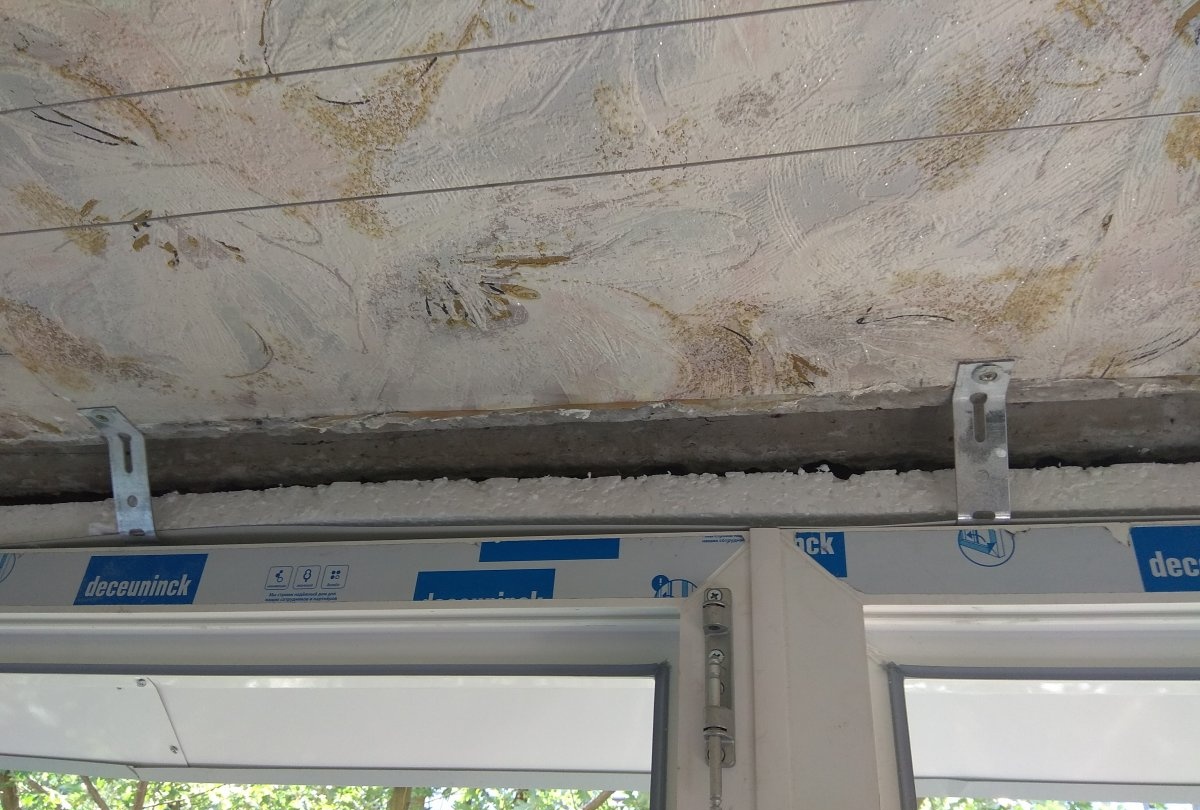
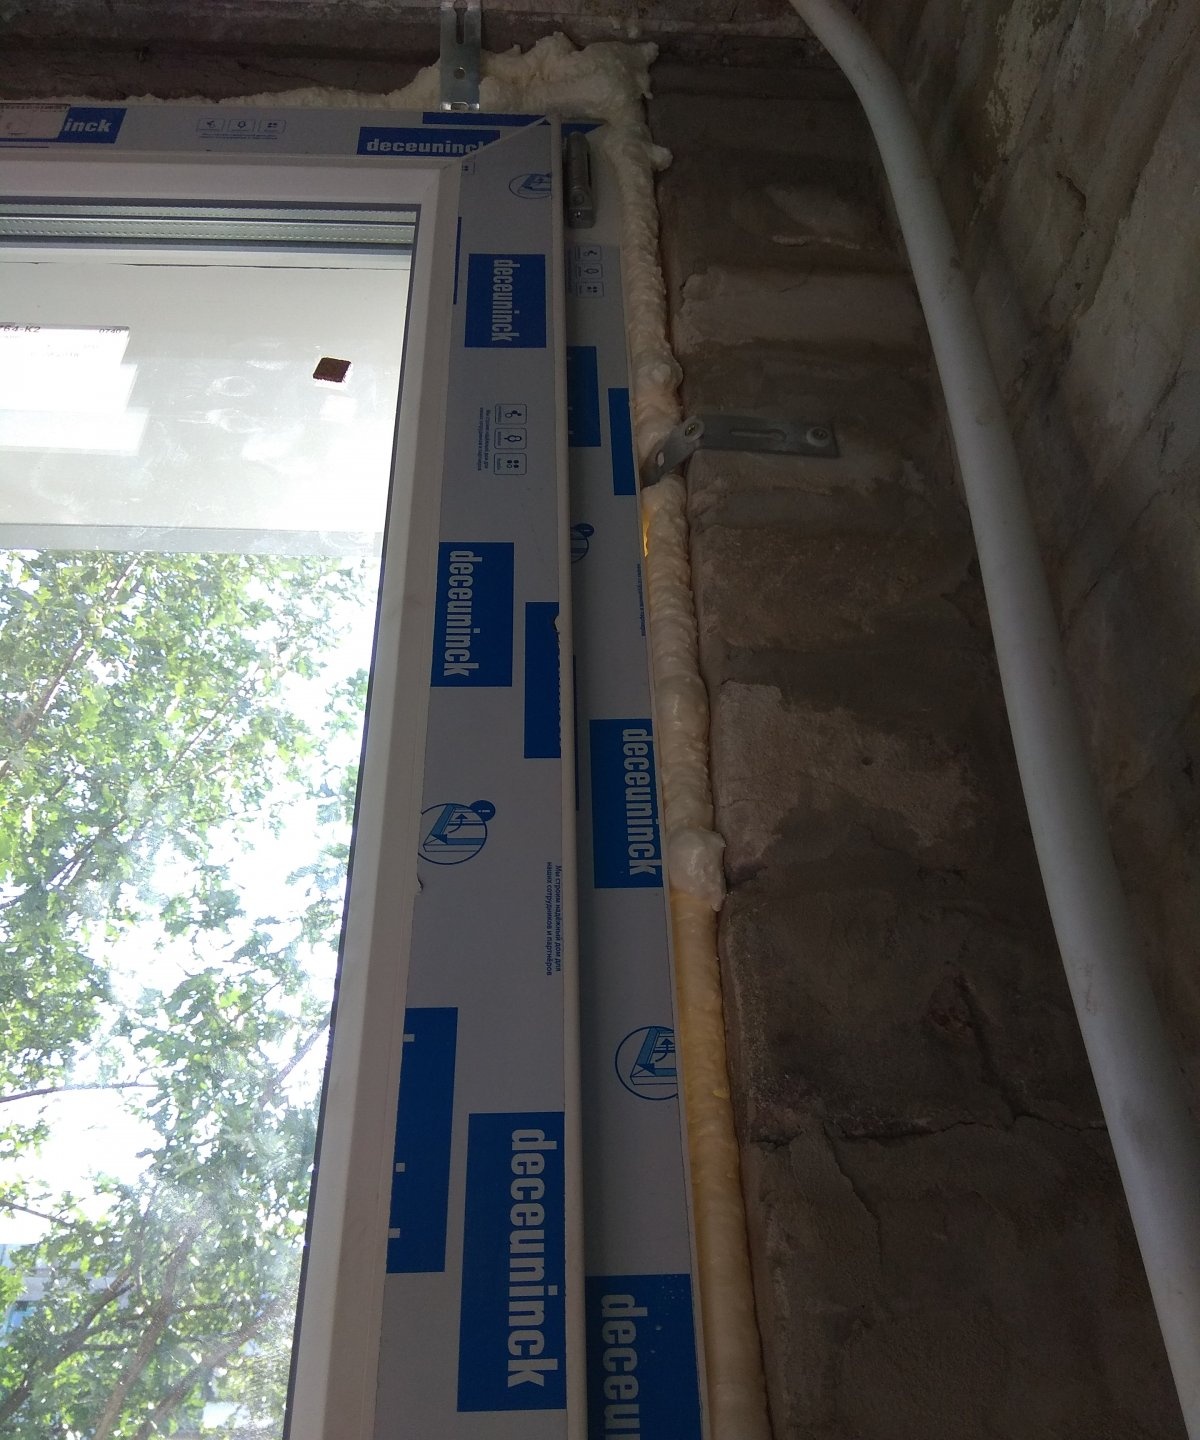
Next, you can mount metal fasteners to the top and side of the window block. This is done using self-tapping screws, which should be included with the fittings.
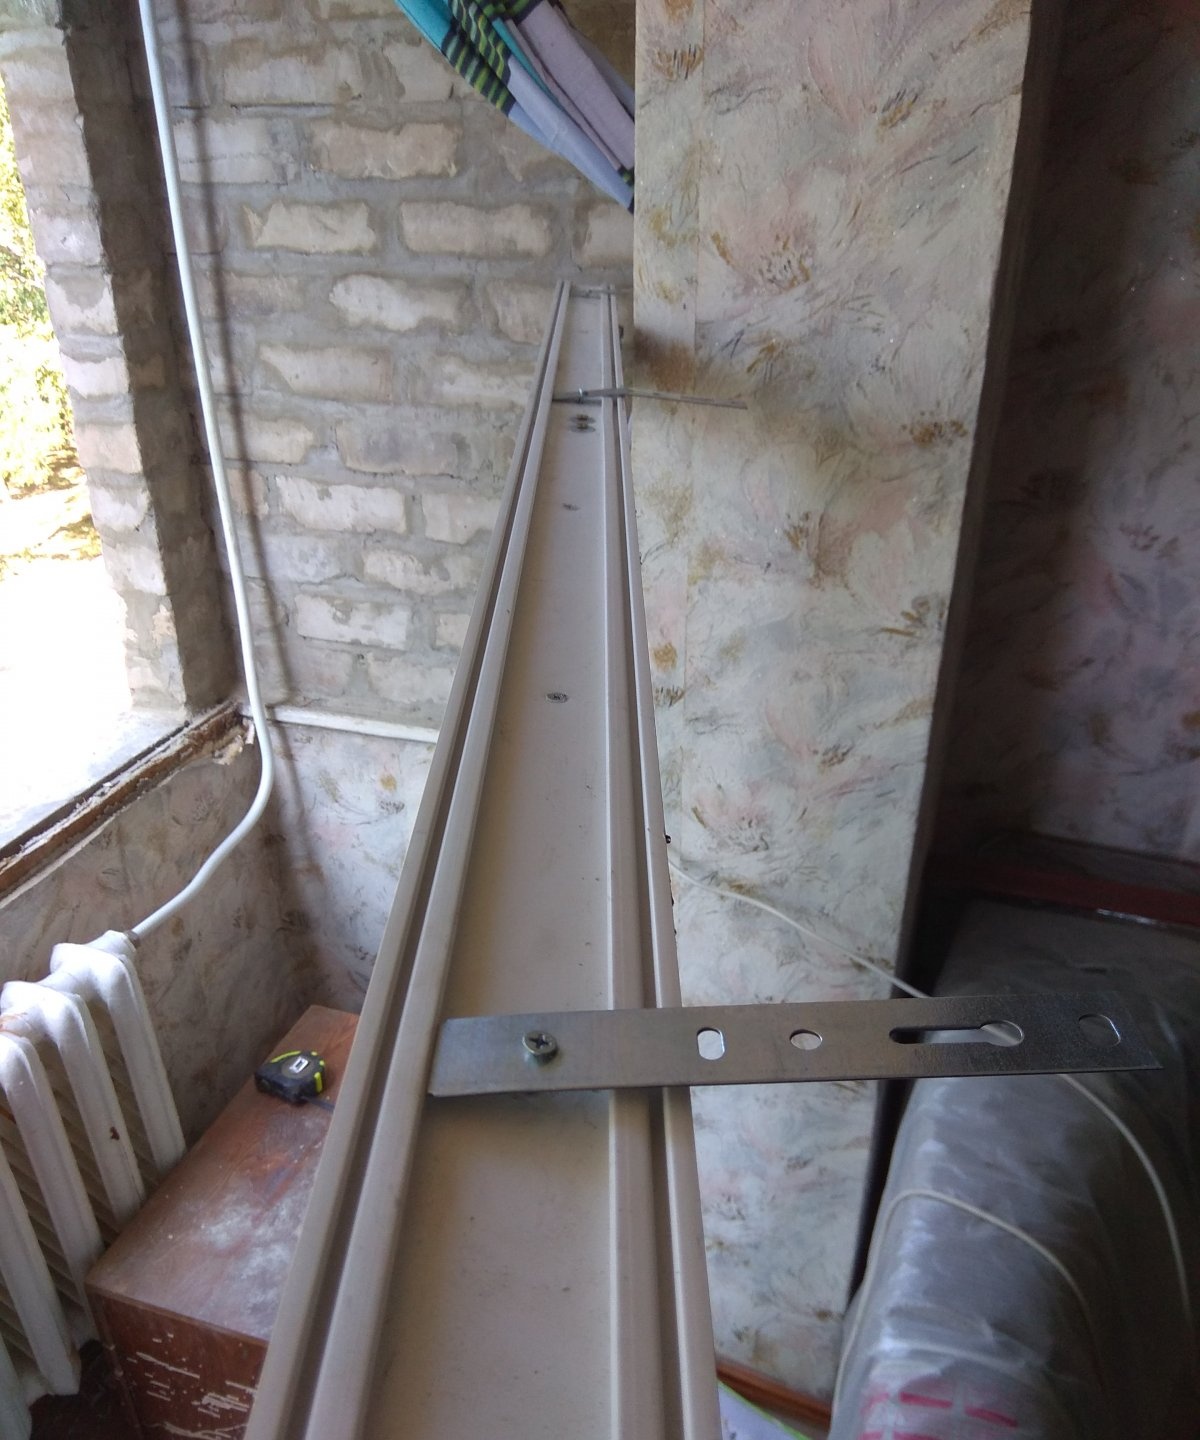
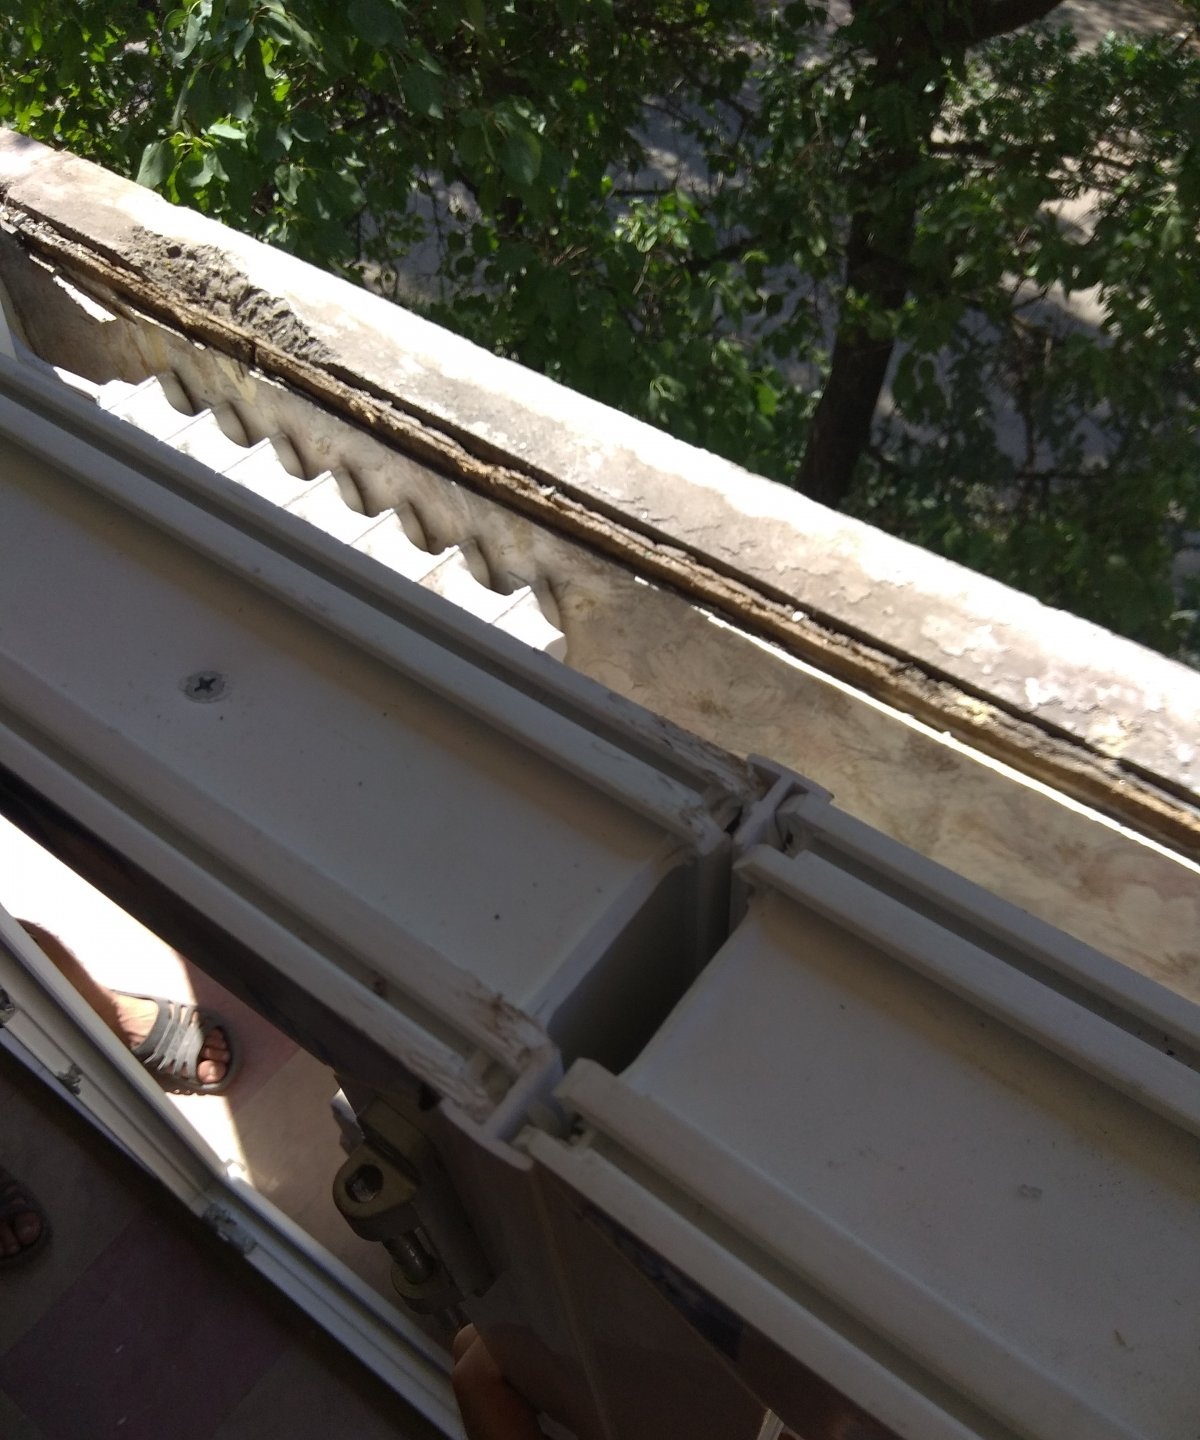
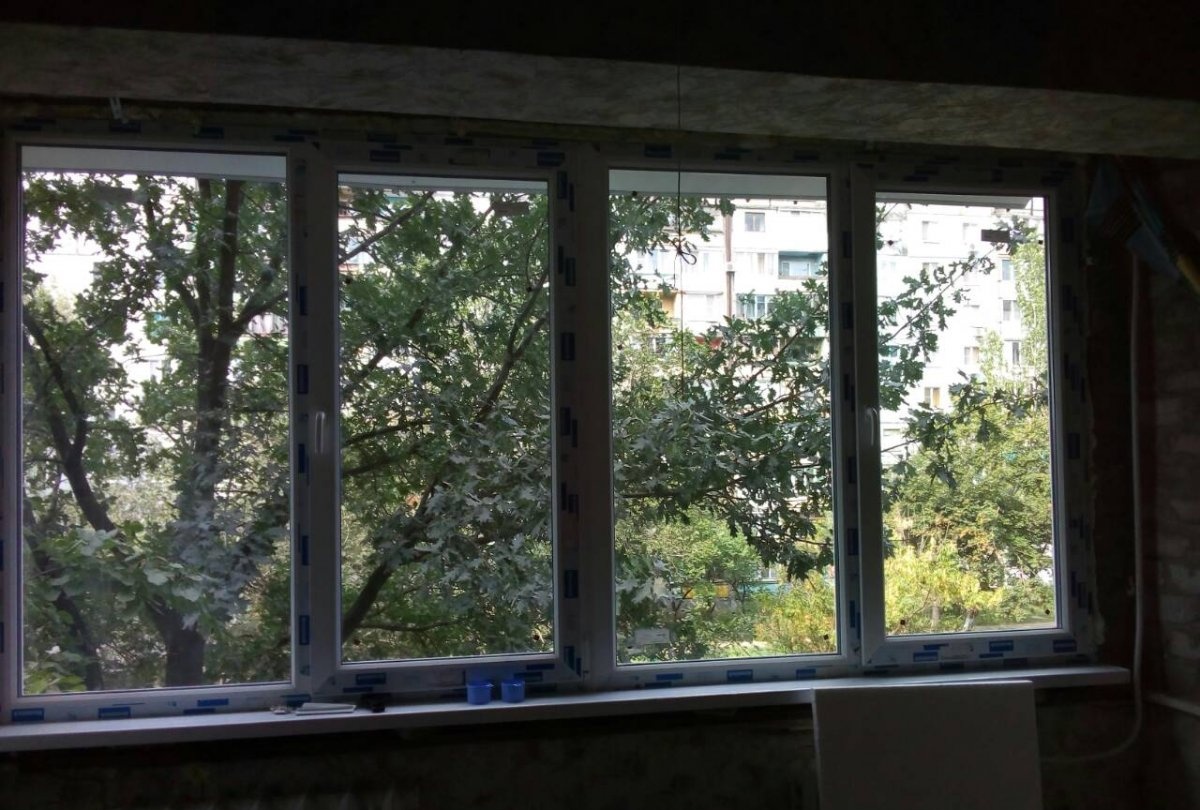
If the window openings are long, then several window blocks are usually ordered, which are connected to each other with special fasteners (connectors). It is necessary to immediately fasten the windows with a connector on both sides, and additionally fasten them with self-tapping screws.
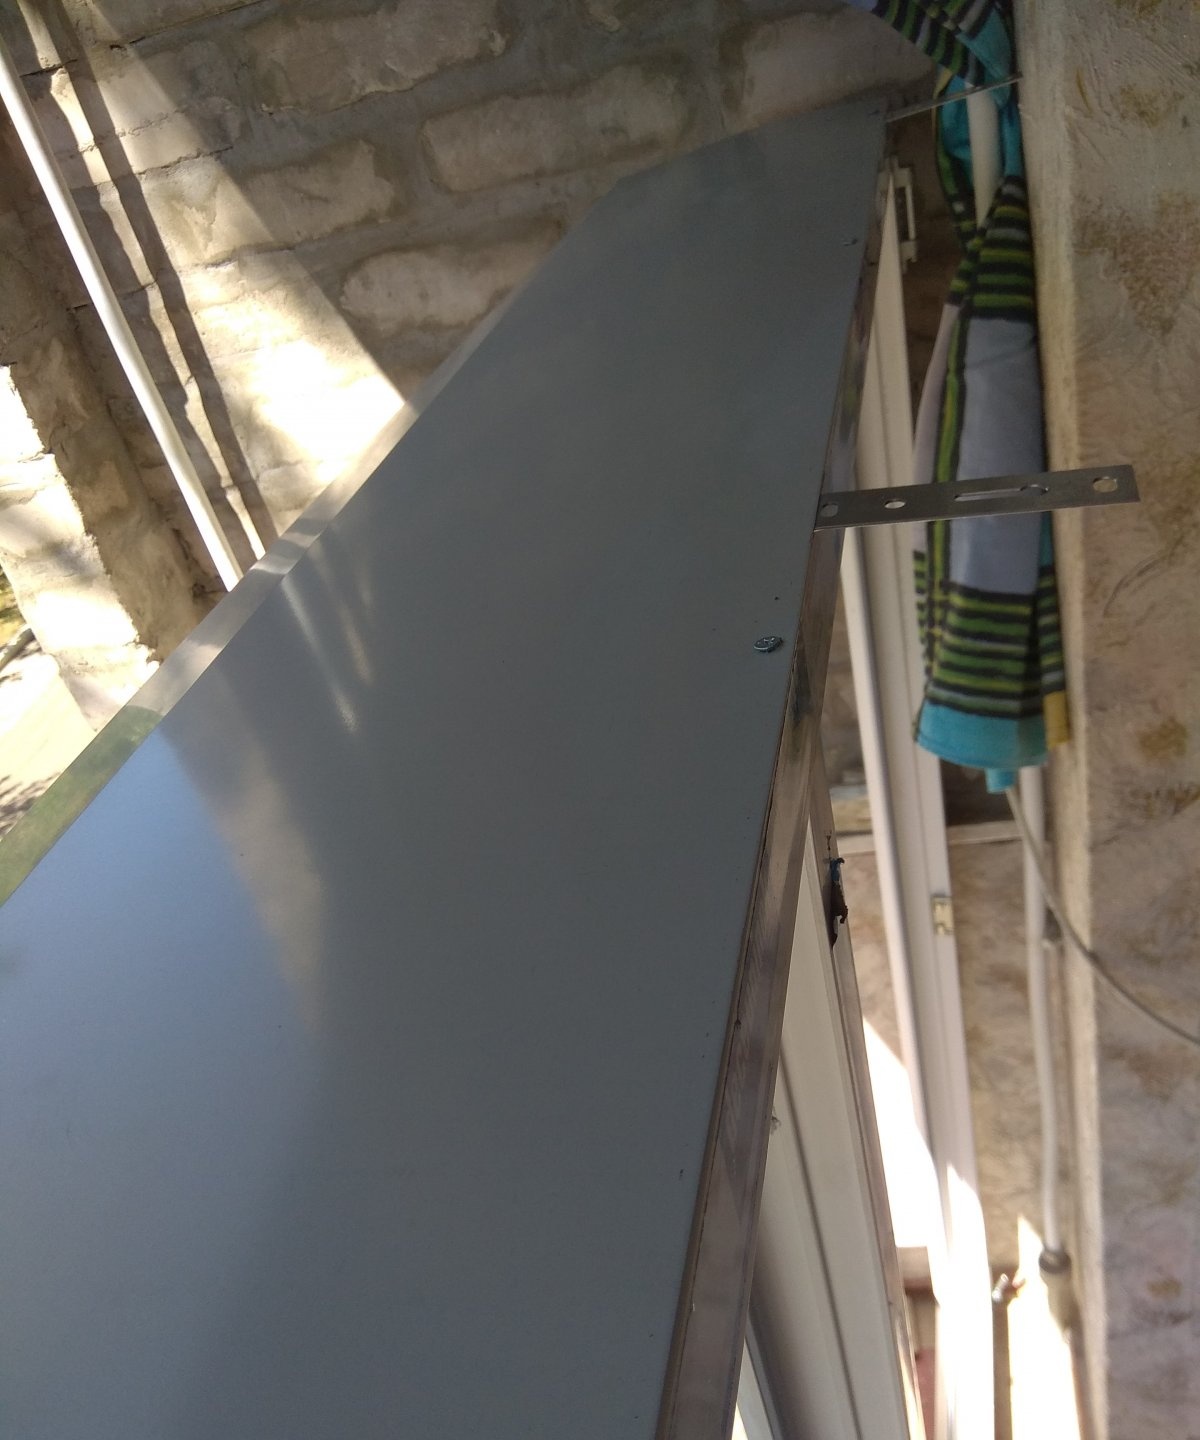
If you have ordered visors, they must be attached to the top of the window block by screwing them into the profile with self-tapping screws. This is done after you have installed the metal fasteners.
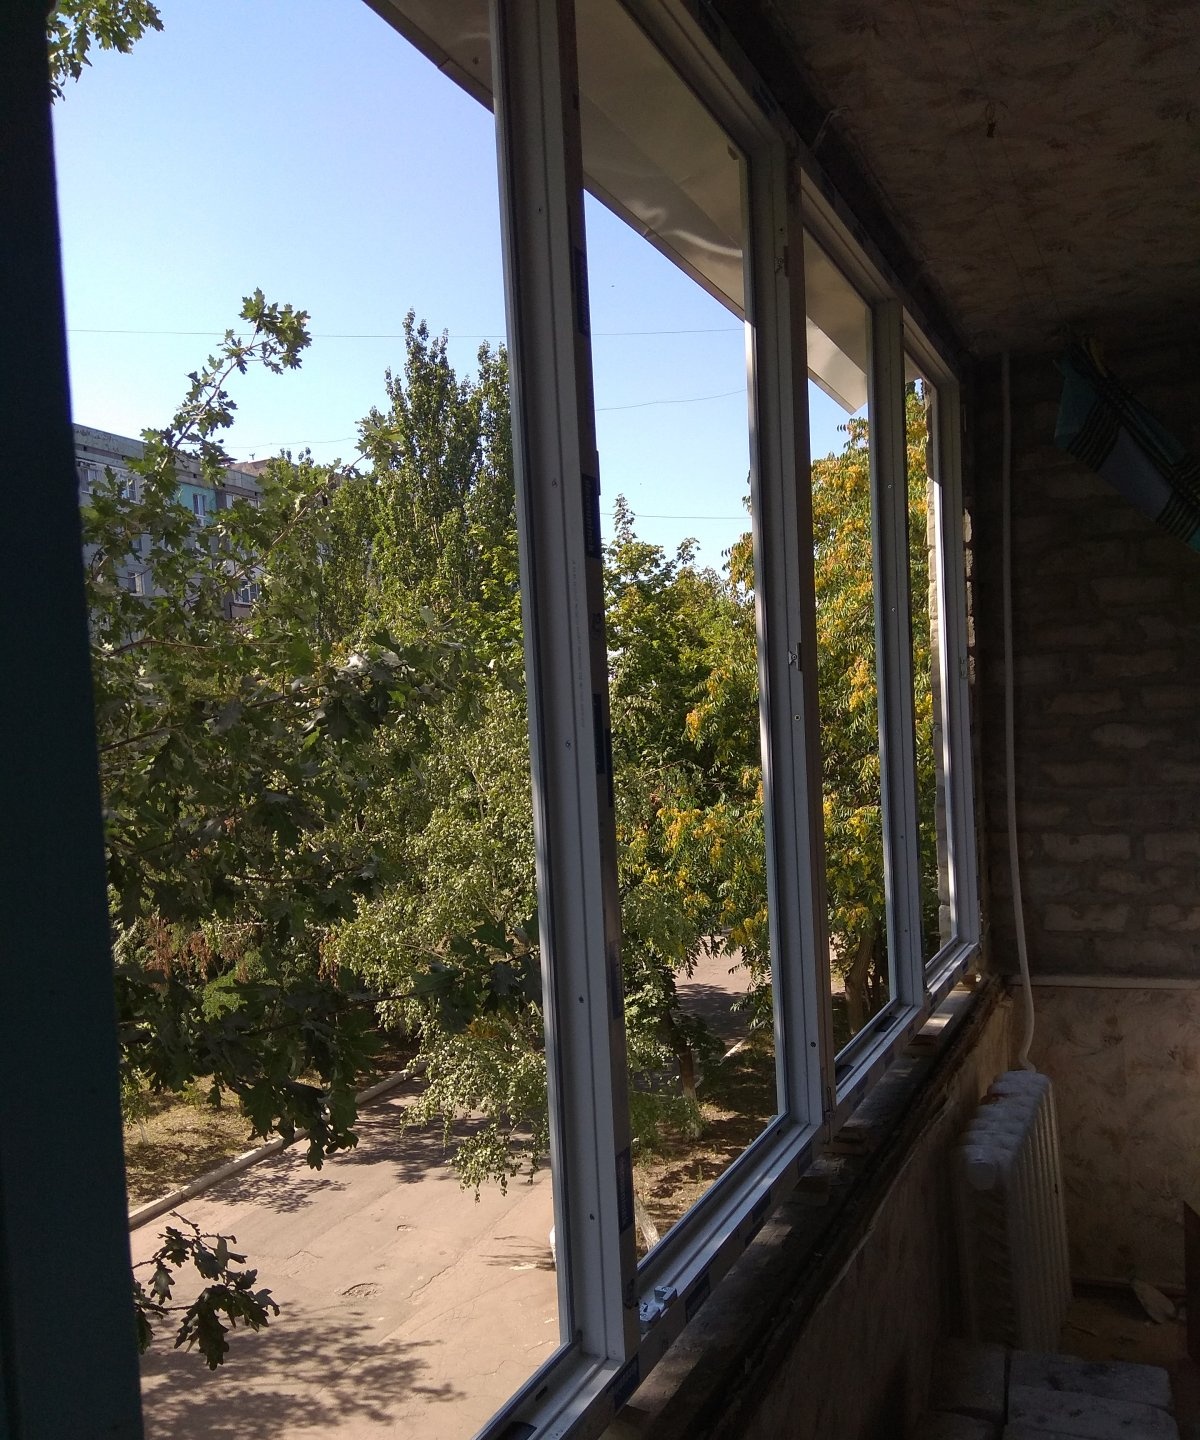
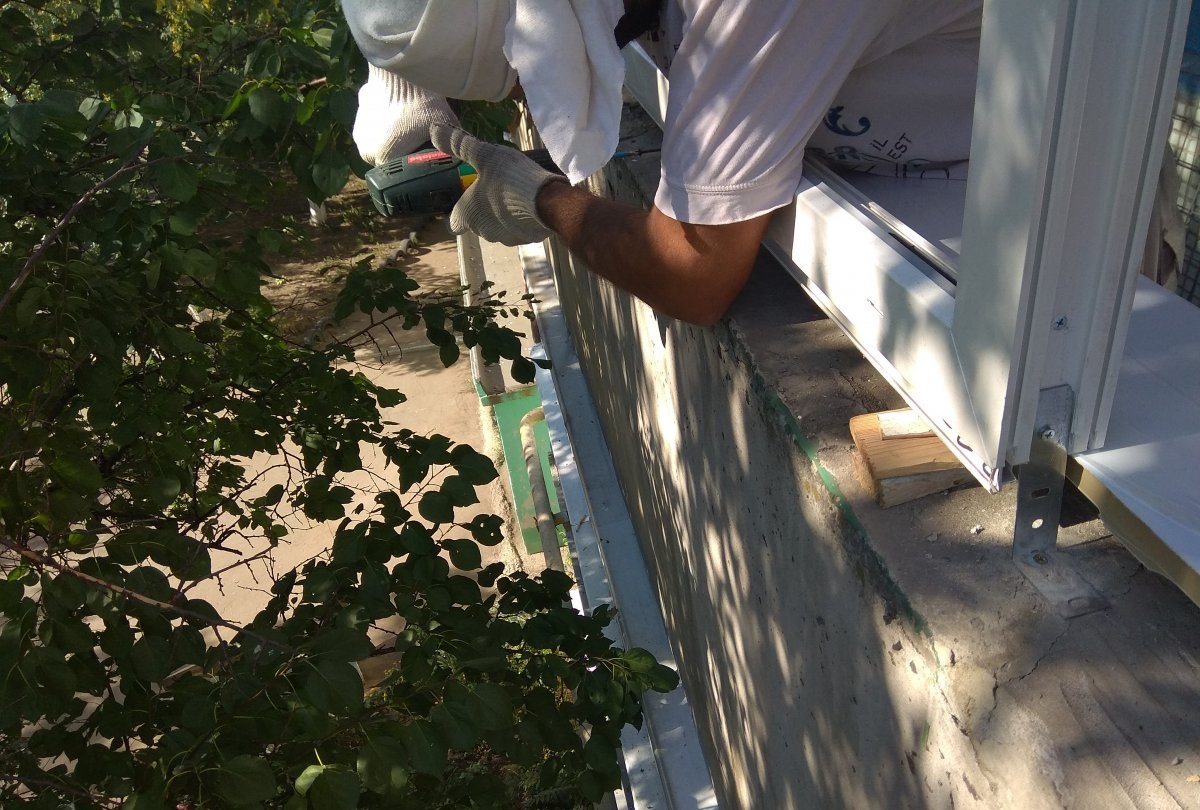
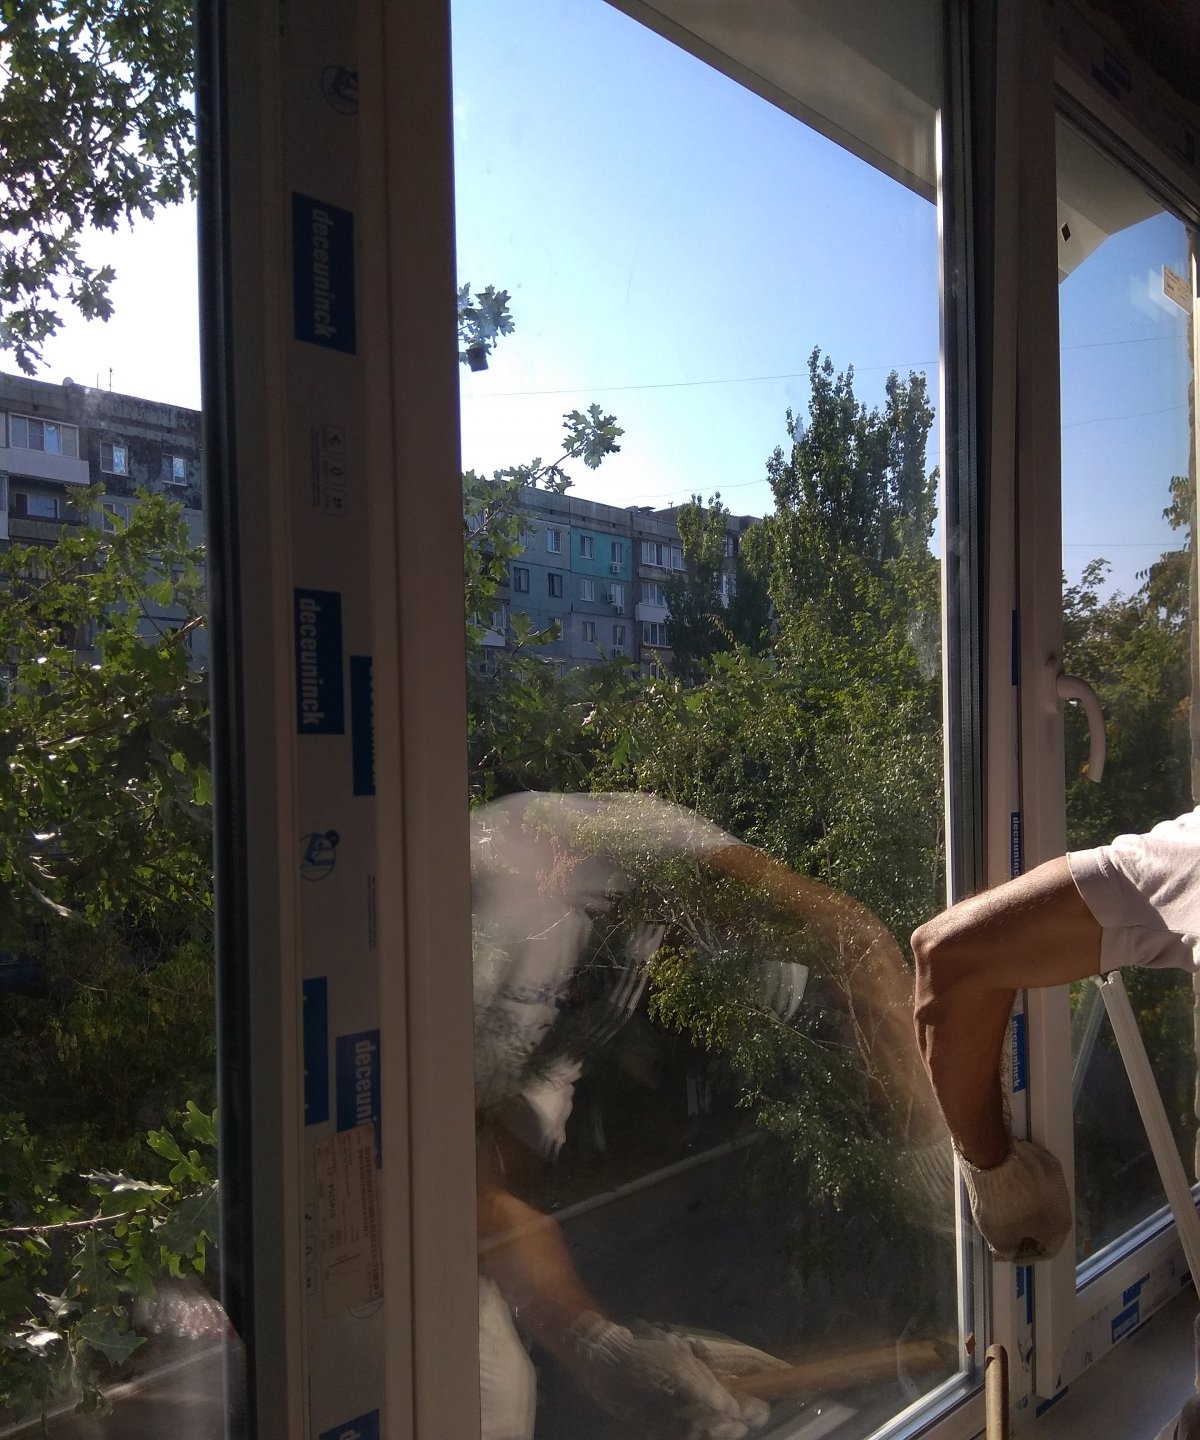
Next, you can start installing the window. If the windows are large, then you will need help from at least one person to help lift and place the window.Also, when you attach the window to the wall, you also need to hold them.
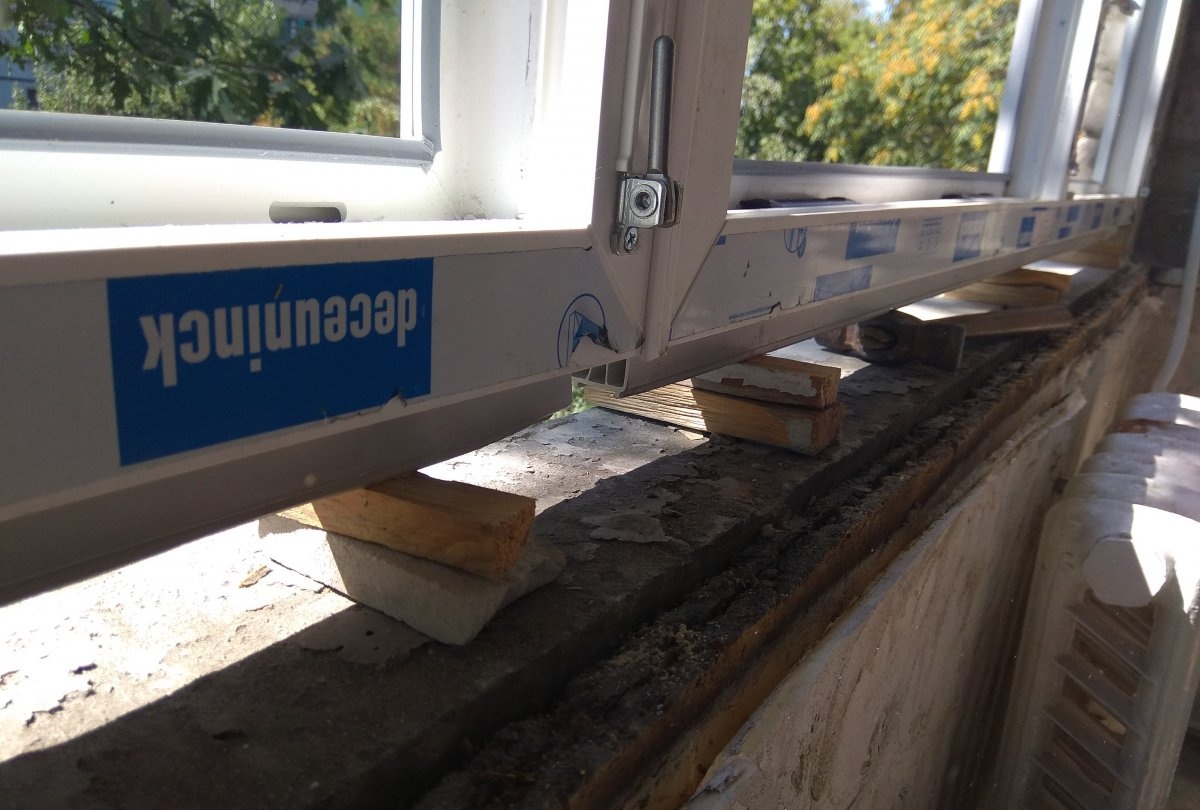
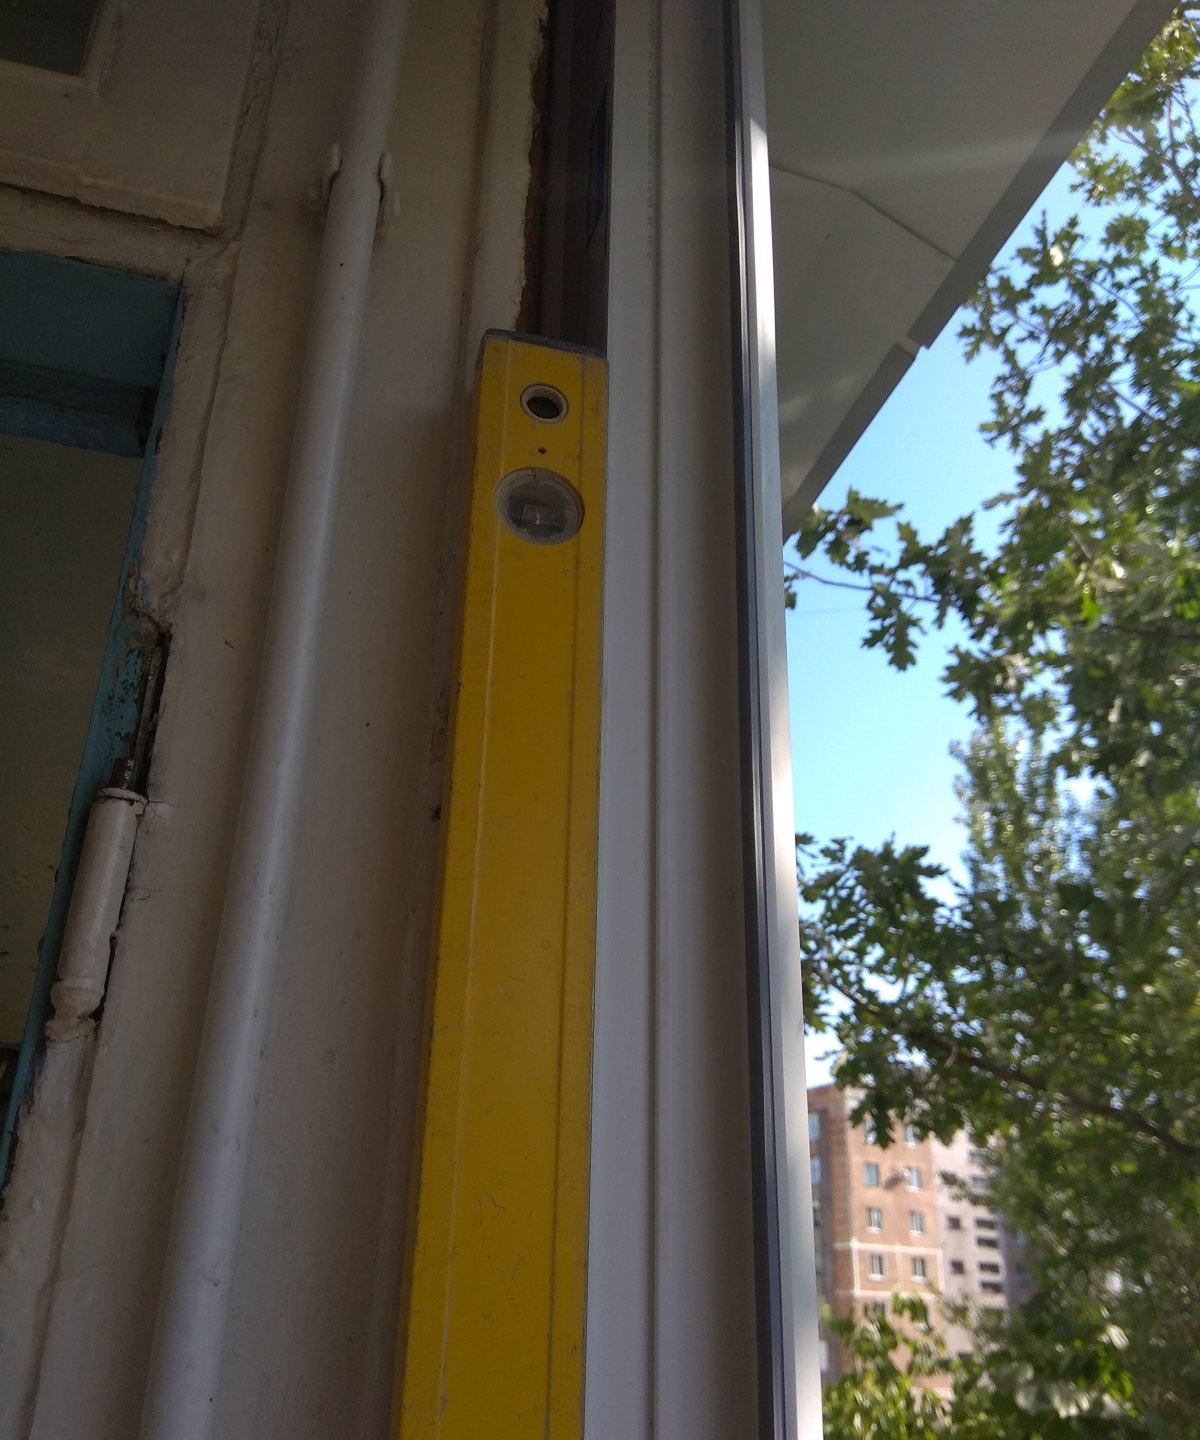
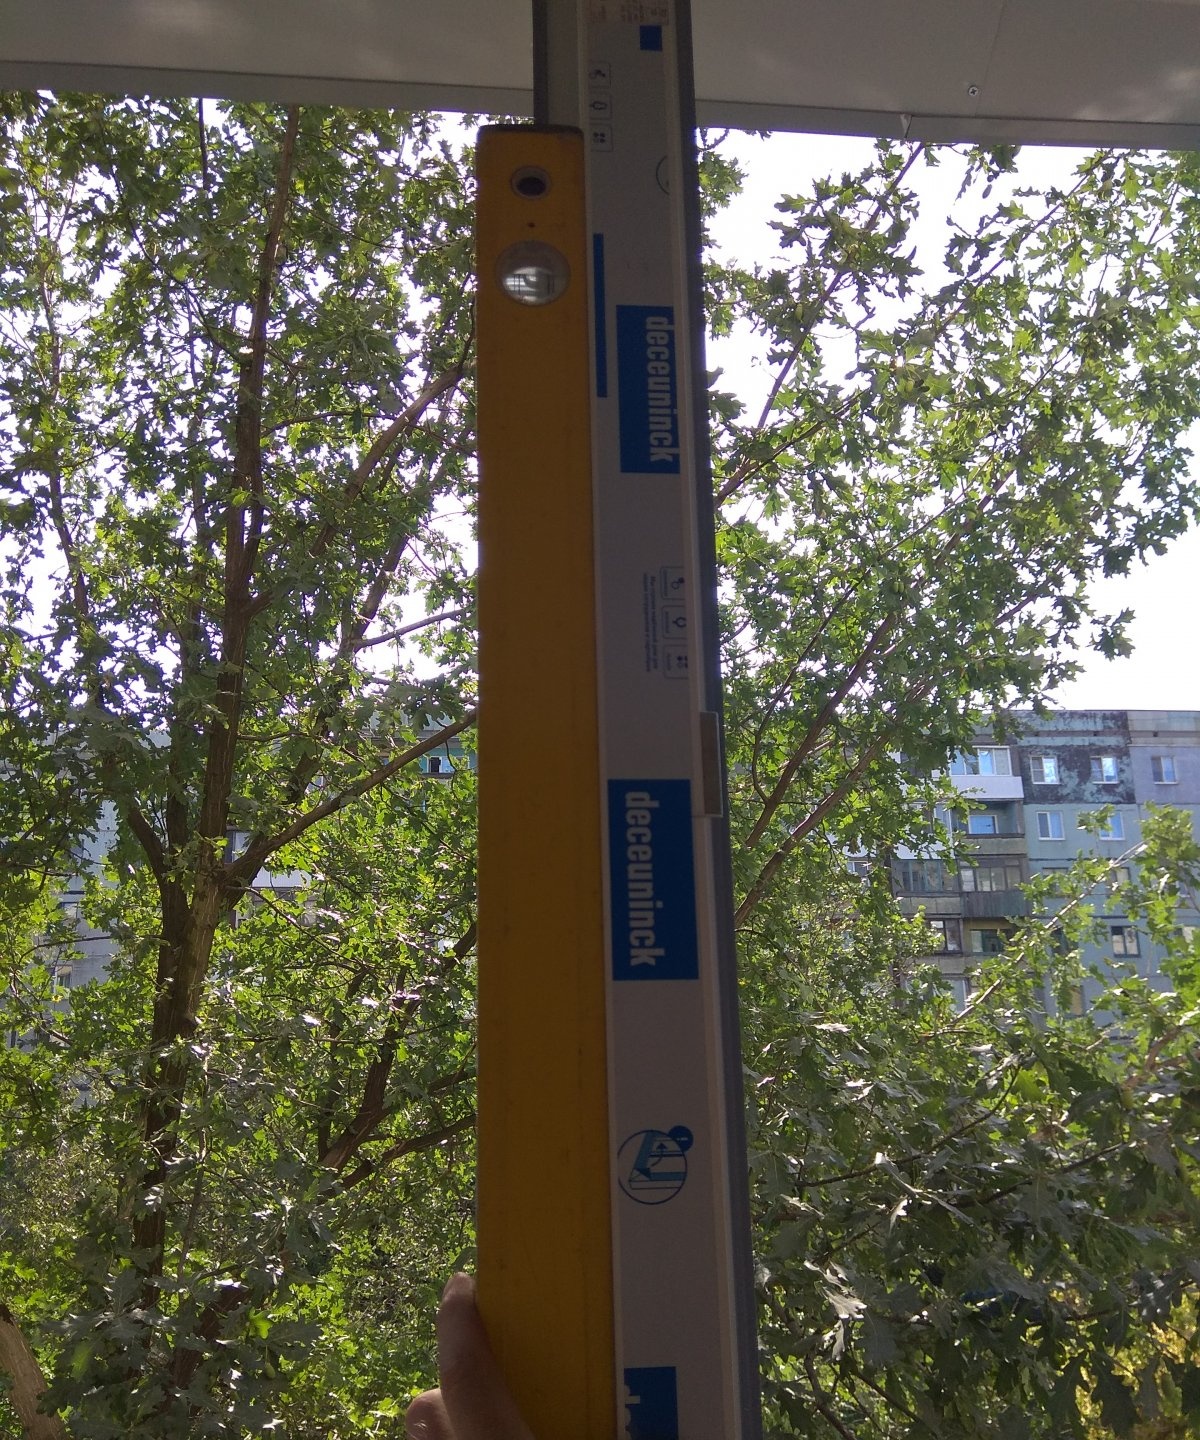
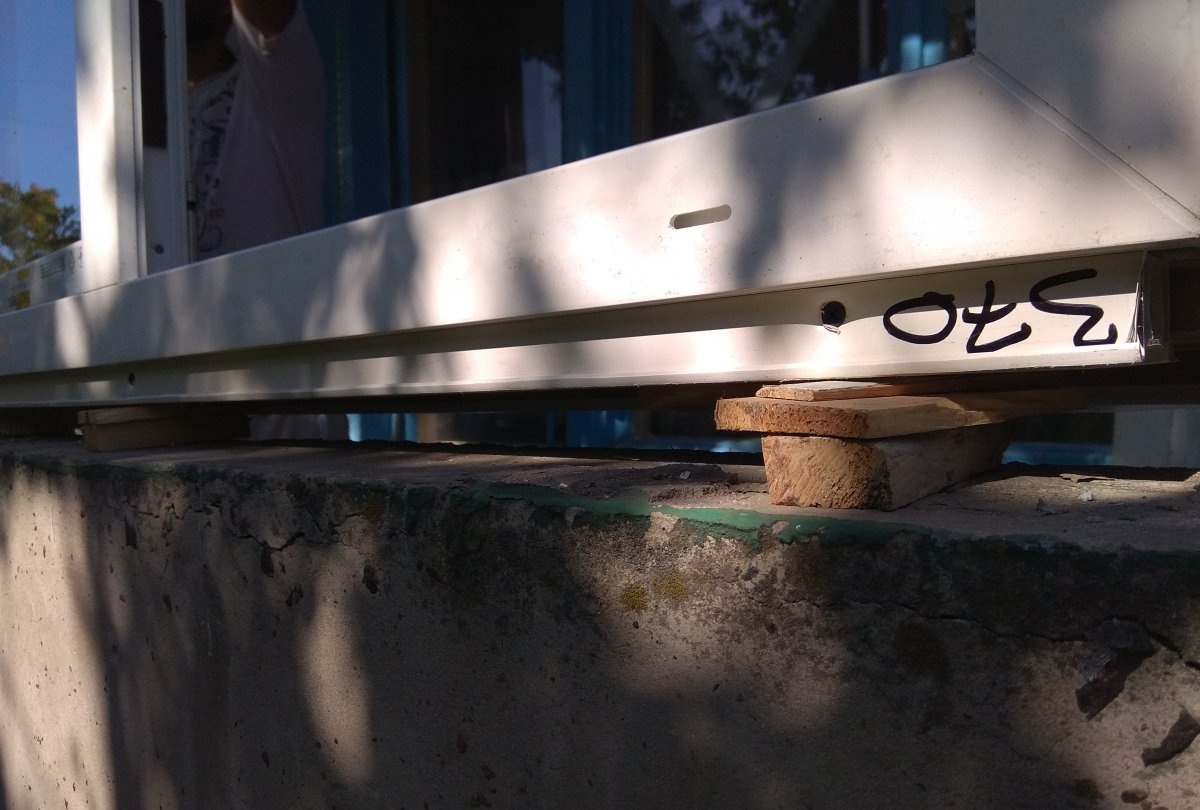
Immediately try to level the window block by placing wooden wedges under the bottom and leveling it horizontally.
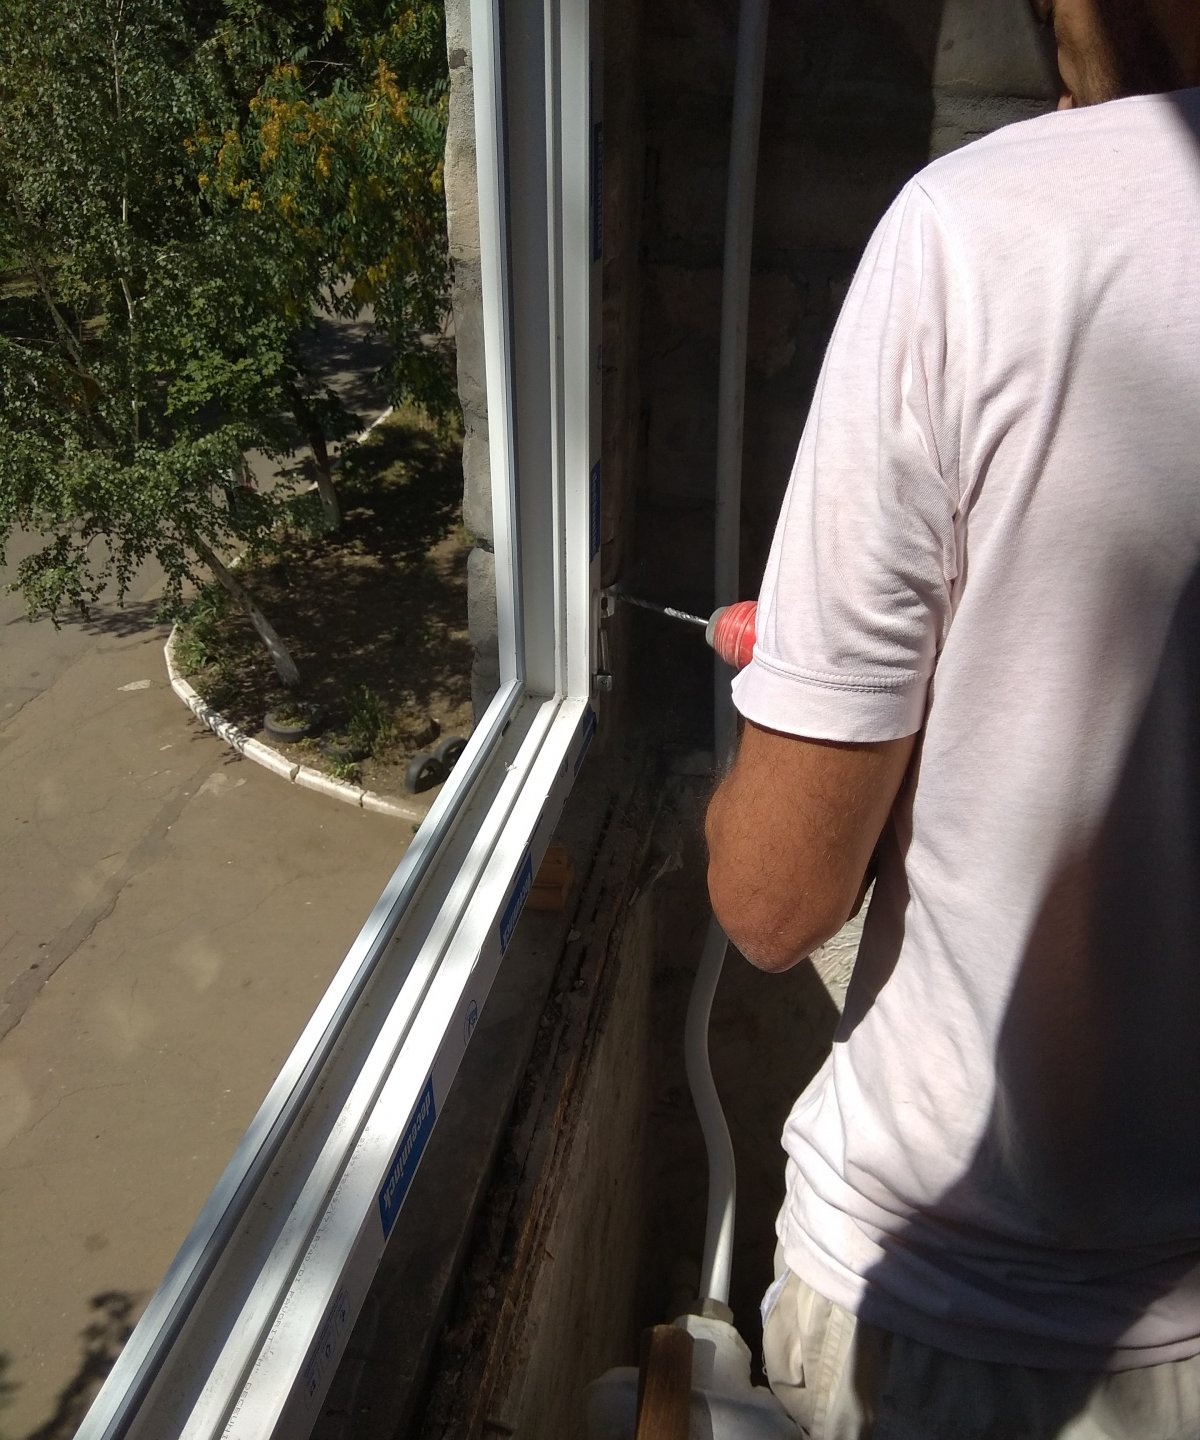
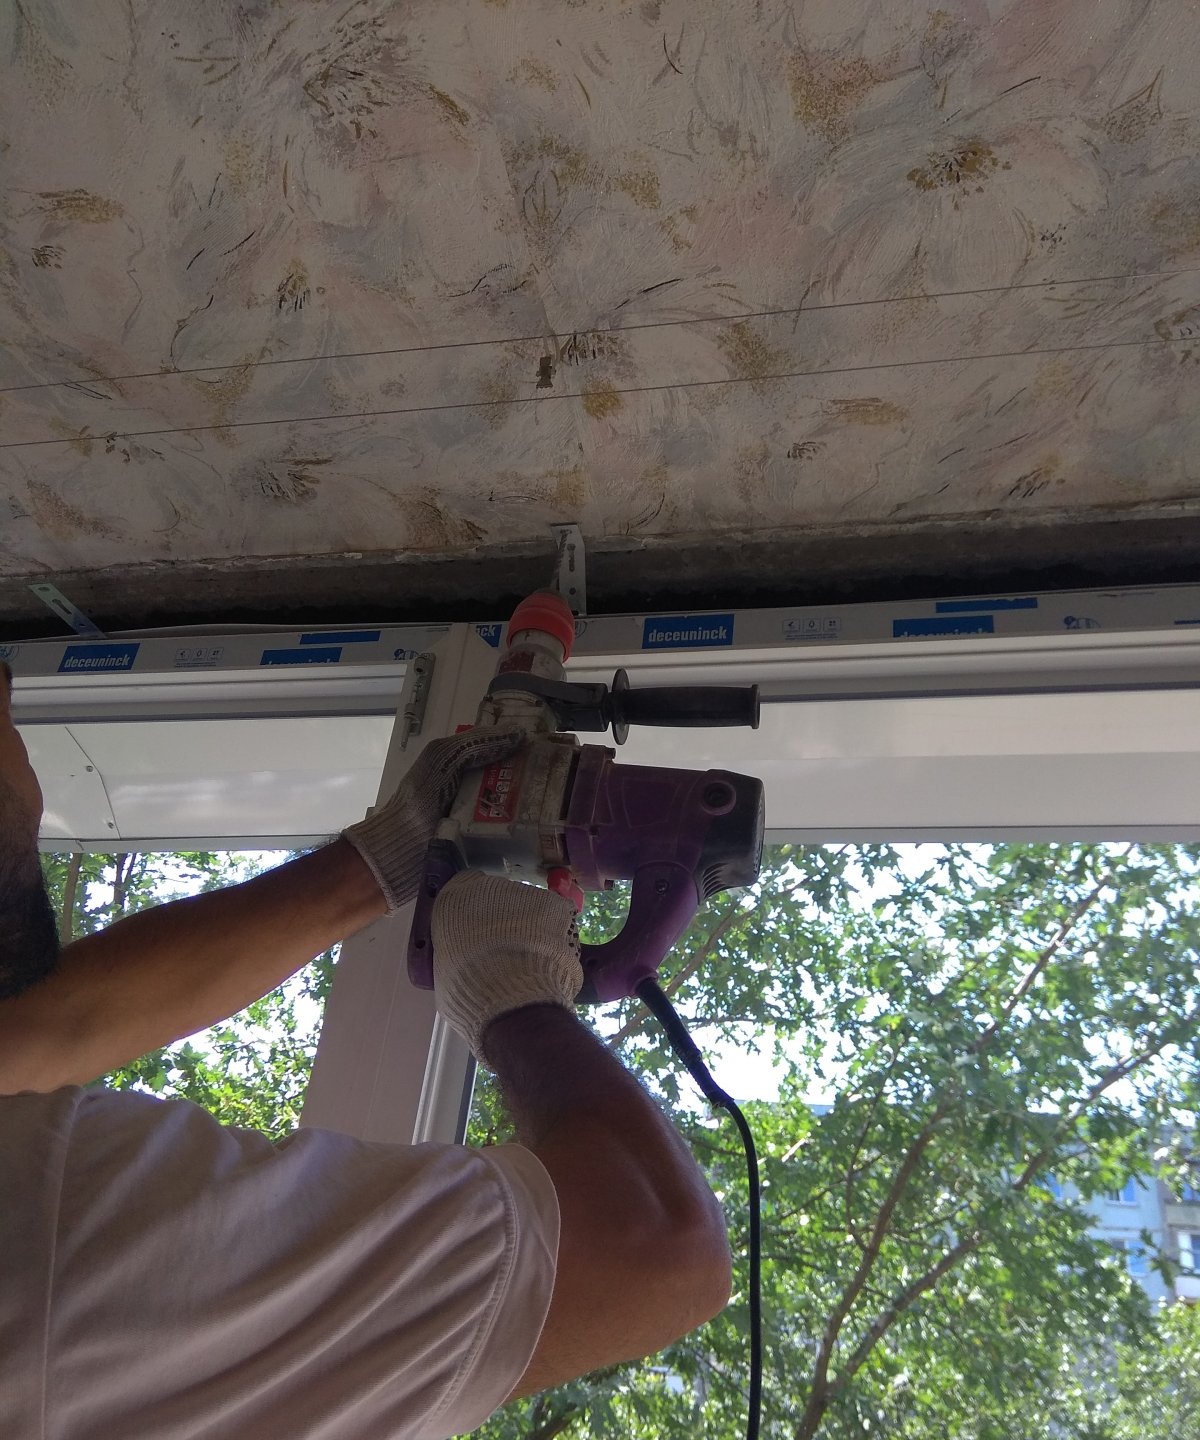
Once the window is approximately level, it can be attached to the wall on the side and at the top. To do this you will need a hammer drill and quick installation. After drilling the hole, bend the metal fasteners, and then hammer into this hole with a hammer for quick installation.
After you have secured all the metal fasteners, check the level of the window unit vertically and horizontally again.
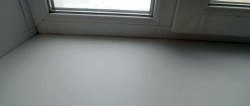
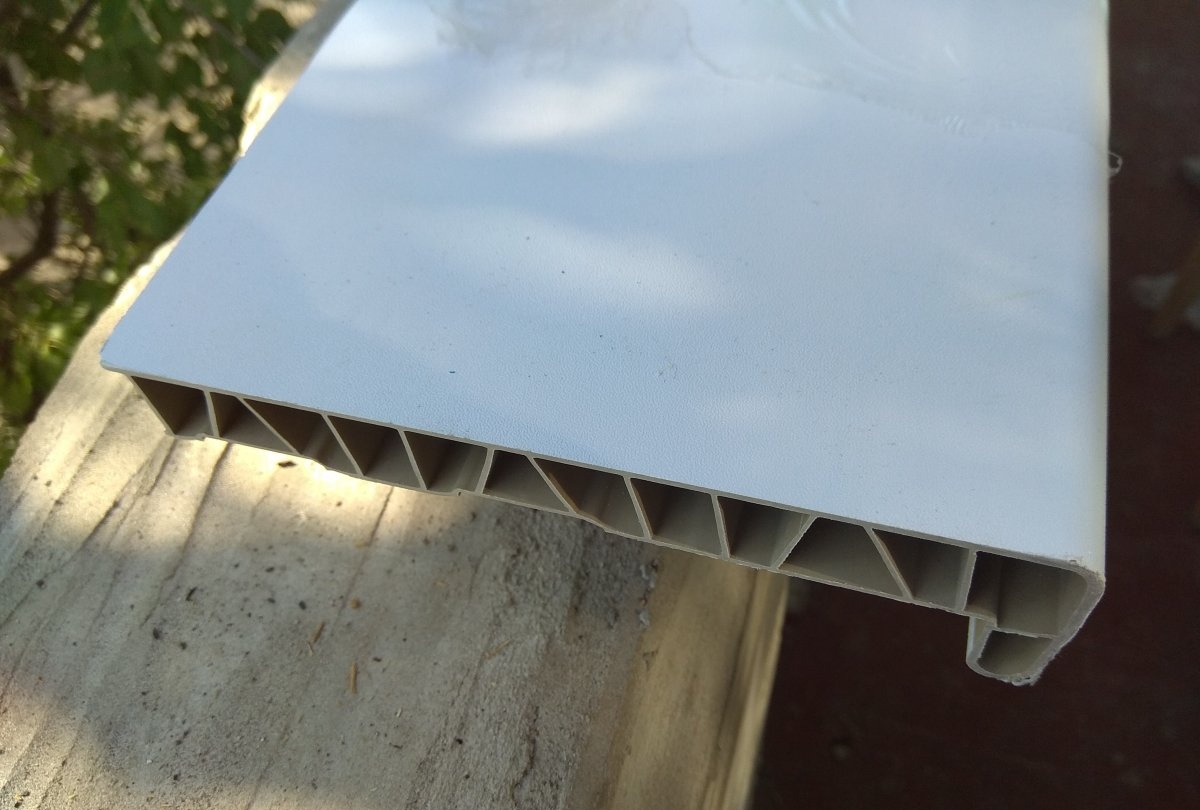
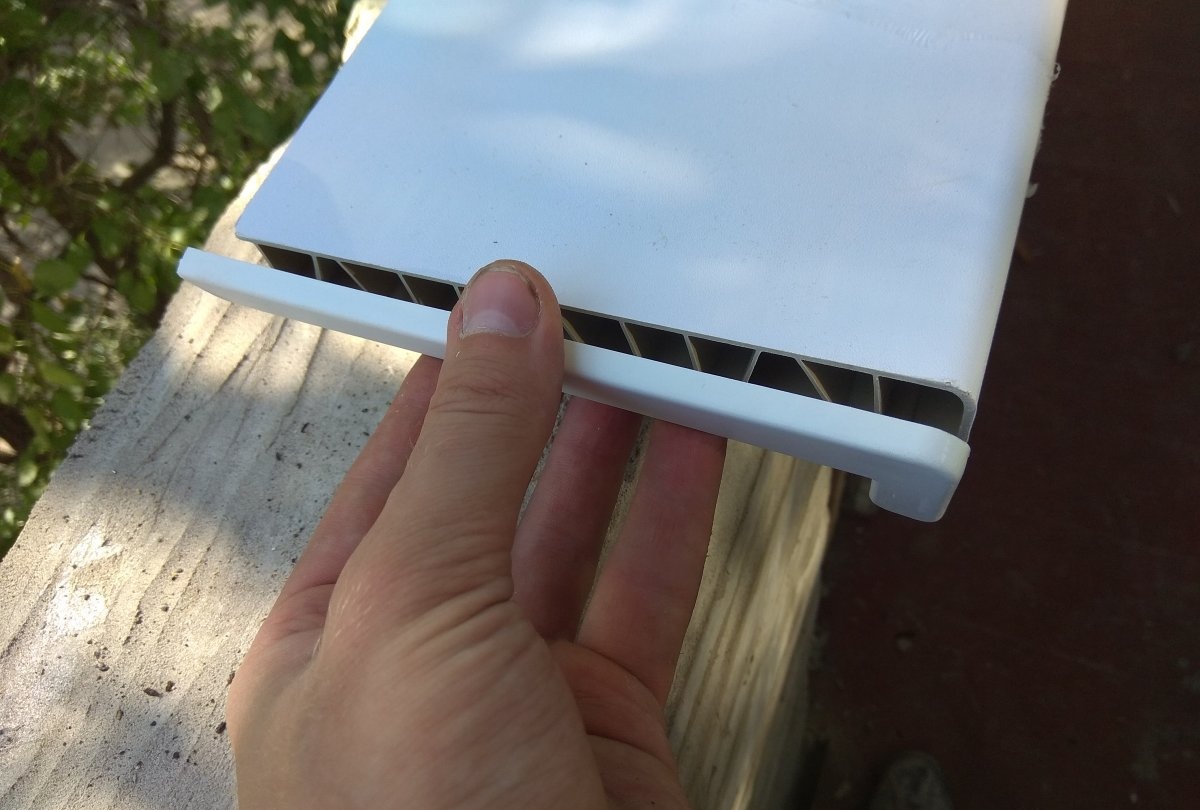
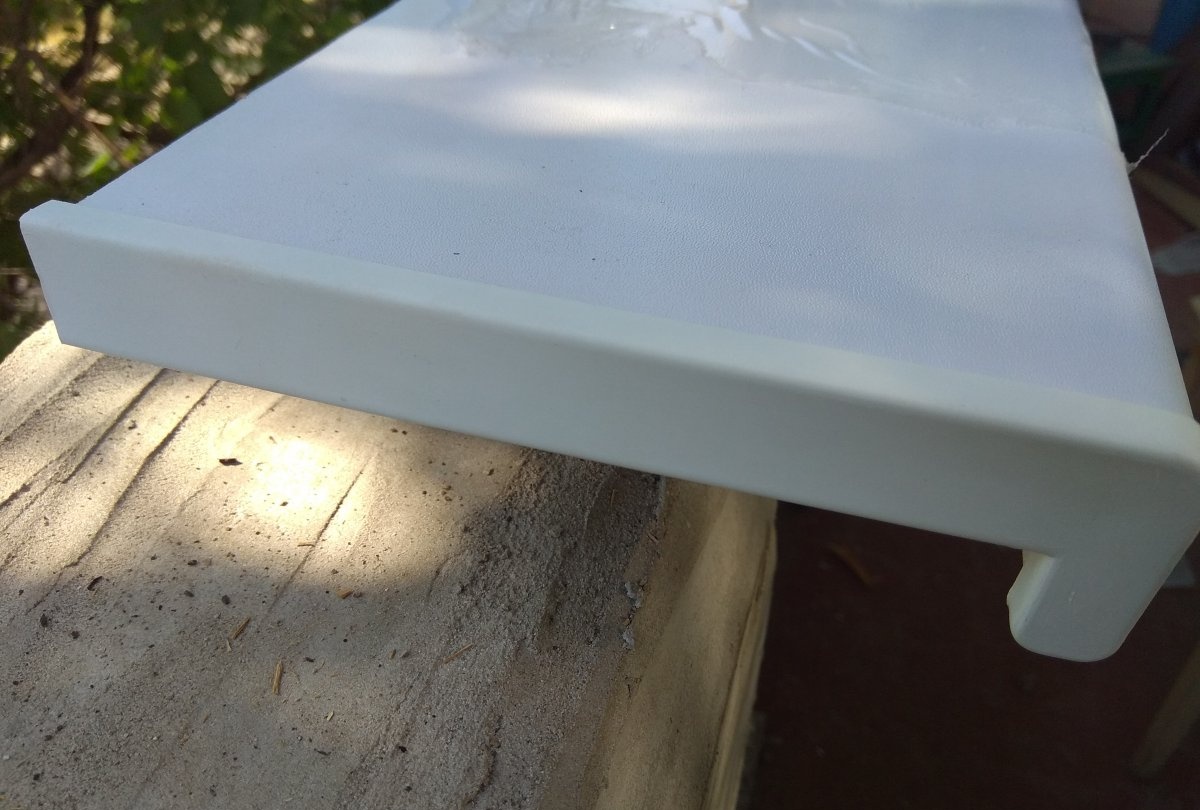
If everything is in order, then proceed with the installation of further parts. First, you can fix the window sill; it is attached with self-tapping screws to the lower profile from the street side.

After this, from the street you also need to screw the sills into the lower profile of the window. Keep in mind that canopies, ebbs, and window sills will not always be exactly the size you need. Most often they are slightly longer. Therefore, you will have to cut off the canopies and ebbs with a grinder or metal scissors, and the window sill with a jigsaw or grinder. You will need a tape measure to measure the required dimensions and a square to accurately draw the lines along which you will cut.
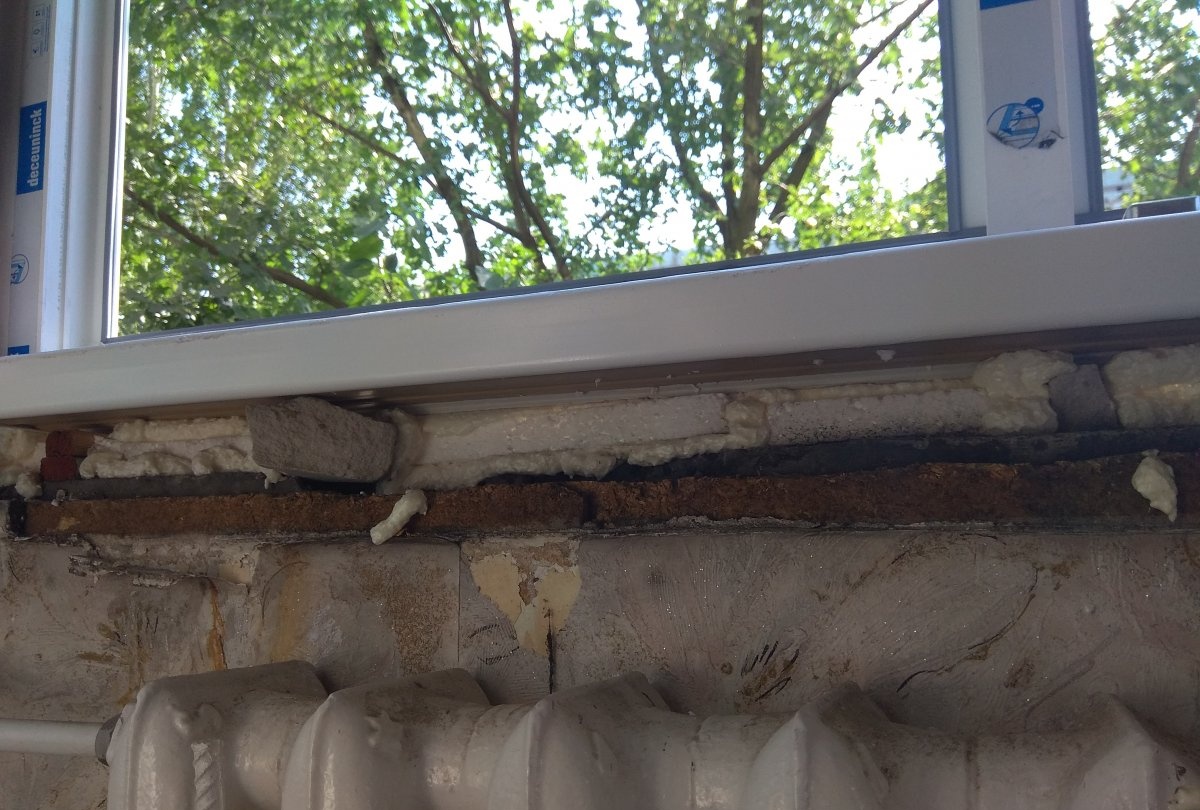
At this stage, you can blow out the openings between the windows and slabs with polyurethane foam. To save a little on foam, especially if the gaps are large, you can use polystyrene foam.


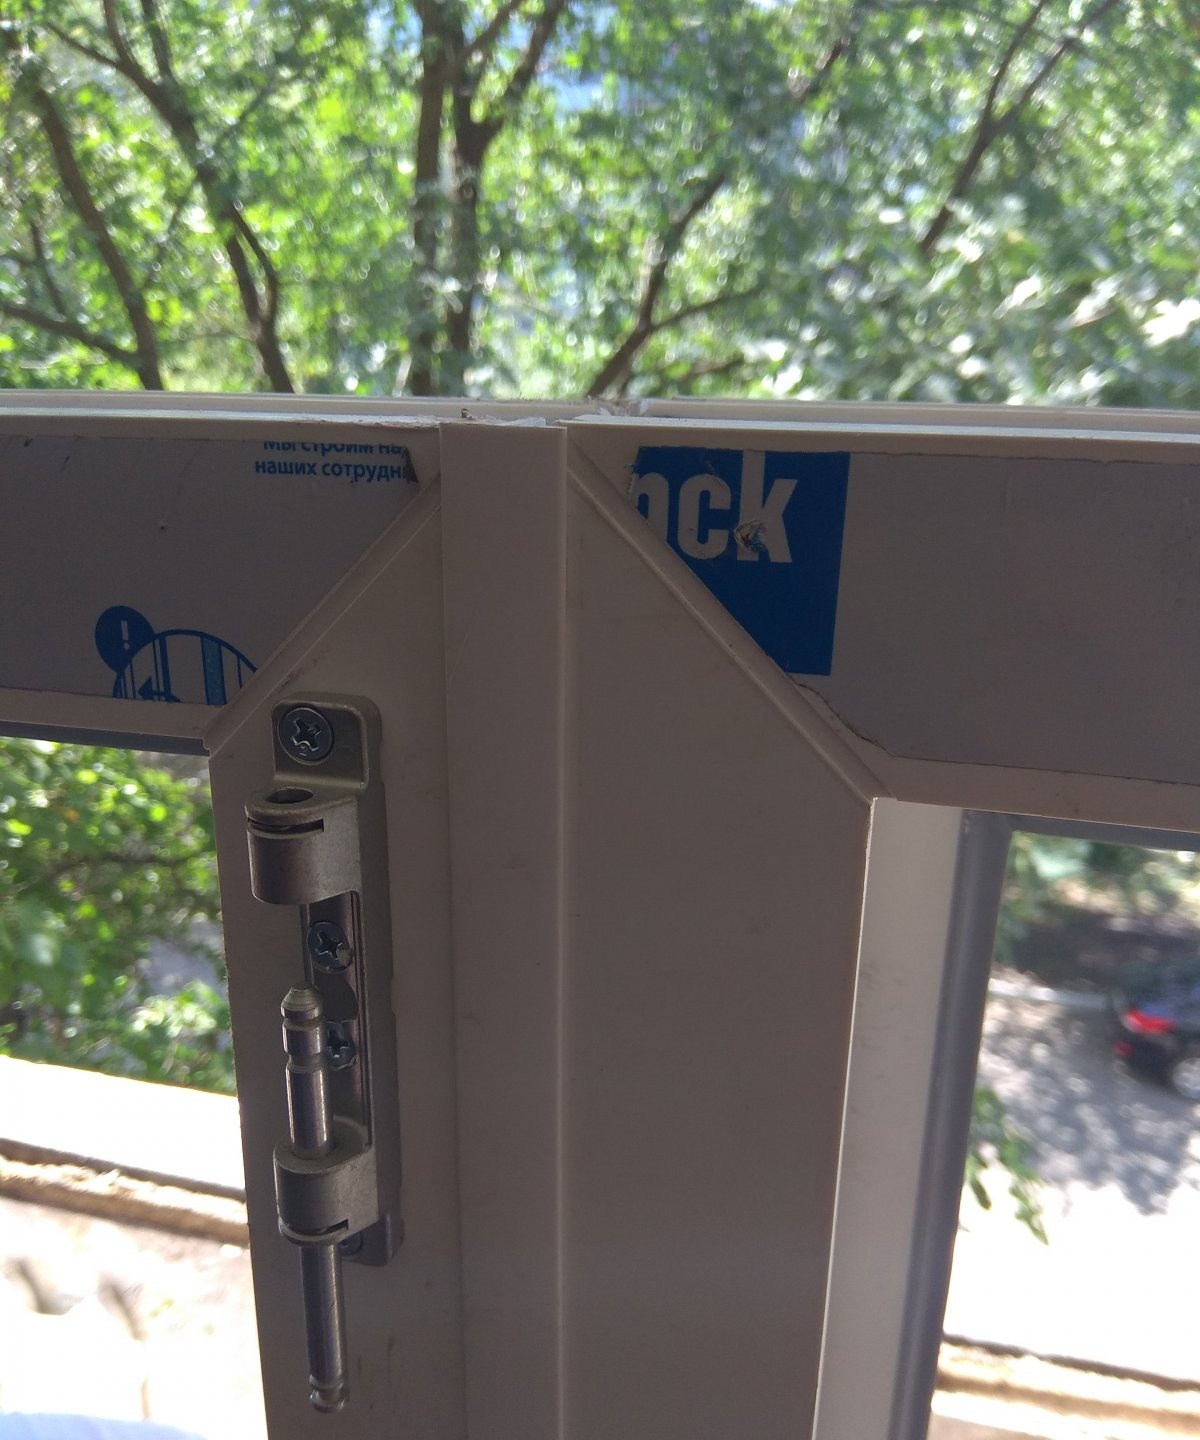
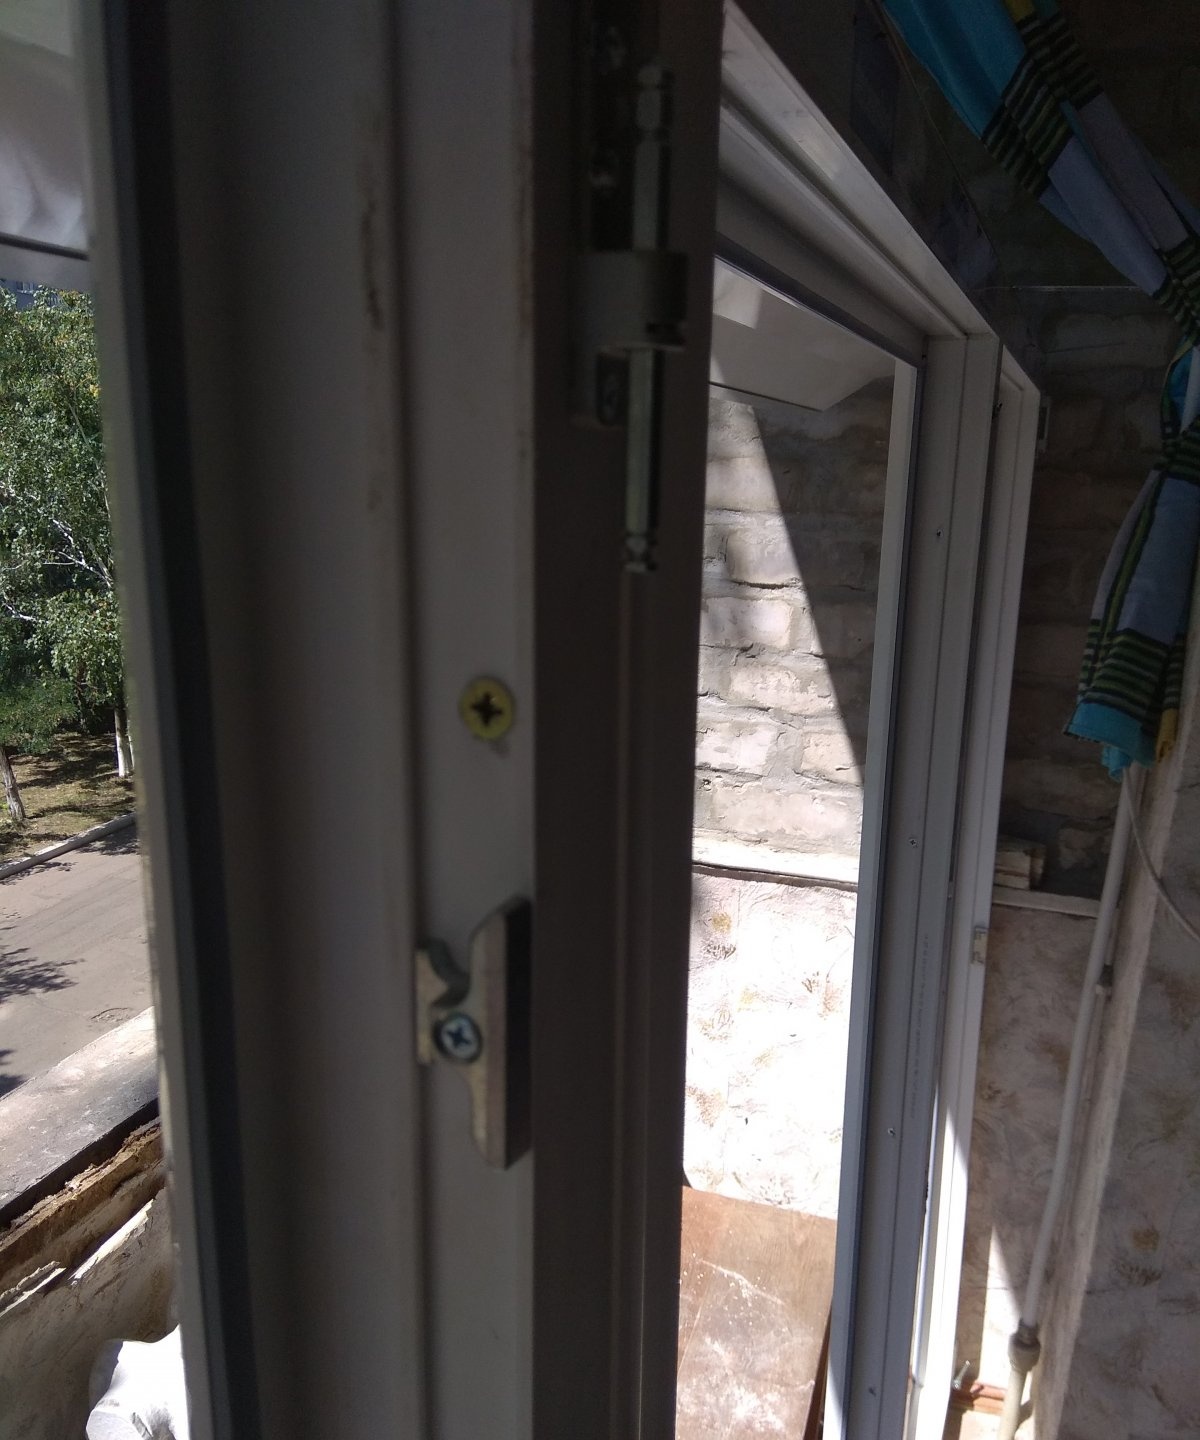
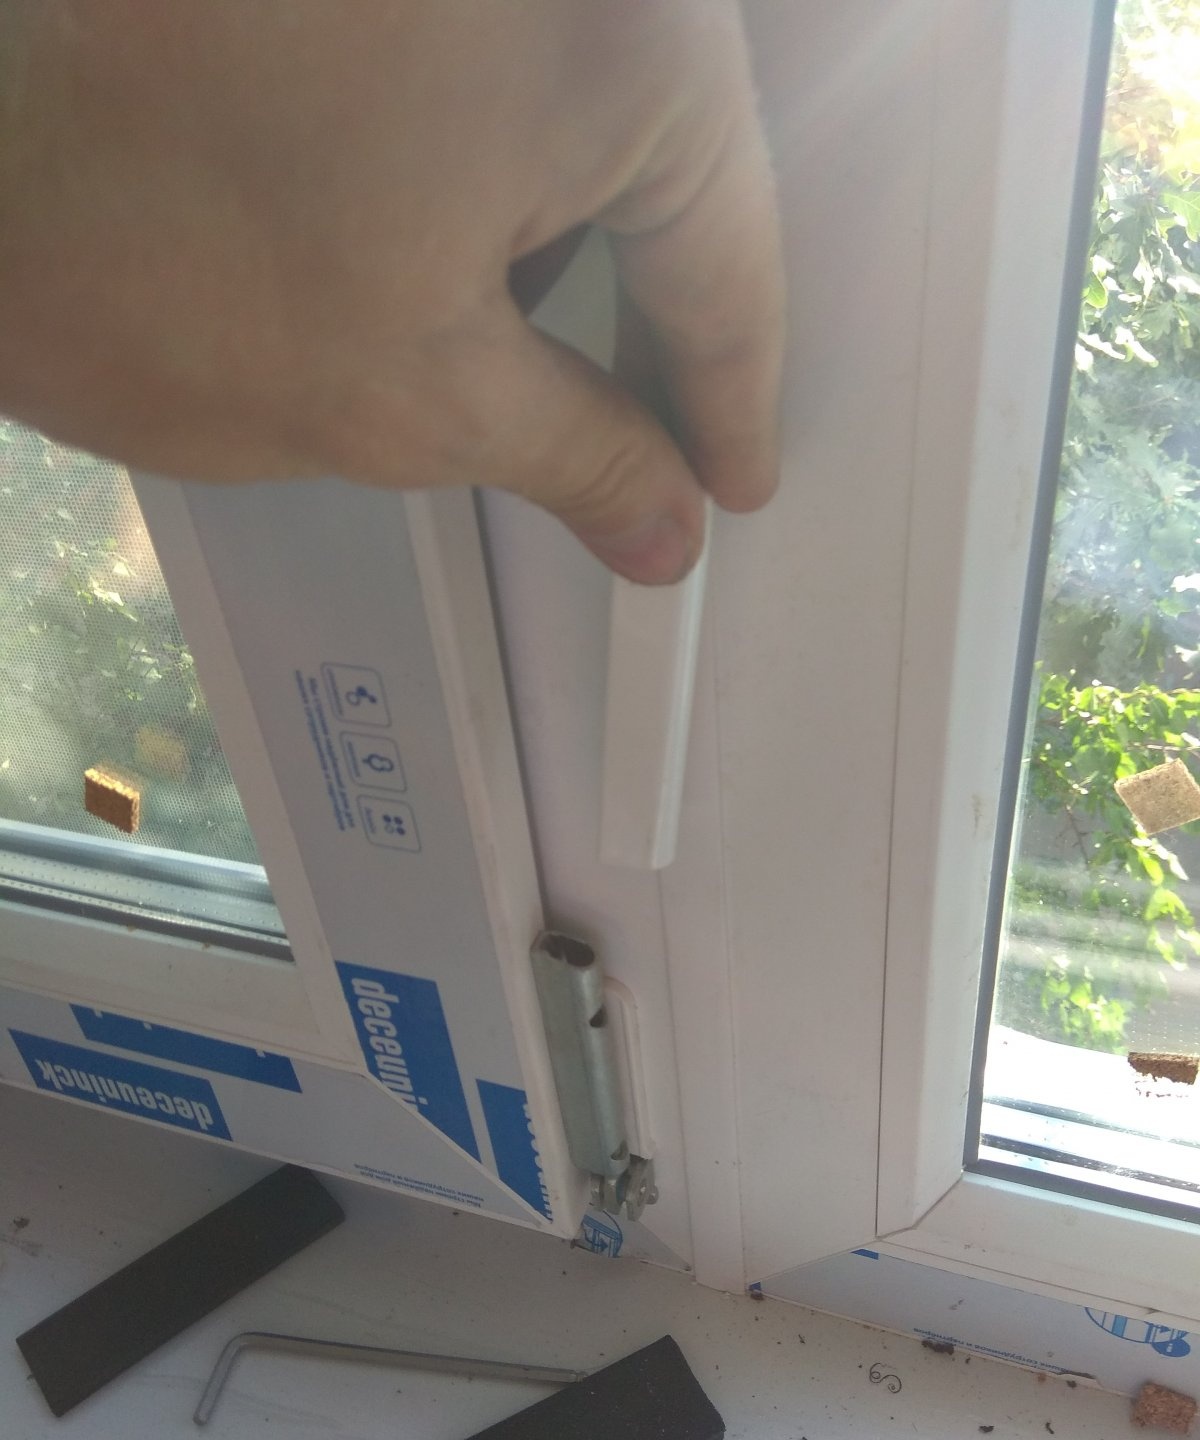
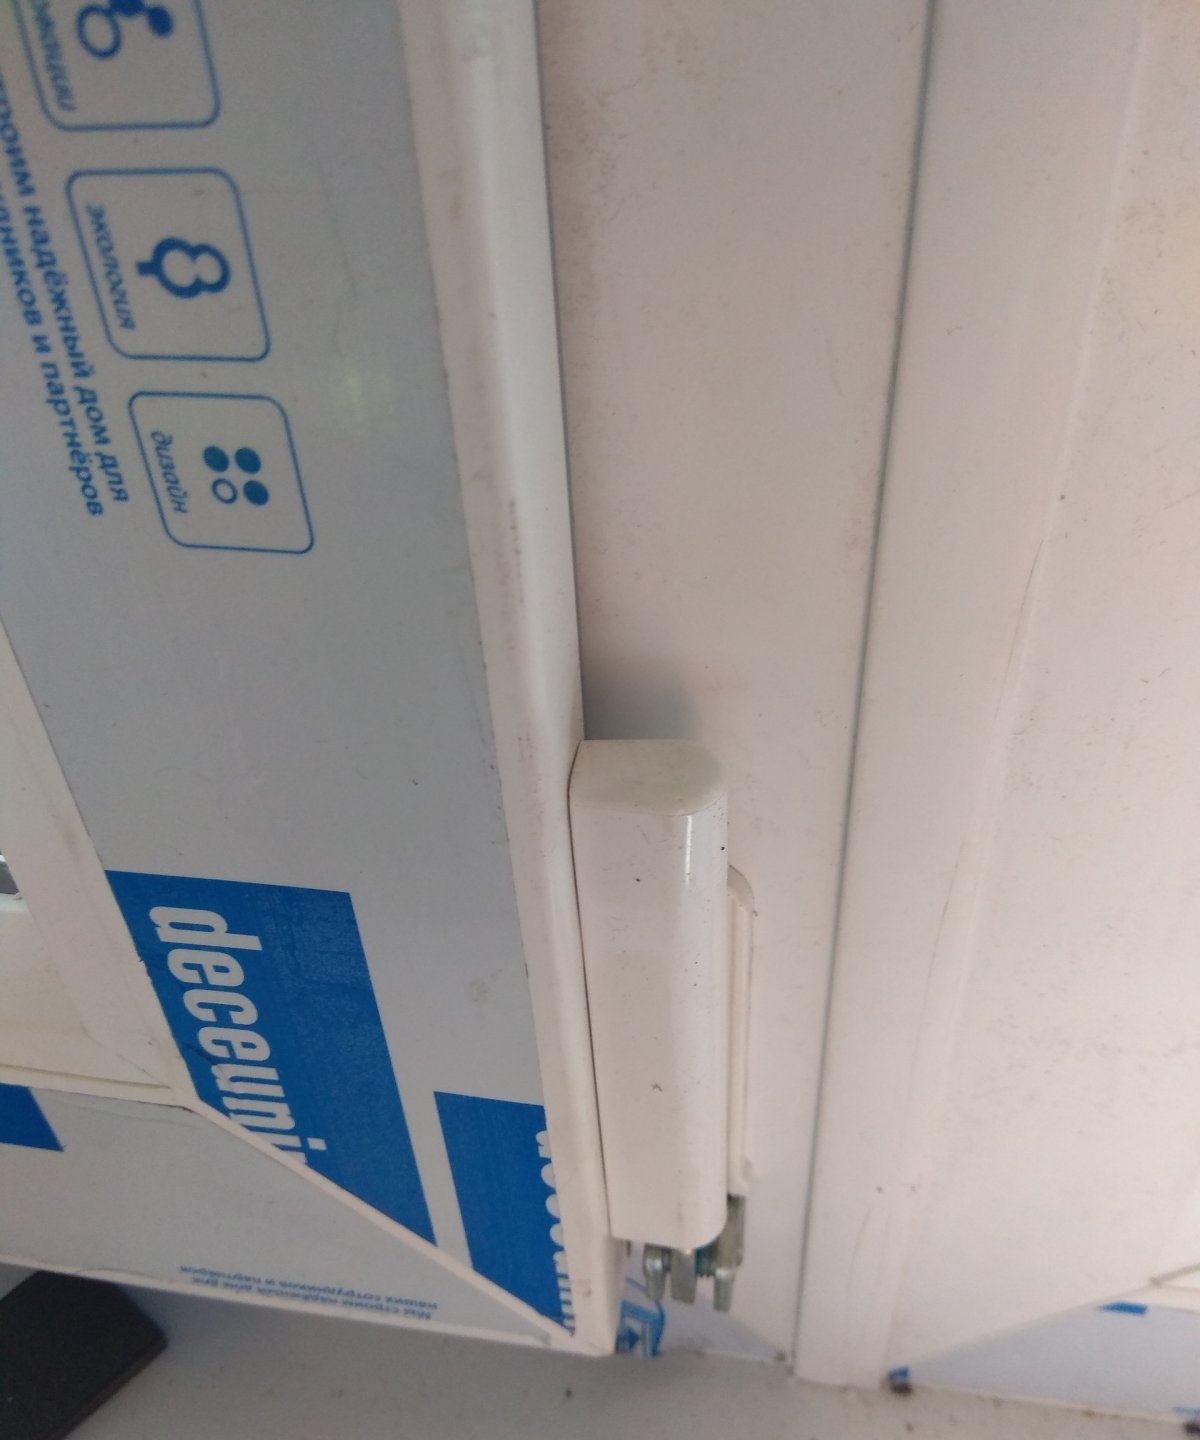
Then the opening windows that have been removed are attached to the window block. To do this, you immediately need to screw the fittings (handles) to them, then insert the window into special grooves.
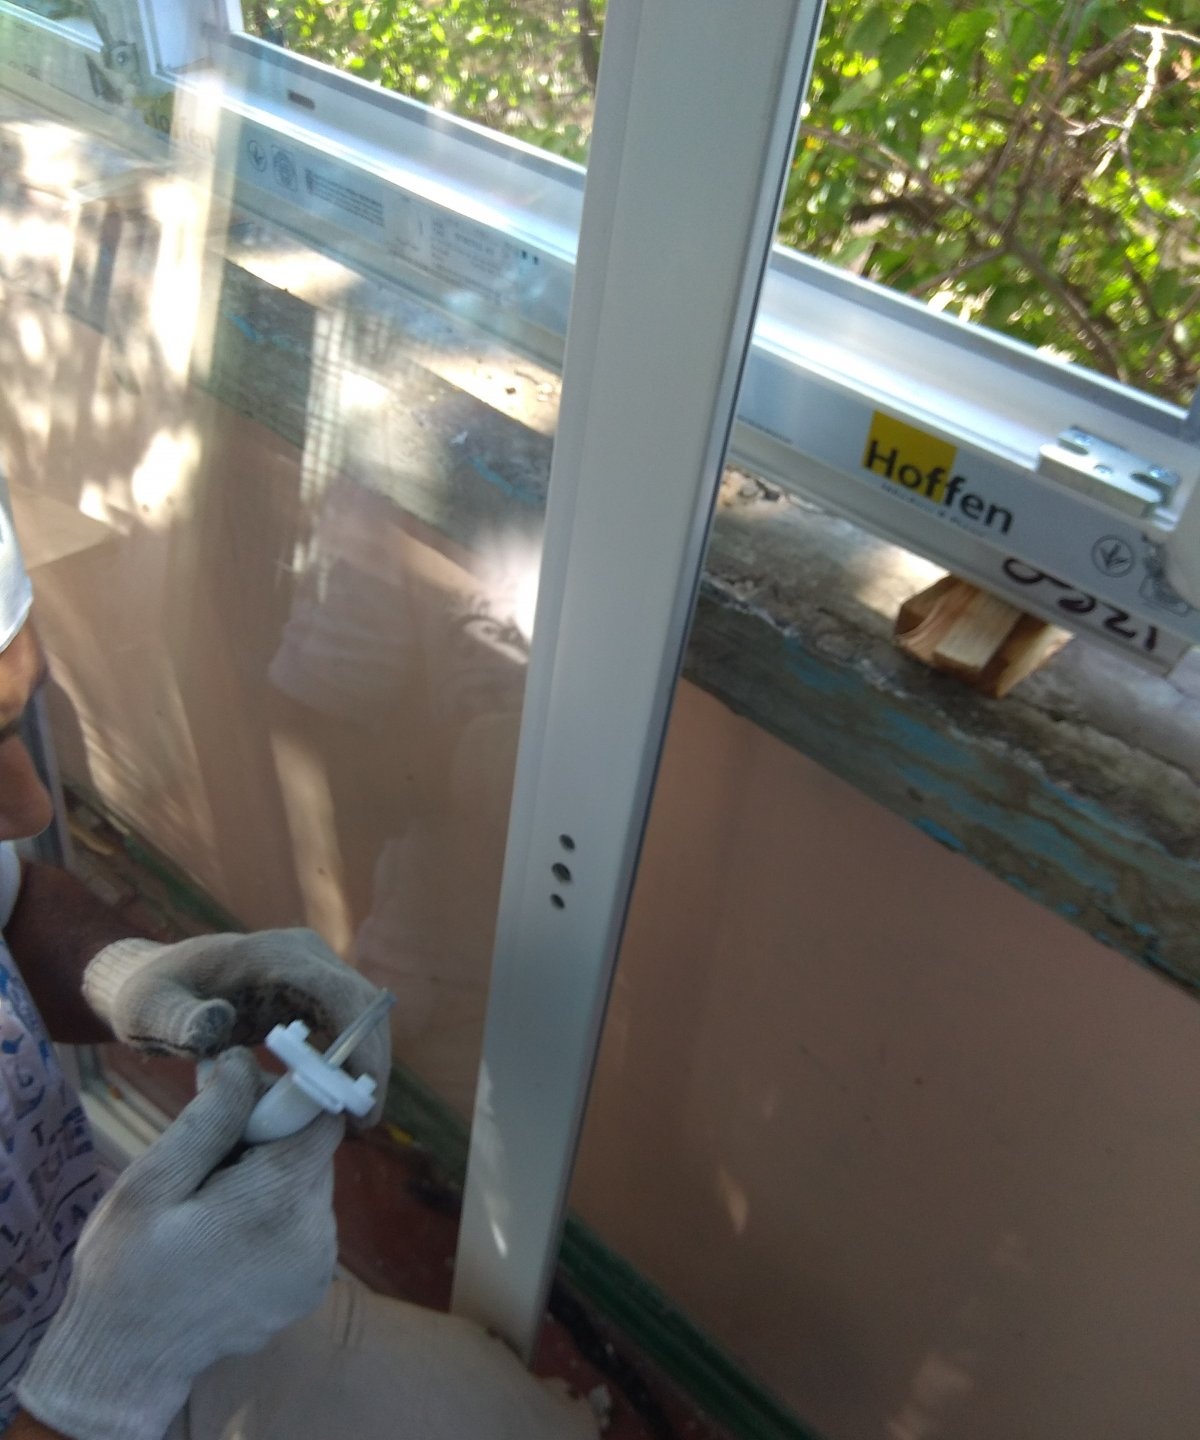

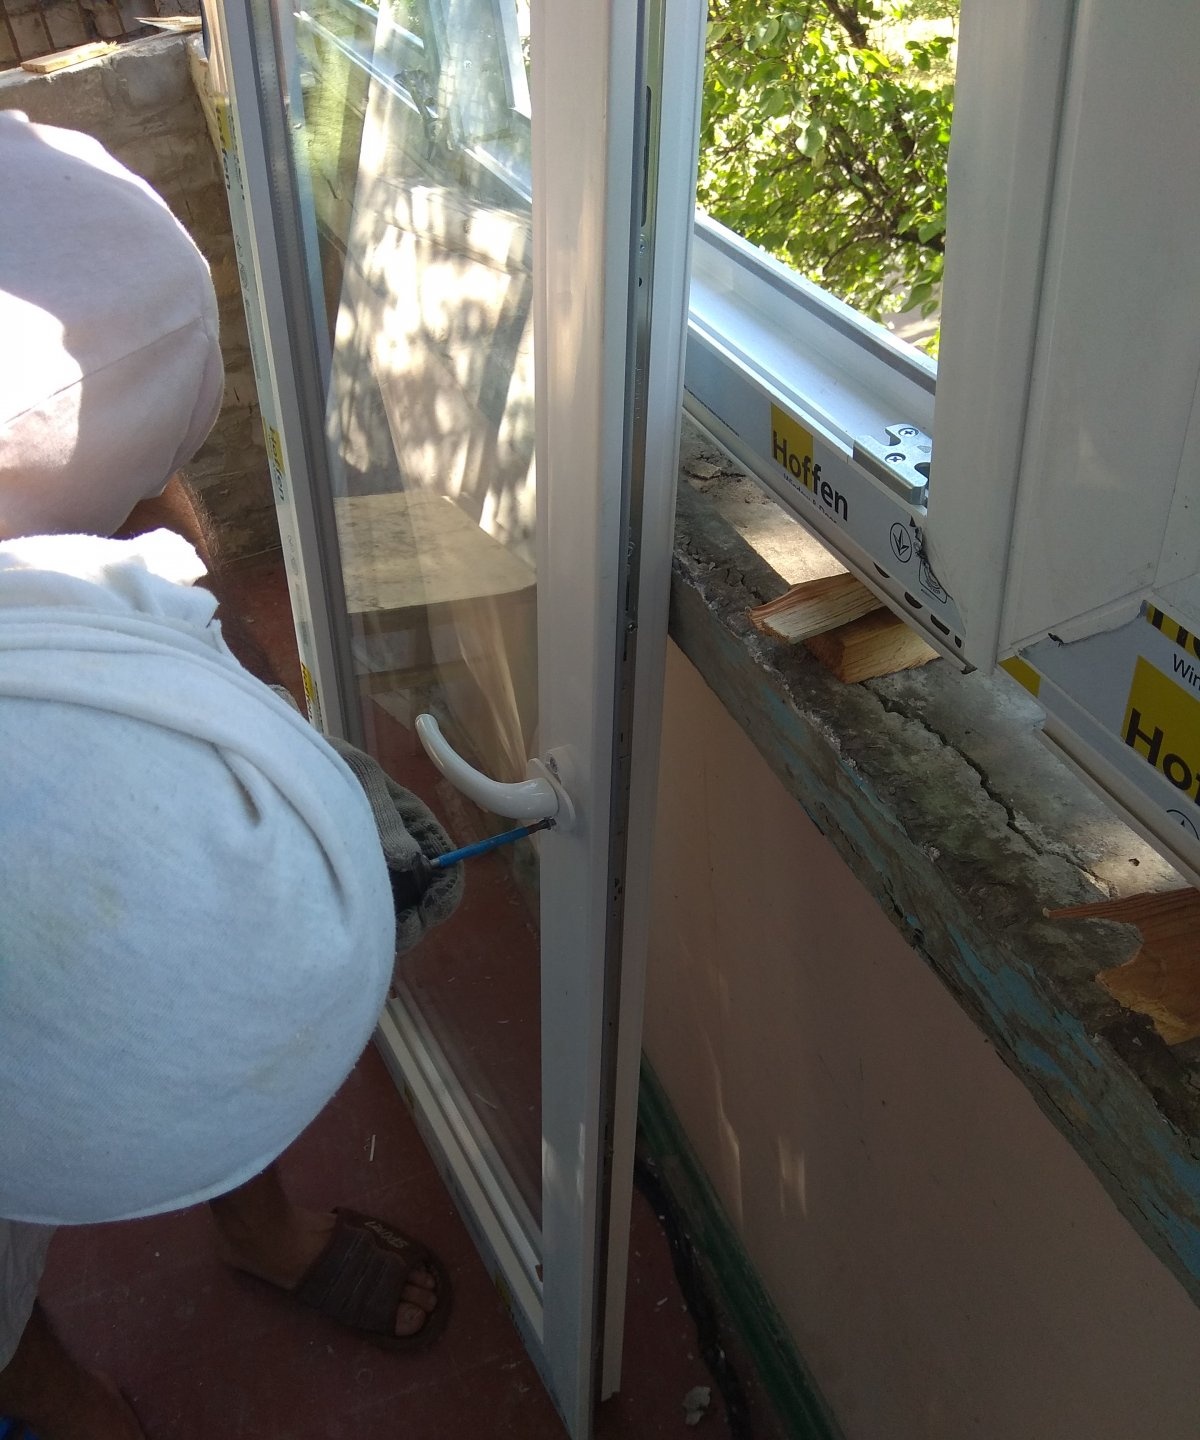
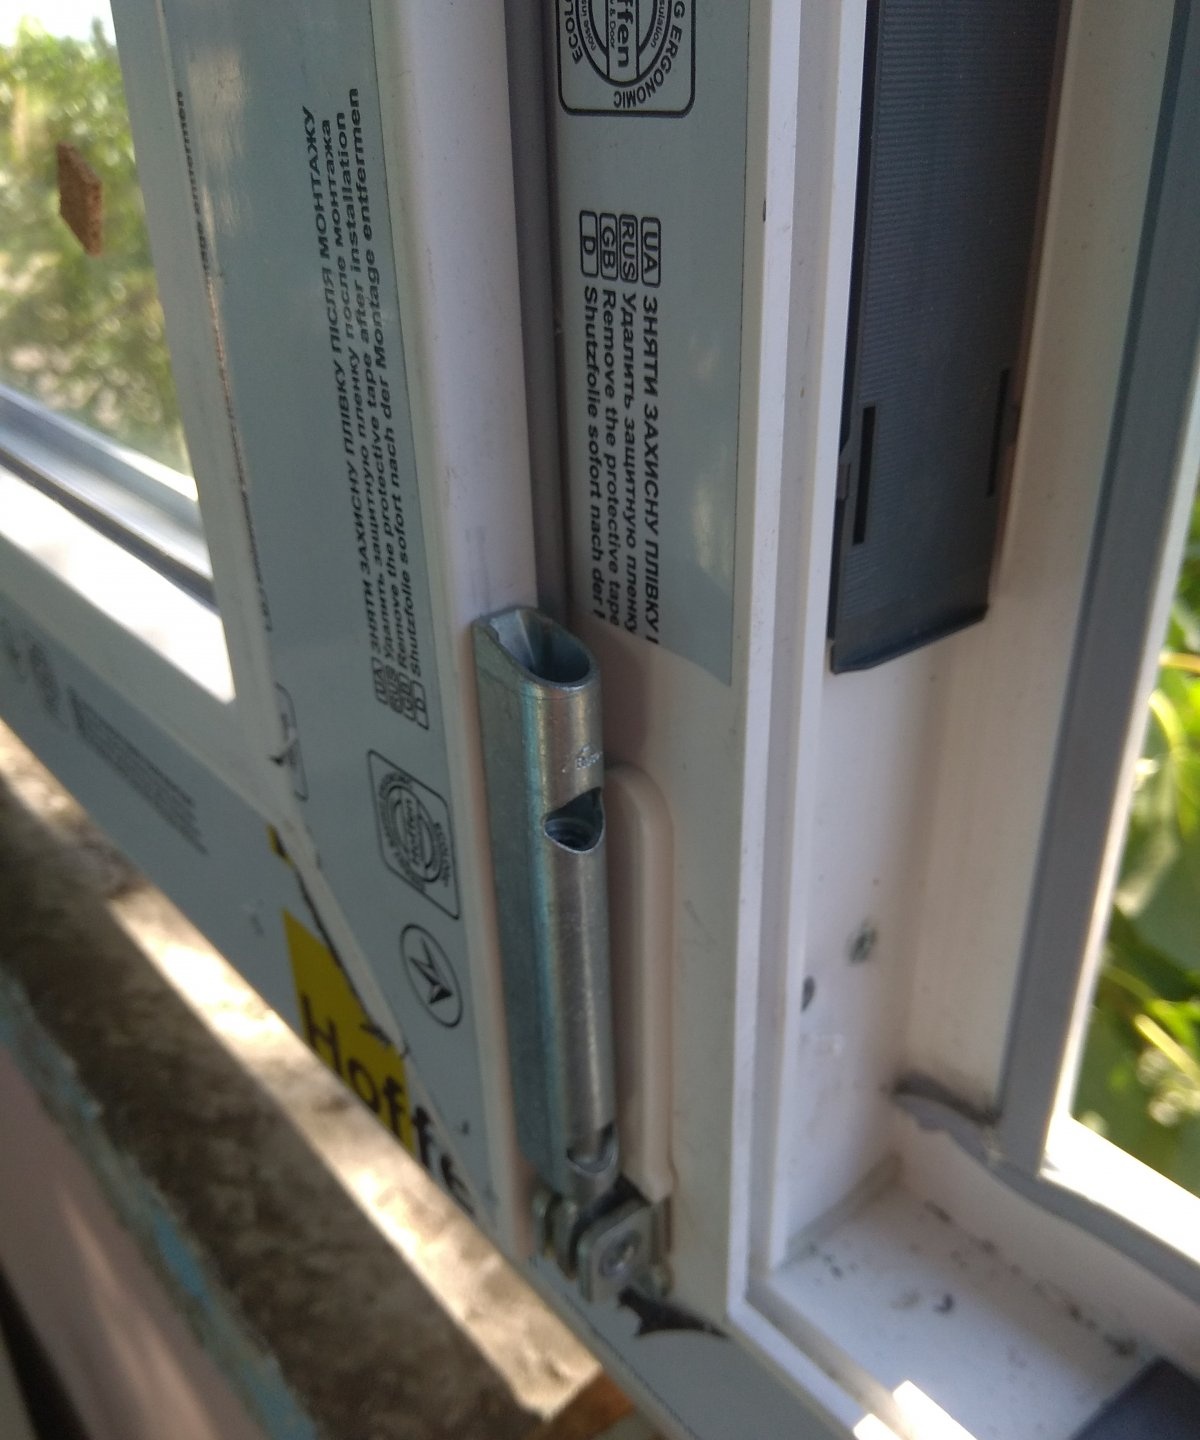
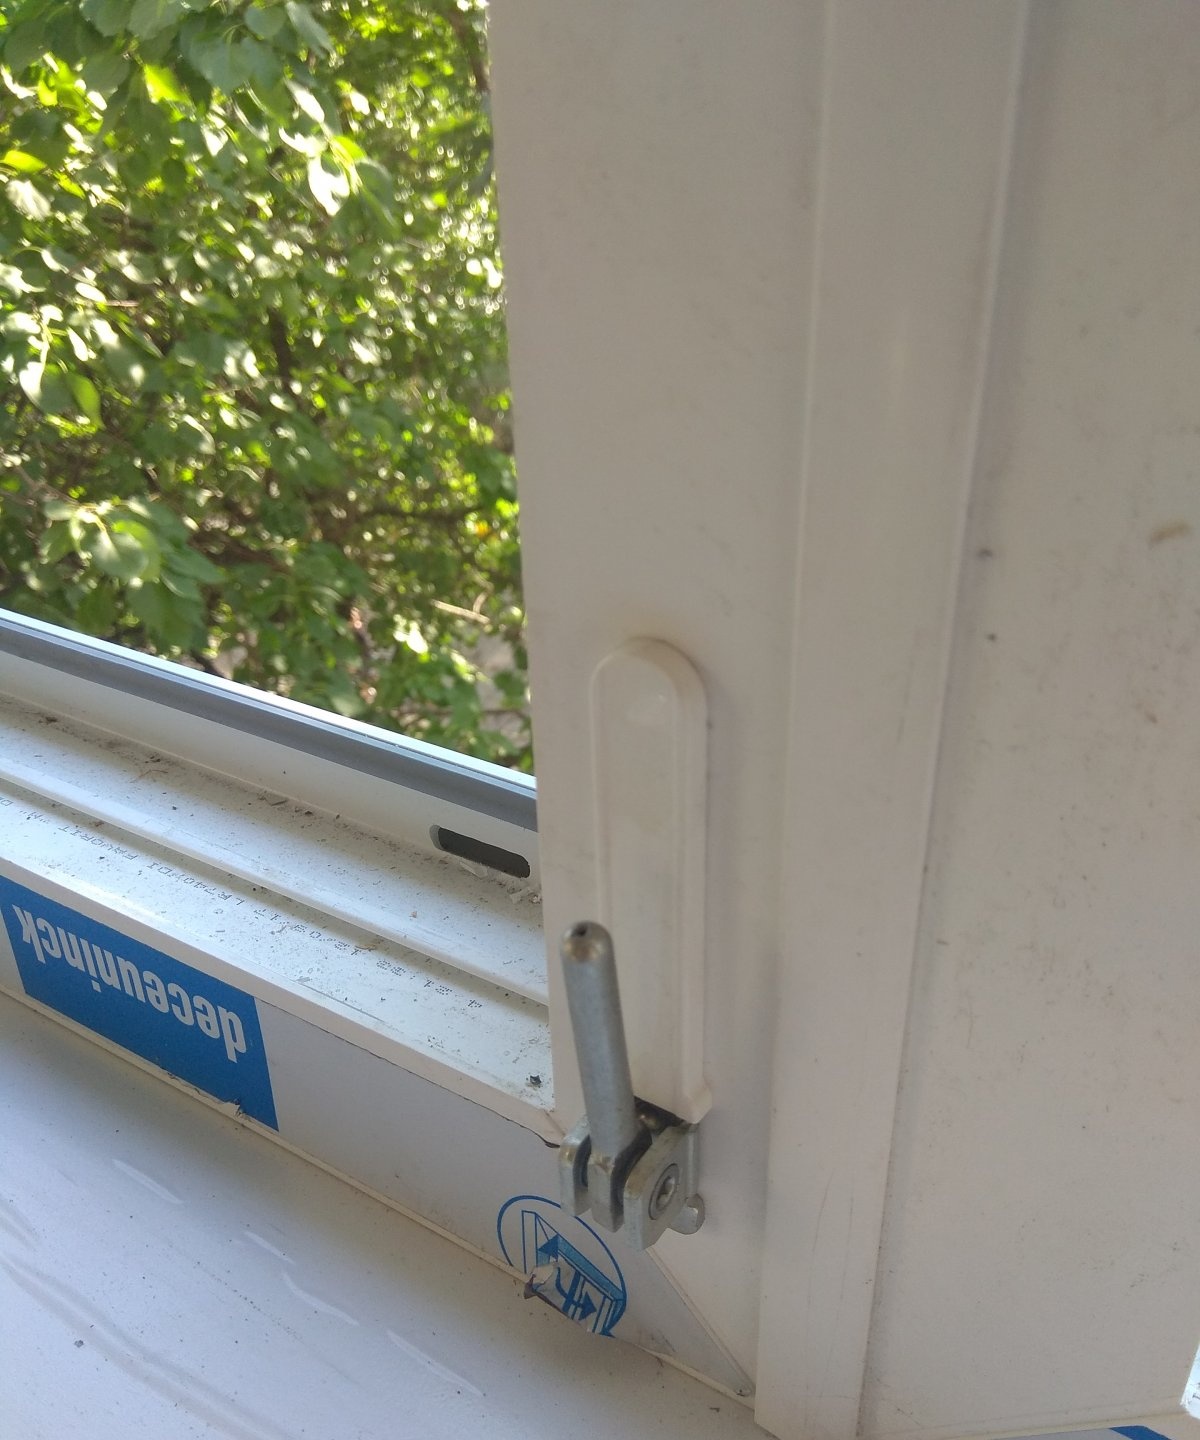
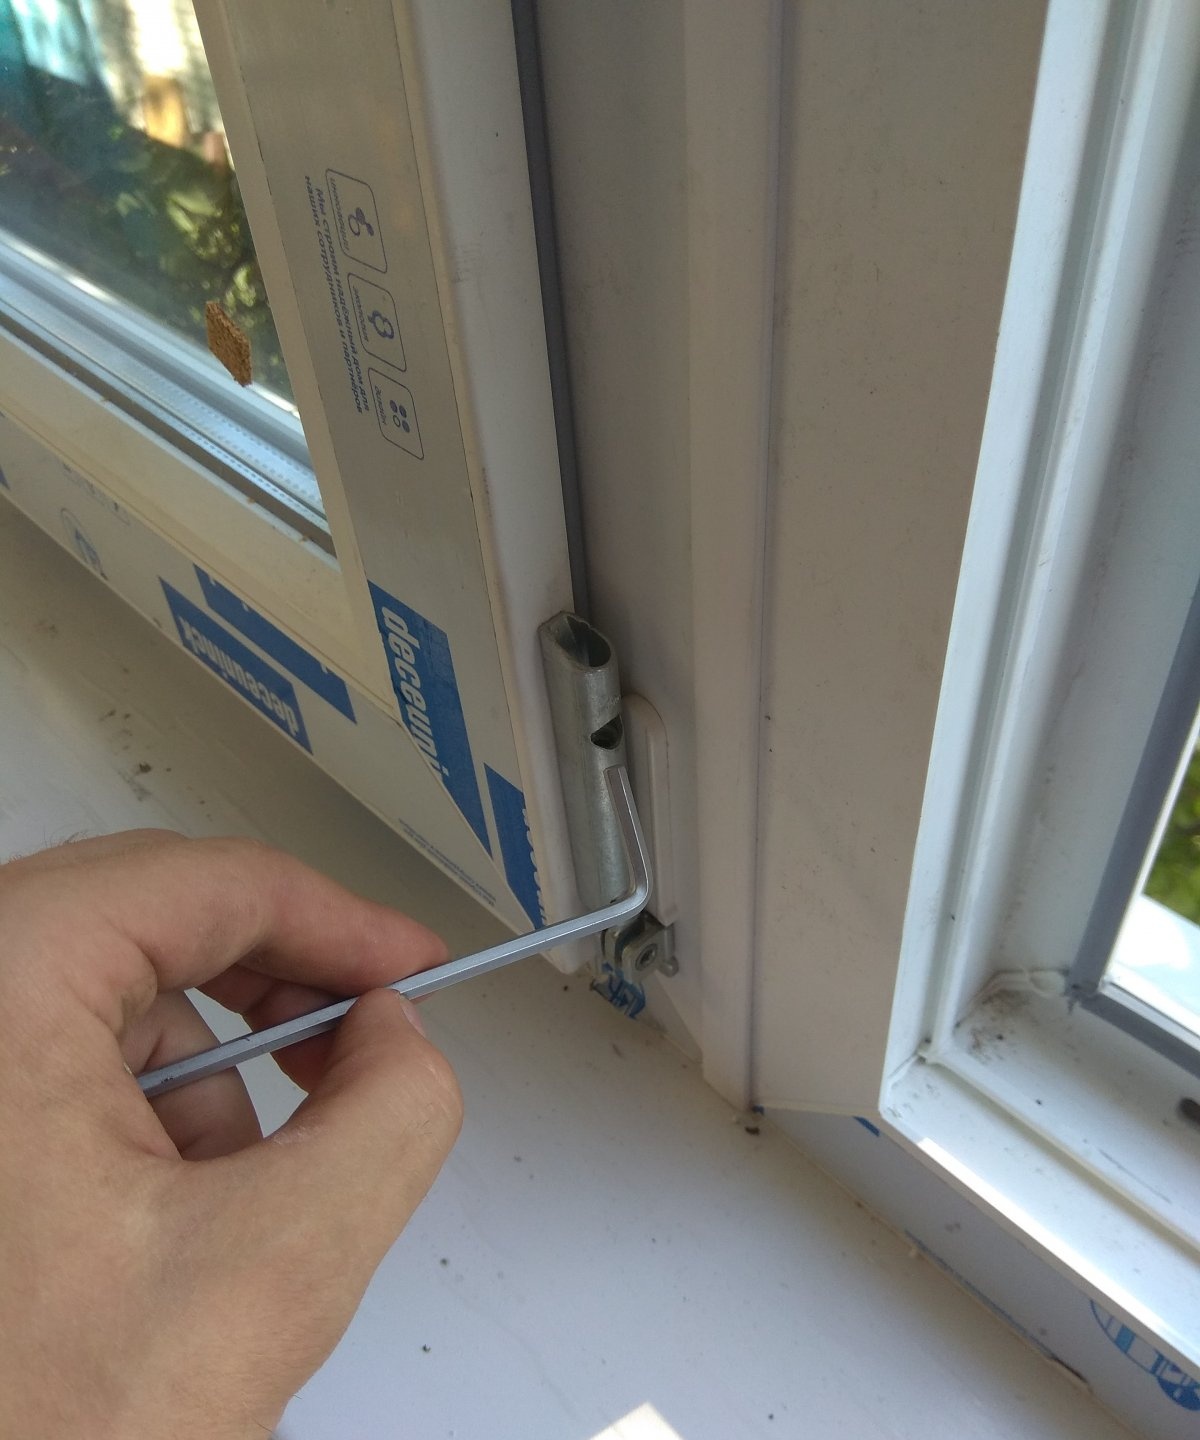
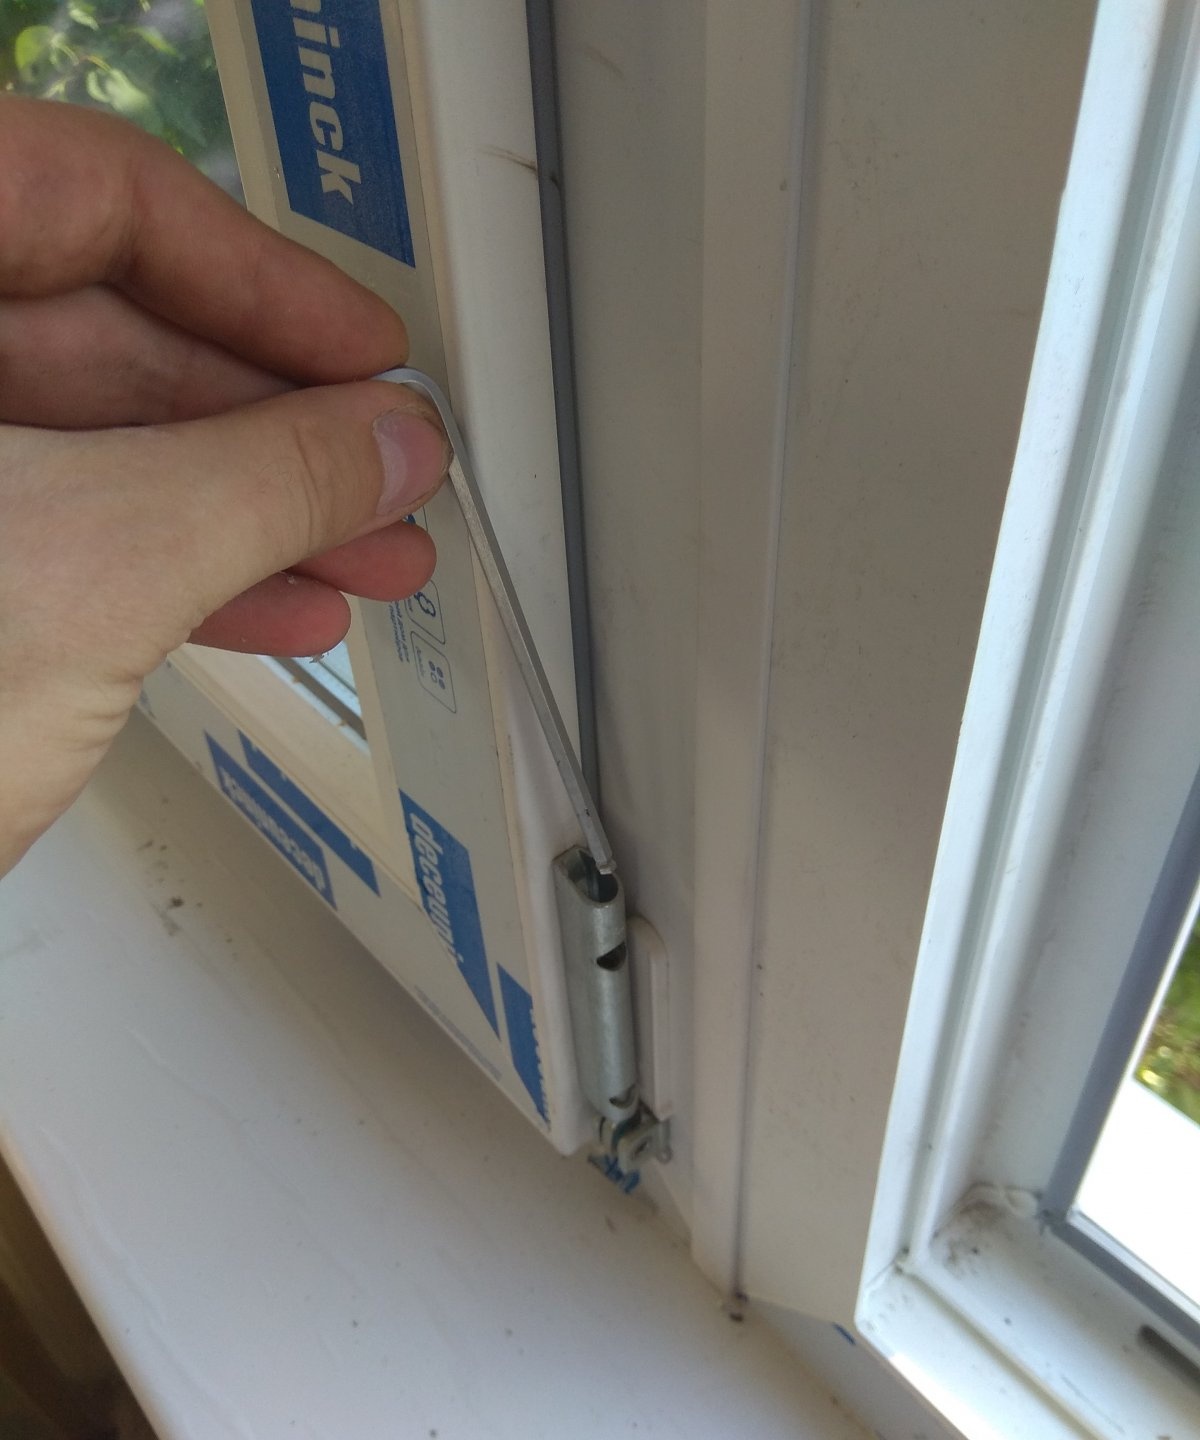
In order for the window to open freely in all modes, the window must be adjusted with a special key (hexagon).In the grooves on which the window is placed, there are special holes for the hexagon, where you can adjust the window by turning it with a key from above and below. The goal of the setting is to make the window easy to close and come off in all modes.
Next, you can attach all the plugs to the awnings, ventilation from the outside, and also to the window sills.
Lastly, you can attach the glass to the blind openings of the window. To do this, carefully place the glass against the opening, and then, holding it, secure the plastic bead back.
After installation, immediately or in the next few days, peel off the protective film, since if this is not done, it will melt in the sun and will be very difficult to peel off. When the foam hardens, it can be trimmed with a construction knife. Next, finishing work is carried out - namely, the upper and side slopes are puttied. It is also necessary to cover the mounting foam under the window sill.