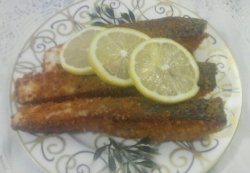
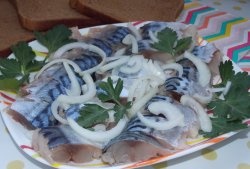
Sandwiches with red fish were always served at the festive table in Soviet times. Now this simple appetizer often appears on our table simply as a pleasant addition to dinner. Fish for such sandwiches should be lightly salted with a delicate, pleasant taste. My husband always salts red fish himself, not trusting this process to anyone. Today I want to share a recipe for delicious lightly salted red fish with you.
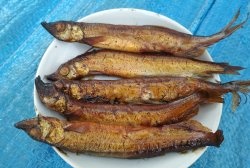
Any red fish is suitable for salting - trout, salmon, pink salmon, chum salmon. In our recipe, my husband will salt pink salmon. So let's get started.
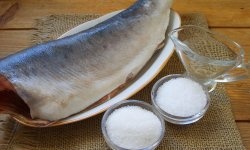
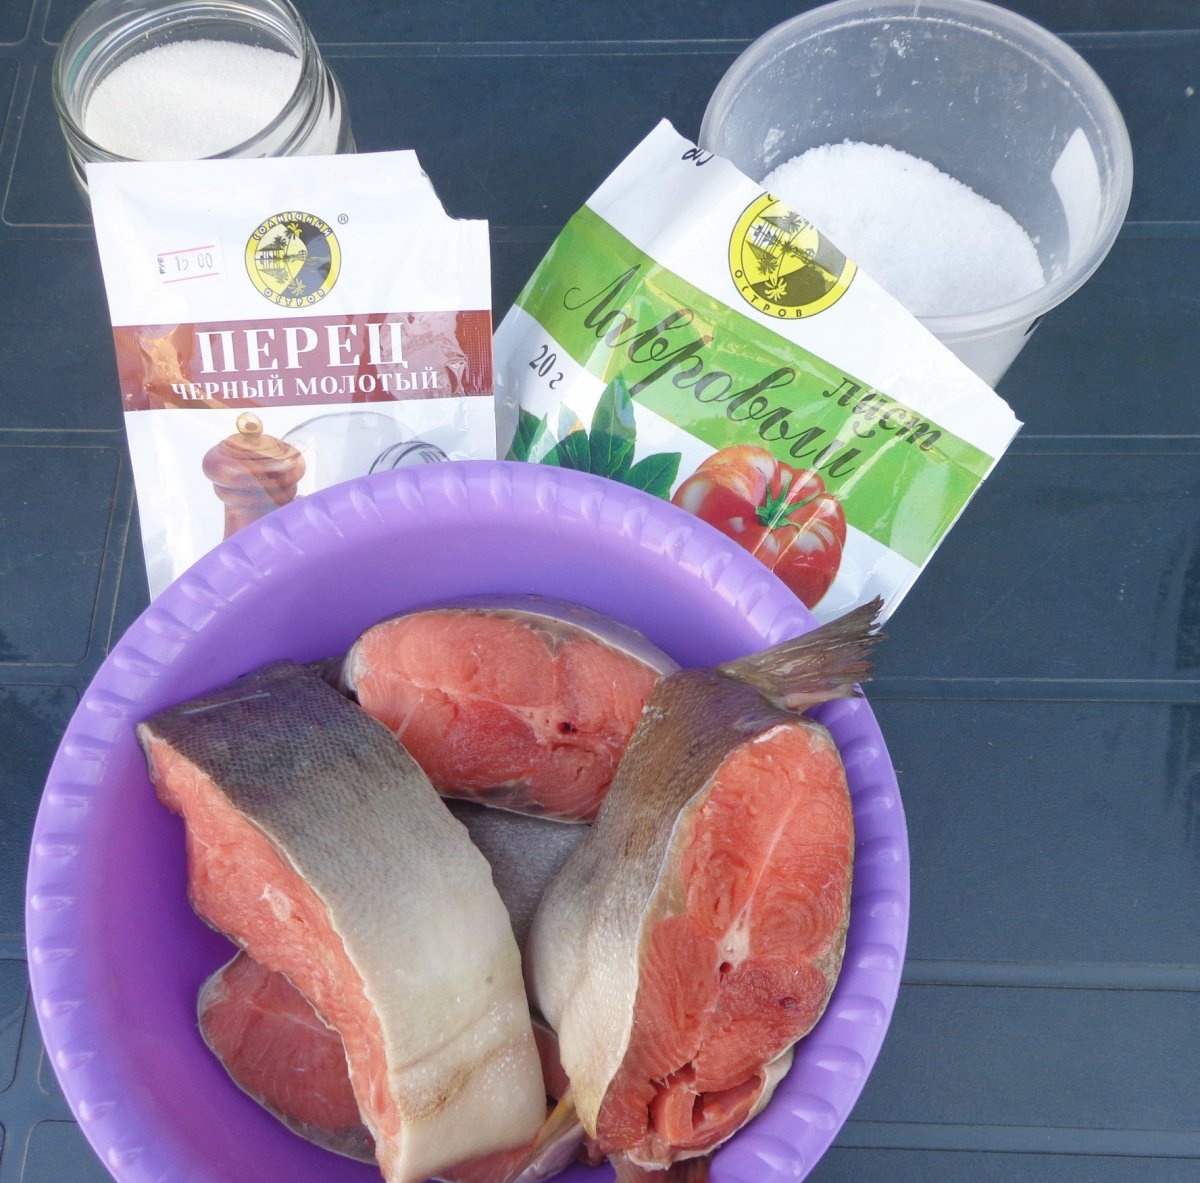
We will need:
- pink salmon or any other red fish – 1.5 kg;
- salt (coarsely ground) – 4-5 tbsp. spoon;
- sugar – 1 tbsp. spoon;
- ground black pepper – 2 teaspoons;
- bay leaf - 1 pack.
If you have all the ingredients available, you can start pickling.
Step-by-step preparation of lightly salted pink salmon:
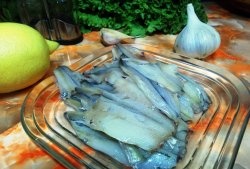
1. Pink salmon (or other red fish) must be cleaned of entrails and scales, after which the fish should be thoroughly rinsed with cold water.
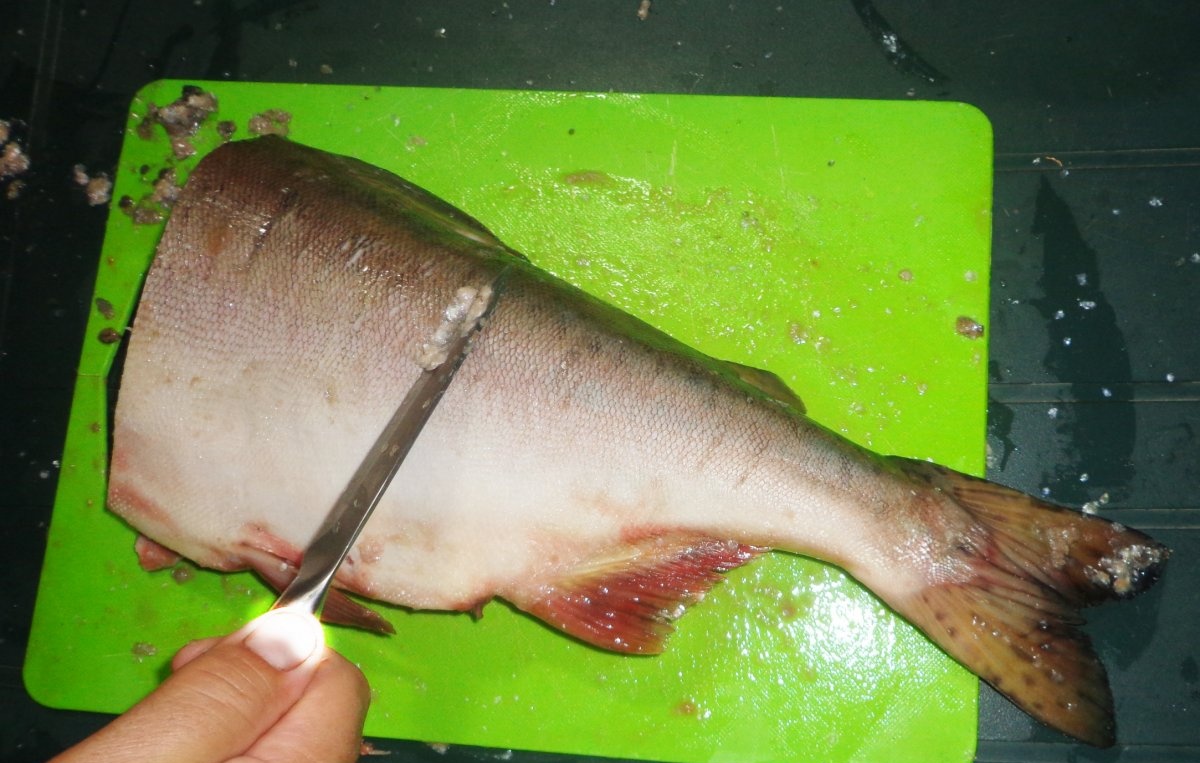
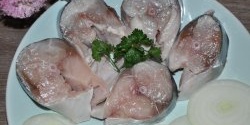
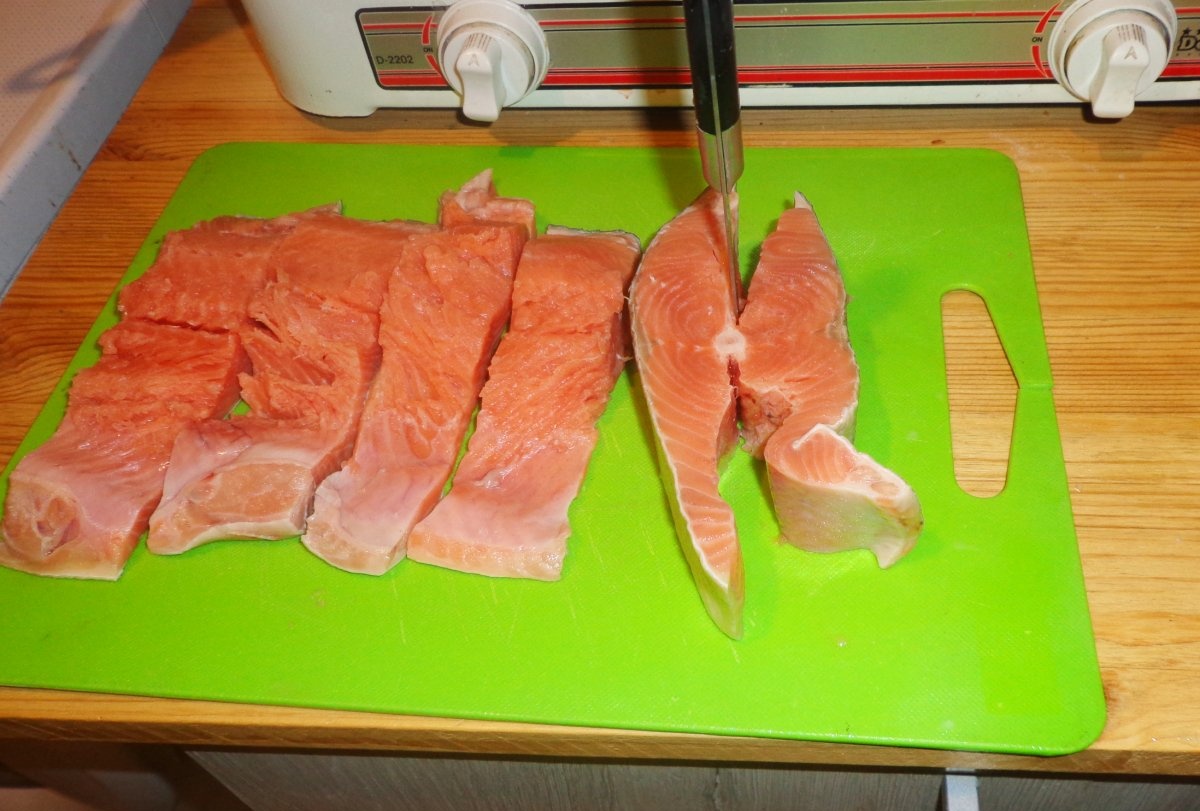
2. Cut the red fish lengthwise into equal pieces, 4-5 cm wide.
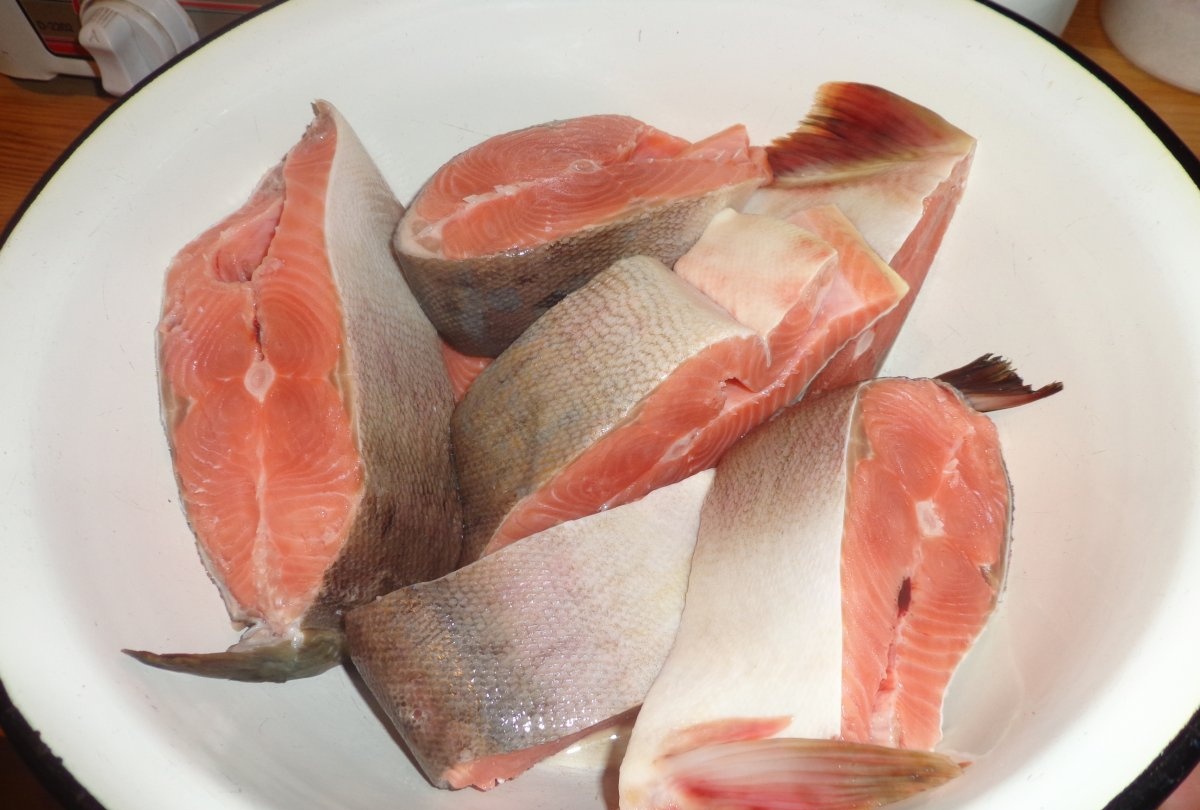
3. Pieces of fish need to be cleaned of bones.To do this, cut a piece from the top and cut it to the ridge of the fish. We divide the piece into two halves and take out the main bone, not forgetting to “select out the remaining bones. We should still have even strips of fillet.
4. Take a container with high sides, preferably enameled. Place a layer of fish fillet on the bottom of the cup. Sprinkle salt on top. The husband does this with a large spoon in a “sowing” motion. Approximately 1-2 teaspoons are needed per layer.
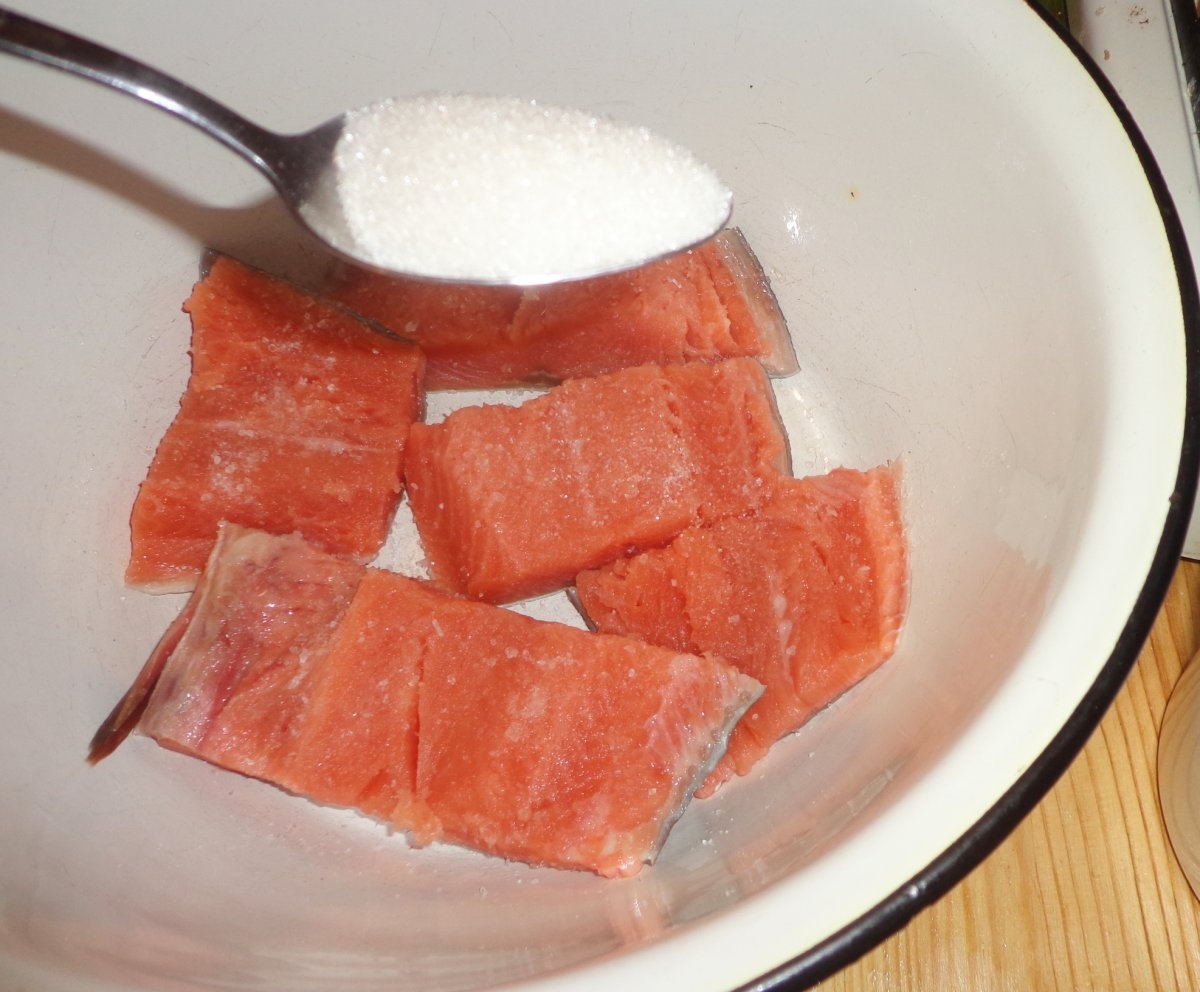
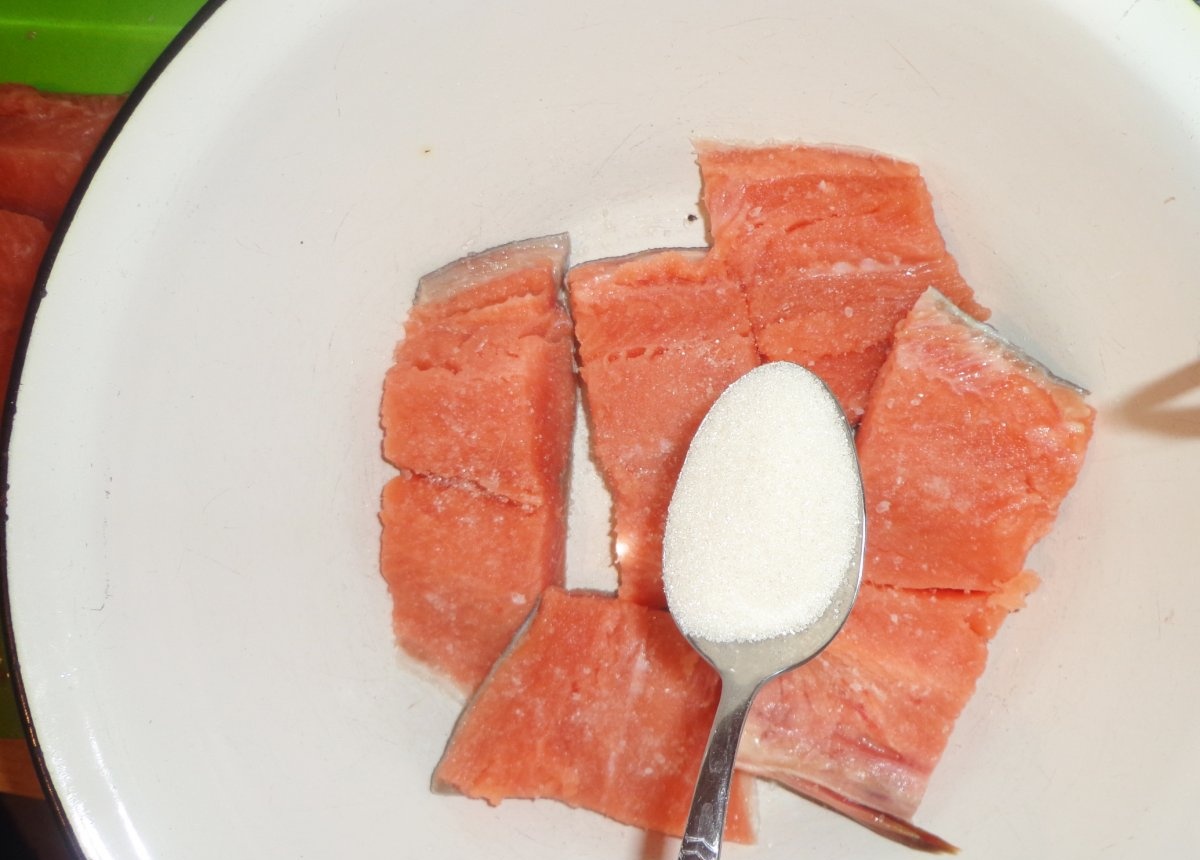
5. Sprinkle a little sugar on top of the fish layer. Each layer requires approximately 1-2 pinches of granulated sugar. My husband does this “by eye”, sprinkling the fish with sugar from a tablespoon.
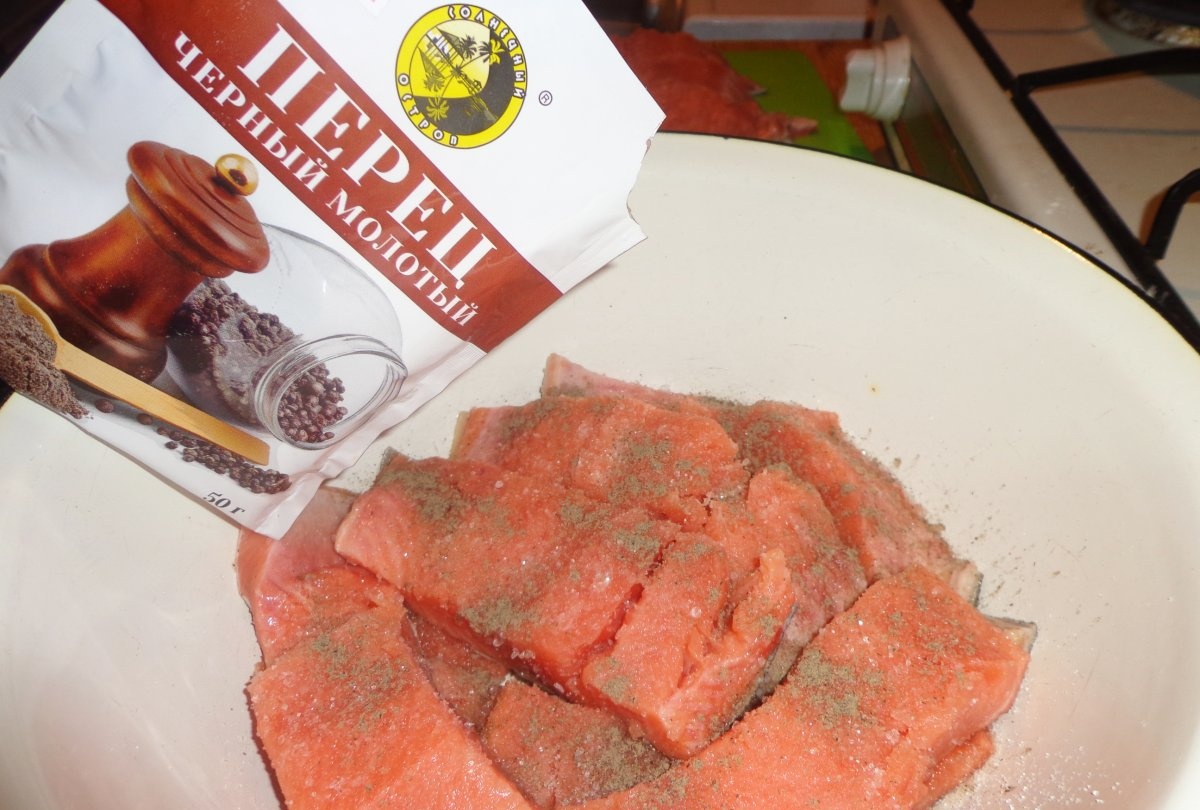
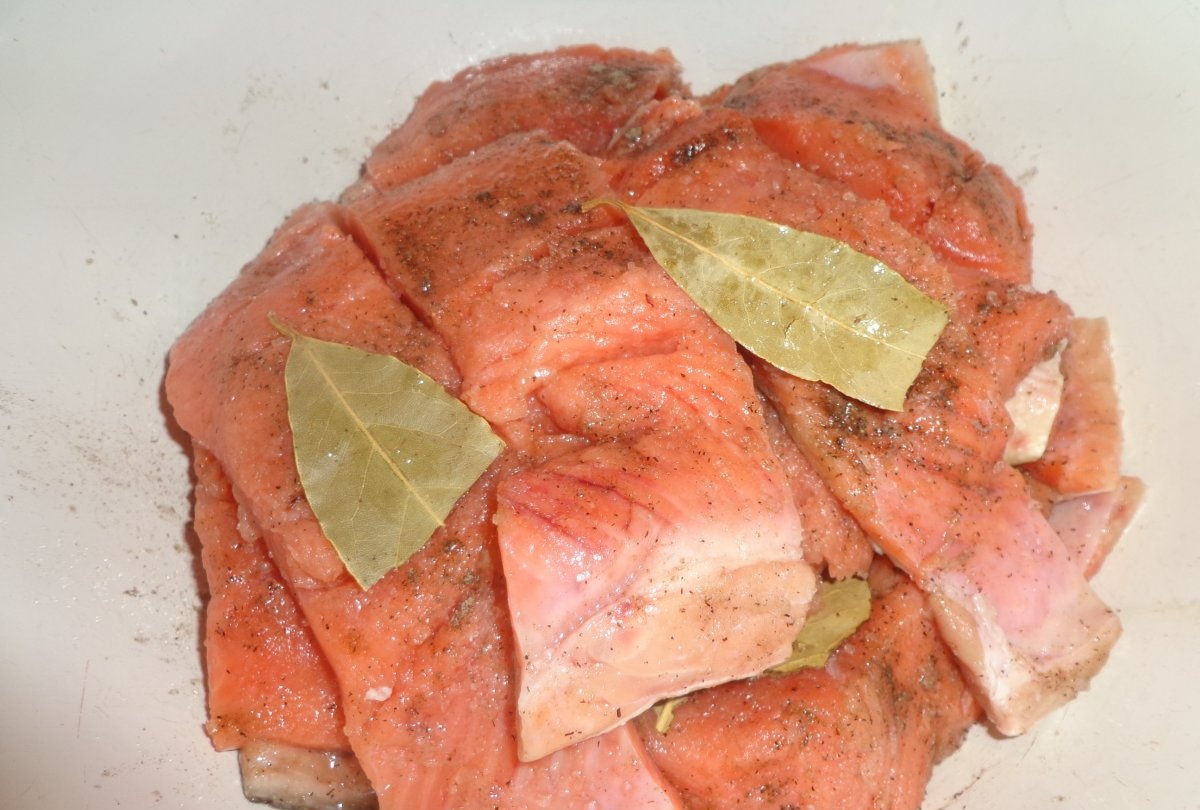
6. After salt and sugar, you need to add pepper to the fish. If you use peppercorns, then you need 1-2 peas for each layer. We prefer ground pepper, so my husband just sprinkles it on a layer of fish. He does this moderately, without fanaticism.
7. The finishing touch will be two bay leaves laid on top of the fish layer. Next, place the next layer of fish on top and repeat all the previous operations with this layer. We do this until the fillet runs out.
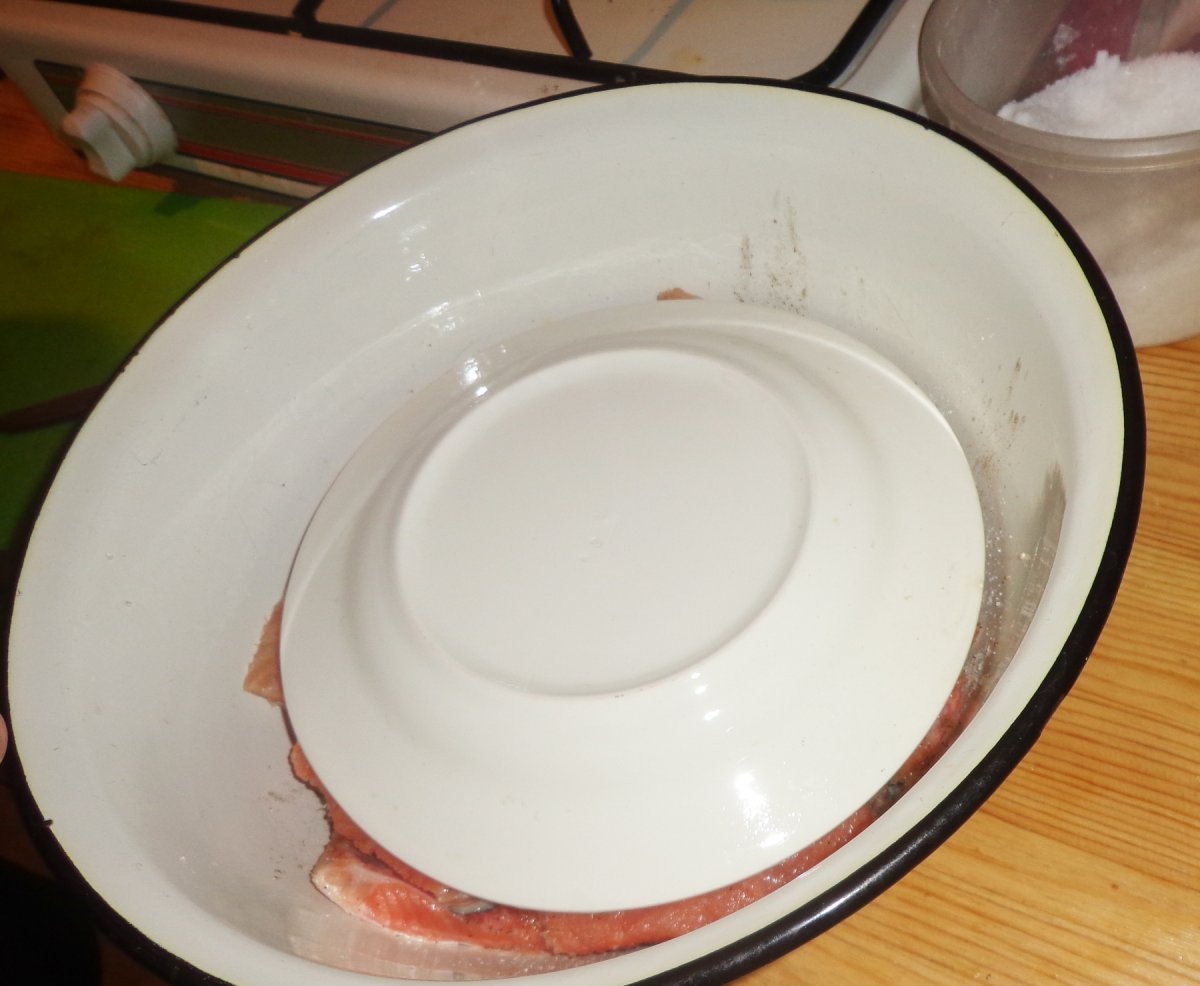
8. After all the fillets have been used, we cover our fish with a clean plate of such a size that it completely covers the entire top layer of the fish.
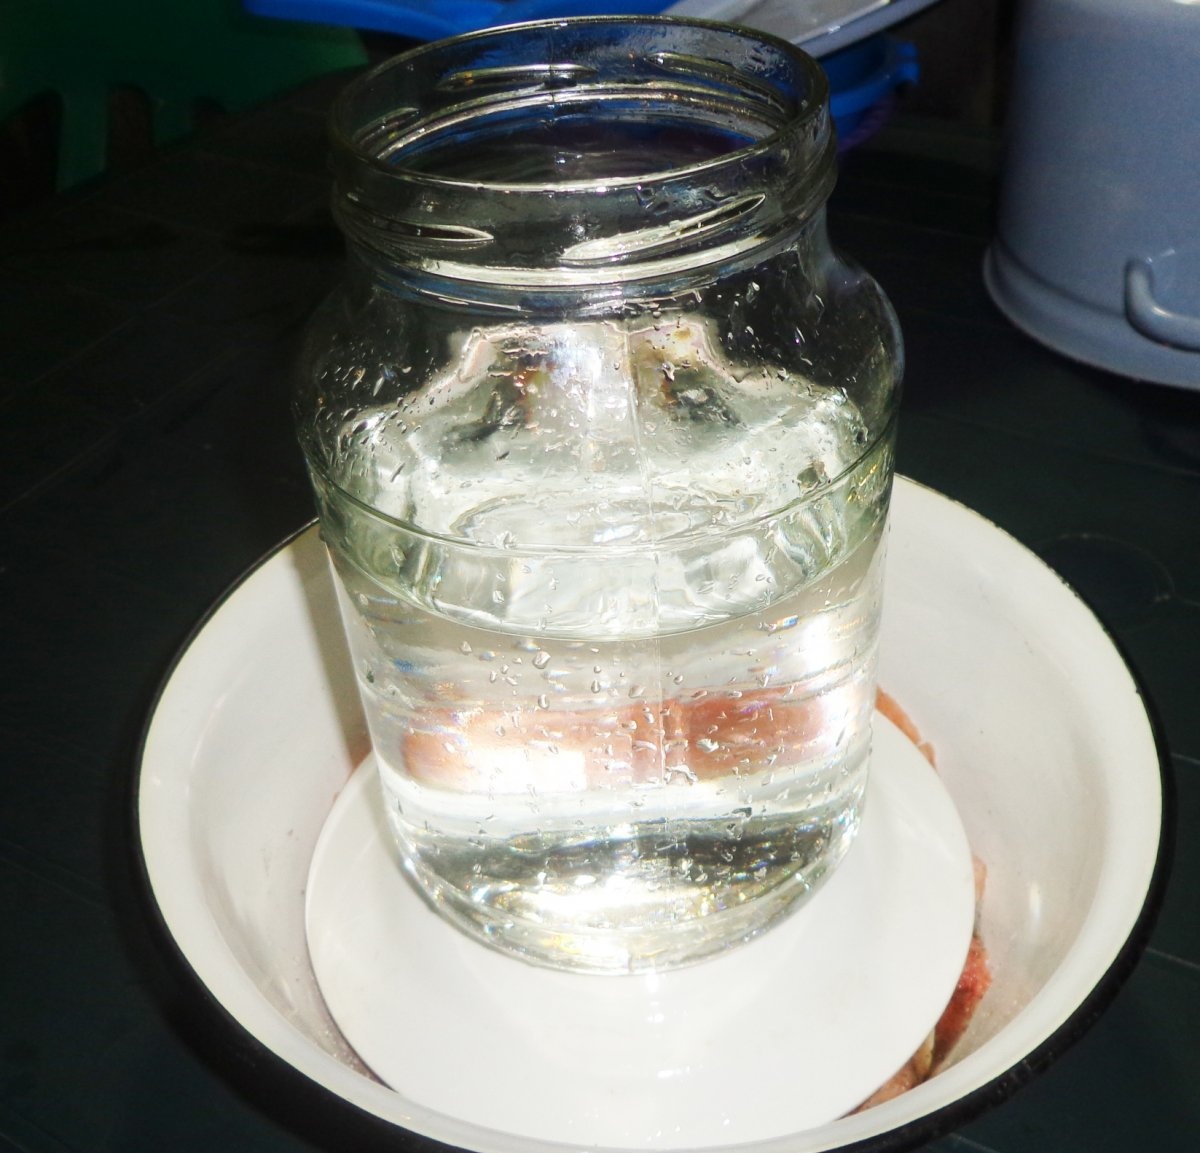
9. Now, in order for the fish to be salted well, you need to put pressure on the plate. Any heavy object can be used. Many people have a good cobblestone in their closet for these purposes. We are not that thrifty, so we put a two-liter jar filled with water as oppression. In this form, you need to put the fish in the refrigerator to salt for 12 hours. If you like a more “steep” salting, then pink salmon should be left in the refrigerator for 24 hours.
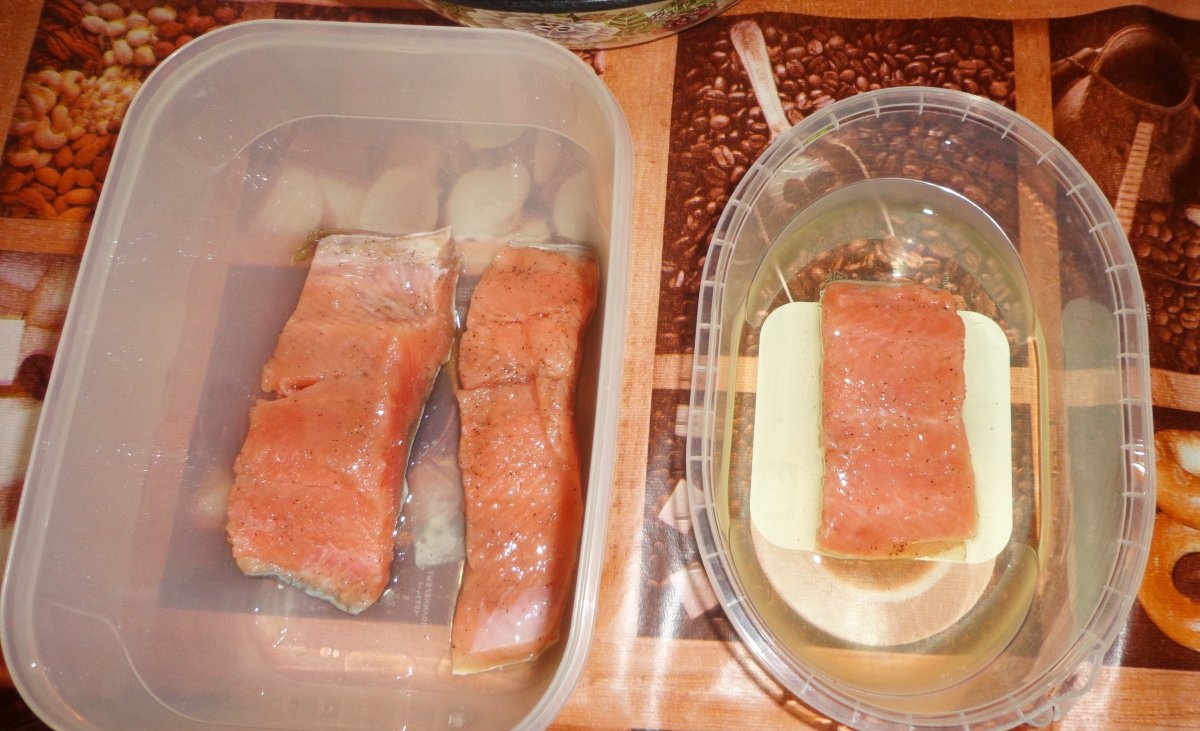
10. After 12 hours, take the fish out of the refrigerator, remove the weight and plate from it.You need to take a small cup and pour about 0.5 cups of vegetable oil into it. Dip fillet pieces on both sides in vegetable oil so that the surface of the piece is completely coated with oil. After processing, place the fillets in a container with a lid for storage. Pour the remaining oil on top of the fish. Cover the container with a lid and place it in the refrigerator.
Sandwiches from this fish can be made immediately after it has been left under pressure for 12 hours. You can store this salted fish in the refrigerator for no more than a week. If we don't eat fish in a week, I put the leftovers in the freezer. When we want sandwiches, we take out a piece of fillet, defrost it and eat the fish. After freezing, it does not lose its taste. Enjoy your meal!