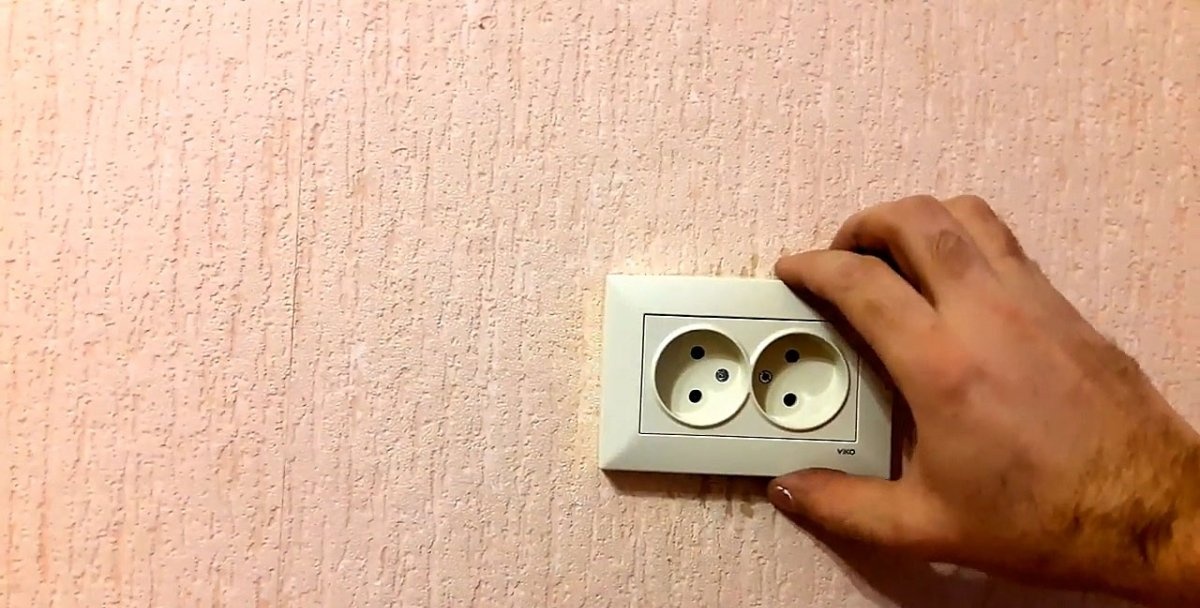
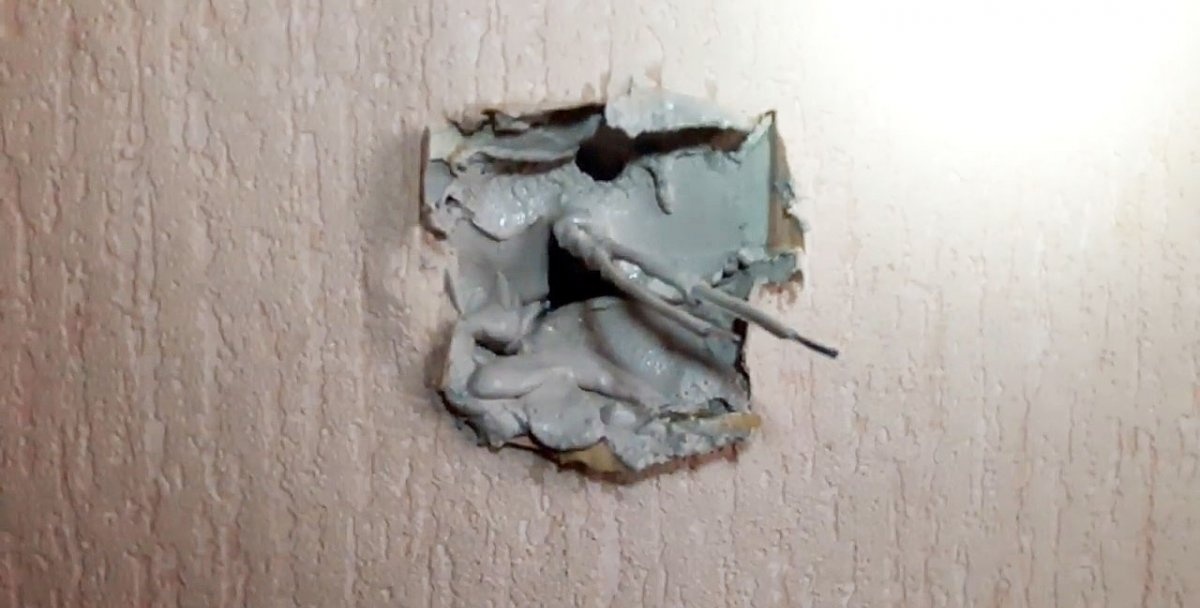
Quite often you can see a socket torn out of the wall along with the socket box, especially if the wall is concrete or reinforced concrete. This usually occurs due to a violation of the installation technology of such parts of electrical equipment, but a time factor cannot be ruled out. As a result of such a defect, not only the perception of the interior of a house or apartment suffers, but there is a real danger of a short circuit and electric shock to people.
To properly install the outlet box and outlet, you will need the simplest tools, materials and skills. Any adult can handle this type of work.
Will need
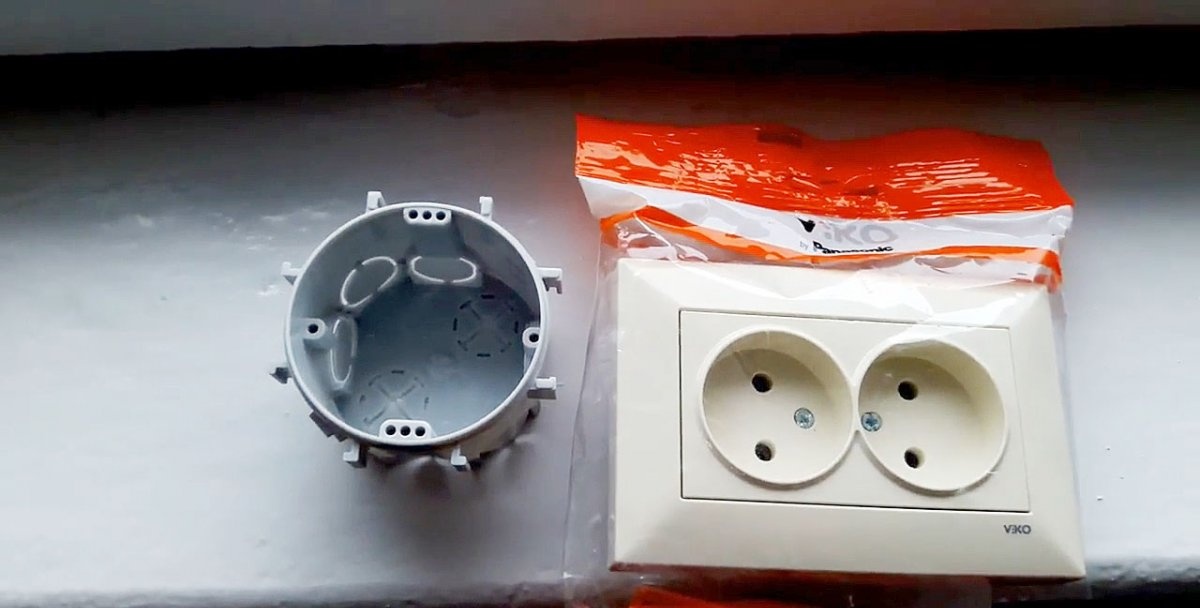
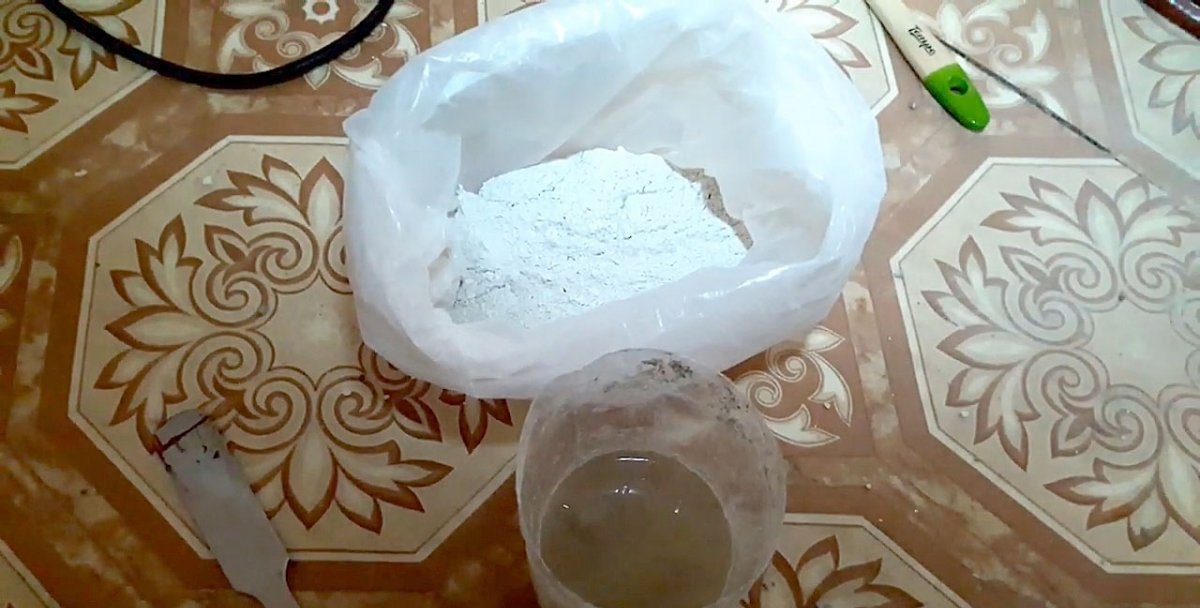
If the torn out socket and socket are not broken and you are satisfied with the design of the visible part of this electrical point, then, after inspecting, cleaning and preparing the socket, they can be installed again. Otherwise, the components of this electrical unit should be replaced with new ones. We will also need:- construction alabaster;
- voltage indicator;
- screwdriver;
- self-tapping screws;
- wire cutters;
- brush;
- narrow spatula.
The process of installing a socket box and socket
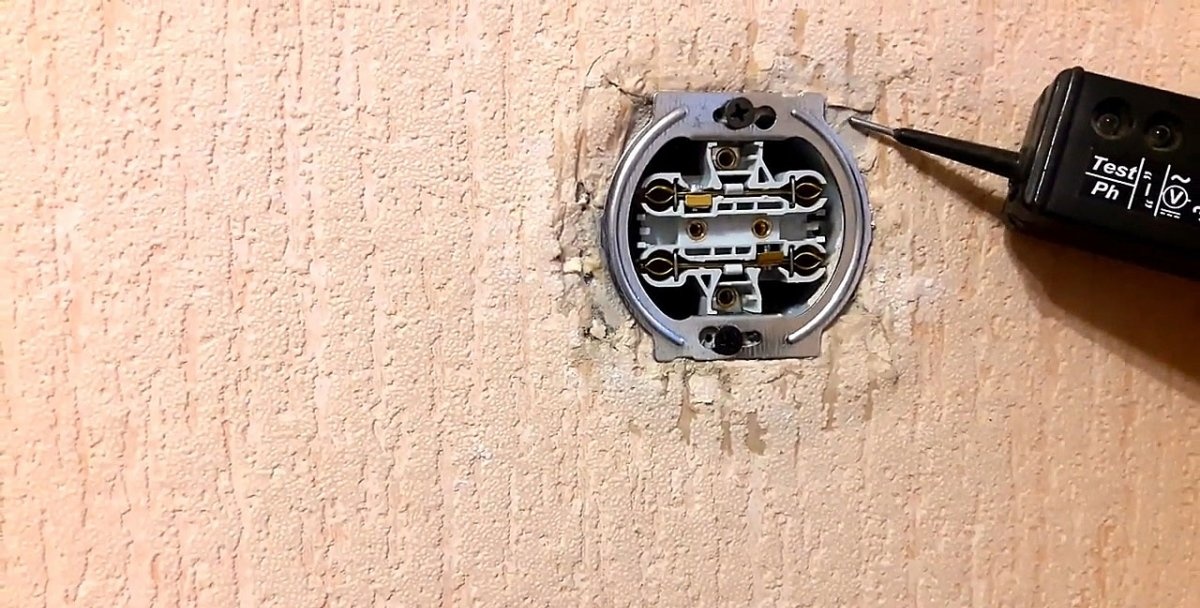
This work is best done in the following sequence:1. Before you begin to dismantle the old outlet box, it is necessary for safety to turn off the voltage at the input electrical panel and check that it is not present at the outlet contacts using a voltage indicator.
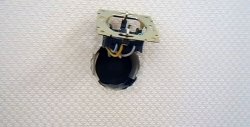
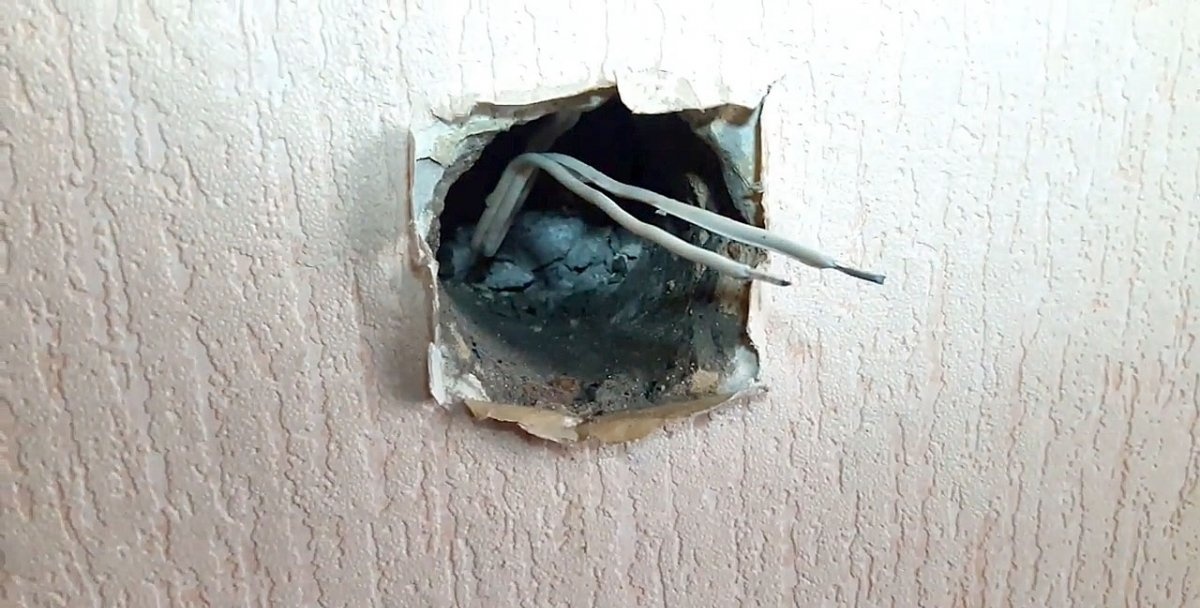
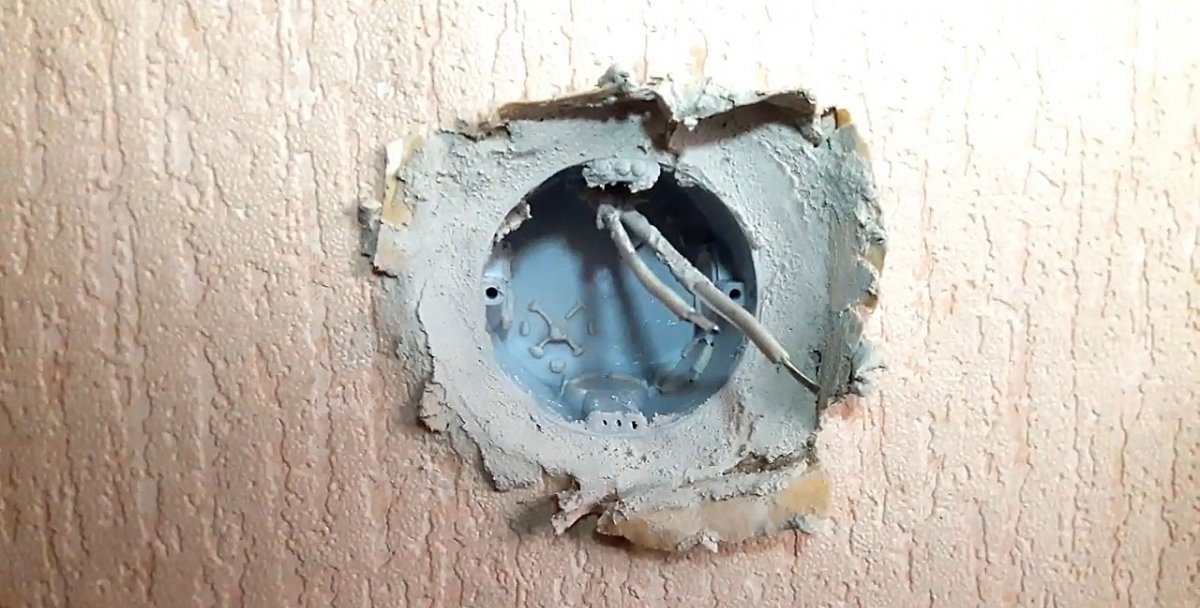
2. We dismantle the old box and remove the remains of alabaster or plaster and other debris from the nest using a spatula, brush and other suitable devices.
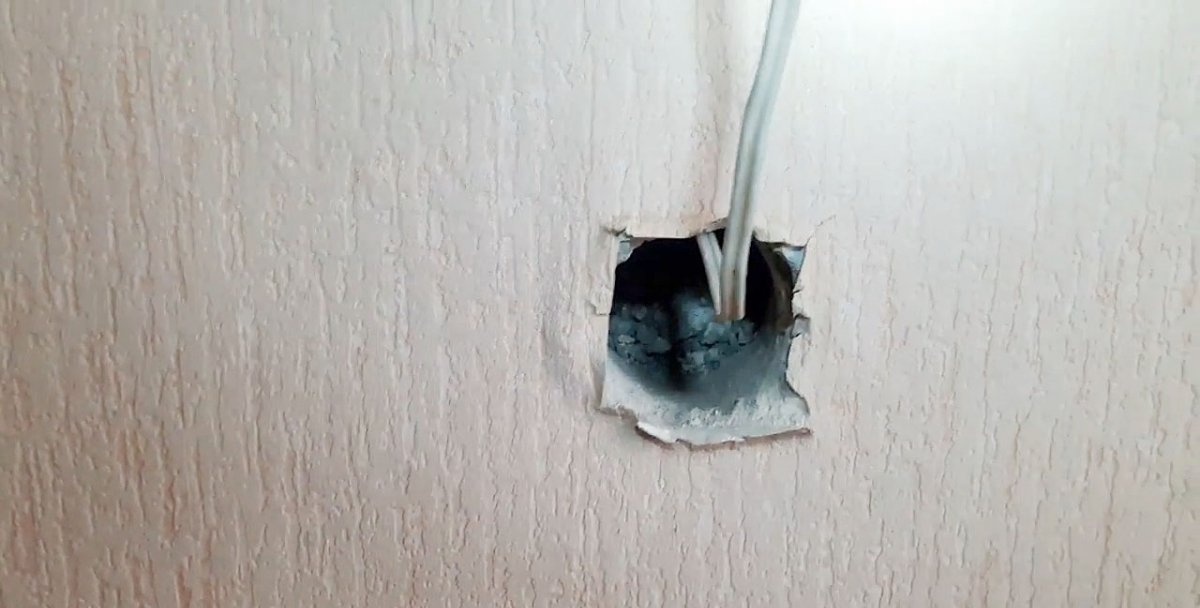
3. If the length of the wire allows, then we trim the burnt ends, clean them again, check the integrity of the insulation and pull the wire out so that it does not interfere in the future.
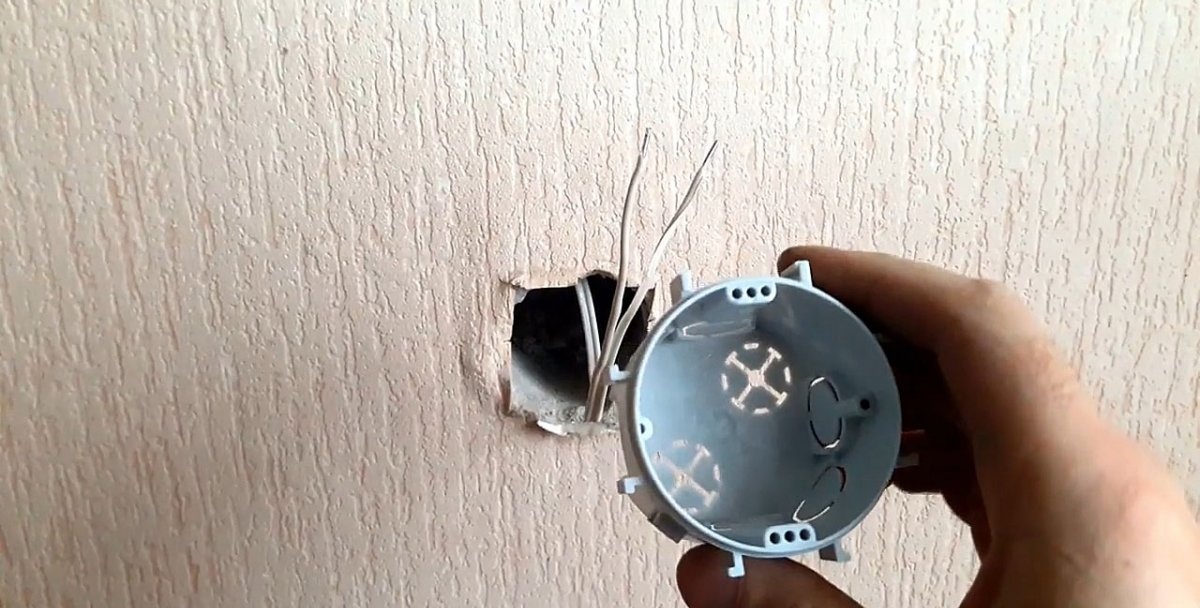
4. After completing the preparation of the wire, we begin to try on the outlet box and prepare it for installation in the socket.
To do this, we check the possibility of free entry of the wire, and also decide in what position to mount the box, since the position of the socket will depend on this: horizontal or vertical. It is better if the box has spikes on the outside, which ensure a more durable fastening in the frozen alabaster. It is more reliable to secure the socket with self-tapping screws, for which special holes are provided on the socket box.
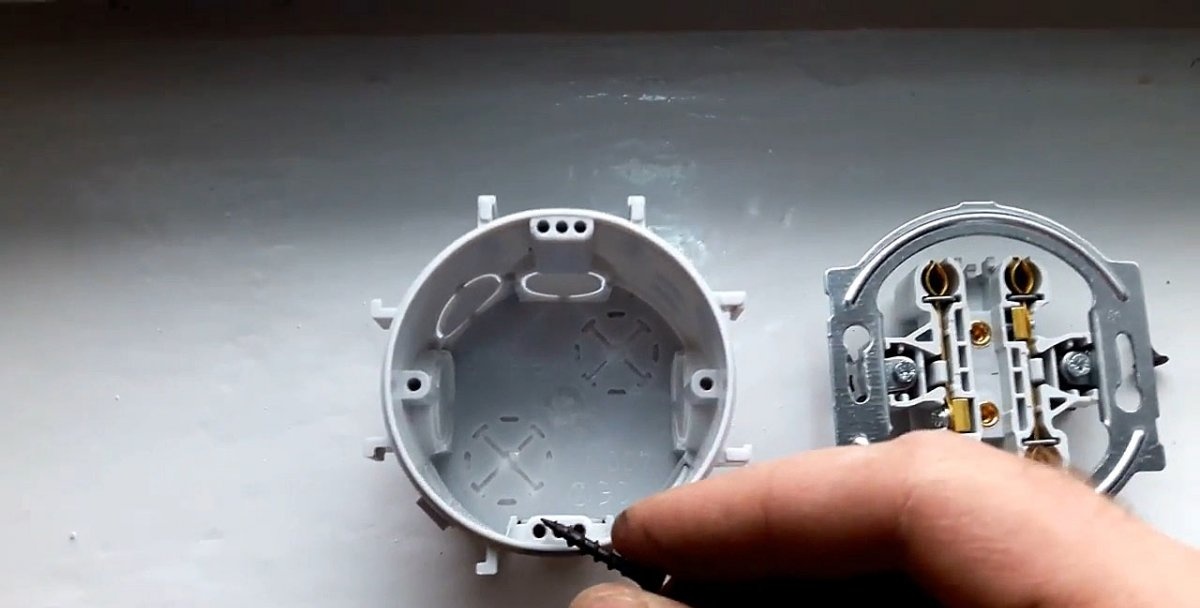
Then there is no need for spacer tendrils, which can be removed or simply left unused. Sometimes the box has protruding parts with which it is connected to other boxes if a group installation is provided. With single installation, the antennae, if they interfere with the box entering the nest, can be easily removed with pliers.
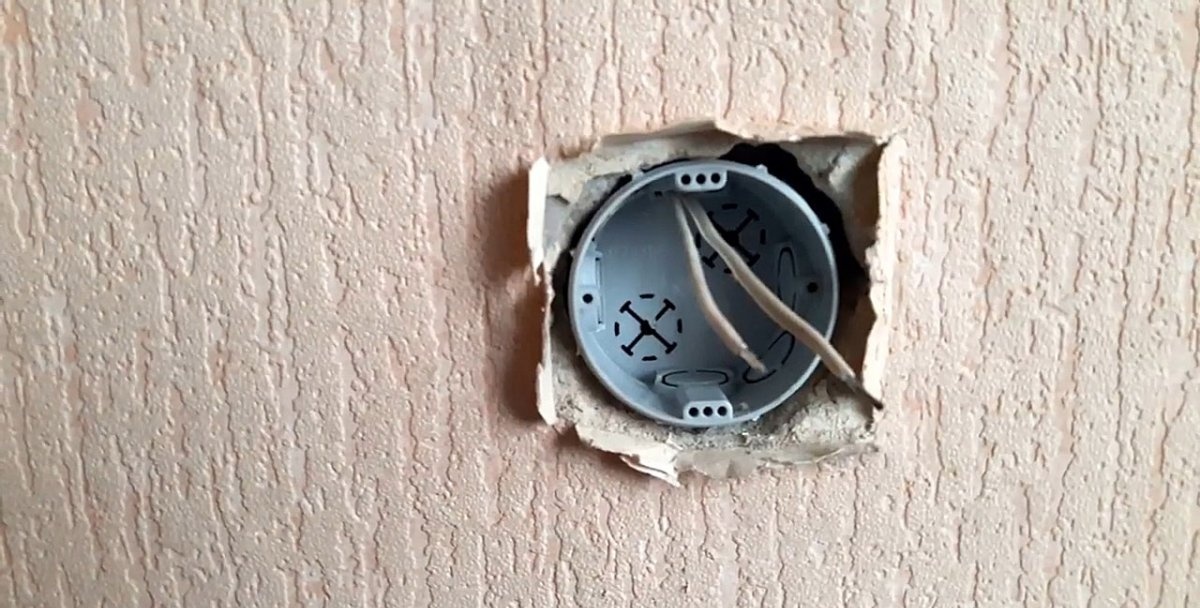
5. After trying on and preparing the box for installation in the nest, we check again and remove any newly appeared debris and moisten the inside of the nest with water using a brush.
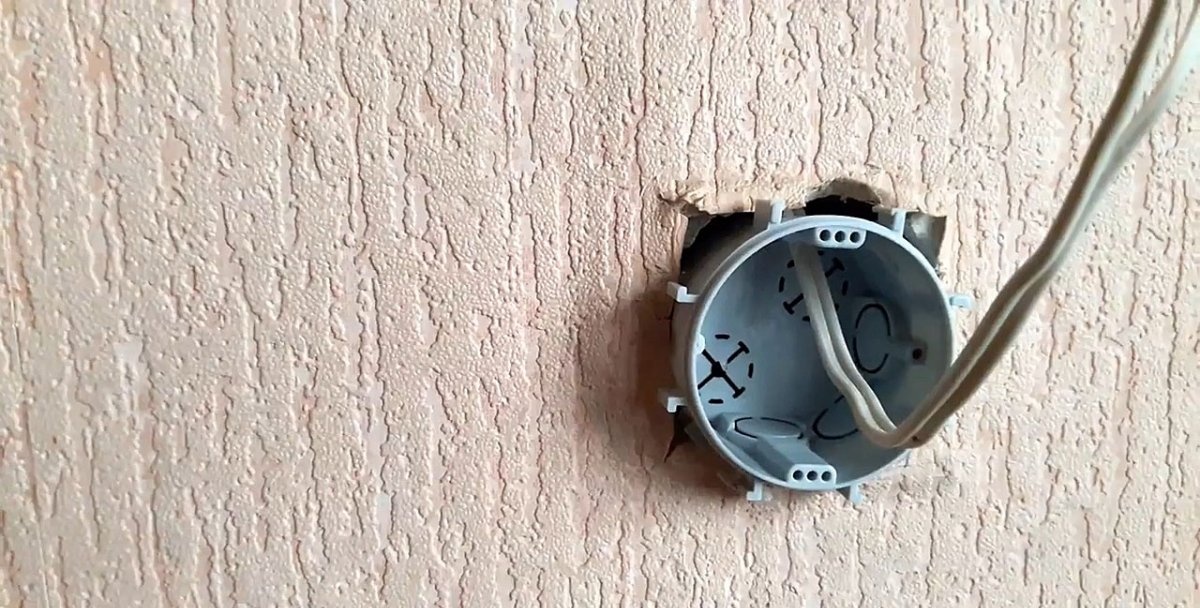
6.We begin to prepare the alabaster solution and, before it hardens, fill the nest with it and place the box in it.
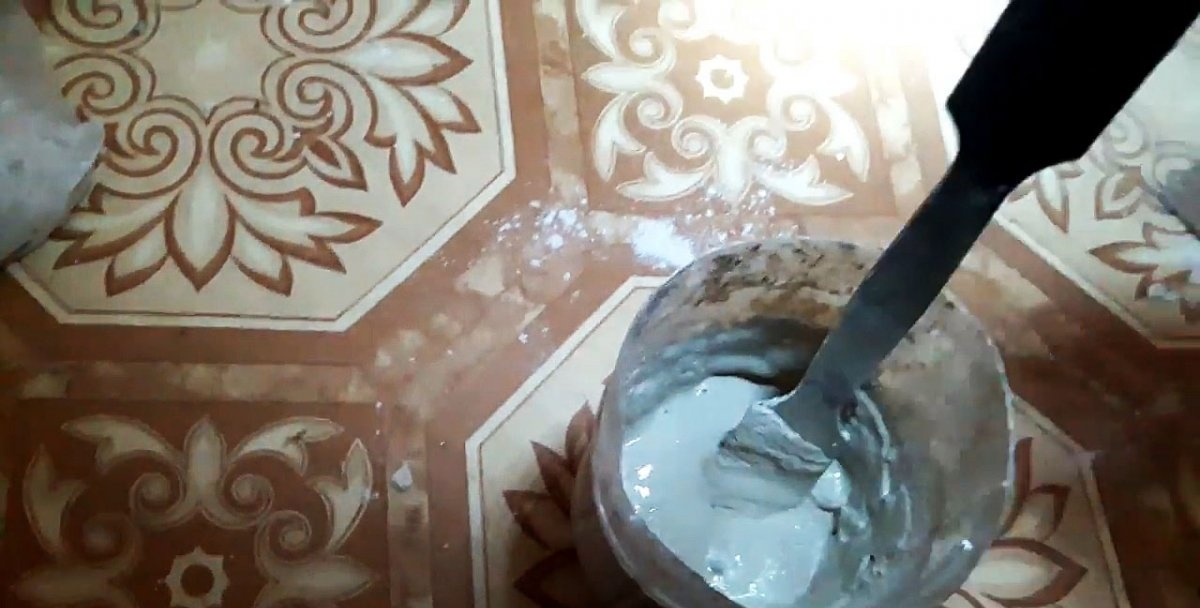
There is only one minute to adjust the installation of the box in the nest, after which the alabaster will seize and this will no longer be possible. It will take 10-15 minutes for the solution to completely harden.
7. While the alabaster is setting, you can scrape off the excess from the wall and glue the wallpaper with PVA glue.
8. After the alabaster has set, we connect the wires to the socket, trying to avoid unnecessary bends, since old aluminum strands can easily break.
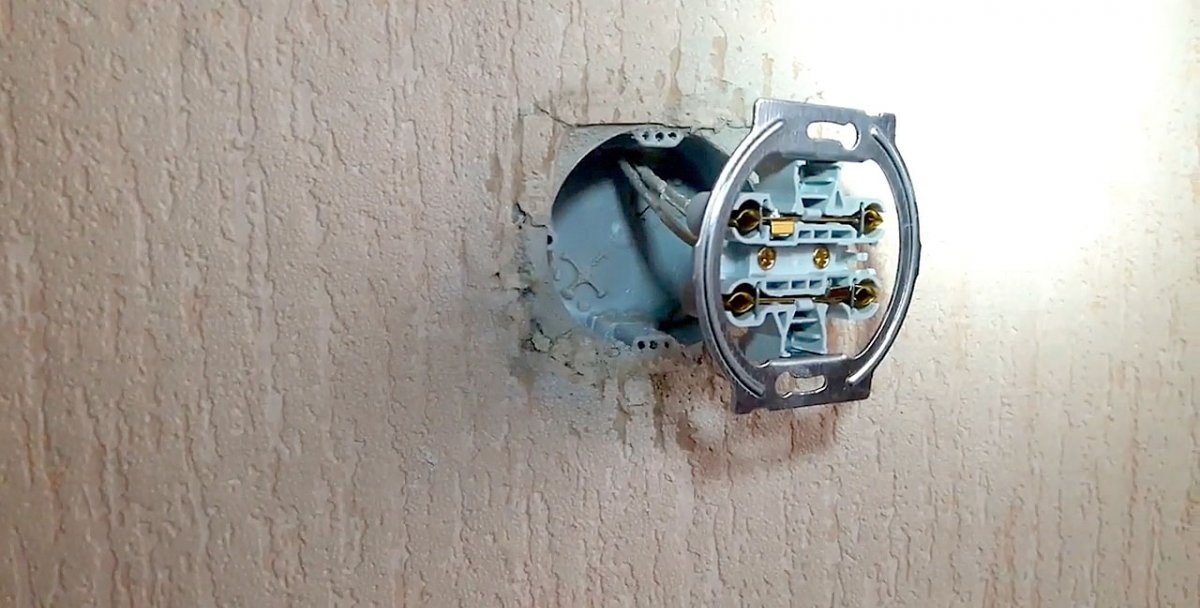
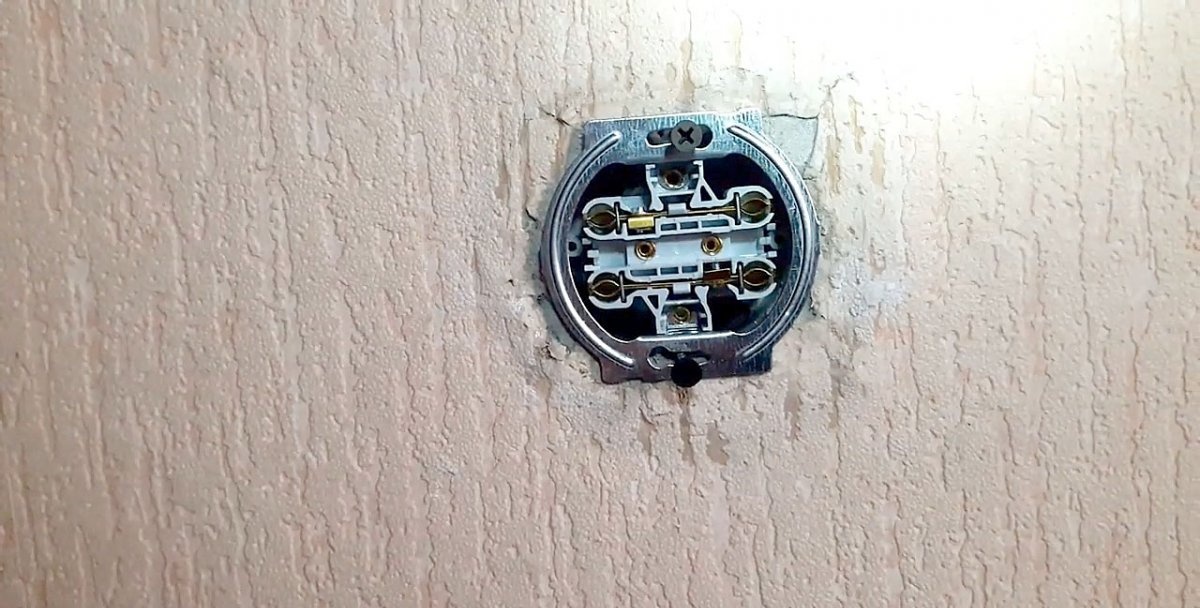
9. When the socket is connected, we put the wires and the socket itself in the box and screw it to the box with self-tapping screws.
10. Now you can apply voltage to the socket and check its presence with an indicator.
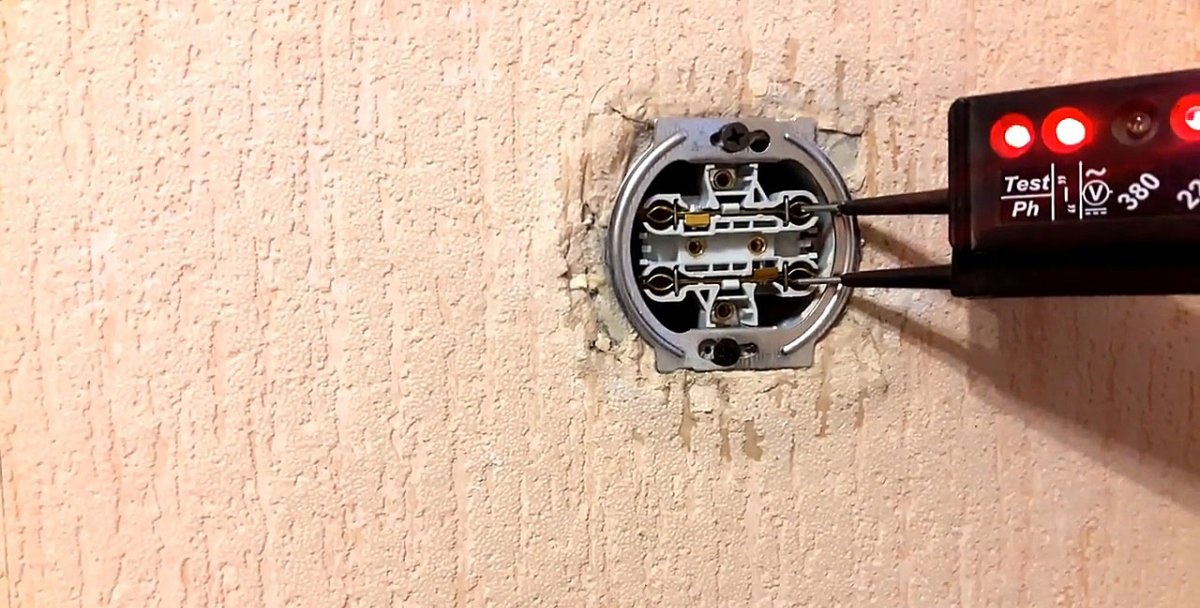
With the same device we check the absence of a phase on the wet wall, which indicates that the wires are well insulated.
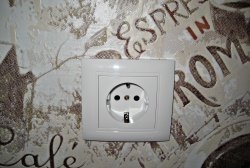
11. Close the socket with a lid and check that it is firmly attached to the box, and that, in turn, is in the socket.
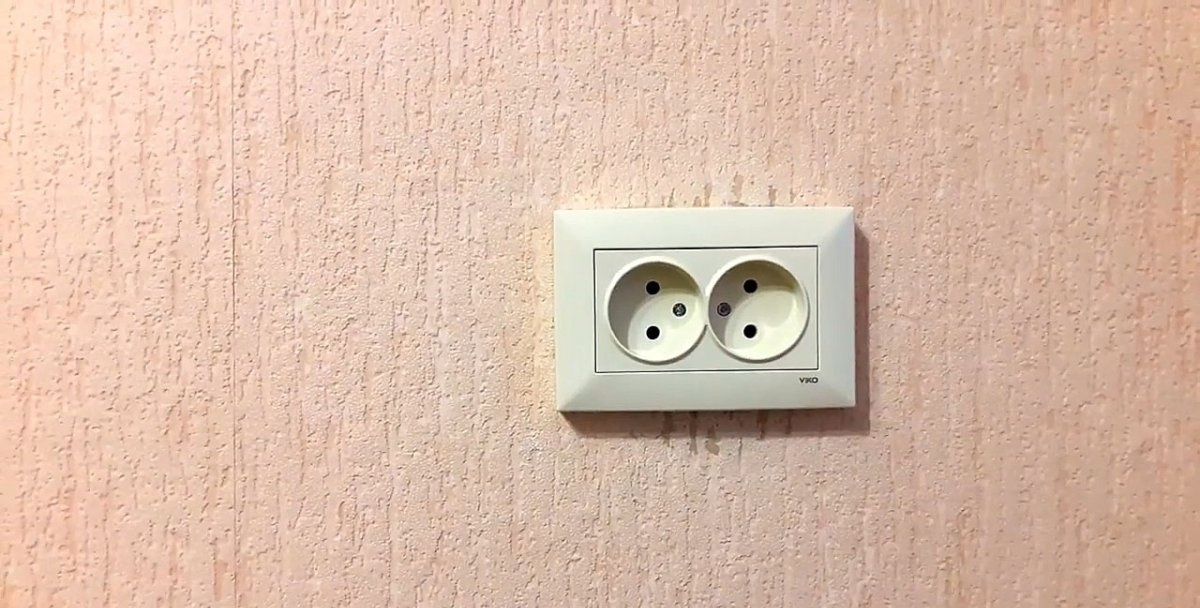
After this, you can use the socket without restrictions for a very long time, if you make it a rule to hold the cover with your hand when pulling the plug out of the socket.