Do it yourself
Life hacks, master classes, useful tips, recipes.
home » Different » Crafts » Metal crafts » How to make a three-piece corner joint
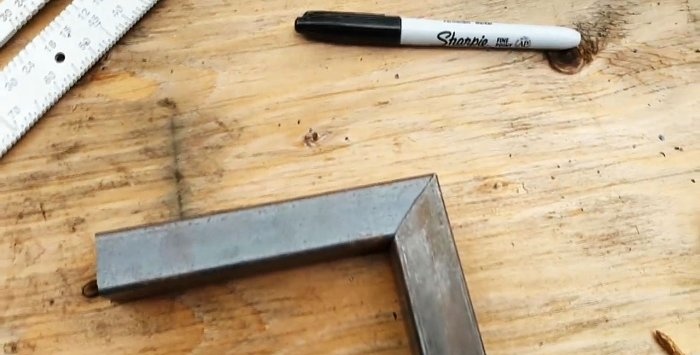
For work, you can take pipes of any cross-section: round, square, but we will focus on rectangular products. The main principle will be the same everywhere: for precise joining of the connection elements, their ends are cut at 45 degrees each time.
Such a connection is usually used for aesthetic purposes, since for conventional structures there are simpler fastening options, but at the same time providing better strength characteristics.
How to Make a Three-Piece Corner Joint

Will need


In order not to be distracted while working, you should prepare the following tools and materials in advance:
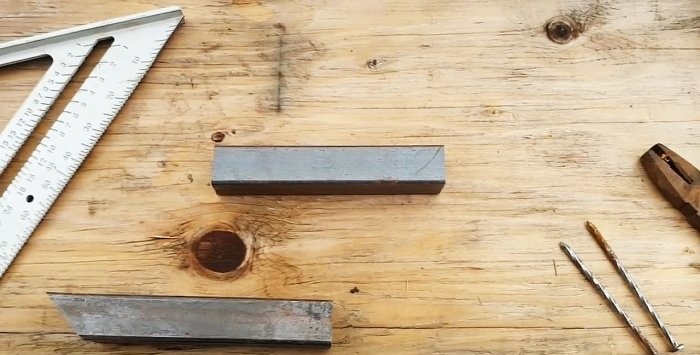
  • three sections of rectangular pipe identical in cross-section and length;
  • metal marking triangle with base angles of 45 degrees;
  • marker;
  • pendulum saw with rotary table;
  • removable clamp.

Process for making a double corner joint


This work can be divided into two parts: marking and, in fact, connecting. If the first part of the work is completed correctly and with the required accuracy, then the second turns into a simple formality.
How to Make a Three-Piece Corner Joint

So, let's begin:
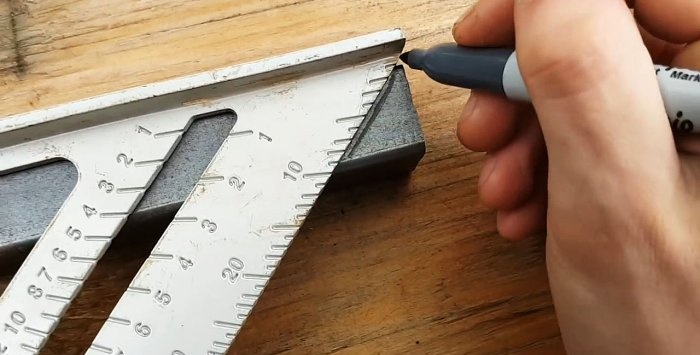
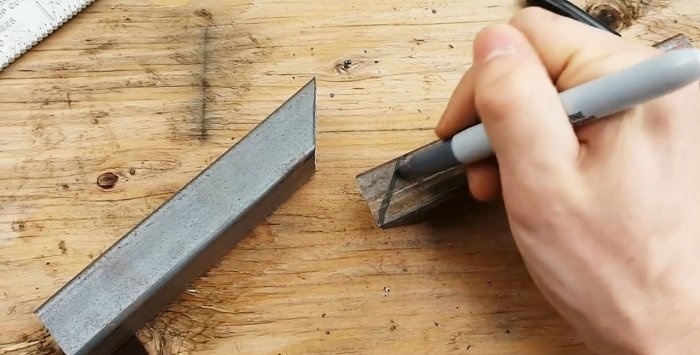
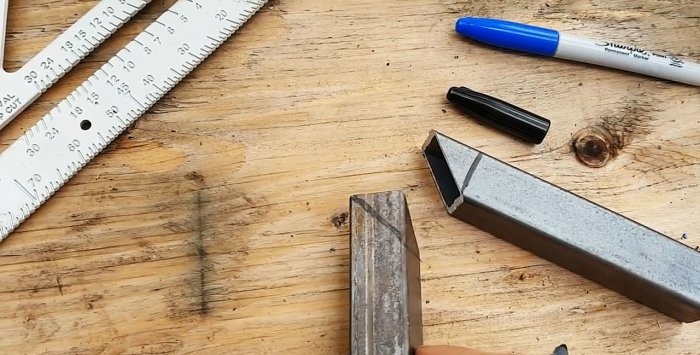
1.Using a triangle, we draw a line at 45 degrees on three segments along the wide side closer to one of the ends. To save material, it can be done at the very end - from one of the end corners.
How to Make a Three-Piece Corner Joint

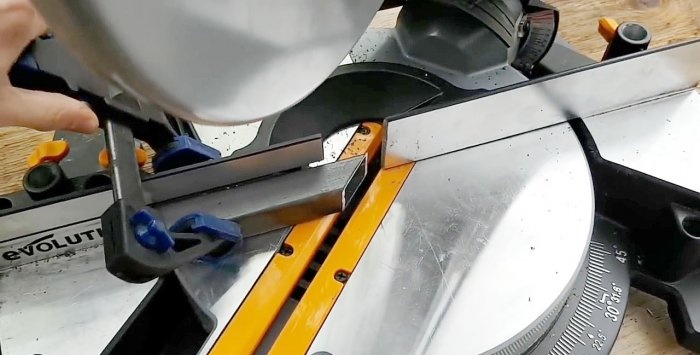
2. We set the table of the pendulum saw on the scale at 45 degrees, which automatically ensures that the plane of the cutting tool disk is positioned in relation to the part being cut at the same angle.
How to Make a Three-Piece Corner Joint

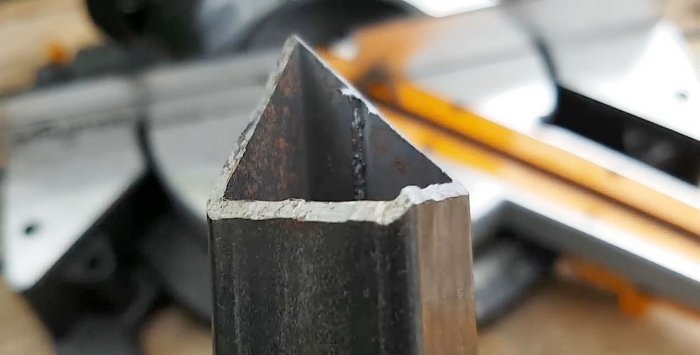
3. We alternately make cuts according to the markings, which is duplicated for reliability by securing sections of rectangular pipes to the table using a removable clamp.
How to Make a Three-Piece Corner Joint

How to Make a Three-Piece Corner Joint

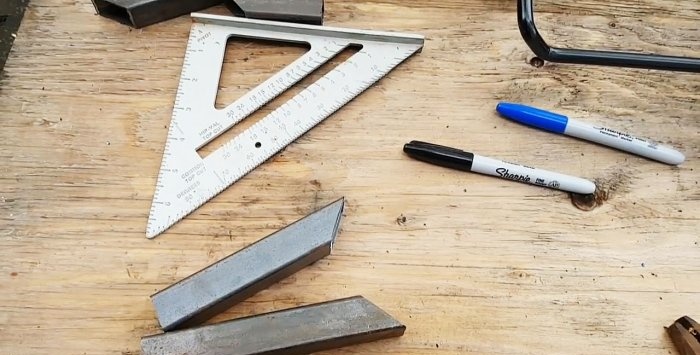
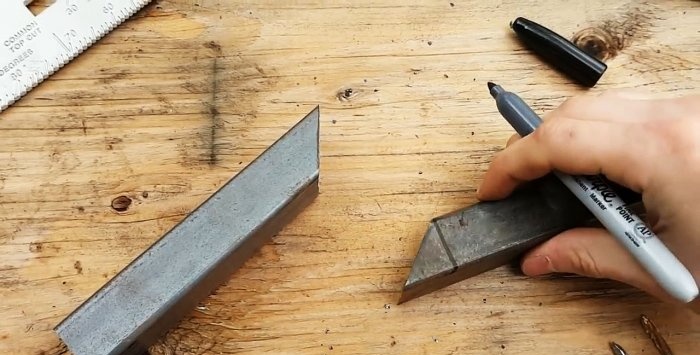
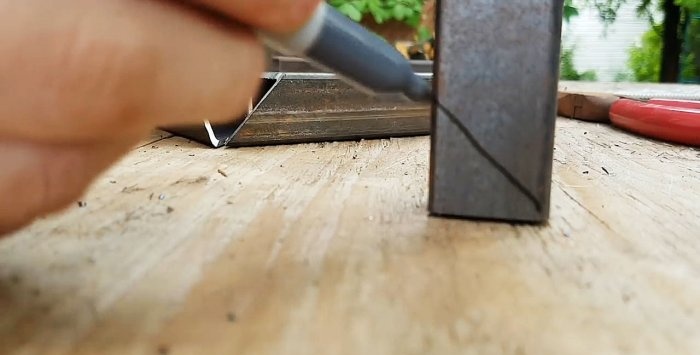
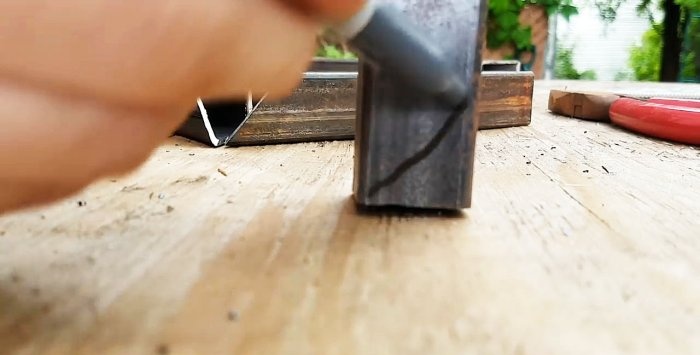
4. Rotate the pipes with beveled edges 90 degrees and again mark the markings at 45 degrees.
How to Make a Three-Piece Corner Joint

How to Make a Three-Piece Corner Joint

How to Make a Three-Piece Corner Joint

5. We repeat operation No. 3 again (installation, fastening, cutting), but according to the new markings.
How to Make a Three-Piece Corner Joint

How to Make a Three-Piece Corner Joint

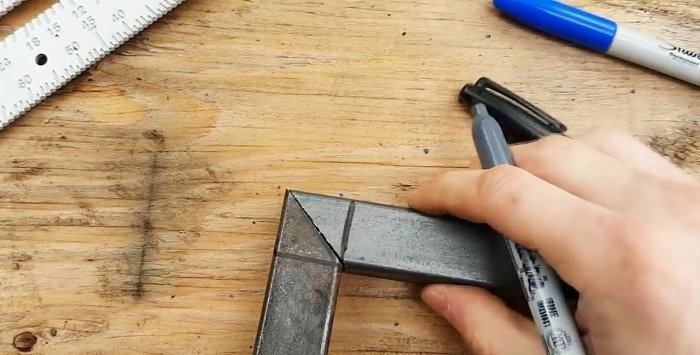
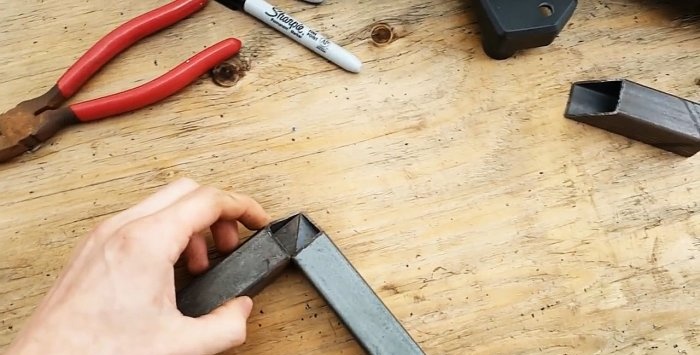
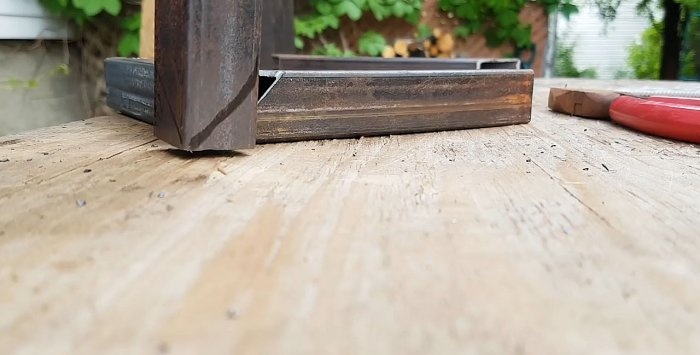
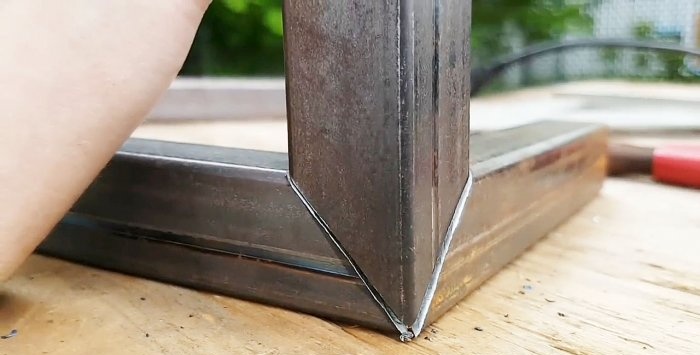
6. We connect two prepared sections of pipes on a horizontal surface with their ends, along the larger diagonal of the cut. For reliability, you can measure the outer angle: it should be exactly 90 degrees.
7. We take the third section of the pipe and, having tried it on the first two in the assembly, we make the usual markings and use a pendulum saw to form a shaped part that will coincide with the corresponding edges of the first two sections assembled together.
How to Make a Three-Piece Corner Joint

How to Make a Three-Piece Corner Joint

How to Make a Three-Piece Corner Joint

Cut from both sides.
How to Make a Three-Piece Corner Joint

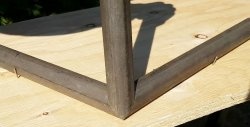
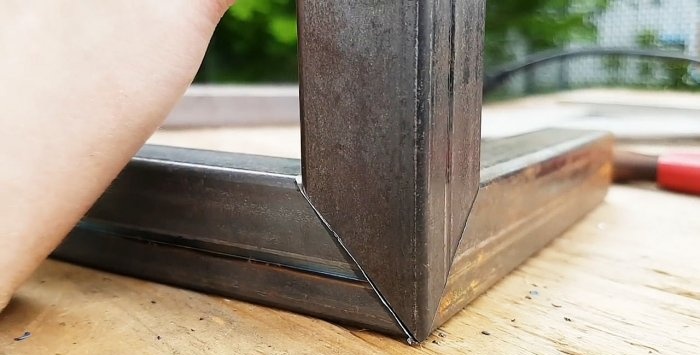
As a result, the corner connection is obtained by itself.
How to Make a Three-Piece Corner Joint

Conclusion


The second part of the work is the connection, which can be done by gluing if the material is wood or plastic, by soldering, gas-acetylene or electric welding if the parts are metal.
How to Make a Three-Piece Corner Joint

Watch the video


come back
Comment
  • bowtiesmilelaughingblushsmileyrelaxed relaxedsmirk
    heart_eyeskissing_heartkissing_closed_eyesflushedrelievedsatisfiedgrin
    winkstuck_out_tongue_winking_eyestuck_out_tongue_closed_eyesgrinningkissingstuck_out_tonguesleeping
    worriedfrowninganguishedopen_mouthgrimacingconfusedhushed
    expressionlessunamusedsweat_smilesweatdisappointed_relievedwearypassive
    disappointedconfoundedfearfulcold_sweatperseverecrysob
    joyastonishedscreamtired_faceangryragetriumph
    sleepyyummasksunglassesdizzy_faceimpsmiling_imp
    neutral_faceno_mouthinnocent
3+three=
Comments (4)
  1. Akril
    #1 Akril Guests 11 April 2019 15:15
    5
    It’s a beautiful connection... although in real life, of course, it’s too lazy to do this, there are so many cuts, and at an angle too... but for myself, that’s how I would cook it wink
  2. Guest Nikolay
    #2 Guest Nikolay Guests 12 April 2019 16:54
    4
    The exact angle can only be cut with a trimmer with a carbide cutting disc, well, like a circular saw for wood but only for metal, the photo shows that the internal cut has already run off by a millimeter or one and a half when the sides are brought together, however, the external one turned out exactly exactly, ordinary cutting discs with the cuts bend along the plane and the larger the diameter of the disk, the greater the deviation, which is why the accuracy is always poor no matter how hard you try.. What about the explanation itself of how to do this - this is undoubtedly a big plus for the author - it will be very useful for novice creators!
    1. Akril
      #3 Akril Guests 13 April 2019 16:53
      1
      As for the deviation proportional to the thickness of the disk, it was correctly noted, but manually using an angle grinder along precise lines, and with a millimeter disk, this is quite possible... and again, usually more than one such connection is required - beautiful, neat, but not rational.
  3. Hamster75
    #4 Hamster75 Guests 16 April 2019 04:23
    1
    This connection is usually used in aesthetic for sealing to protect against corrosion.

DIY postcards

Decoupage bottles | Do it yourself

Do it yourself - crafts and master classes | Page 242

Useful and interesting | Page 40 | Do it yourself

«Do it yourself - with your own hands» - a site of interesting homemade products made from scrap materials and items at home. Step-by-step master classes with photos and descriptions, technologies, life hacks - everything a real master or just a craftsman needs for needlework. Crafts of any complexity, a large selection of directions and ideas for creativity.

We recommend reading

Washing machine error codes