Do it yourself
Life hacks, master classes, useful tips, recipes.
home » Useful and interesting » How to disassemble and lubricate a drill chuck
A conventional turnkey jaw chuck on drills and screwdrivers often begins to jam after prolonged use. It becomes more difficult to tighten and release the drill, which is caused by corrosion of the internal clamping mechanism and its subsequent deformation. You can protect against this or even restore life to an old cartridge by lubricating it from the inside.
How to disassemble and lubricate a drill chuck

Materials and tools:


  • crosshead screwdriver;
  • hammer;
  • grease or other thick lubricant.

Disassembly and lubrication of the chuck


How to disassemble and lubricate a drill chuck

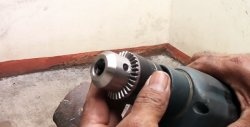
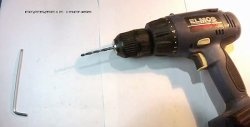
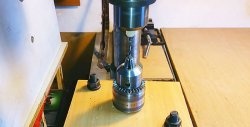
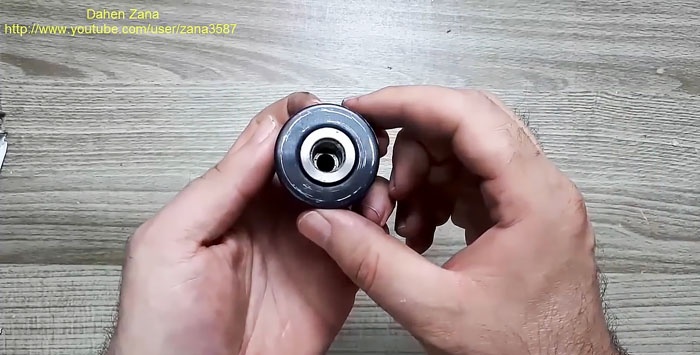
First you need to remove the chuck from the drill or drill press. His cams are spread apart, after which a Phillips screwdriver is inserted between them.
How to disassemble and lubricate a drill chuck

How to disassemble and lubricate a drill chuck

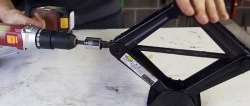
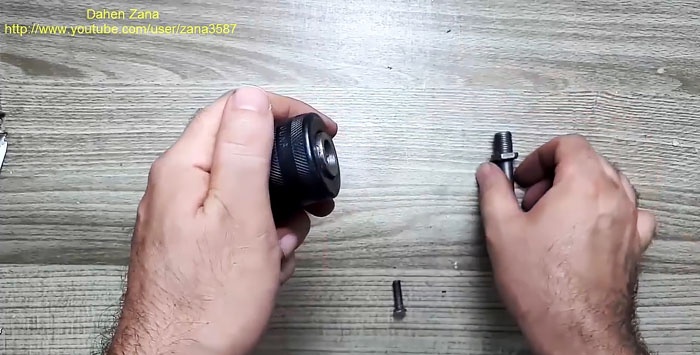
The cartridge is held in place by a screw with a left-hand thread. To remove it, you need to rotate the tool clockwise. Sometimes there are screws with torx slots, so you will need a corresponding screwdriver.
How to disassemble and lubricate a drill chuck

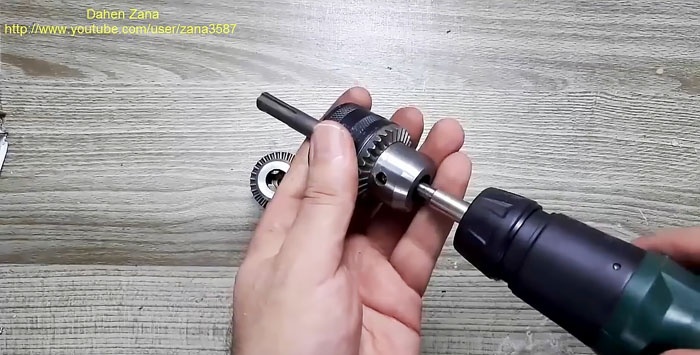
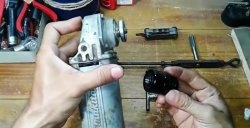
After removing the screw, you need to unscrew the chuck itself from the drill shaft. This is done counterclockwise. If the drill has been used for a long time, then twisting it by hand is not so easy. You will have to fix the shaft. Often the chuck has a chamfer for an open-end wrench, which will facilitate the removal process.If it is not there, then it is better to rip it off by clamping the cartridge with a pipe wrench.
How to disassemble and lubricate a drill chuck

How to disassemble and lubricate a drill chuck

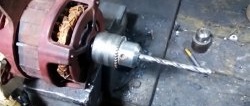
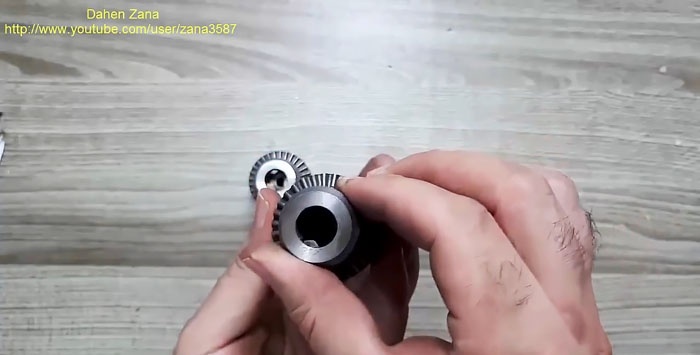
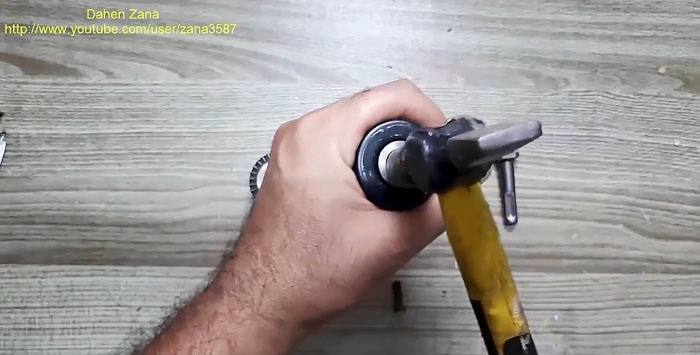
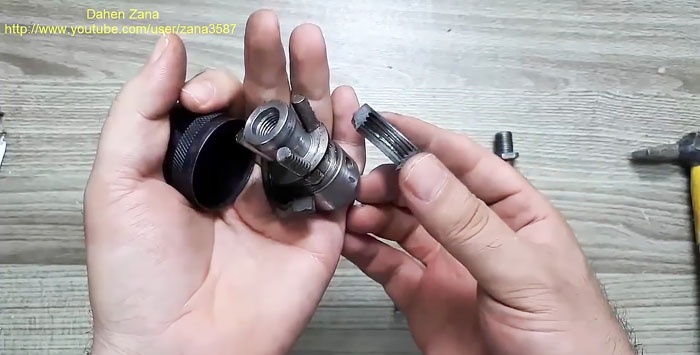
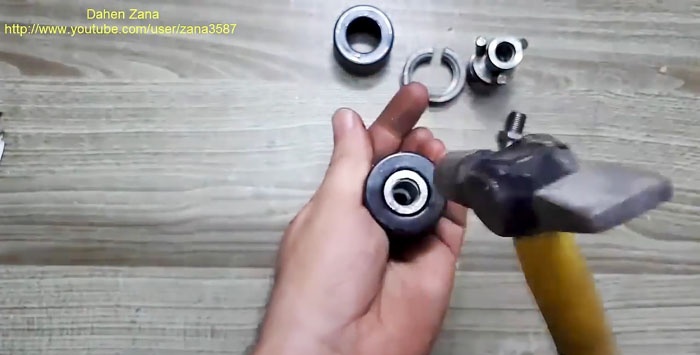
After removing the cartridge, you need to turn it with your cams down and hit it in the center of the back with a small hammer. This is done by weight. You need to squeeze the outer clip of the cartridge with your hand and strike accurately with the striker. It will not be possible to rest it from below, since the clip does not have a protruding end. If the insides of the cartridge are rusty and won't come out, you should first use a penetrating lubricant like WD-40.
How to disassemble and lubricate a drill chuck

How to disassemble and lubricate a drill chuck

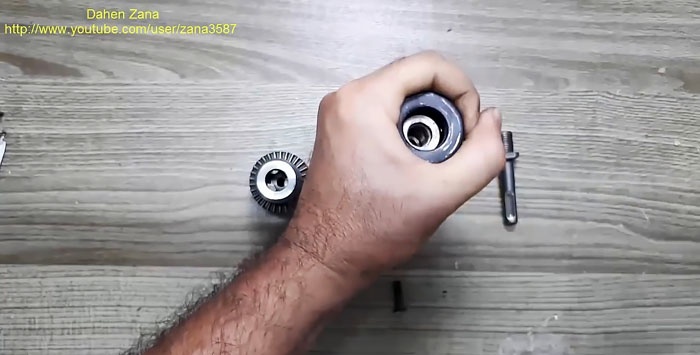
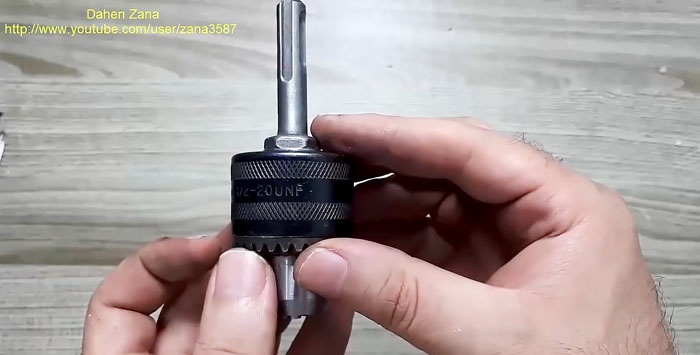
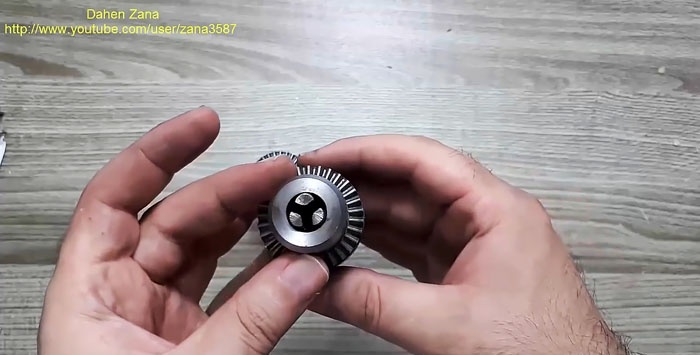
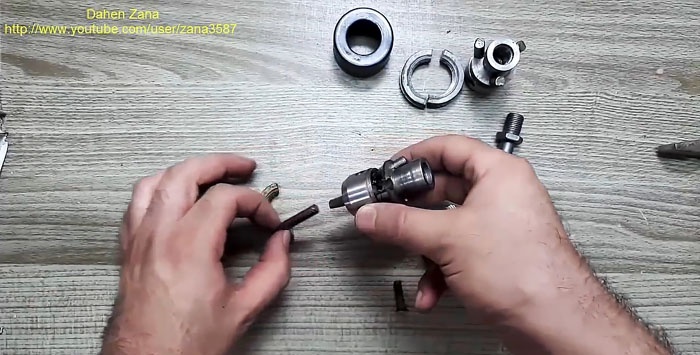
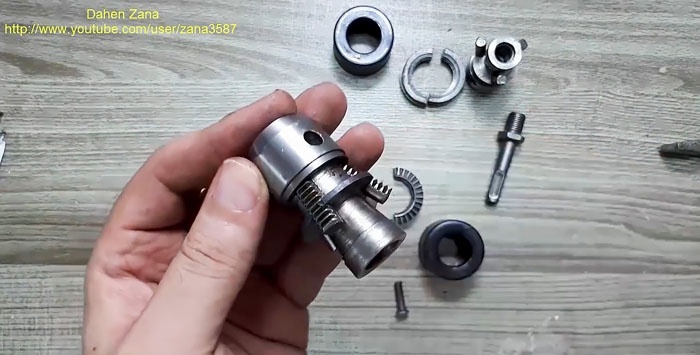
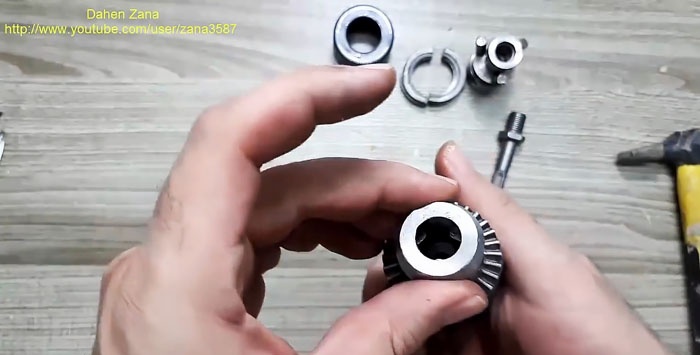
As a result, a clamping mechanism consisting of a base, 3 removable cams and a nut cut in half with slots for a special key should come out of the holder.
How to disassemble and lubricate a drill chuck

How to disassemble and lubricate a drill chuck

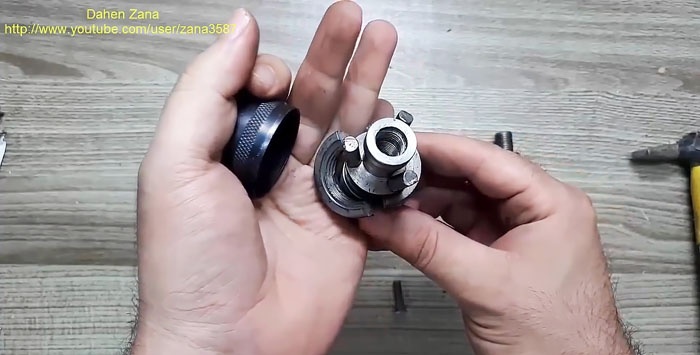
For ease of lubrication, the two-piece nut is set aside.
How to disassemble and lubricate a drill chuck

How to disassemble and lubricate a drill chuck

How to disassemble and lubricate a drill chuck

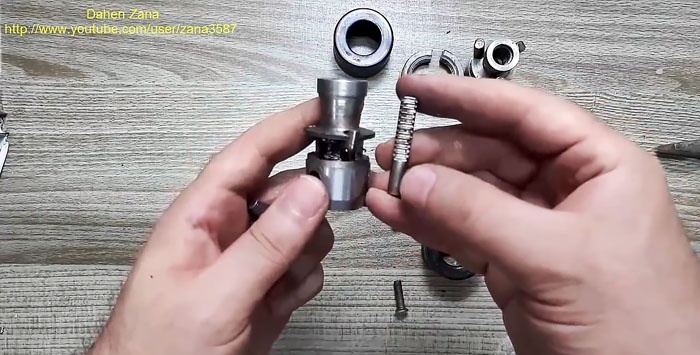
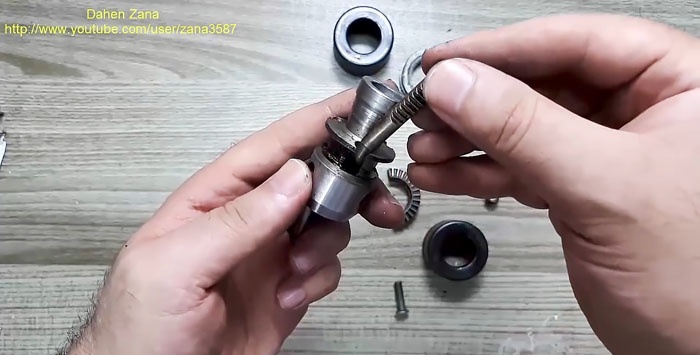
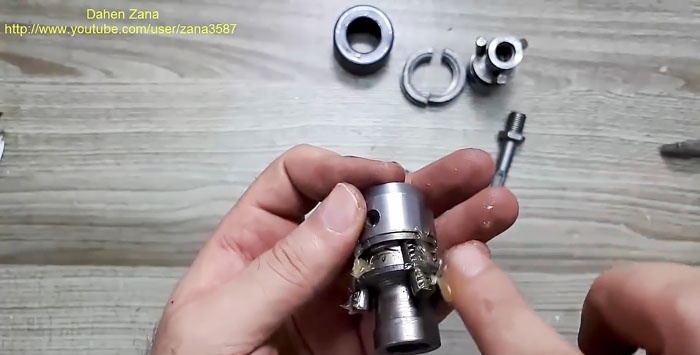
Solid oil is applied only to the cam splines.
How to disassemble and lubricate a drill chuck

How to disassemble and lubricate a drill chuck

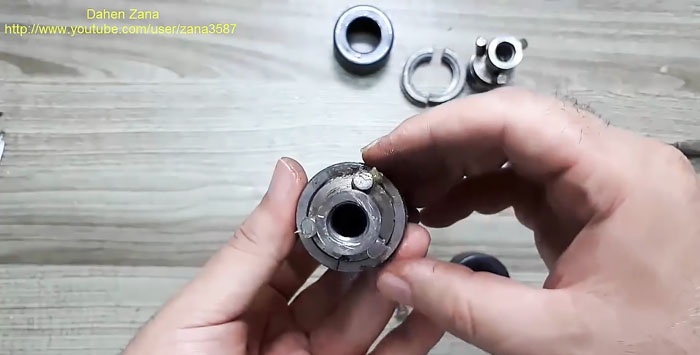
Next, the nut halves are installed in place, and the mechanism is returned to the cage. To assemble it completely, you need to hit the clip with a hammer until it sits. This is also best done by weight.
How to disassemble and lubricate a drill chuck

How to disassemble and lubricate a drill chuck

How to disassemble and lubricate a drill chuck

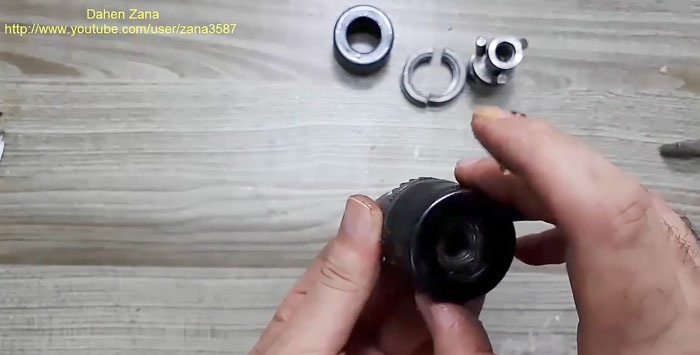
The lubricated and assembled chuck is screwed clockwise onto the drill shaft, after which the fixing screw is screwed in.
How to disassemble and lubricate a drill chuck

It happens that during dismantling the splines of the screw are worn out, then it is better to replace it or use a hacksaw to cut a new notch on it. If the chuck is lubricated from the very beginning after purchasing a drill, then it can be disassembled very easily and lasts much longer, so it is better not to postpone this procedure.
How to disassemble and lubricate a drill chuck

Watch the video


come back
Comment
  • bowtiesmilelaughingblushsmileyrelaxed relaxedsmirk
    heart_eyeskissing_heartkissing_closed_eyesflushedrelievedsatisfiedgrin
    winkstuck_out_tongue_winking_eyestuck_out_tongue_closed_eyesgrinningkissingstuck_out_tonguesleeping
    worriedfrowninganguishedopen_mouthgrimacingconfusedhushed
    expressionlessunamusedsweat_smilesweatdisappointed_relievedwearypassive
    disappointedconfoundedfearfulcold_sweatperseverecrysob
    joyastonishedscreamtired_faceangryragetriumph
    sleepyyummasksunglassesdizzy_faceimpsmiling_imp
    neutral_faceno_mouthinnocent
5+two=
Comments (8)
  1. Alexei
    #1 Alexei Guests 28 June 2019 20:14
    4
    Or maybe it’s easier to put it in boiling solid oil for 1 minute
  2. Vyacheslav
    #2 Vyacheslav Guests 28 June 2019 22:15
    3
    Somehow this cartridge does not correspond to reality. Such cartridges, with a toothed rim, tend to assemble on the side opposite to that indicated in the description. They have a thermal fit and can be disassembled with the jaws half retracted. To remove the holder, it is necessary to have a mandrel shaped like a cylinder with an internal hole approximately 3-4 mm smaller than the outer diameter of the holder. and a depth equal to the length of the clip. Now having at hand a steel plate, a mandrel, a hammer of about 1 kg and the help of a certain person, installing the cartridge on the plate with the jaws down (the jaws should not stick out), install the mandrel on the cartridge (without distortions), apply a “light” blow to the mandrel (with a swing ) or using a press, with a force of 7-10 tons of force, we move the cage from the nut (split during the manufacture of the cartridge). So, with the help of a hammer and some kind of mother, an old Soviet cartridge is disassembled, but only if it has not undergone rolling of the clip, which, as a rule, was done on PS-13 and larger cartridges.
  3. Guest Max
    #3 Guest Max Guests June 29, 2019 07:47
    4
    I immediately throw out this garbage and install a self-clamping chuck. Since constantly turning the wrench is a crowbar for me, let the blacks turn it.
  4. Nikolai.
    #4 Nikolai. Guests 2 July 2019 20:29
    3
    Lathe and drill chucks are NOT LUBRICATE.
  5. Ivan
    #5 Ivan Guests July 3, 2019 08:30
    1
    Considering that such a cartridge is still a complex mechanism, not every handy DIYer will be able to put it back together without going overboard. How much time will you lose on this bulkhead for the first time??? And there may not be a second time. If such a problem arises, I think it is better to contact a workshop. But at least there are some guarantees. And it’s even easier to buy a new chuck assembly and put it in the drill...
  6. Guest Leonid
    #6 Guest Leonid Guests 8 July 2019 16:28
    2
    Be sure to mark the cams and their locations, and place them in their “original nests” during assembly, so as not to receive additional parts after assembly. beats.
  7. Sergey K
    #7 Sergey K Visitors September 16, 2019 00:00
    0
    Rusted cartridges are quite successfully acidified in kerosene. I managed to revive a cartridge that was sitting on a homemade drill, which was forgotten for several years in a leaky garage (it’s a pity for the machine, my grandfather made it somewhere in the late 70s, but the idea was mine). Then they are dried and lubricated with ordinary machine oil. If you mock the cartridge as in the article, then I strongly doubt that it will last longer than an undisassembled one ;) By the way, the parts of the cartridge are not particularly hardened, and upon impact they are easily crushed, which can lead to increased runout of the cartridge. In hand drills, and with crooked drills, it’s not so bad ;) but on machines, beating can lead to trouble...
    Moreover, the price of a new drill chuck is not so high, and there are any available.
  8. Vitaly
    #8 Vitaly Guests 18 February 2022 15:59
    0
    The nut appears to be cracked. The article is useful only in that it describes the principle of removing and installing the cartridge. I don’t see the point in lubricating or restoring a cartridge that has become unusable if a new one costs as much as 2 packs. I took off the old one and installed the new one.

Do it yourself - crafts and master classes | Page 342

DIY Christmas wreath made from natural materials

How to make a high-quality pipe saddle for angled tapping

How to make the transition from a round pipe to a square profile

«Do it yourself - with your own hands» - a site of interesting homemade products made from scrap materials and items at home. Step-by-step master classes with photos and descriptions, technologies, life hacks - everything a real master or just a craftsman needs for needlework. Crafts of any complexity, a large selection of directions and ideas for creativity.

We recommend reading

Washing machine error codes