Good afternoon, dear needlewomen! I want to share with you how I can create an amazingly beautiful tree of happiness from simple things at home, which will decorate your interior and give you a pleasant feeling from the work done.

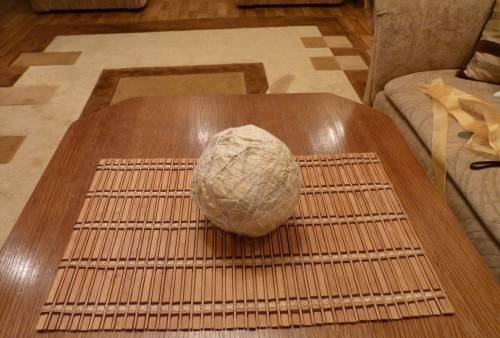
1. We make the base for our tree. To do this, you need to form a dense ball from the newspaper, and so layer by layer we make a round “ball” of the size that you need. Then we wrap the last top layer with thin white (or some other light) paper and tie it with threads to secure and hold our ball in a certain shape.
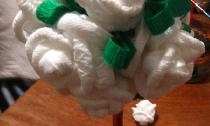
2. We prepare the main decorative elements - roses and leaves. We cut out strips approximately 3-4 cm wide and 35-40 long from satin ribbon or organza (this can be remnants of fabric left over from sewing curtains).
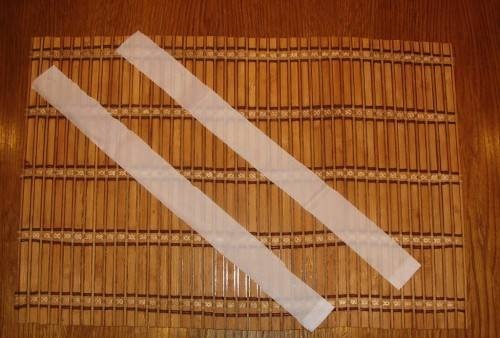
The wider and longer the strip, the larger the rosette will be. We bend one edge of the tape at an angle of 45 degrees, and do the same movement again. This will be the future bud of our rose. Then we twist the ribbon 180 degrees away from us and twist it around the bud, then twist it again - we get another petal, etc.So we continue to form the petals until the end of the tape, and at the same time, using a glue gun during the work process, it is necessary to secure the leaves so that they do not fall apart in the future.
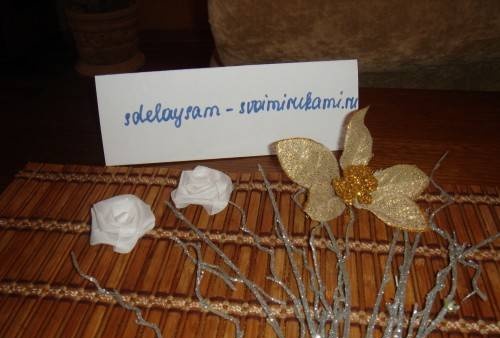
If you want to make a winter-themed tree, then instead of leaves you can use pieces of rain, Christmas tree branches, shiny flowers or petals from other decorative branches.
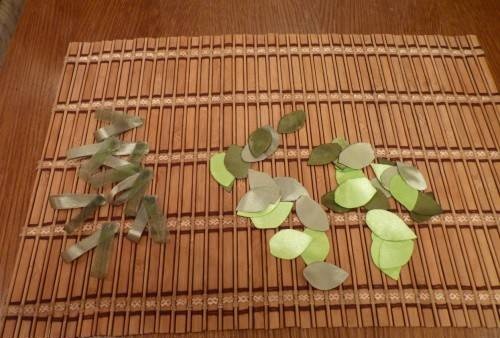
For everyday themes, you can also make leaves from satin ribbon in two green shades that are similar in color. To do this, you need to cut out leaves of the desired shape from the tape, and solder the edges over a burning candle so that they do not fray in the future.
3. We attach all the decorative roses and leaves to the prepared ball using a glue gun, and decorate it with additional elements to your taste.
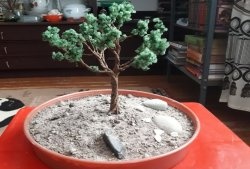
4. As a trunk, you can use various sticks, twigs or anything else that you find at hand. We also use a gun to secure it to the ball, having first deepened it well. We fix the other edge of the trunk with plaster in an ordinary flower pot. If you need to decorate it, then do everything to your taste.
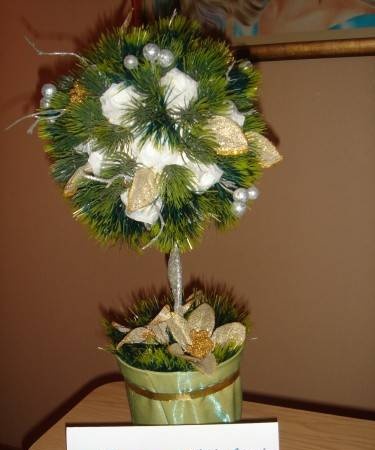
This is how a very original and beautiful tree of happiness turned out. Create your masterpieces and decorate your home with great pleasure and a great mood!