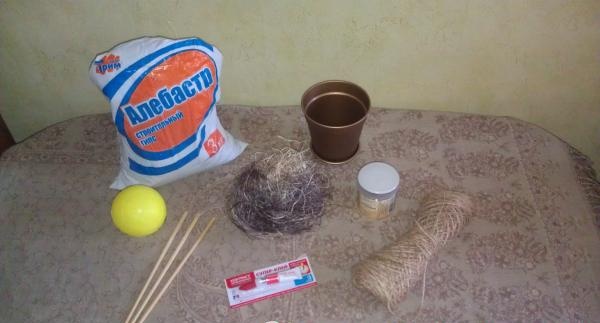
We will make topiary from a natural material - sisal. For work we will need: sisal of two colors, a plastic ball, acrylic paint to match the sisal, sushi sticks, twine, a pot, construction plaster and glue.
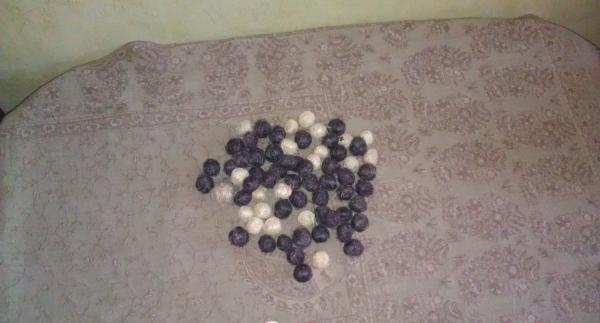
So, first, let's take sisal and make balls of the size we need from it. The principle of operation here is the same as when rolling plasticine balls - we separate a small piece of sisal and roll a fairly dense ball in our palms. We make balls of two colors. I made 52 balls, but you may have more or less depending on their size.
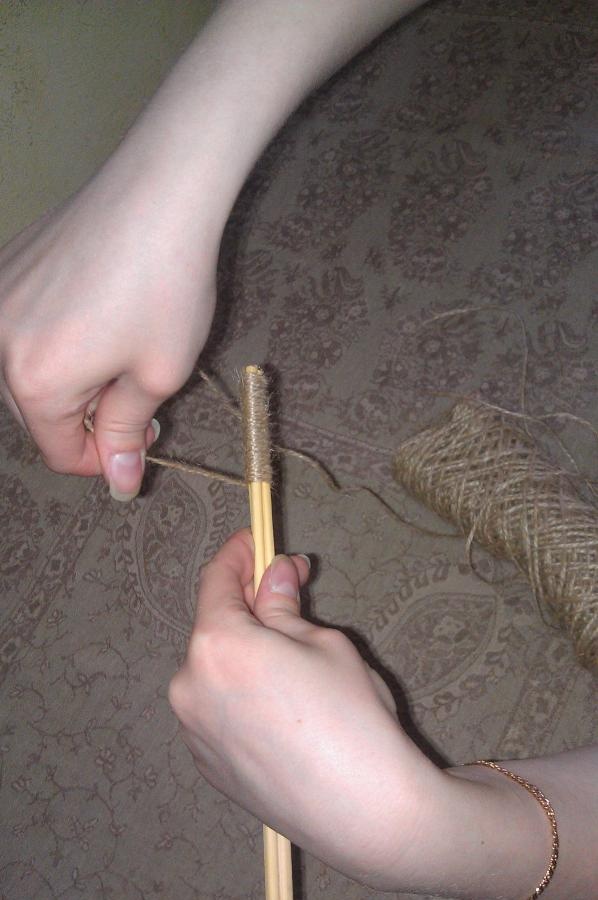
When all the balls are ready, let's work on the trunk of our tree. In principle, you can use any suitable stick for the base of the barrel, after cleaning it first. I had sushi chopsticks and used them.So, let's take three sticks, put them together and wrap them tightly with twine, sometimes coating them with glue.
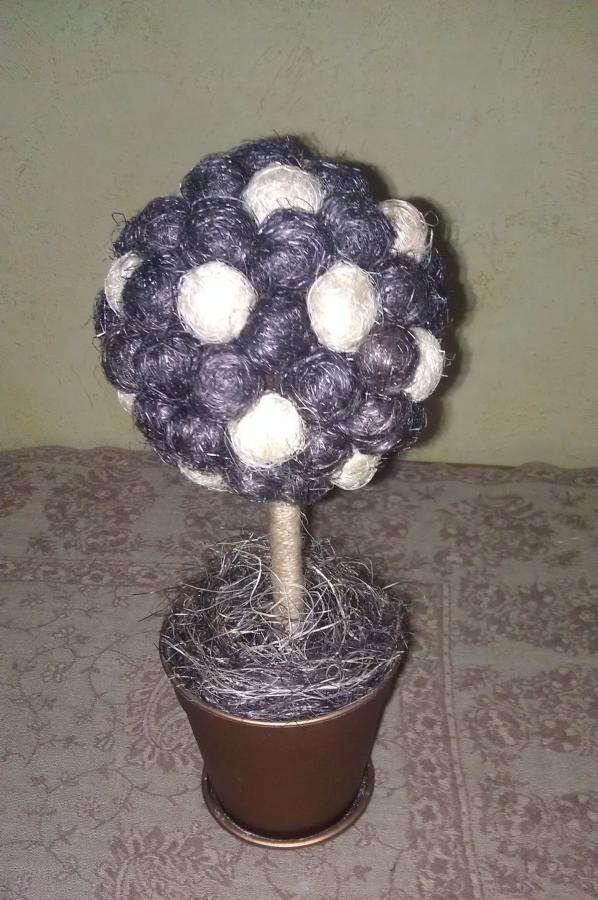
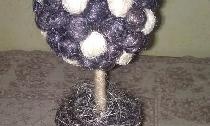
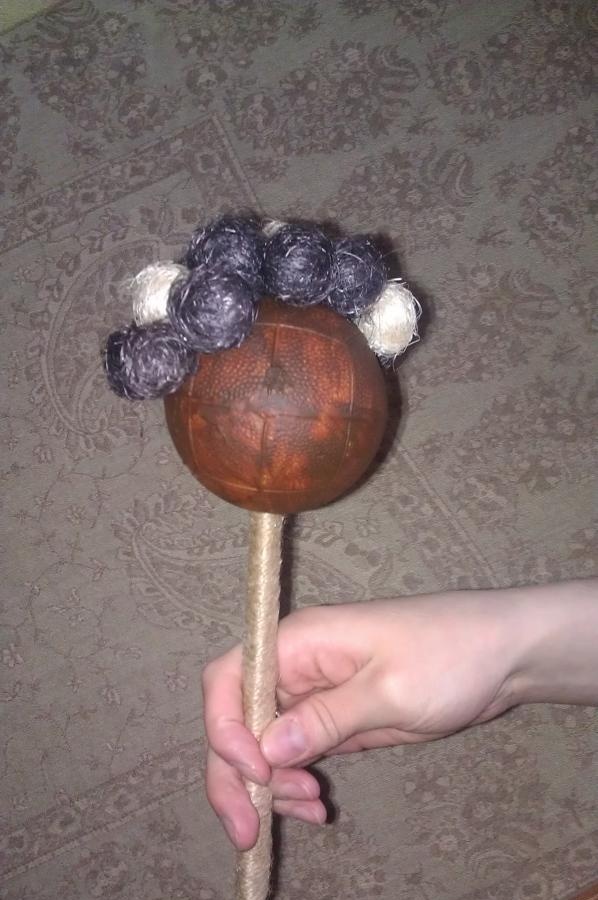
Now let's take a plastic ball and make a hole in it with scissors, slightly smaller than the diameter of the resulting trunk. Paint the ball with acrylic paint. When the paint has dried, take the trunk of our topiary and insert it into the ball until it stops. We begin to glue the sisal balls to our plastic ball. You can glue it however you like, either in a chaotic or symmetrical order.
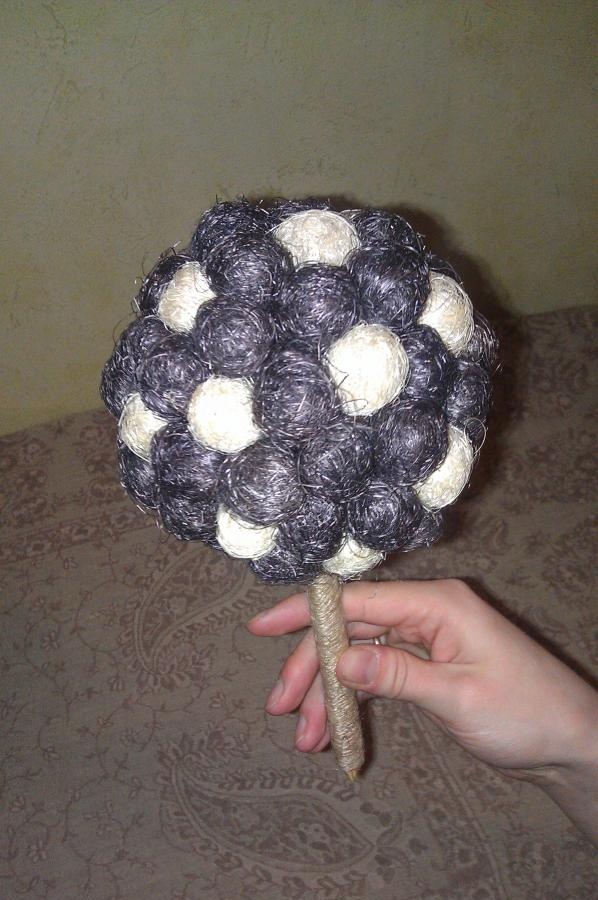
Glue all the sisal balls. After this, the main part of our tree is completely ready.
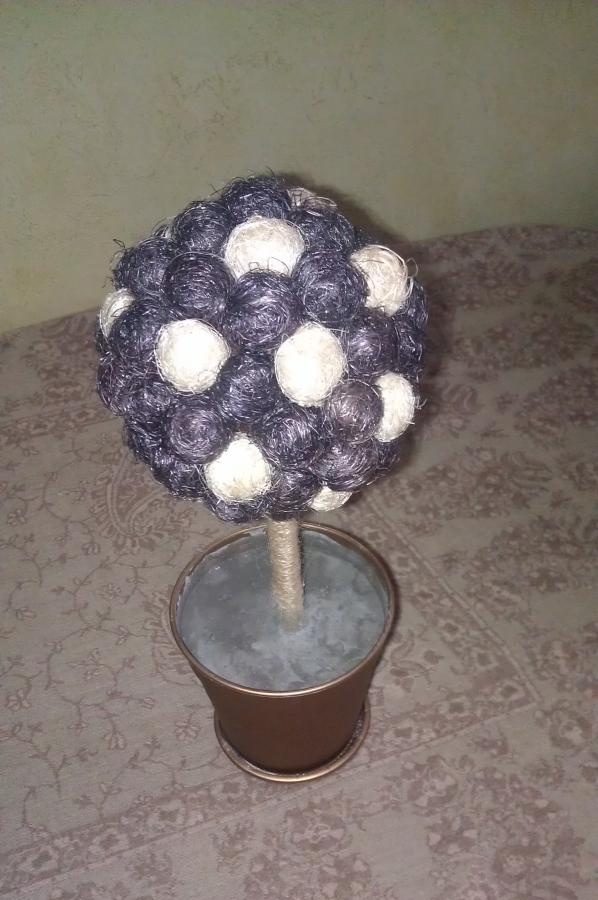
Now all that remains is to secure our topiary in the pot. To do this, we dilute building plaster directly in the pot, according to the instructions, and “plant” our tree there. We are waiting for the “soil” to harden.
So, our plaster has frozen. Now it needs to be hidden. To do this, apply a small amount of glue to the hardened plaster, take a little sisal and wrap it around the bottom of the trunk so that the plaster is not visible. If the sisal sticks out in all directions, you can carefully trim it along the edges with scissors.
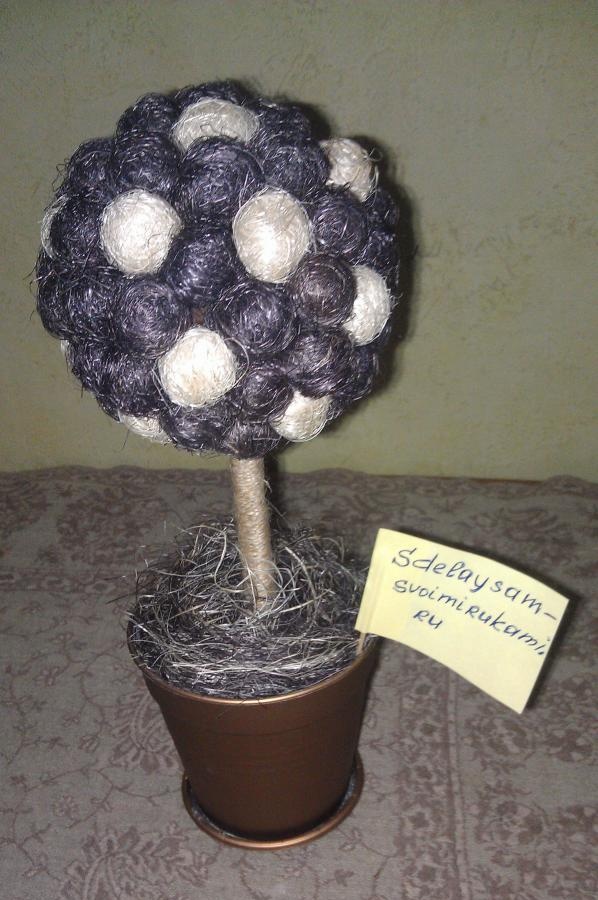
Finally, thoroughly wipe the pot, clearing it of plaster. We put our “Sisal Happiness” on the shelf and admire the work done.