So, I needed:
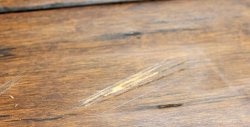
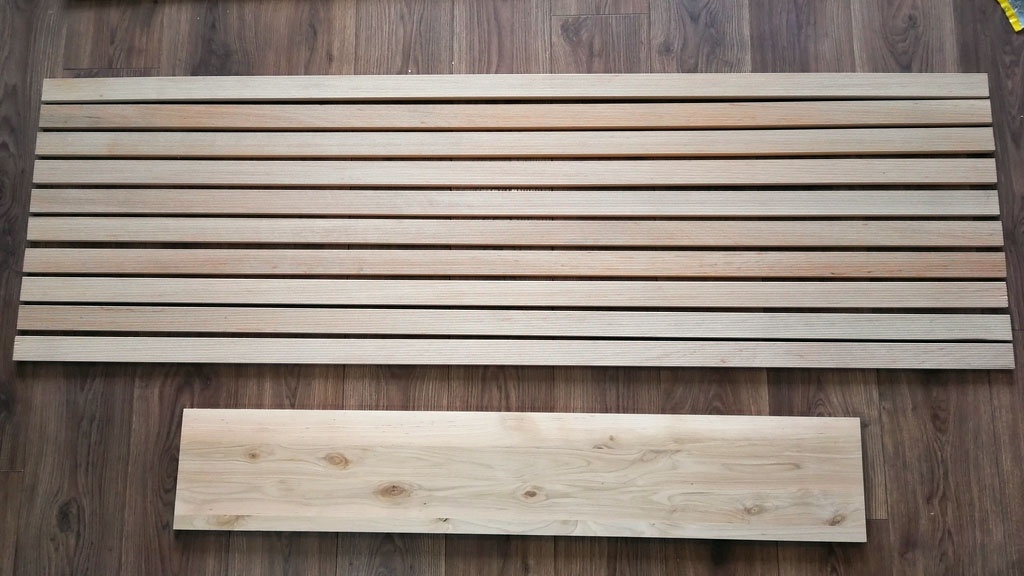
I saw slats in a hardware store. I really liked their grooved structure.

Alder material. My bed itself is made of pine; it is very different in color and texture from alder. But still I decided to stop at alder.
Bought:
- Slats 1800*45*15 mm – 13 pcs. $28.
- Furniture panel 1200*200*20 – 1 pc. 7 dollars.
(Prices are given in dollars, as this is a universal currency and everyone can convert it to local currency)
Making a headboard for a bed with your own hands
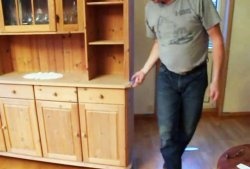
The first thing I did was make the shelves. From the furniture board came 4 pieces measuring 30*20 cm.
I mark:
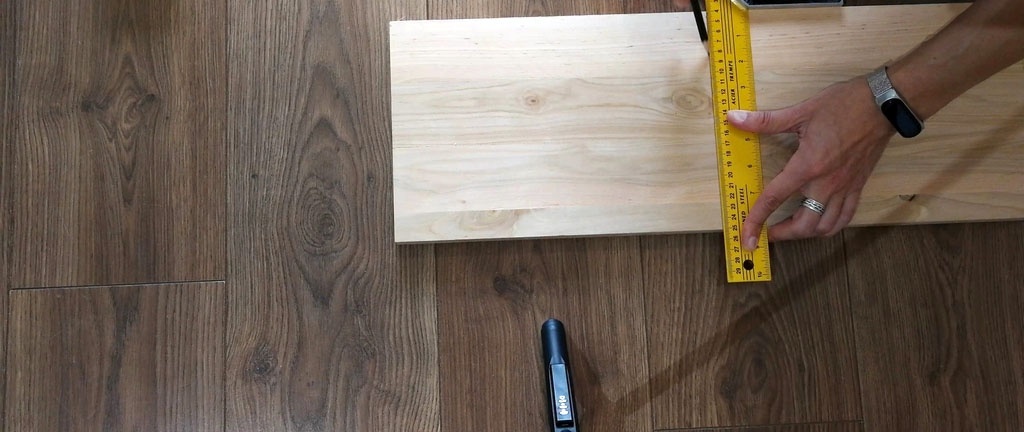
I cut:

Sanding:

I put the shelves aside and start making the headboard. The slats have 2 textures, so there are 2 manufacturing options.
Option No. 1 (corrugation up).
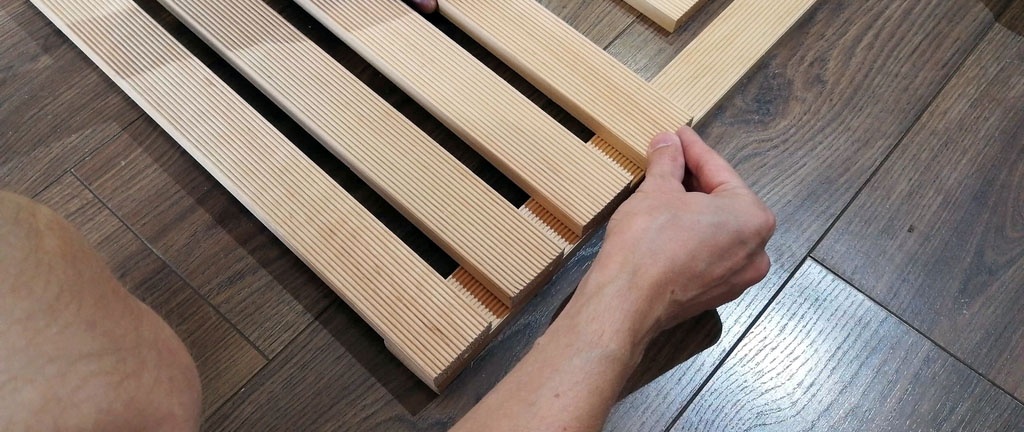
Option No. 2 (corrugated down).

I settled on the second option.
I saw off 3 slats 565 mm long (9 slats 45 mm + 8 indents for shelves 20mm). I take 2 slats and twist them at right angles.

I attach the shelf and attach another slate.

I fix it with a clamp.
I fix the second rail. I repeat the procedure with the next row.
I started twisting from the edge to align the slats along one edge. Then I twisted the slats in the center. It turned out to be 2 halves. I set aside the same distance from the central rail and screwed on 2 more slats.

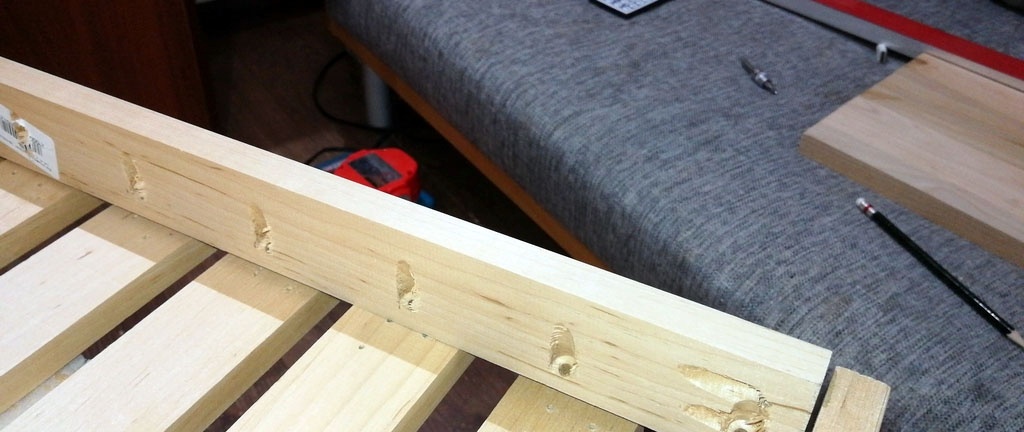
(The difference in color and texture of the wood is clearly visible)
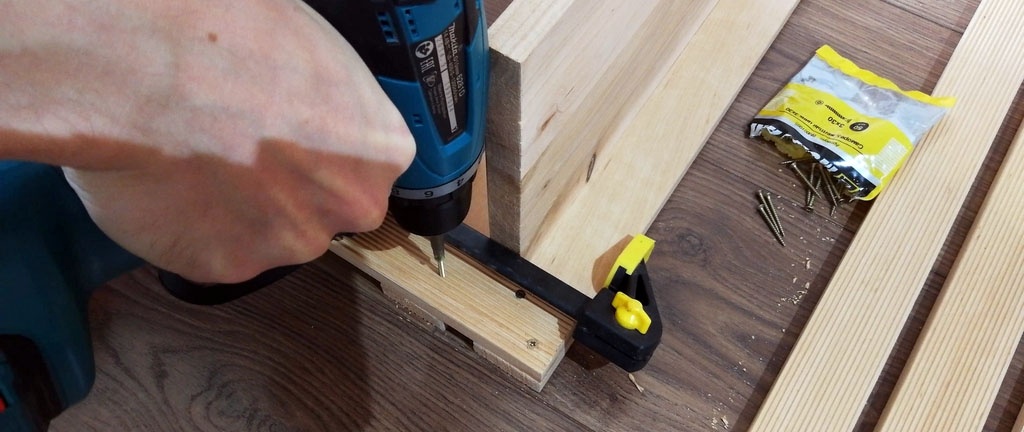
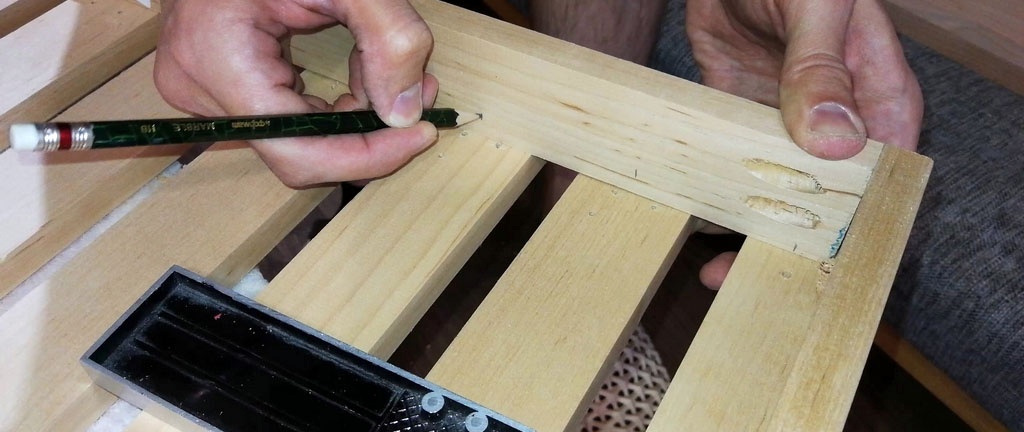
Next I screw the sides. I will connect it with an oblique screw. I used a homemade conductor.

I mark future holes.
I drill and screw.
After completing the assembly, I carefully sanded the surface with medium and fine-grained sandpaper.

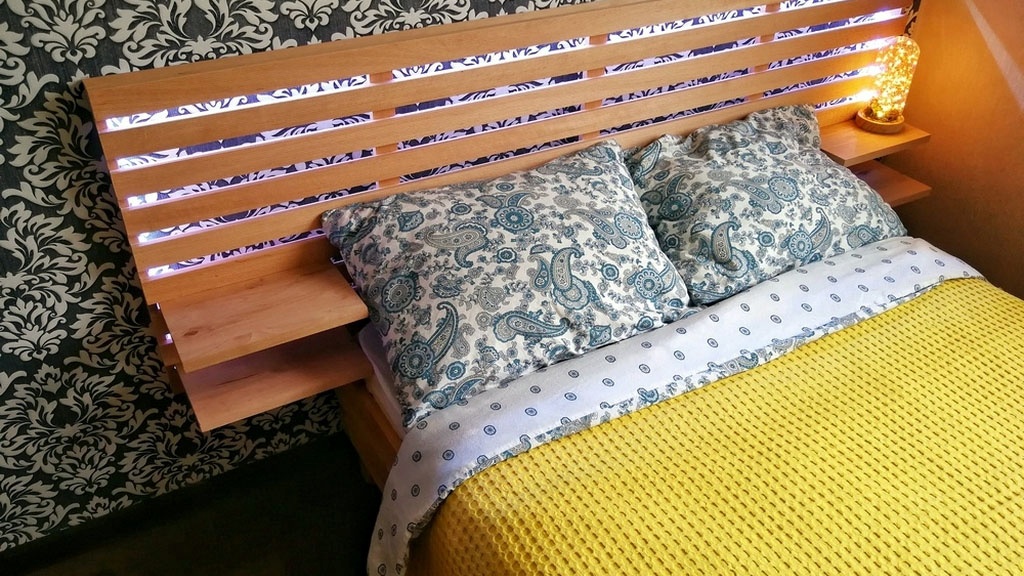
Finished headboard:

I found the remains of an RGB tape. After thinking a little, I decided to put it into action. I glue it around the perimeter and additionally secure it with hot glue.

I fix the control unit with hot glue.
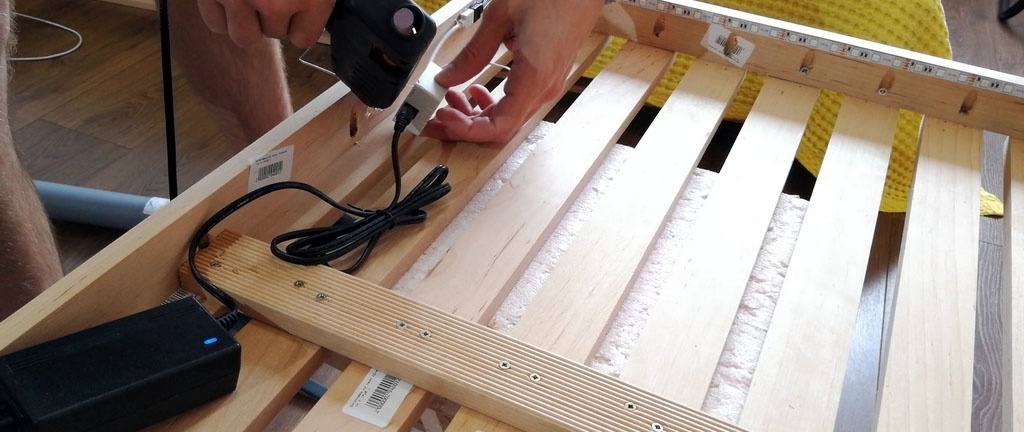
and make a hole for the power wire.

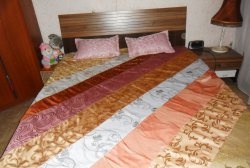
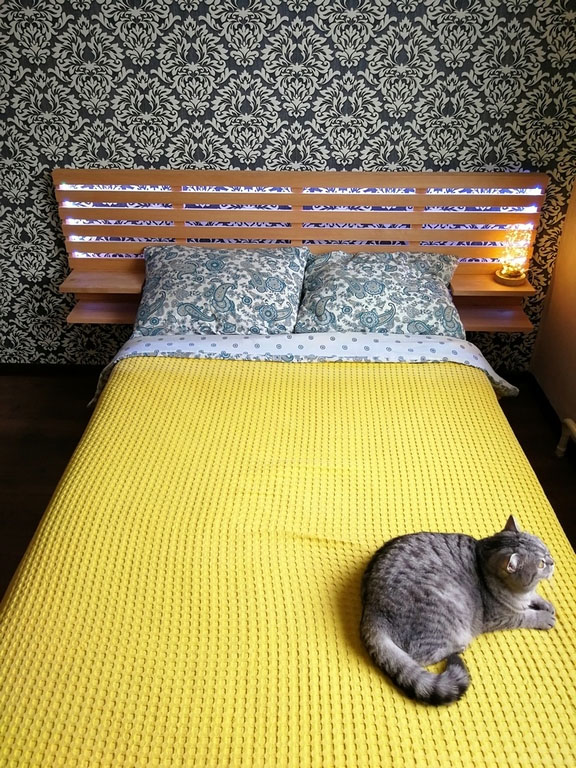
All that remains is to hang it on the wall.

The number of shelves and location can be chosen at your discretion.


In the dark, the headboard looks even more impressive.

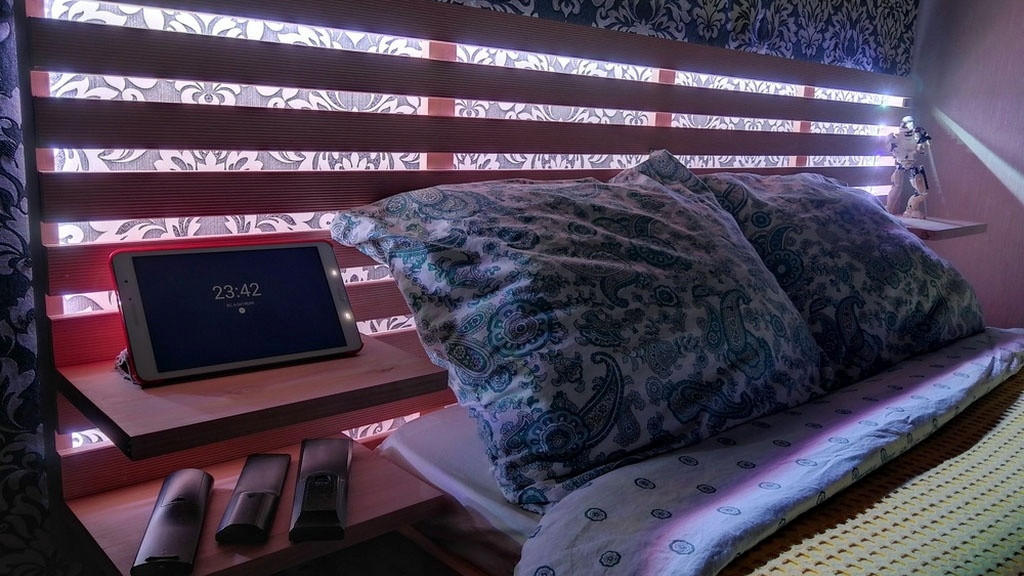
The bed has taken on a finished look. It looks great in the interior. In the evenings, lighting creates a cozy, romantic atmosphere. It is also important that this is 100% exclusive and the budget did not suffer much.
That's all. See you again!