In order not to buy an expensive charger for discharging various batteries, you can assemble a universal charger attachment for your laptop power supply yourself. This set-top box can also perfectly serve as an adjustable power supply of 1-19 Volts. The device has a very smooth voltage adjustment, which makes it possible to accurately set any output voltage without unnecessary pain.
You will need the following parts:
- Buck Converter - http://alii.pub/5m5mut
- Amperevoltmeter - http://alii.pub/5m5n02
- Diode 6 A - http://alii.pub/5m5na6
- Potentiometer - http://alii.pub/5m5ncw
- Fuse holder - http://alii.pub/5m5ngs
- Female socket - http://alii.pub/5m5nij
- Switch - http://alii.pub/5m5nmt
- Adapter connection socket - http://alii.pub/5m5nij
- Plastic body - http://alii.pub/5m5npj
Scheme
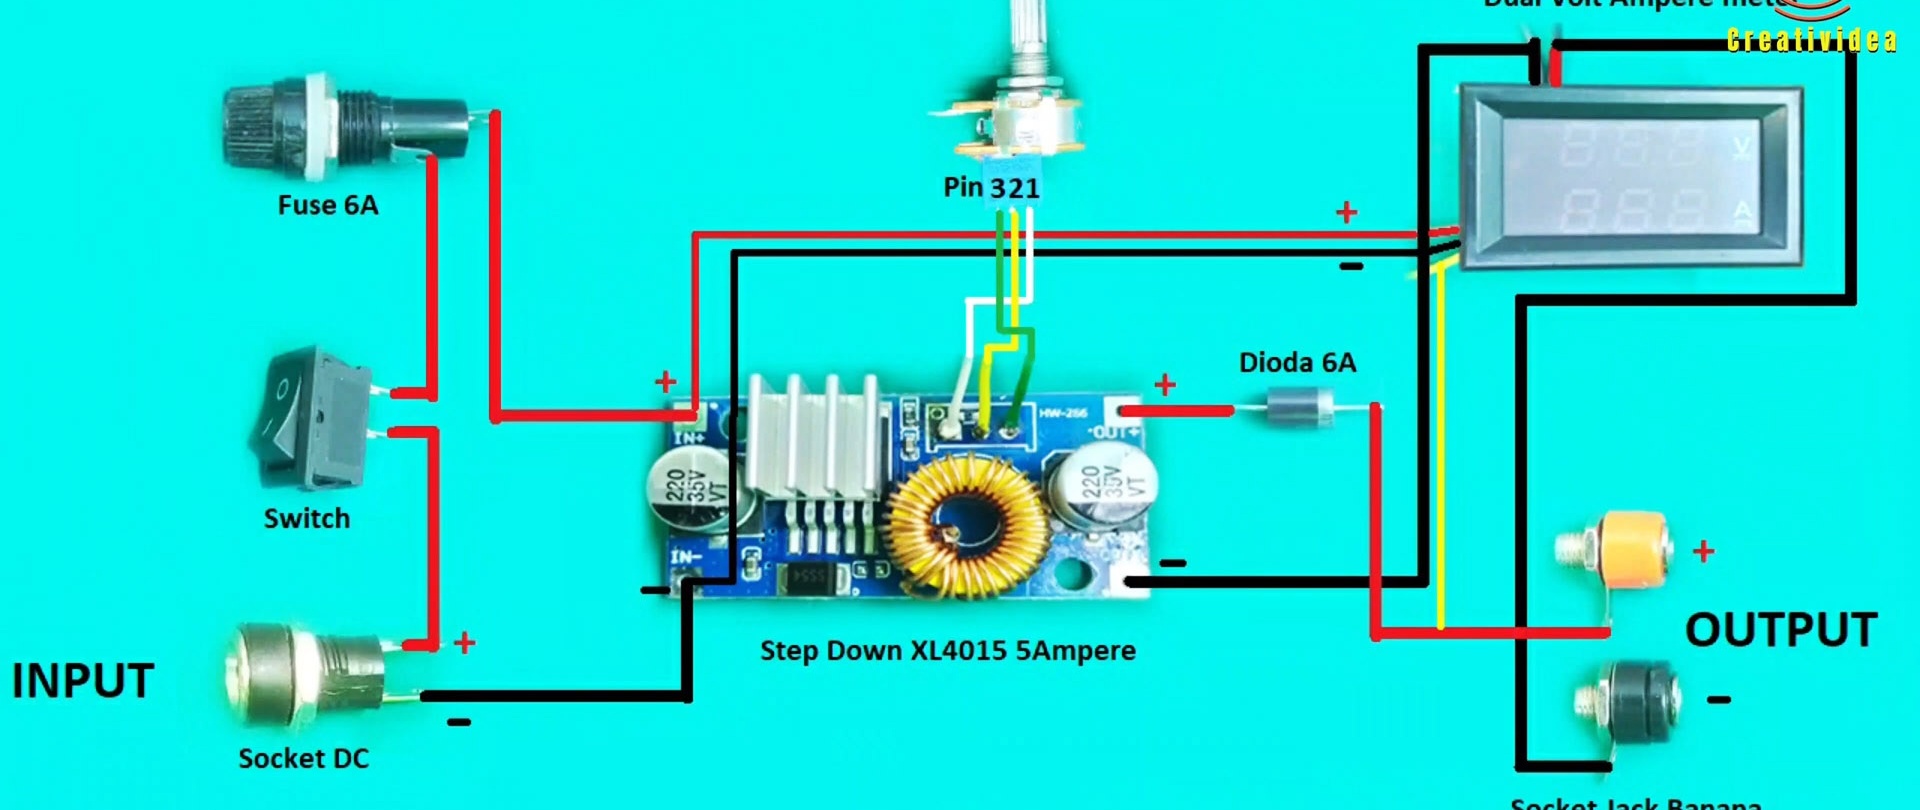
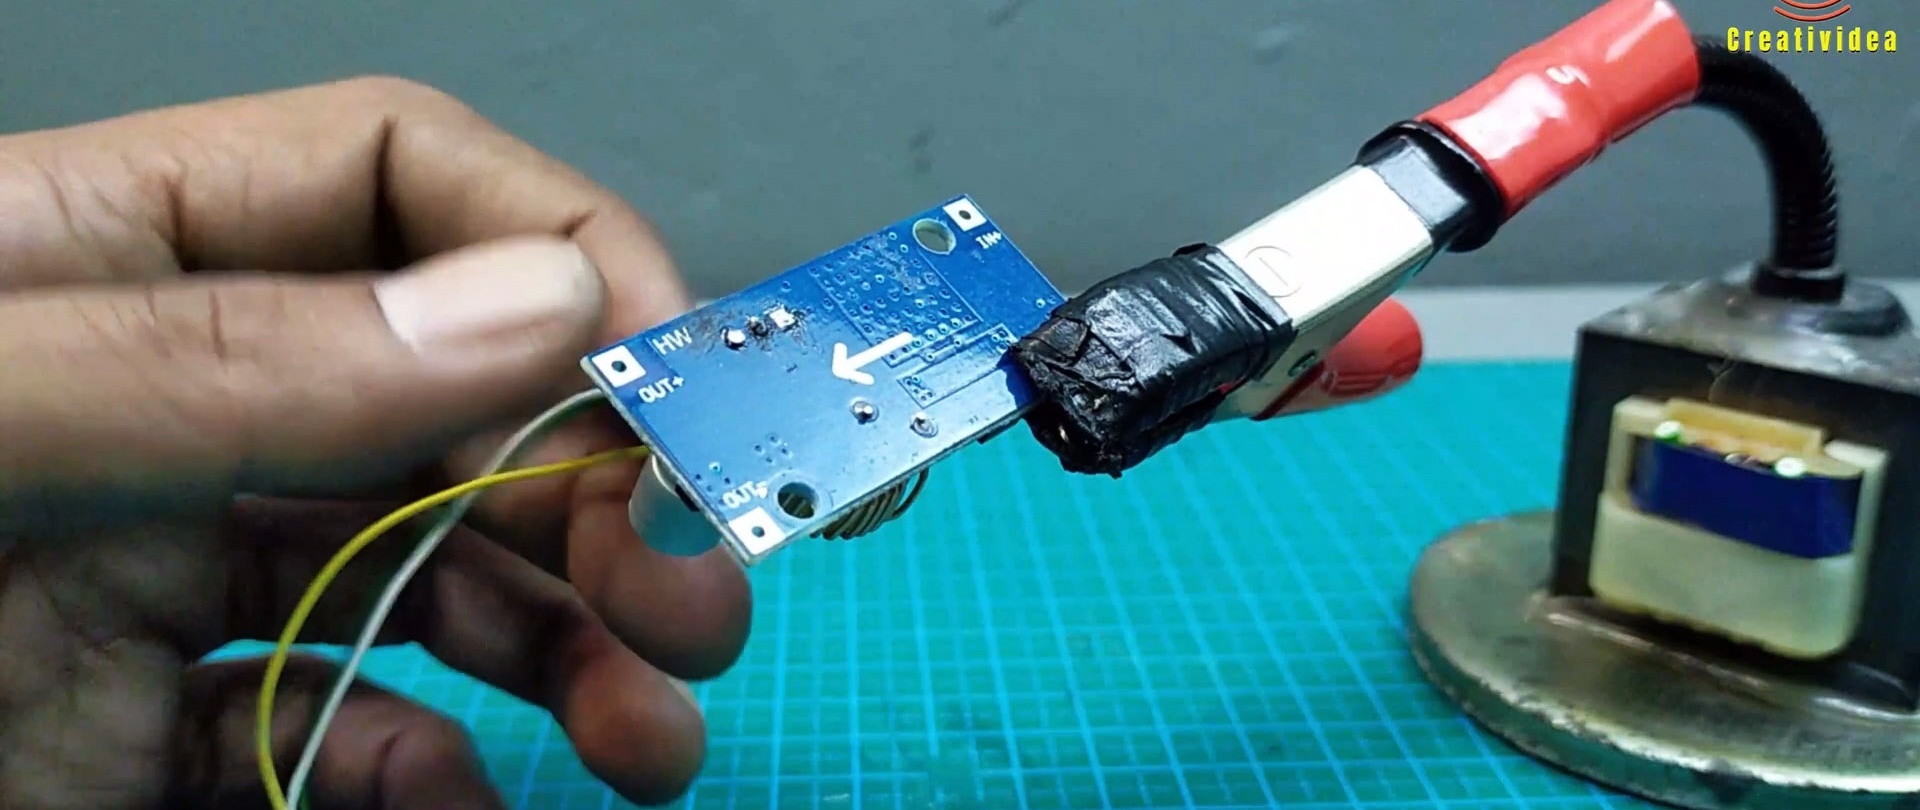
Power from the laptop adapter passes through the fuse, through the switch, and into the buck converter module. Then, through a diode, which serves to protect against polarity reversal, and through an ammeter, the voltage is supplied to the output. And then it is connected to the load in the form of a battery or other consumer.The ampere-voltmeter has 5 wires: 2 for power, 3 for monitoring current and voltage.
Manufacturing of a set-top box - charger for a laptop unit
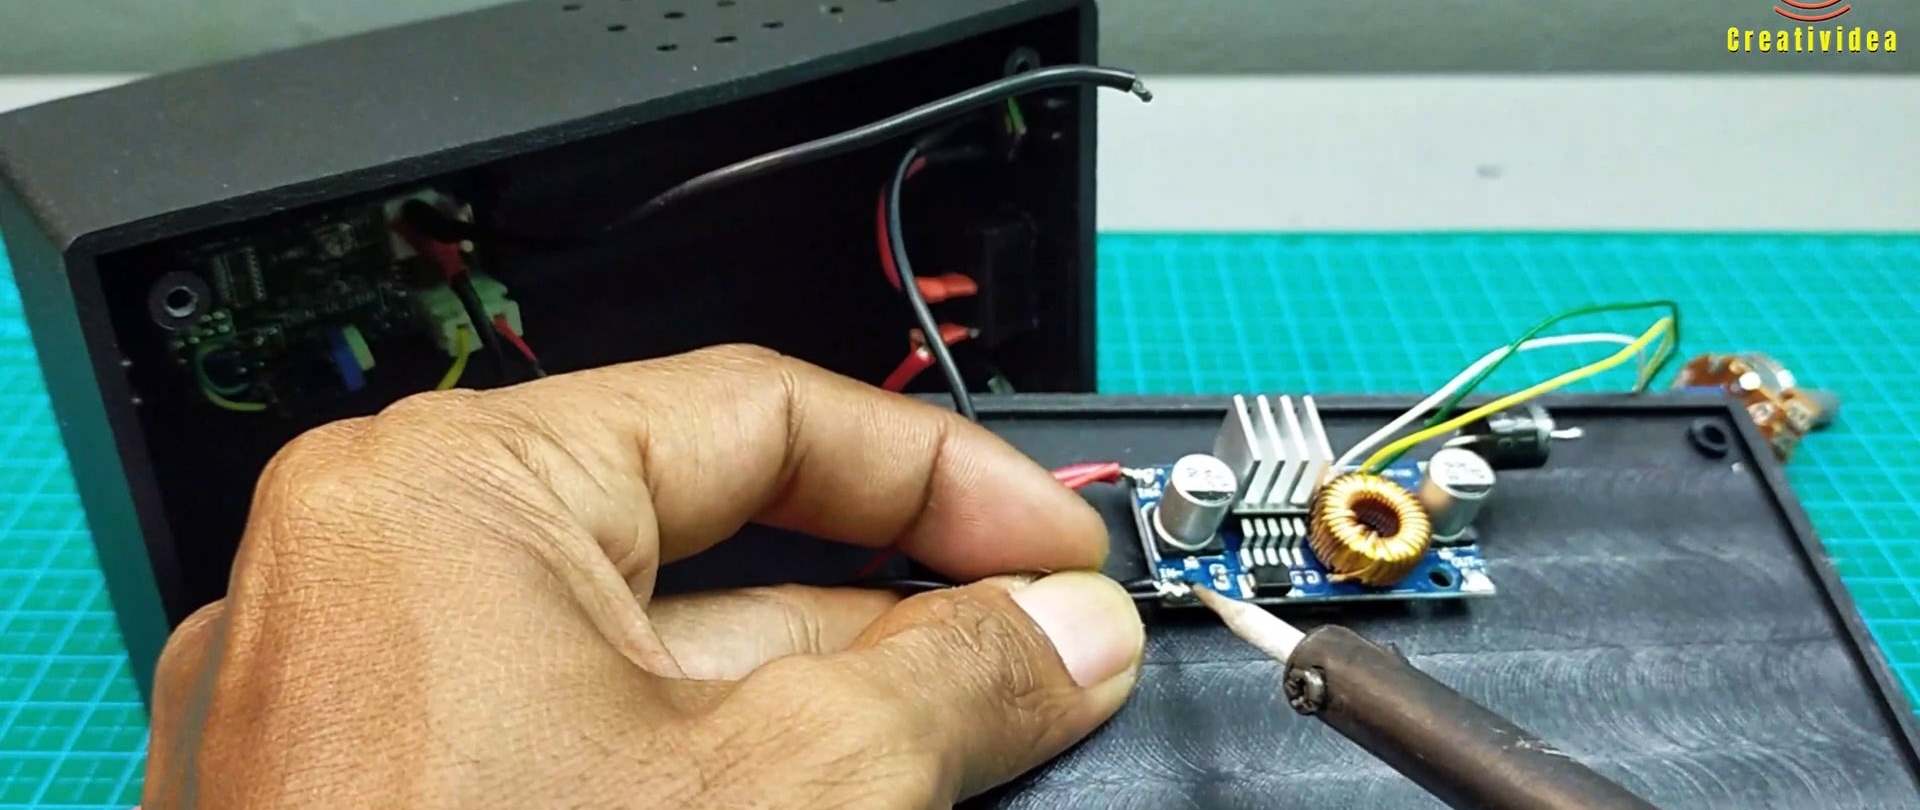
We unsolder the potentiometer from the converter. It is good because it has a worm gear inside, which makes it possible to rotate the variable resistor motor very smoothly.

We take a variable resistor and disassemble it. It will not perform its intended function, but will only serve as an axis for transmitting rotation.

We remove the slider from the variable resistor housing and bend the motion limiter so that the rotation axis rotates freely in all directions without restrictions.
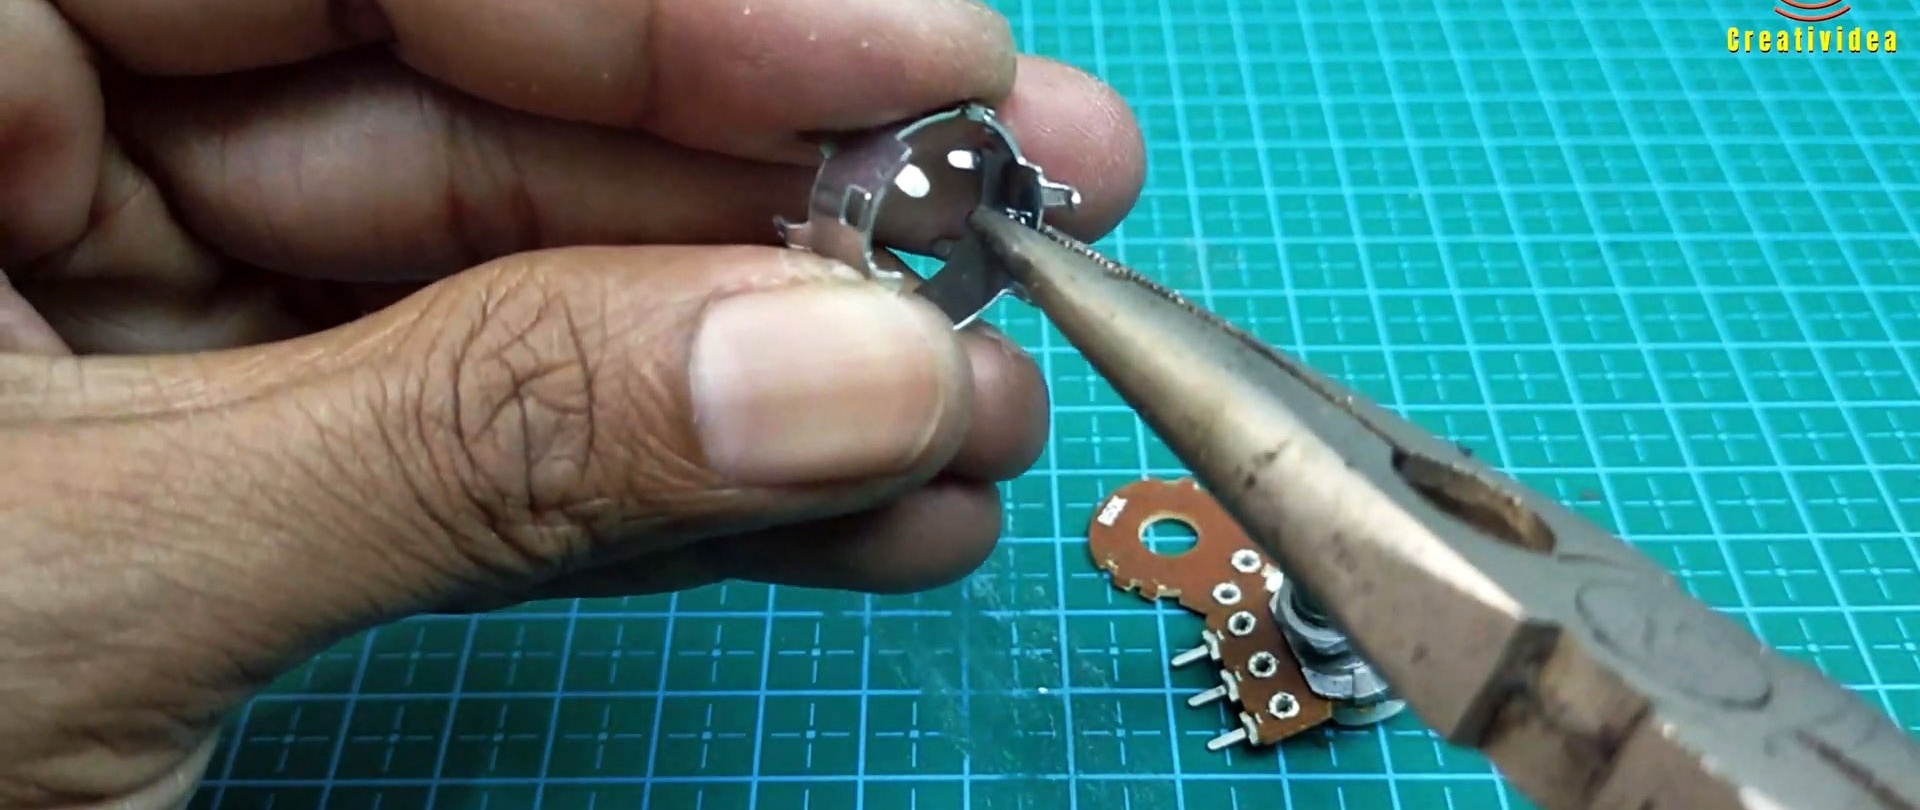
We fix the previously dropped potentiometer and quickly tin its rotator so that nothing melts.

We bite off the contact from the variable resistor and solder it to the potentiometer slide.

Next, glue the potentiometer to the variable resistor using two-component glue. The extended slider should fit into the slot of the variable resistor.

Now, by rotating the variable resistor knob, the movement is transmitted to the potentiometer and smooth adjustment is made. We solder the wires and connect them to the board as before.
In the case on the front part we cut windows for an ampere-voltmeter, a variable resistor, and connection terminals.
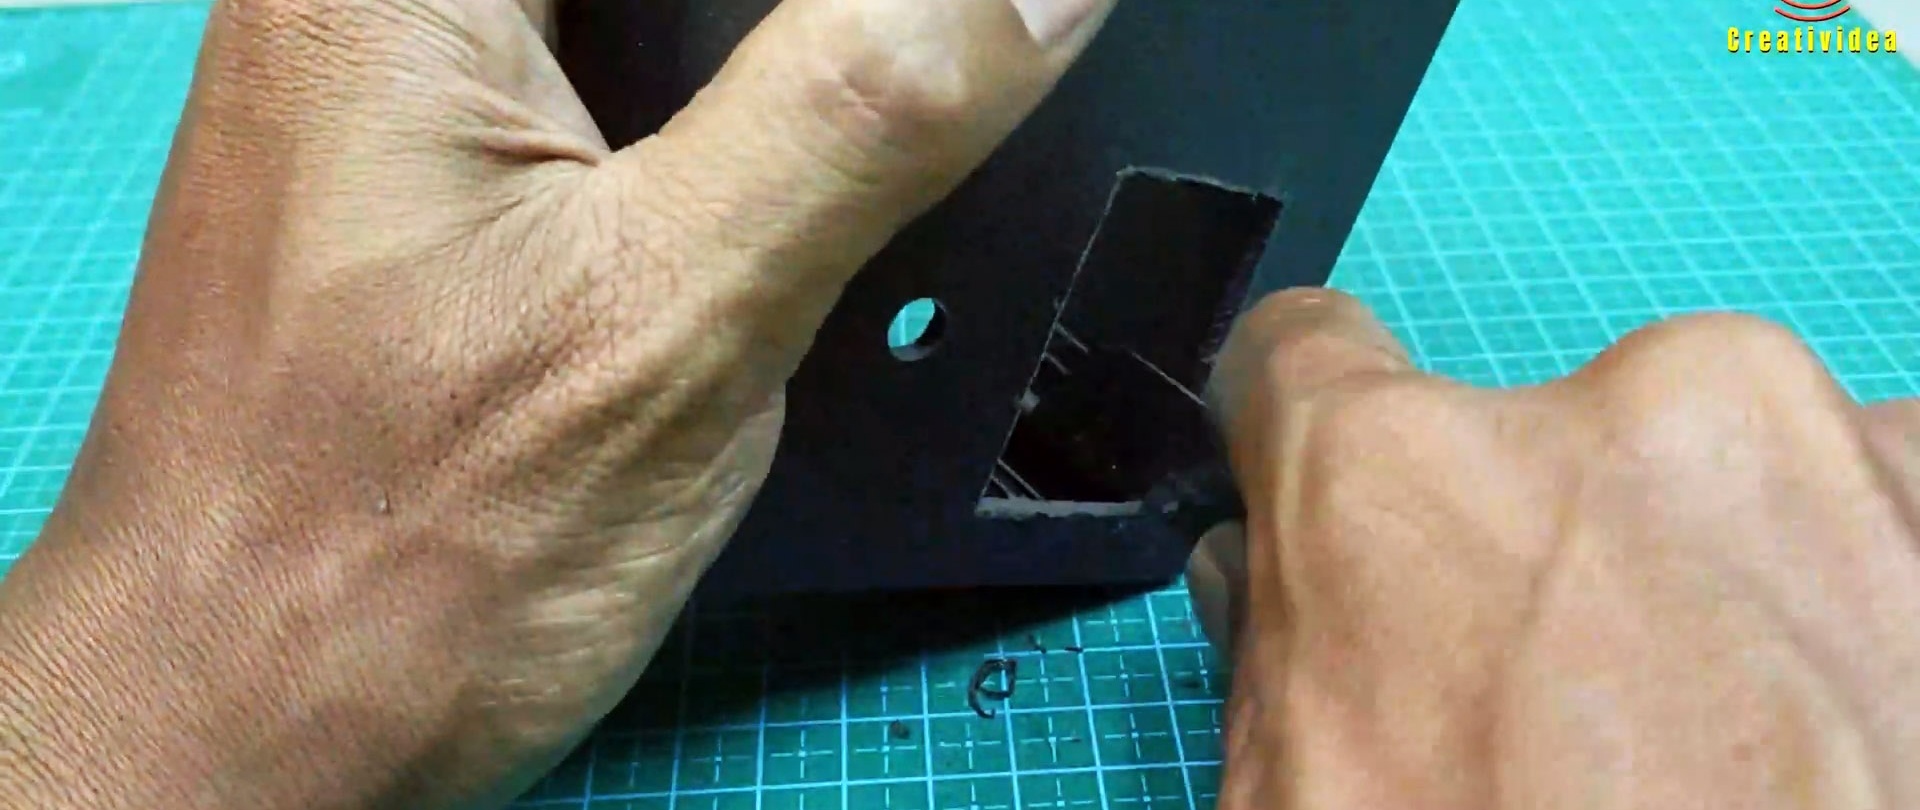
On the side we make cuts for the adapter connection socket, switch, fuse holder.
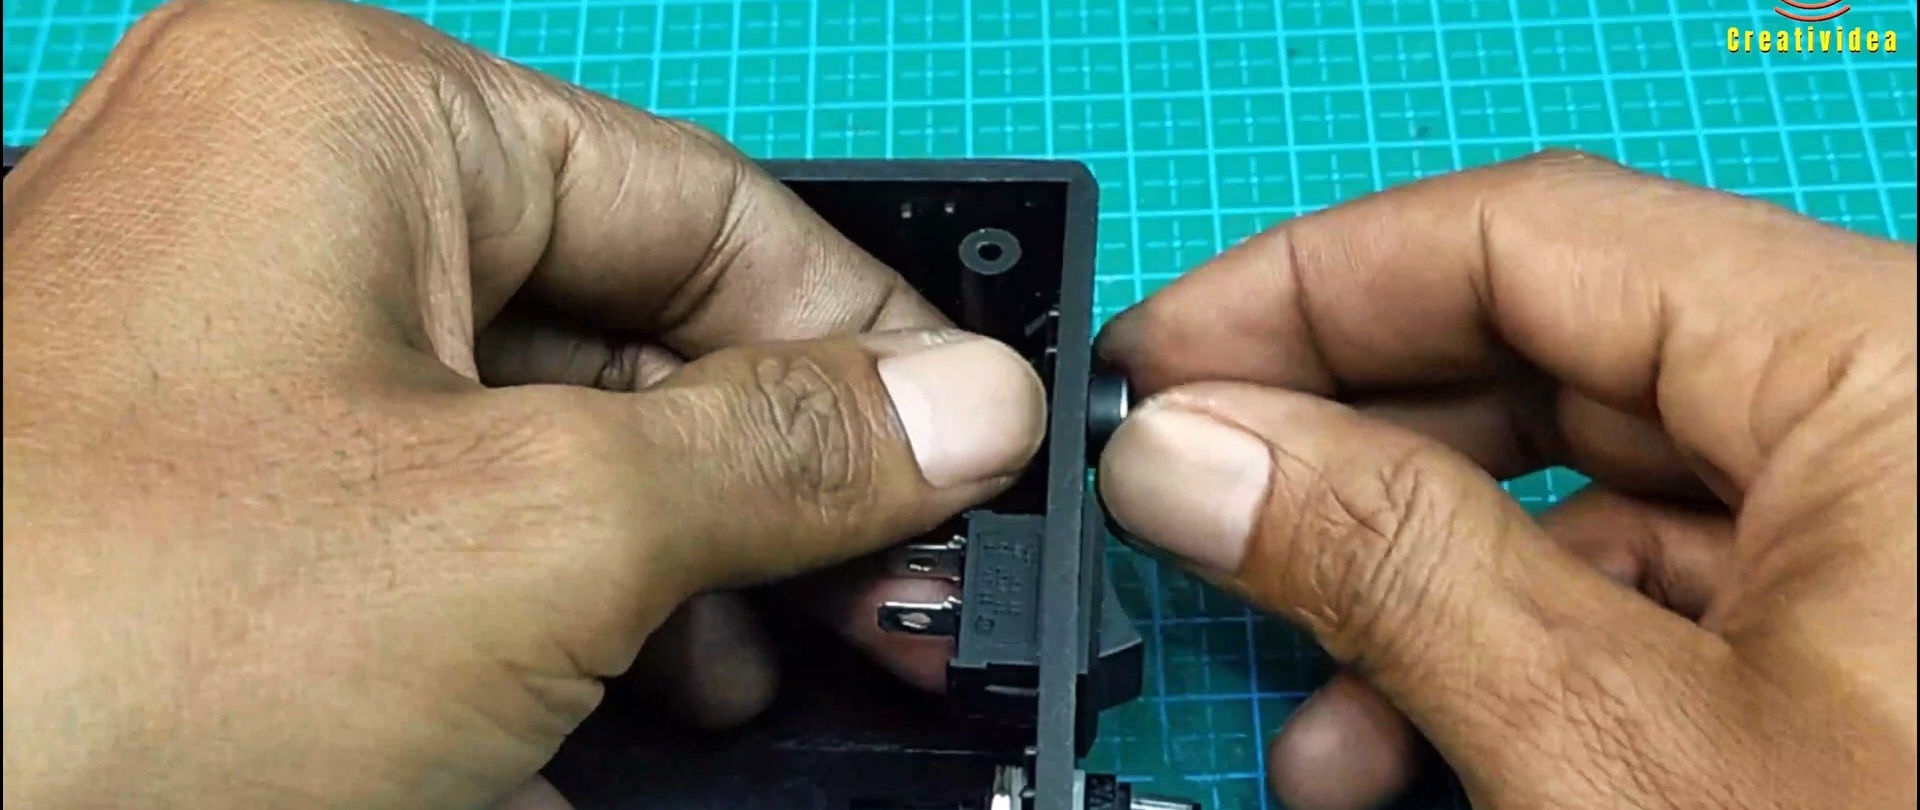
We solder everything according to the diagram. We insulate the contacts with heat shrink.

We glue the converter with double tape to the back wall of the case. We drill holes on top for ventilation.
We install all the elements and fix them. Close the back cover. The console is ready.

We take the unit from the laptop and connect it to the console.

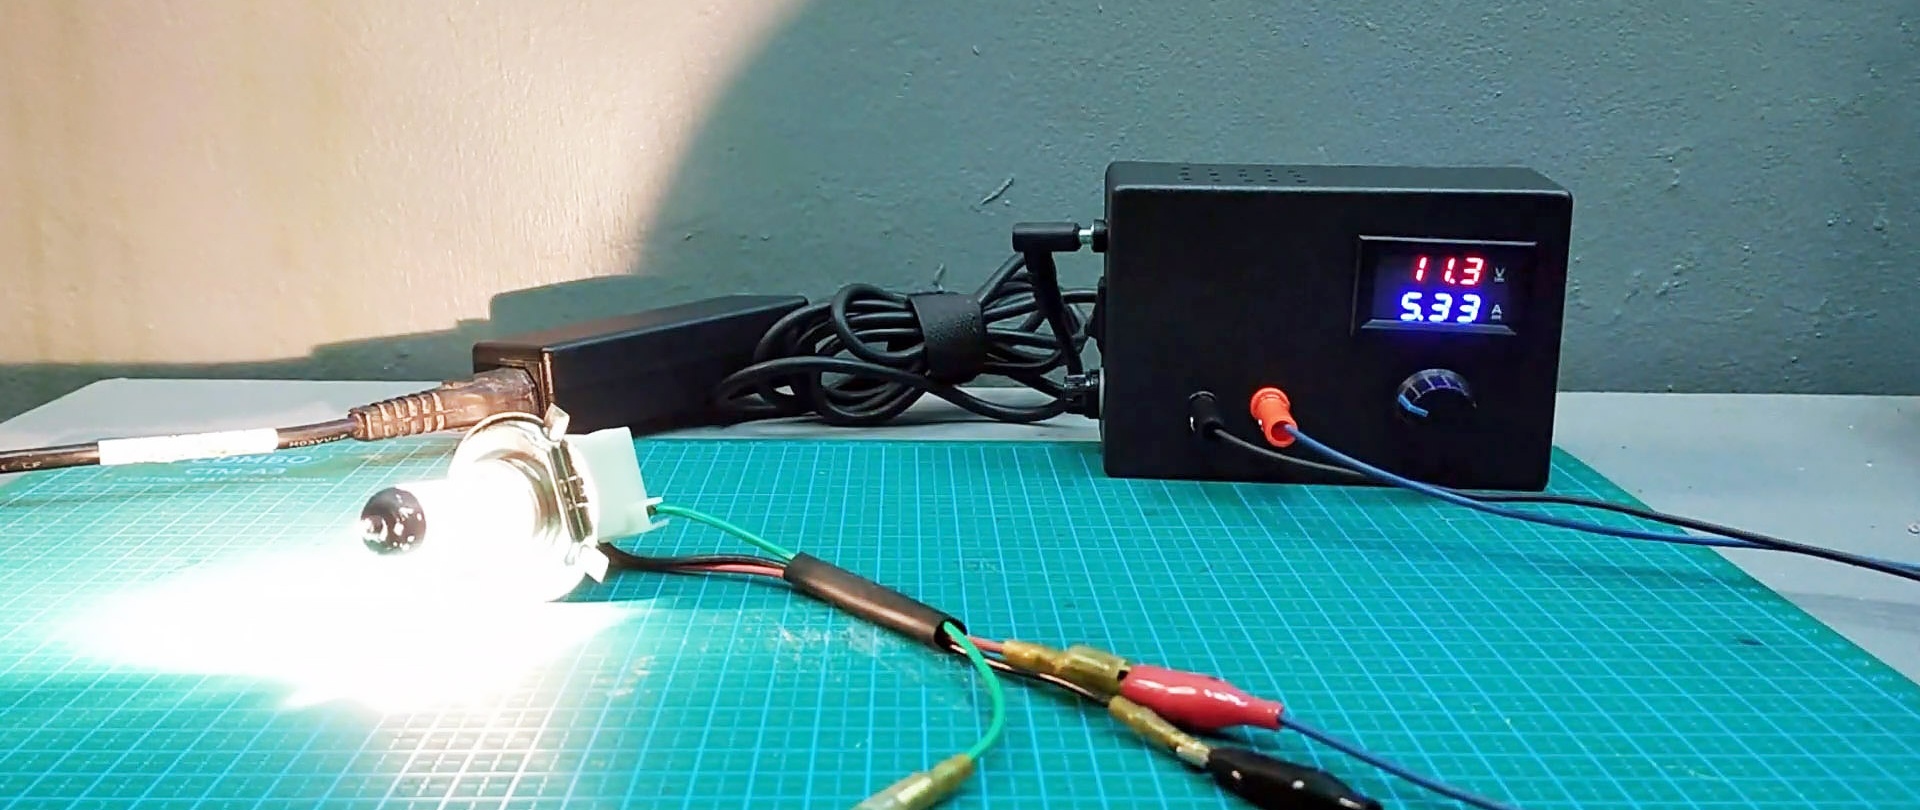
Checking the adjustment.

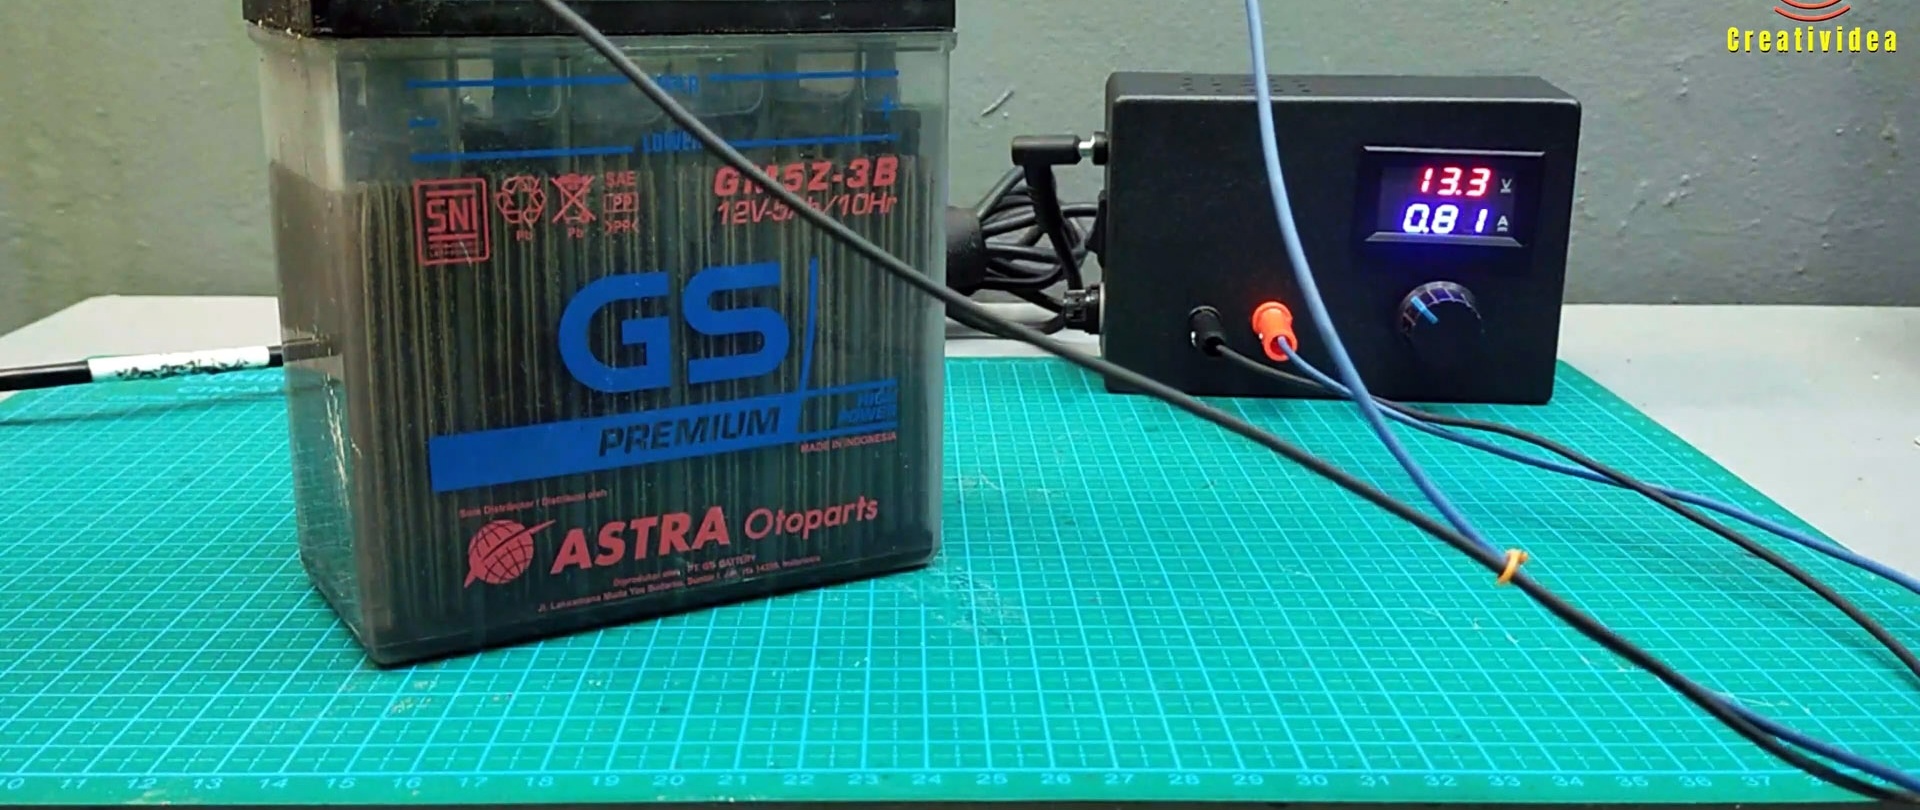
The voltage is excellent and very smoothly adjustable from 0.7 V to 19.3 V. We check it under load.

Since the adjustment is carried out by the converter, the efficiency always has the same and high values. That is, at a low output voltage, the set-top box is capable of delivering more current than the laptop adapter is designed for. Having a 3.3 A unit.

You can easily get 5 A from it at 12 V.
We connect the motorcycle battery and check the charging.
You can also charge other batteries, for example lithium ones, but only those that have charge controllers.

There are incredibly many options and ideas for using this console in everyday life.
Watch the video
A simple regulator attachment for the power supply - https://enn.washerhouse.com/4137-pristavka-regulyator-v-bloku-pitaniya.html