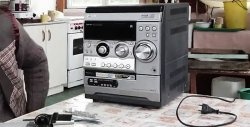
Many people have outdated stereo systems in their closets and garages. They are not used because cassettes have long since become obsolete, and CDs are also almost dead. Well, such a center is not provided for a flash drive. Although the entire sound path with power amplifier and speaker systems is in excellent condition.
There is a way out of this situation and it is not as difficult as it might seem: we buy at AliExpress built-in MP3 player - http://ali.pub/3w9mcs. We install it in the center body. And after this modification, the old music center will be able to read any flash drive. All modules have a remote control included, and some have Bluetooth, which will significantly expand the functionality of the entire center to the maximum.
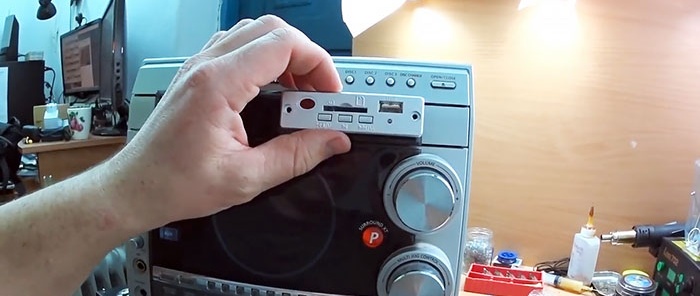
Modernization of an old music center
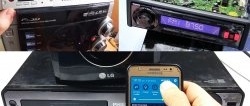
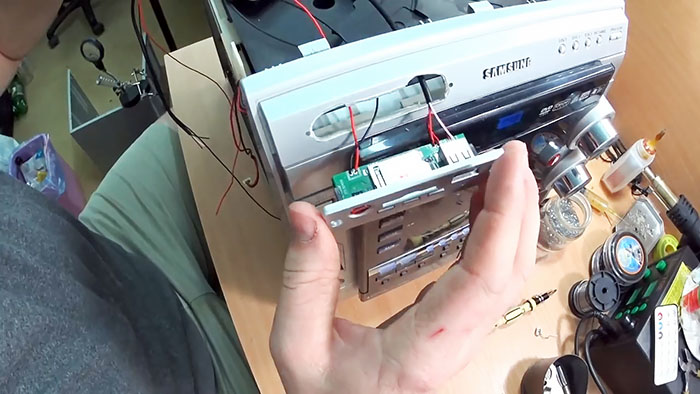
A place in the upper part was determined for the location of the player.

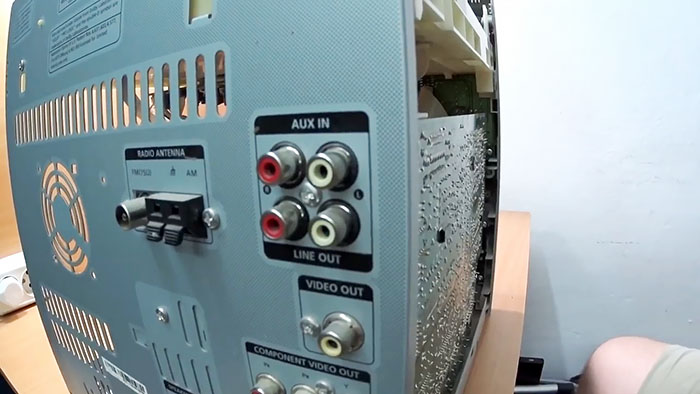
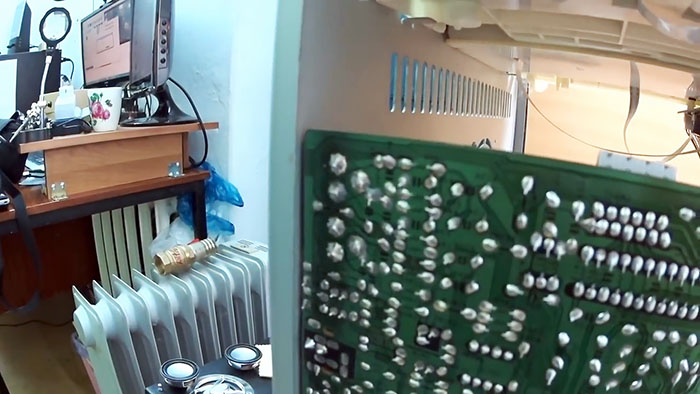
From the back you can see that there is enough space inside to install the module.

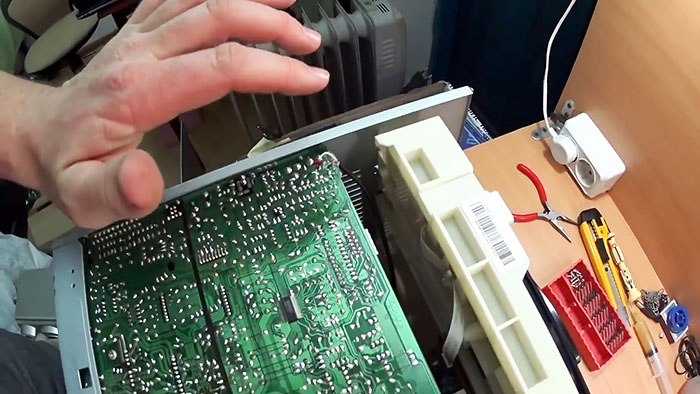
Finding inputs and power
To operate the built-in player, you need a 5V power supply and an audio input. If you have “AUX” inputs at the back, then there are no special problems - connect to them and you’re done.
Let's connect them to the back of the board.
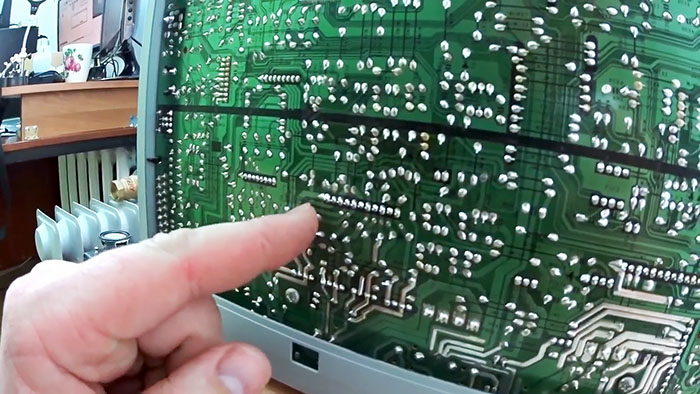
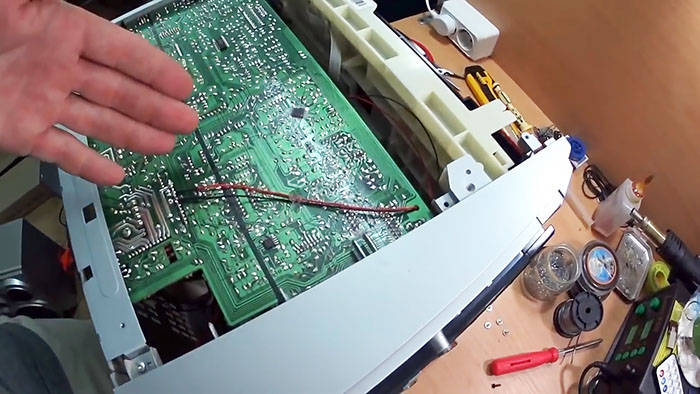
If not, you'll have to do a little searching for connections on the board itself. Usually everything is simple: there is one train coming from the decks.
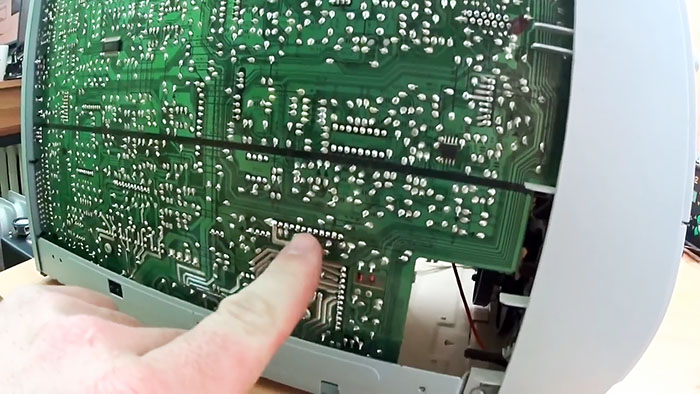
And next to it should be all the designations of each contact.
We are interested in: general, left and right input (“L”, “R”). Connect to them if your center is not equipped with “AUX”. I will connect to “AUX”.
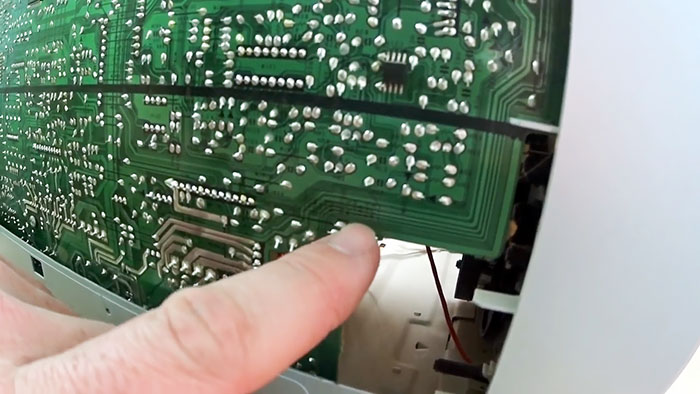
For the module to operate, you need not only audio inputs, but also 5 V power. It is also easy to find on the board, since everything is labeled. Either on the same cable from the decks, or you can find it next to the power amplifier.
Installation and connection
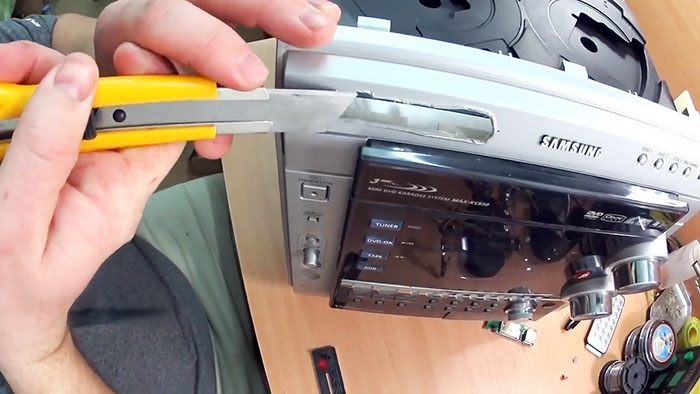
It doesn’t matter how to make a groove for the module; everyone decides for themselves. You can use a soldering iron as in this case, after first drawing a line with a marker.

Next, we cut off the deposits with a utility knife and try on the module.
If everything fits, solder the wires. Two for power and three for stereo sound output.

There is also nothing complicated about it - everything is signed on the player.
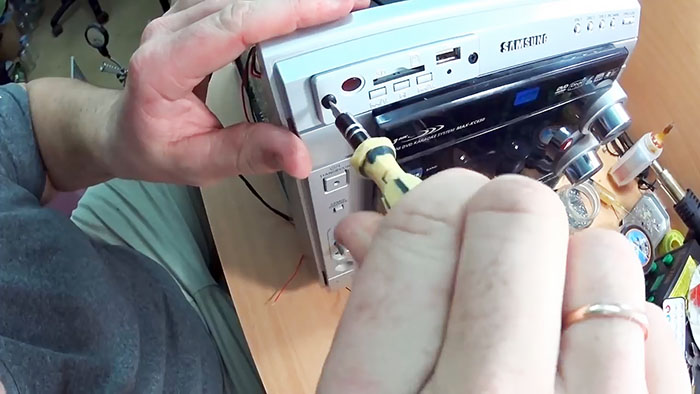
And install it in the groove.
We fix it with self-tapping screws.
Solder the power wires.
Solder the sound to AUX.
We close the music center and check.
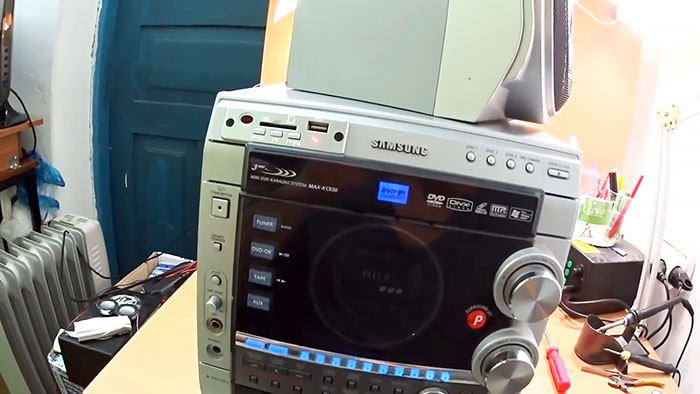
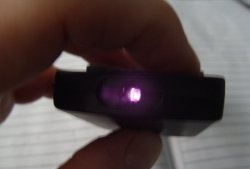
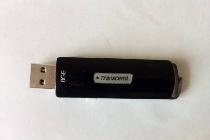
Light-emitting diode The player lights up, which means there is power. We switch the center to AUX mode and insert a flash drive into the player. We turn it on and control it using the remote control.
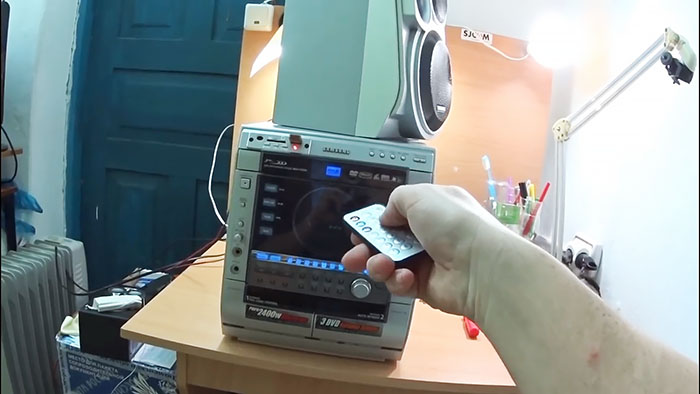
Everything works perfectly! The sound is clear.
Such a simple and not very expensive modification will return the music center to operation and it will serve you faithfully for many years.
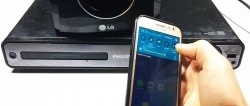
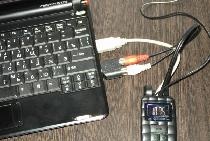
It is highly advisable to purchase player modules with bluetooth (http://ali.pub/3w9mcs), and send sound to it from any device: be it a smartphone, tablet or laptop.