They can be considered life hacks in finishing, since by using them you can correct a difficult situation and not blush in front of the customer.

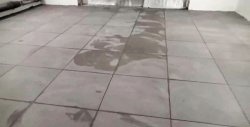
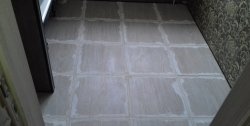
Filling voids under tiles
The advice is more suitable for beginners, since experienced tilers almost always lay floor tiles on a layer of tile adhesive, embroidered with a comb (no more than 10-12 mm). However, if you have already had to apply a leveling layer of glue several centimeters deep, or even worse, lay the tiles on “laps” or lumpy fragments of glue, then voids are simply inevitable.
This will be especially critical and dangerous in the corner area of the tiles. It can easily crack even from a small load. And over time, such tiles will begin to “walk”, lose their rigidity and stability, and finally simply disappear.
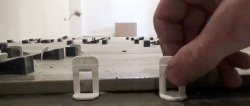
To correct the situation, you can use a simple DIY tool. You will need a medical syringe and a small plastic tube, for example, for juice.
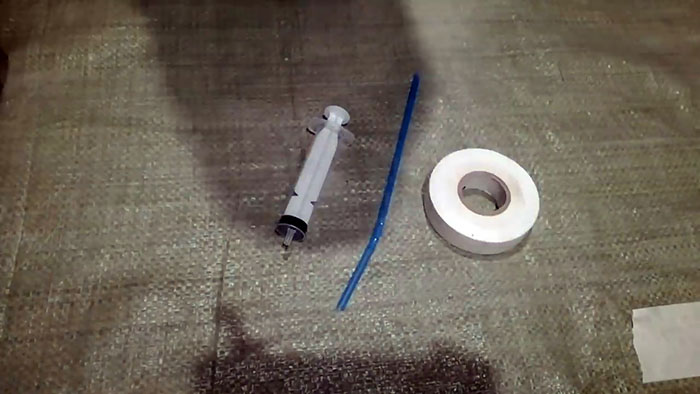
We place the tube on the needle cone of the syringe and wrap it tightly with electrical tape. We cut off the excess length of the tube.

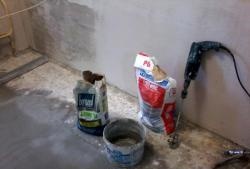
After this, dilute the tile adhesive in a separate container.

The consistency should be such that it can be drawn in with a syringe and squeezed out of it. All that remains is to place the tip of the tube between the tiles and squeeze out a sufficient amount of glue under them.

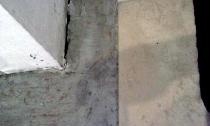
Treatment of window/door joints
Many people are probably familiar with similar work that is carried out at the final stage. Without the skills, you can spend more time on them than on installation or professional painting. This is where our life hack for today comes in handy.
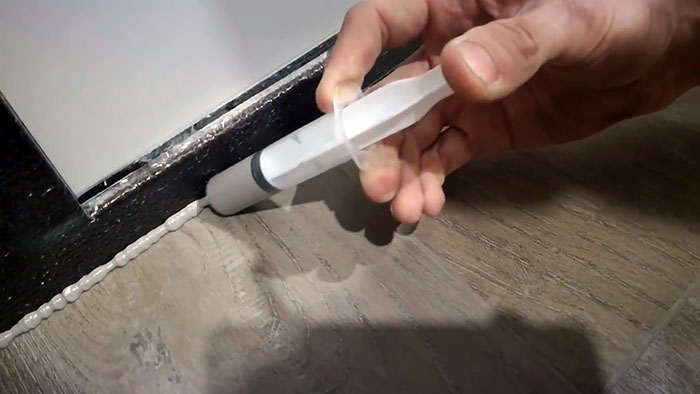
The area where tiles meet windows, doors and other non-absorbent surfaces is usually treated with silicone. The problem is that its color does not always match the shade of the grout. You can try to search for it in construction markets and construction markets. But it is not a fact that the search will be successful. It is much easier to mix white silicone and grout.
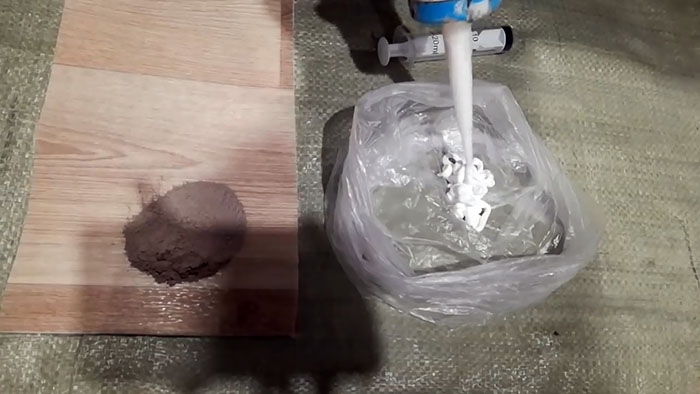
This is easy to do in a regular plastic bag, squeezing white silicone out of a tube into it and adding a little grout.

Its amount can be varied depending on the intensity of the desired shade of silicone putty. Stir it by hand, then cut off the spout of the bag and squeeze the finished plastic mass into the syringe.


This tool will be no less convenient than a standard tube. The syringe does not require a silicone gun, and its compact size allows it to be used in hard-to-reach places.

Reanimation of the grout sponge
One of the most convenient tools for grouting is a foam sponge glued to a plastic platform with a handle. Over time, after frequent use, the foam rubber begins to slowly move away from the plastic base. Specialized glue for such material is not very easy to obtain, and ordinary ones do not withstand intense physical activity and an aquatic environment for a long time. So after a while we have to throw away this tool, which could still serve well.
To prevent this from happening, treat the edges where the foam rubber meets the plastic with transparent silicone.

The effect will be more stable if the silicone is properly rubbed into the foam rubber and its joint with the base is sealed. After drying, this material will be much stronger and will last longer on the plastic platform, and you will not have to part with your favorite tool.