Will need
For the success of the upcoming work, we will prepare the following tools, materials and devices:
- construction knife;
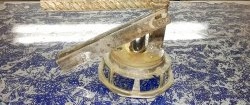
- razor blade holder;
- silicone remover;
- a special brush for cleaning seams;
- cloth napkins;
- a can of silicone sealant;
- gun for applying sealant;
- a bucket of soapy water and a sponge.
The process of removing old and applying new silicone seams
First, use a construction knife to cut the old silicone seam along its base horizontally and vertically along the wall. If it is thick enough, then by pulling one end you can remove it completely.

With a small cross-section, it will separate in parts. It is possible that after removing the bulk of the old sealant, you will have to repeat this operation to get to its deeper layers.
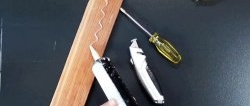
We carefully separate the remaining thin layers of silicone from the tile using a razor blade, for convenience, inserted into a special holder that you can make yourself.
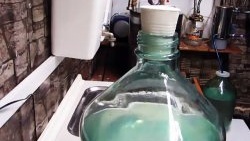
Having completed the mechanical stage of removing old silicone seams, we continue cleaning with chemical agents. In order not to harm your health, it is better to use an environmentally friendly solvent.
We apply it with a spray or a swab to the areas to be cleaned and leave it for a while so that the remaining silicone sealant is completely dissolved.
Then we begin cleaning using a special grout brush. If necessary, repeat the solvent treatment and brushing until even traces of silicone are completely removed.
Next, we wipe the areas cleared of silicone with a cloth, first slightly moistened in a soap solution, and finally dry. We make sure that there are no traces of sealant, grease, dust, debris or moisture left.

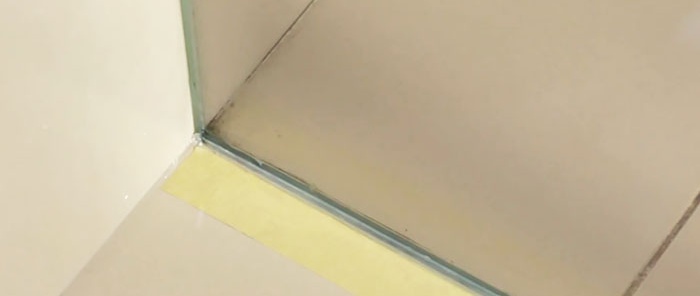
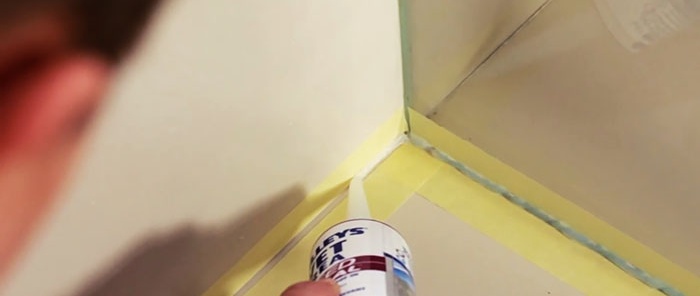
We glue paint tape along the length of the seam.

Cut off the threaded tip of the cartridge with silicone and attach the tip. Based on the width of the seam, we cut off the tip so that a hole with the cross-section required for dispensing emerges.

Using a metal rod, we pierce the film inside the cartridge, which may have formed on the surface of the sealant during storage. Place a bucket of soapy water and a sponge nearby.
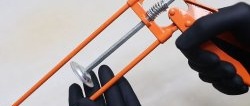
We insert the cartridge into the gun. By pressing its trigger, we introduce silicone into the seam and smoothly draw the tip along its entire length.
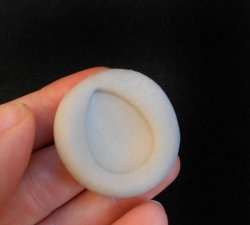
Smooth the seam with a special rubber tool or a finger dipped in soapy water.

We fill other seams in the same way.
To protect our hands, we use rubber gloves, and we put on a respirator or at least a mask on our face.When finished, remove the masking tape.