To assemble the composition we take the following materials:
- a transparent champagne glass with a short stem.
- scissors.
- glue gun.
- sheets of foamiran in lemon and green colors.
- toothpick.
- oil art paint in red, brown and green tones.
- medical plaster.
- 0.5 meters of orange satin ribbon.
- wet wipes.
- cardboard.
- half beads for decoration.
- lighter.
- wire.
- foil.
- green corrugated paper.
- a piece of thin foam rubber.
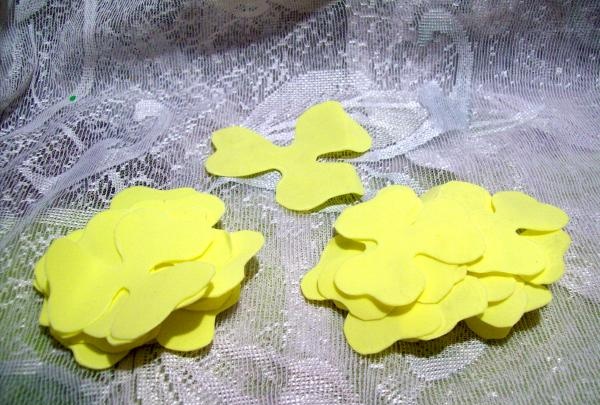
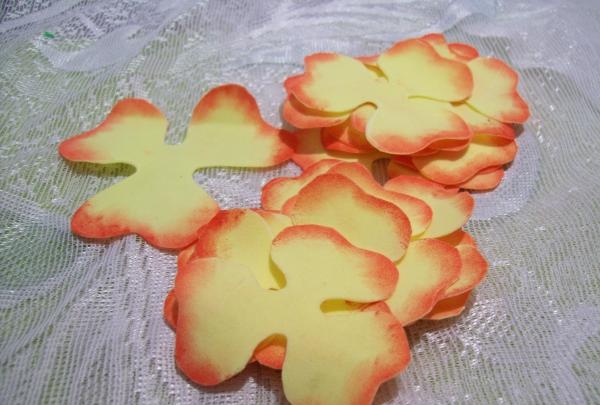
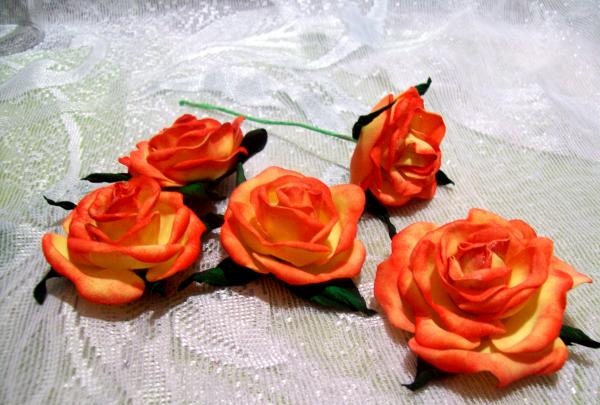
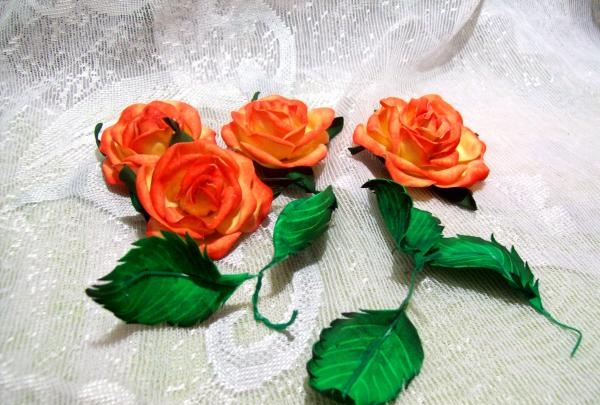
Before starting work, draw the shape of the templates. For flowers, it looks like 3 petals connected together at the base, only different in diameter. 6, 7 and 8 cm. For leaves you need squares of 4 x 4 and 5 x 5 cm. You will need 5 roses.

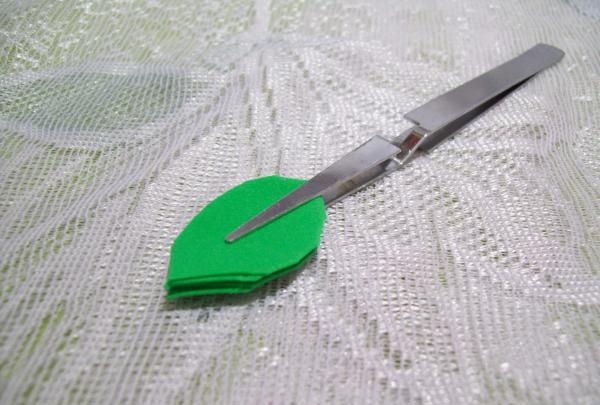
Now we take lemon-colored plastic suede and templates. We draw a toothpick around 10 pieces of small and medium size, and only 1 large piece. We carefully cut everything out.
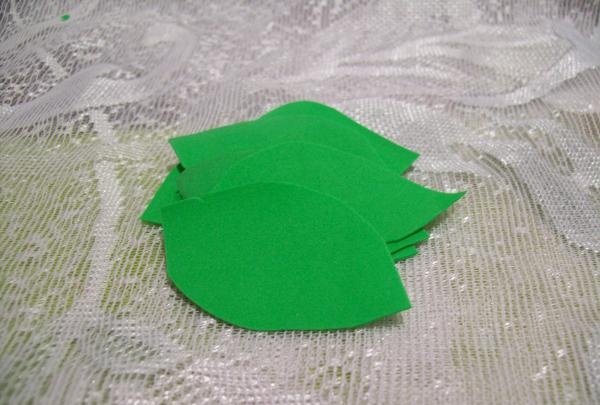
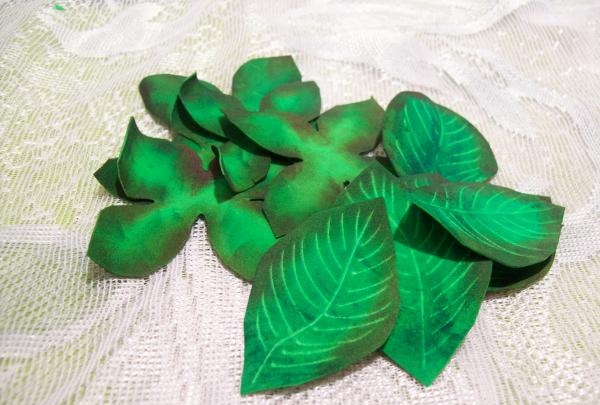
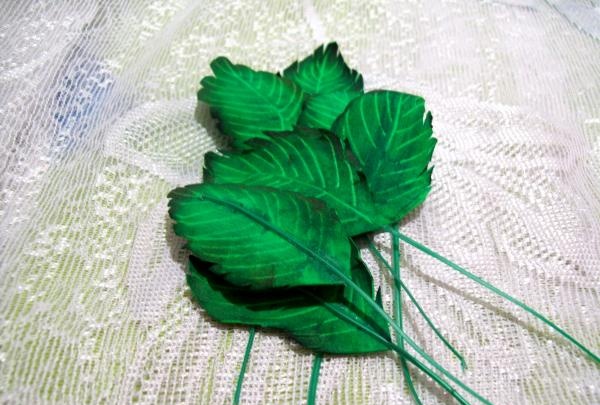
Now we cut out 7 squares of 4x4 cm from green suede.Using scissors, we round off the opposite two corners and get boat-shaped leaves.
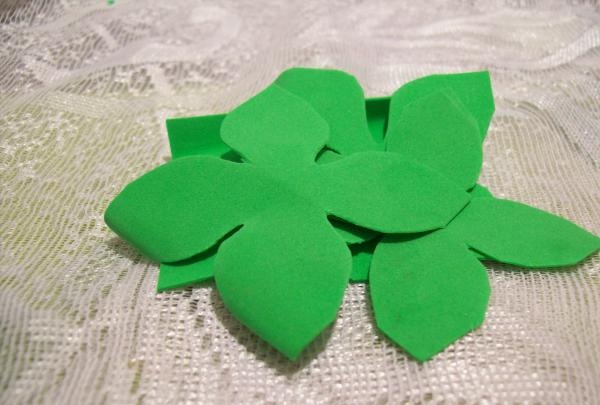
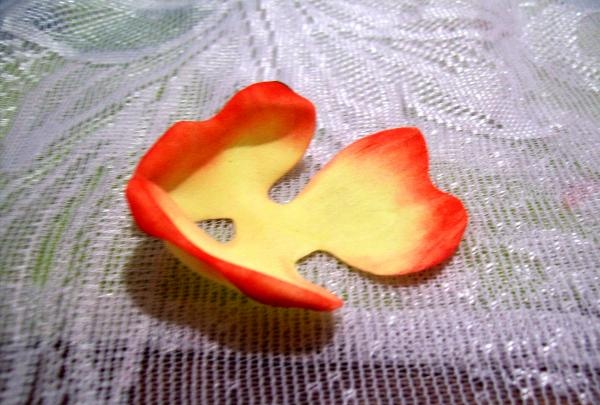
But we still need 5 squares from the green canvas with a side of 5 cm. We will cut out the substrates for the flowers from them. Take turns folding the blanks in half twice, pressing them in the middle and rounding the opposite corners again. The result is a part with 4 petals.
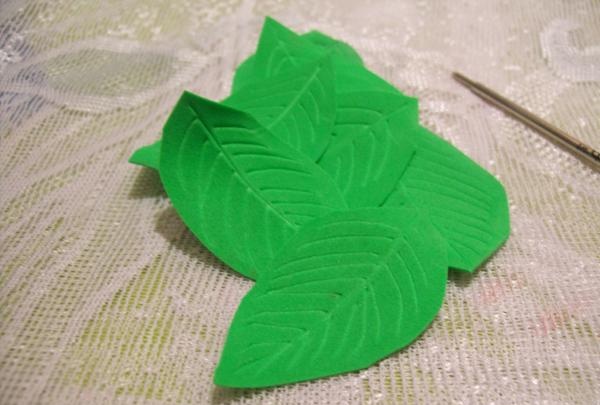
It remains to prepare the leaves for further processing. We will need a toothpick or an empty, used pen refill. And with its help, we first draw the main line of the leaf, and then the remaining veins on opposite sides of it.
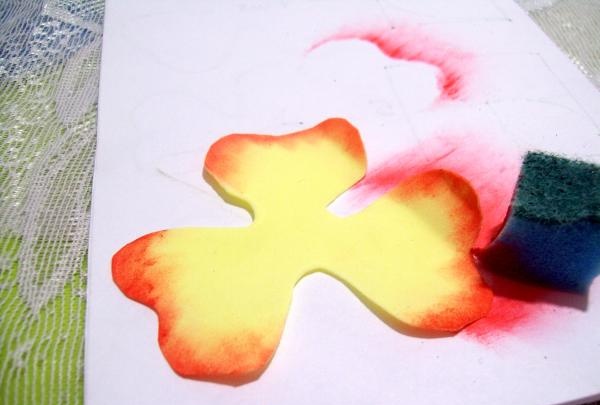
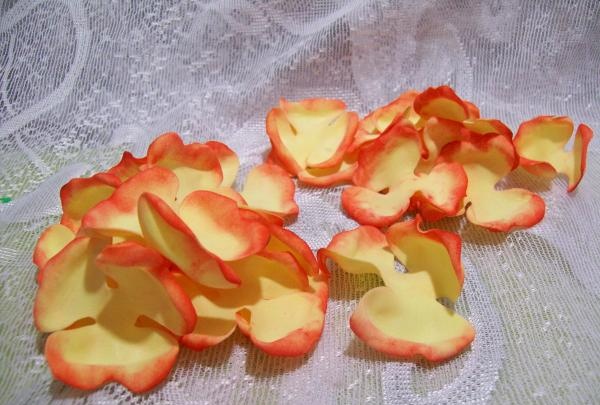
Now let's move on to coloring. Take artistic oil paints. We will process all blanks for roses in red using a piece of foam rubber. On the petals you need to paint only along the top edge on both sides.
And for such paint we give it time to dry.
When time has passed, we begin to change the shape of the petals. We work with each workpiece in turn. Place the 3 parts of the petal together.
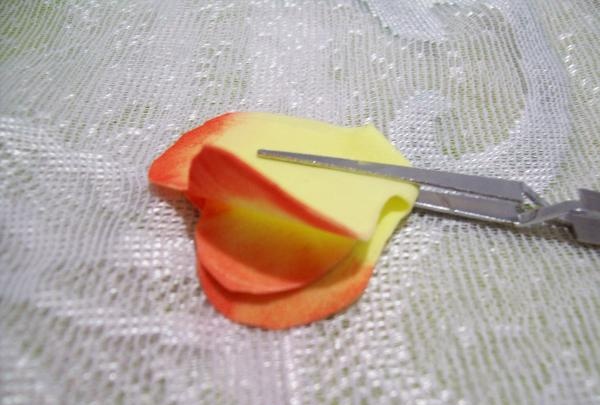
We hold the middle of the fold with our fingers, collect the top of the workpiece into folds and knead everything well between our fingers. In this way we change the structure of the fabric, it becomes soft.
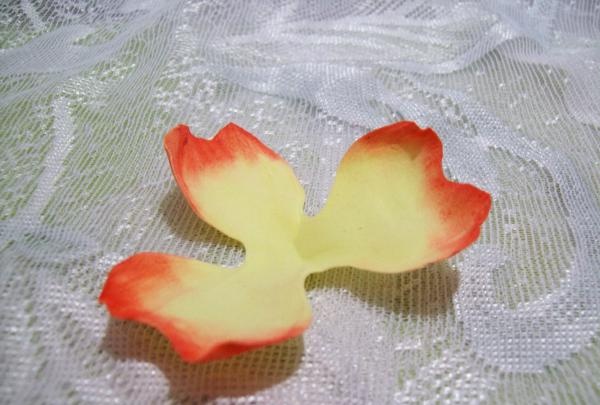
And then we return the petals to their previous size and simply straighten them.
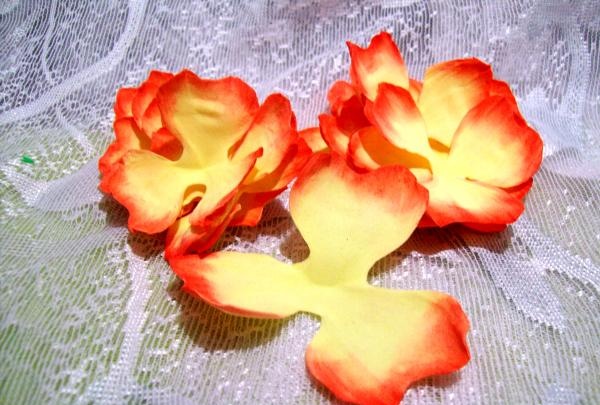
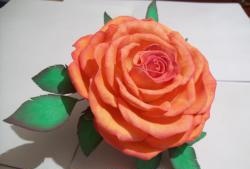
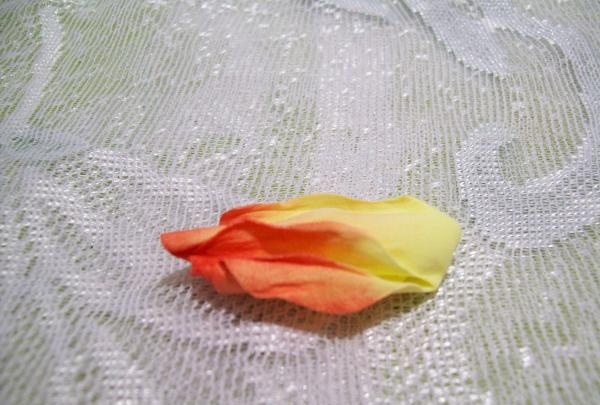
Now we need a lighter, because foamiran changes shape with the help of heat. We bring the fire from below to the very edge of the petals, the fabric itself makes a beautiful bend. You can adjust it a little with your fingers. And then we also heat the middle of a separate petal from below, and from above with two thumbs we press down the middle in the workpiece. Stretch it slightly. When the suede cools, it will be the shape it was given.
We give a new shape to all the petals.
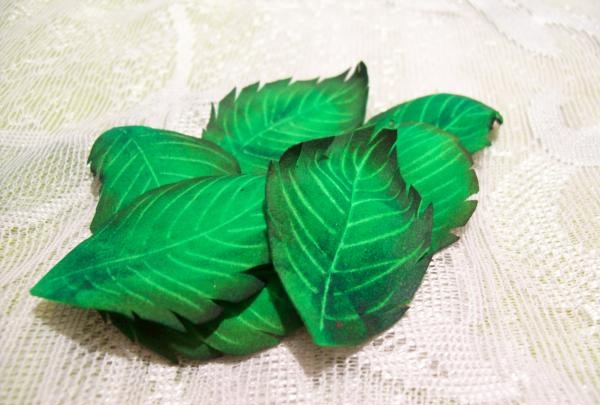
Let's continue working with green blanks. They also need to be painted, but we take paint a tone darker than the leaves themselves. We run the sponge directly along the veins and get a beautiful effect.
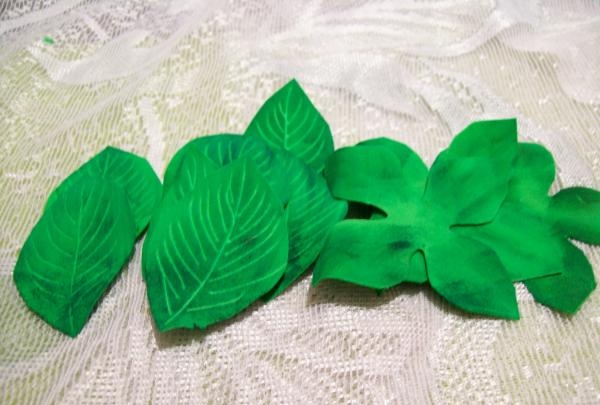
Then we paint only the edges of all these blanks with brown paint.
When the paint has dried, use scissors to make small cuts along the edges of the leaves. And when we bring them to a lighter, they straighten out.
We do things differently with flower substrates. We put the 4 parts of the workpiece together, holding it by the middle, and scroll only the upper side of the part with our fingers.
Just straighten it carefully, without revealing the twisted corners too much.
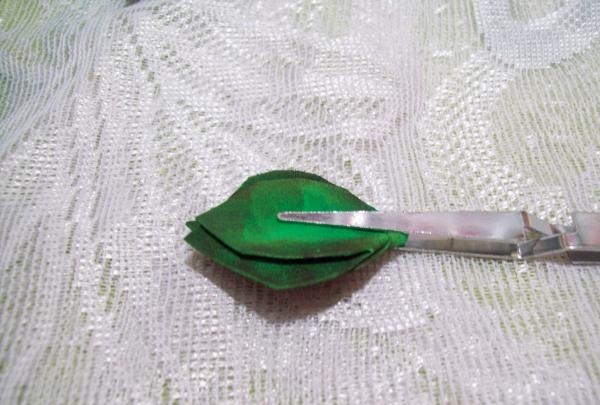
But there's more to the leaves. You need to secure the green wire along the wrong side. We cut 7 pieces of 8 cm each and glue them well.
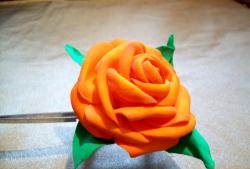
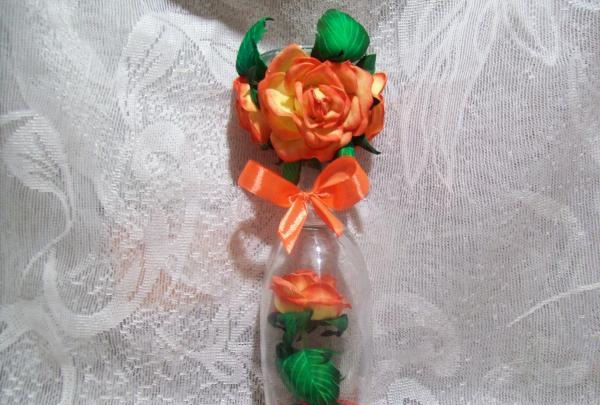
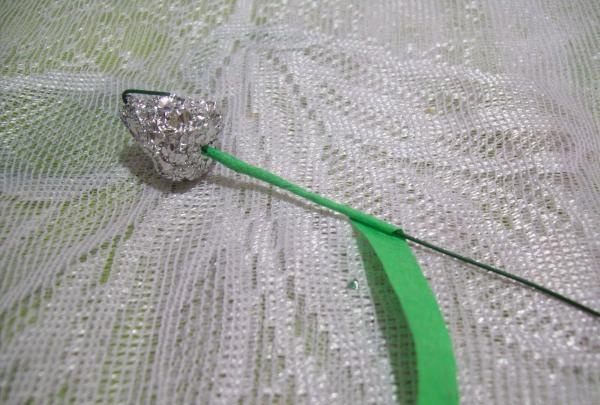
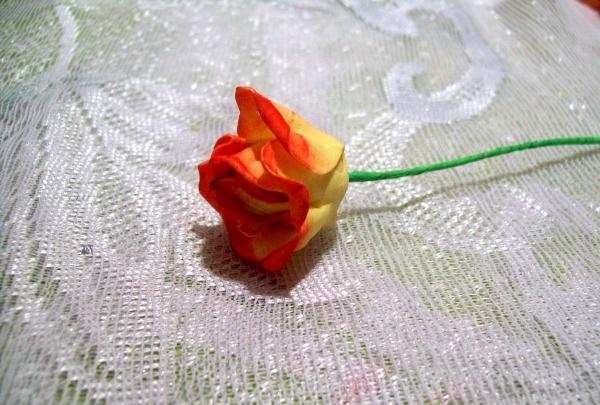
Now let's start assembling the flowers. There will be one rose per stem. Take a wire 10 cm long and attach a droplet-shaped piece of foil to it. And we wrap it well and glue green corrugated paper.
We will attach two smaller petal circles to the foil bud with a glue gun. The first one closes all the foil, but also secures the second one tightly pressed to the bud.
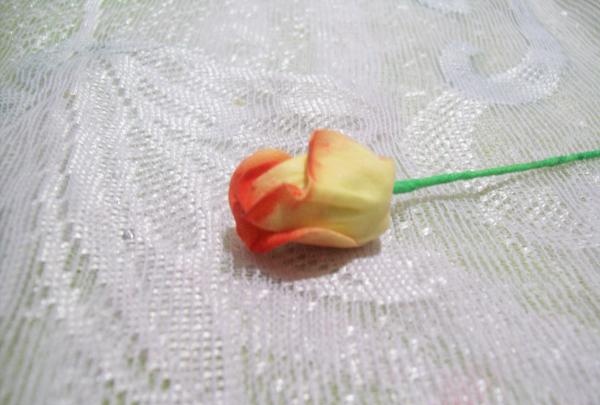
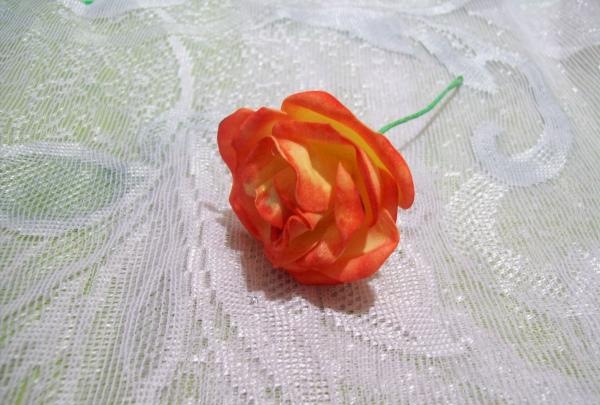
The third and 4 circles are made of medium-sized petals. And we glue them only at the base. Let's give the rose a chance to open up.
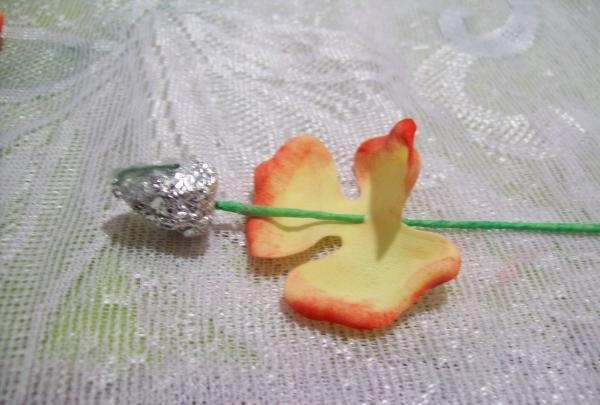
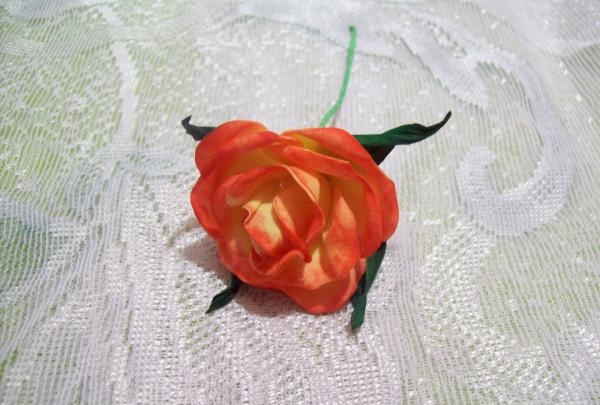
We add a green background, which immediately brings the flower to life.
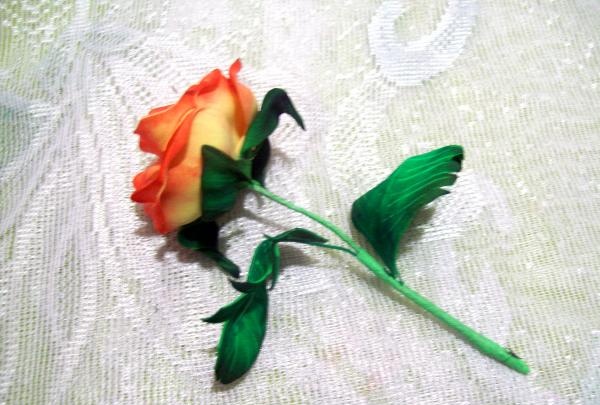
And the last detail to the flower on the stem is the attachment of 2 leaves. We cover the joints with paper.
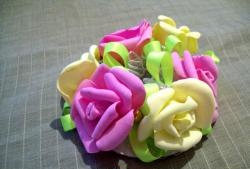
The assembly of all other roses is the same in design. Only one flower will have a fifth petal circle from a large blank. The result is 4 roses and a fifth on the stem.
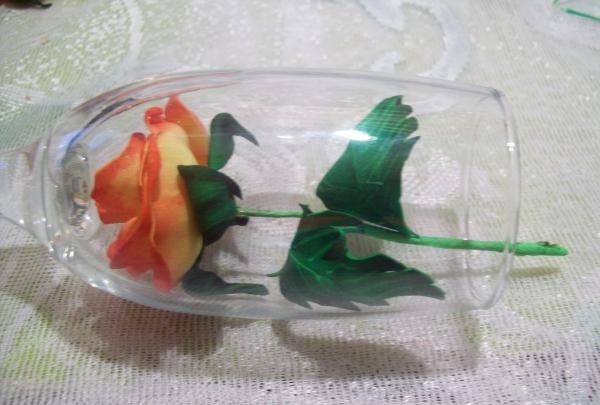
Now take the glass and wipe the inside well with a damp cloth. Place the rose on the stem, flower side down, into the glass.We need to secure it in this position. On the stem we mark the location of the top edge of the glass.
Then we twist the remaining edge of the stem into a half ring. We take out the rose, trace the edge of the glass on the cardboard, cut out two circles, and one will be 3 mm larger than the first. We glue the rose onto the larger circle, placing it with its bent stem in the middle. We cover it with scraps of corrugated paper and attach two large transparent half-beads. We grease the edge of the glass and place it, turning it over, on the prepared circle with the flower.
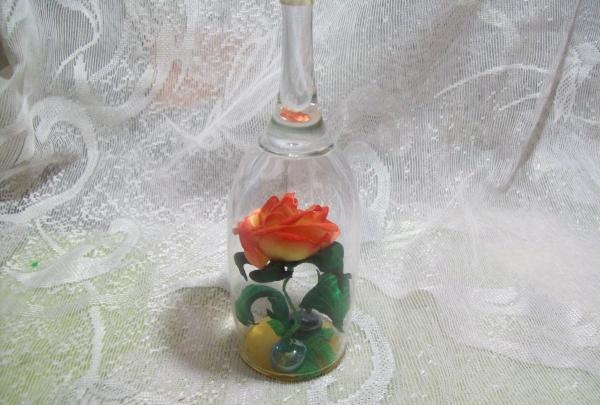
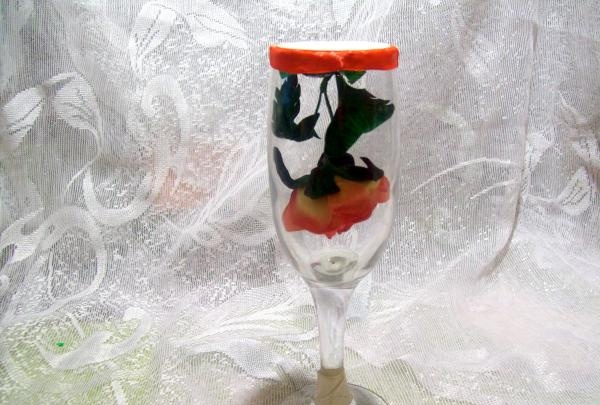
Now the bottom of the glass will be considered the top of the candlestick. But it still needs to be fixed. We will use orange ribbon. We glue part of it directly onto the glass, and the second half is fixed to the cardboard. First you need to make cuts with scissors for better rounding. Glue a second cardboard circle on top of the tape.
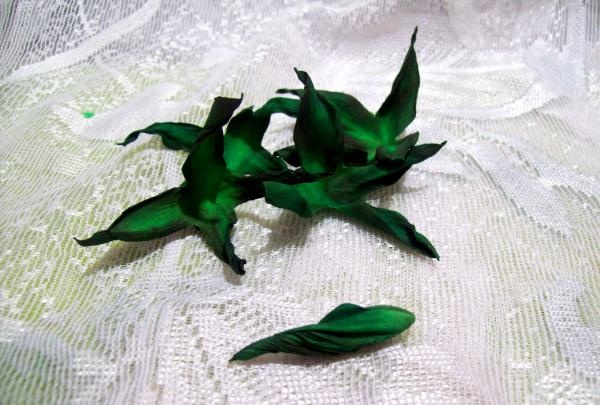
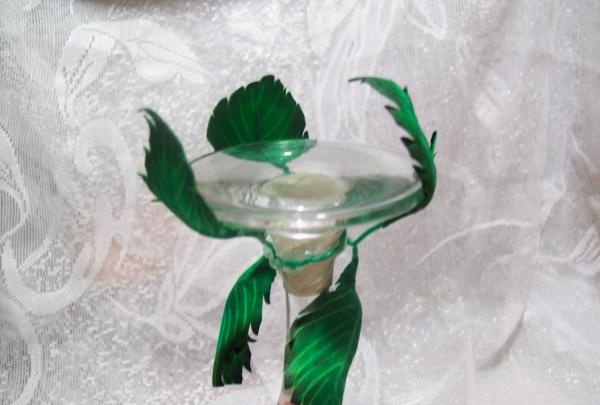
It's time to assemble the main composition. We are left with 4 flowers, 2 pairs of leaves connected two at a time and a single leaf. The wire on the leaves is cut to 5 cm in length.
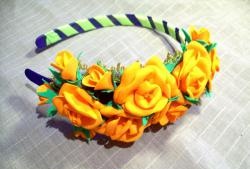
Now we will decorate the top of the candlestick. Glue the patch at the very bottom of the glass. And we attach the leaves to it so that 3 leaves point upward towards the candle area.
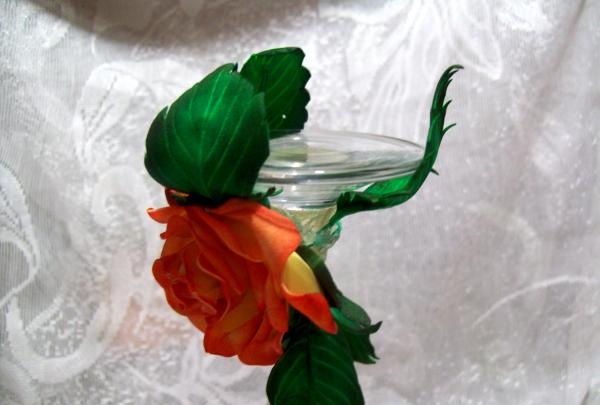
First we glue the big flower.
We distribute the rest in a circle, gluing them tightly together.
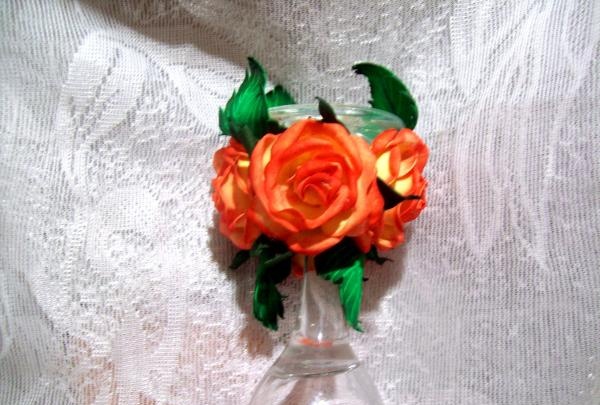
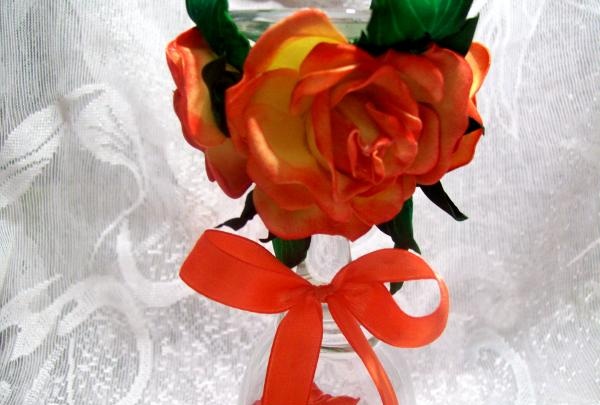
In addition, we will glue a bow made of satin ribbon, 1 cm wide.
All that remains is to put a candle on the platform. You can use a small one, and the large one will look beautiful in such a composition.
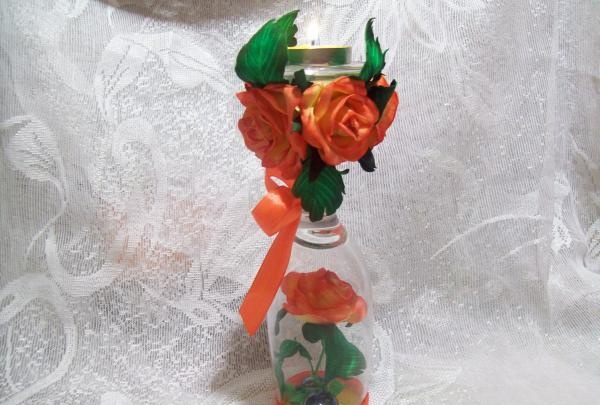
Good luck to all!