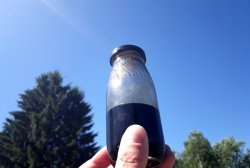
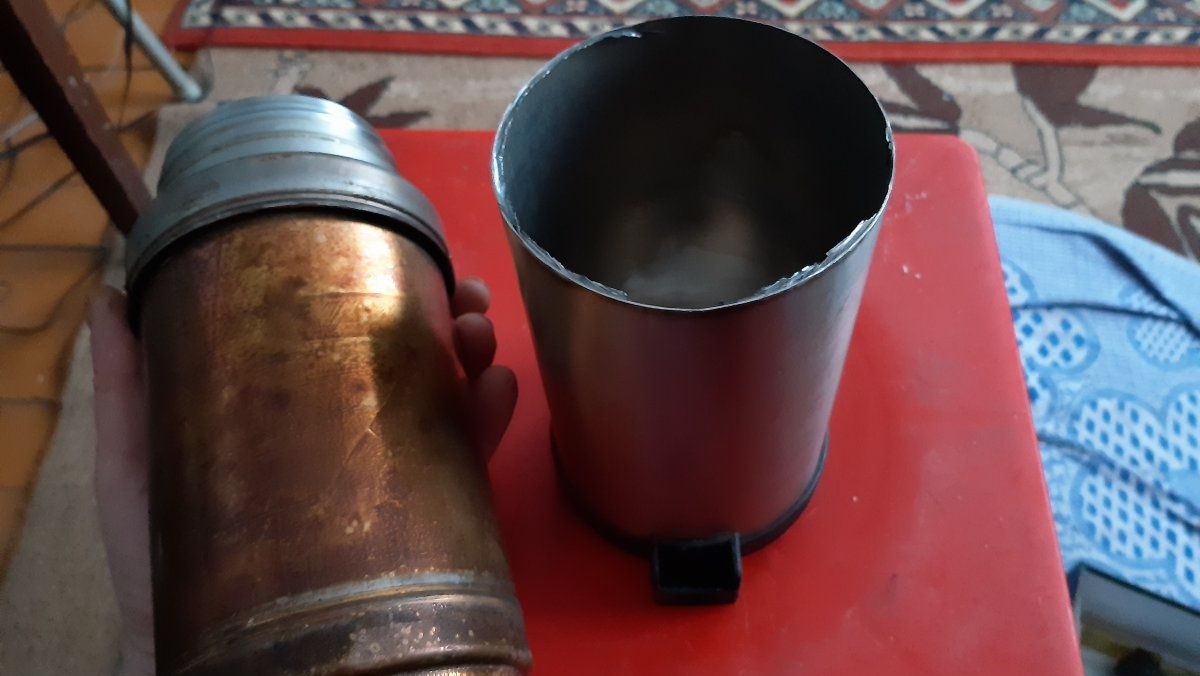
An old thermos can be useful for a lot of things. For example, as a container for something. For both liquids and solids. Or, as a last resort, you can leave it for good stainless steel that might come in handy someday. It was just such a thermos, with a wide neck, that had been lying in my barn for several years. I remembered about it when they brought me almost the same one for spare parts, not fit for its intended purpose.

After thinking about where I could use this unnecessary junk, I decided to make a small camping wood chip samovar from these thermoses. The thing turned out to be compact and will fit into any backpack. So if anyone has the same circumstances and has a couple of unnecessary thermoses, do not rush to throw them away or cut them into metal.
Will need
- Two unnecessary thermoses, of the same diameter.
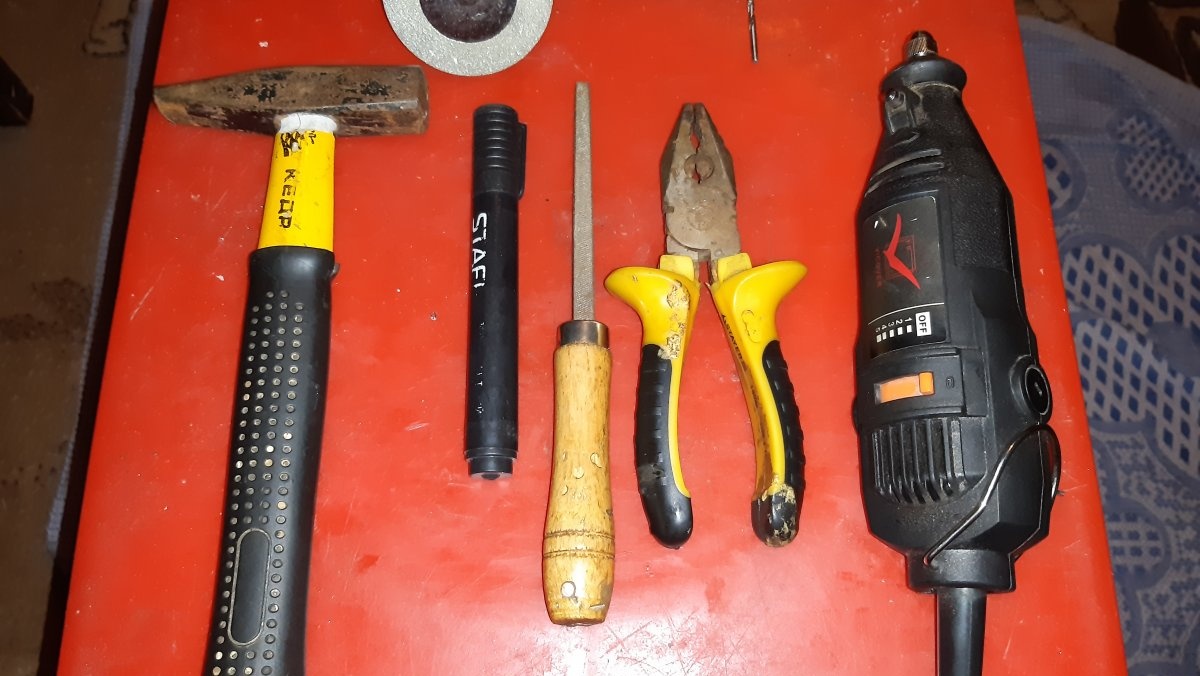
- Hammer.
- Pliers.
- File or needle file.
- Marker.
- Emery machine or grinder, with cutting disc.
- Drill and 3mm drill bit.
- 15 cm thick chain.
Making a camping samovar
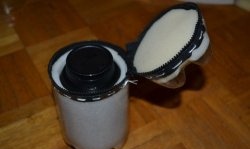
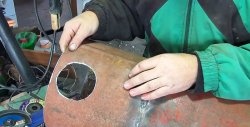
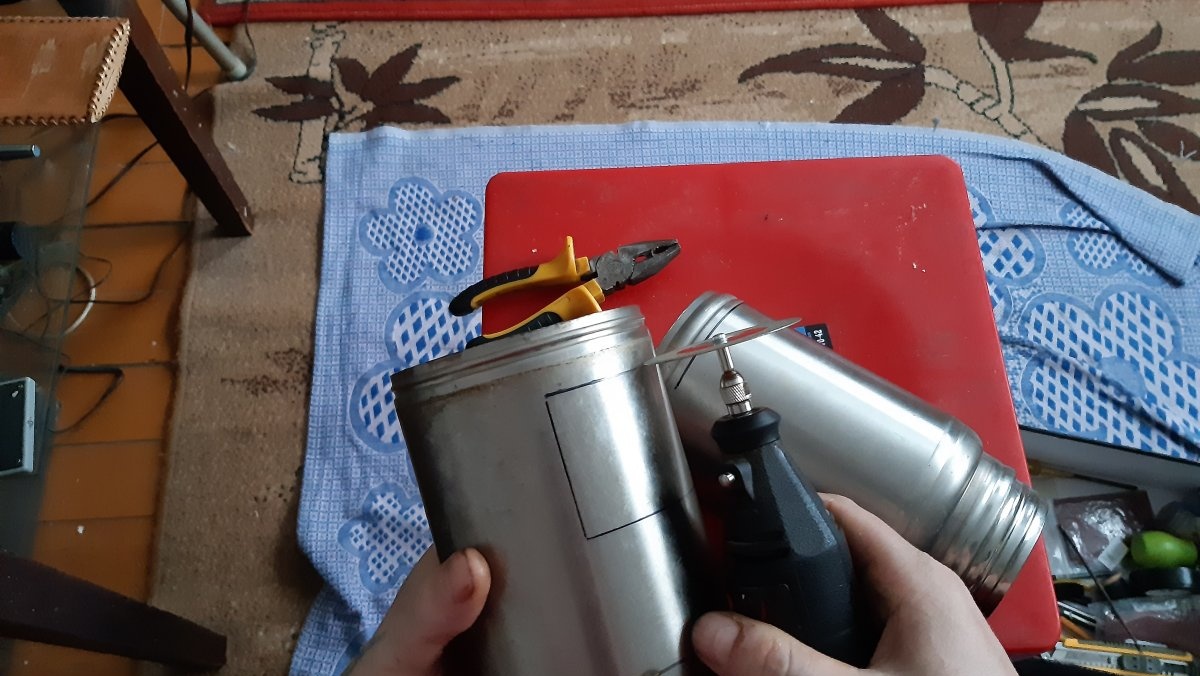
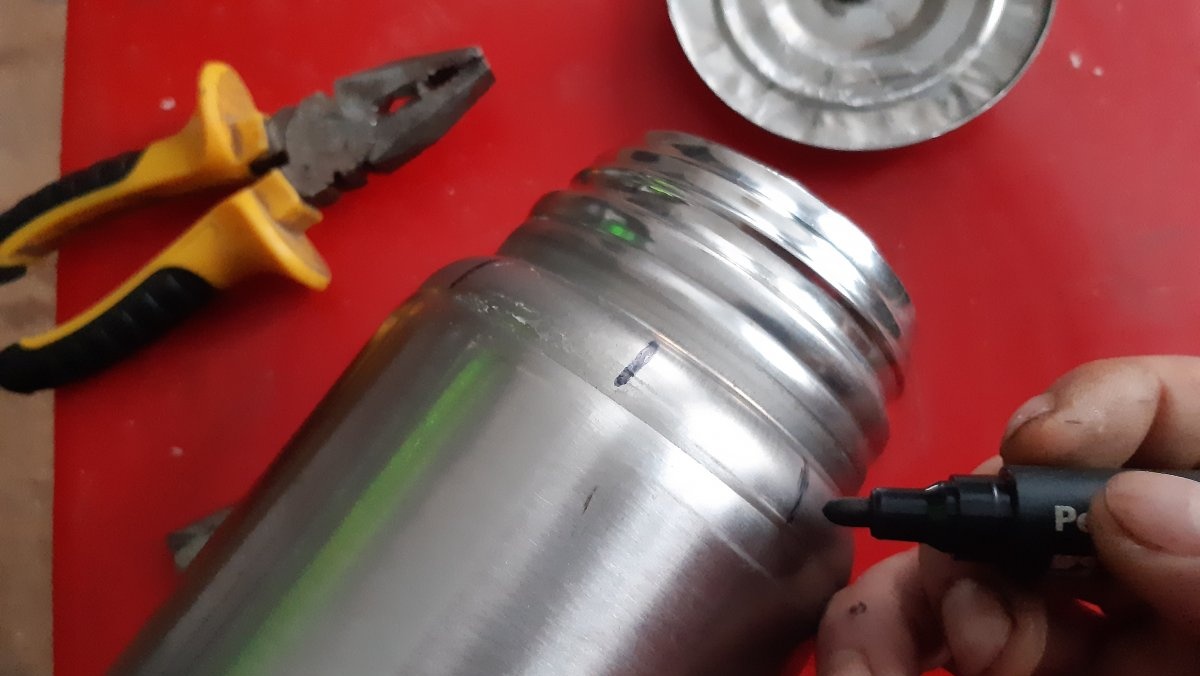
It's no secret that metal thermoses consist of two flasks, between which there is a vacuum space.This is what ensures that the thermos maintains the desired temperature. When the vacuum layer of a thermos is depressurized, for example due to a fall, the space is filled with air and the thermos loses its properties. Our task is to separate the upper flask. To do this, mark the cutting line with markings.

You just need to first figure out how long the wood chip samovar will be. Otherwise, at first I was greedy and sawed off too much - then I had to saw off another piece... So, we marked it out, now we beat off the plastic linings with a hammer and, using sandpaper, saw off the outer flask to the required length.
Using a file or needle file, remove the burrs from the edges.

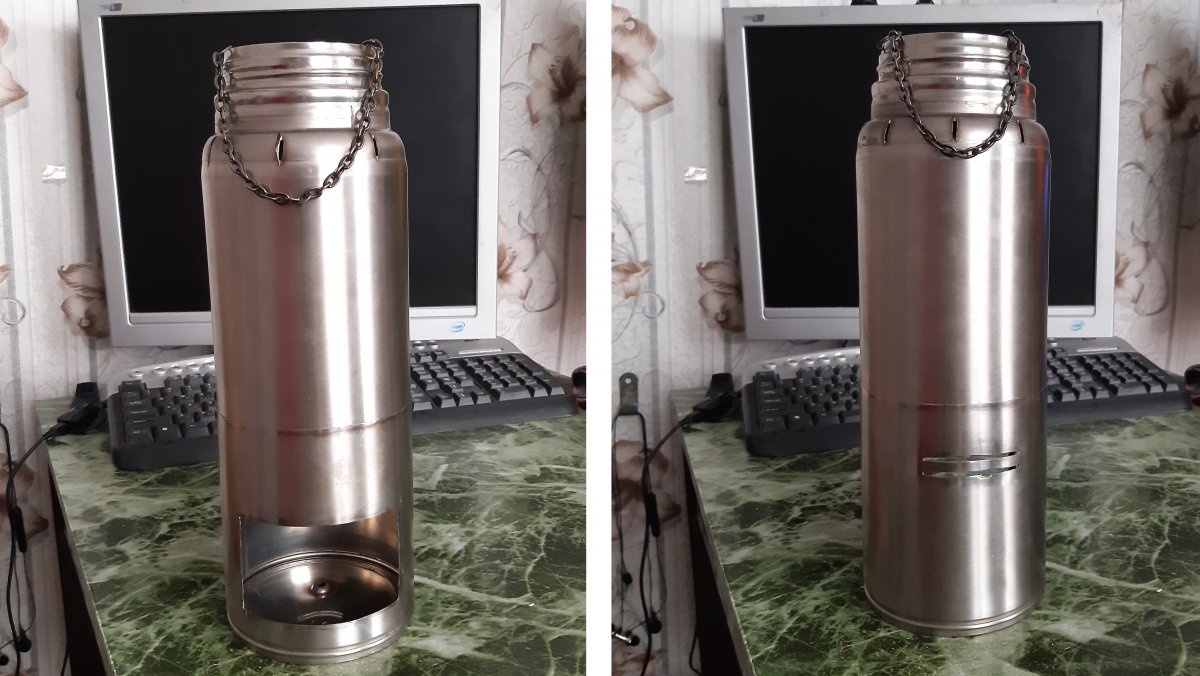
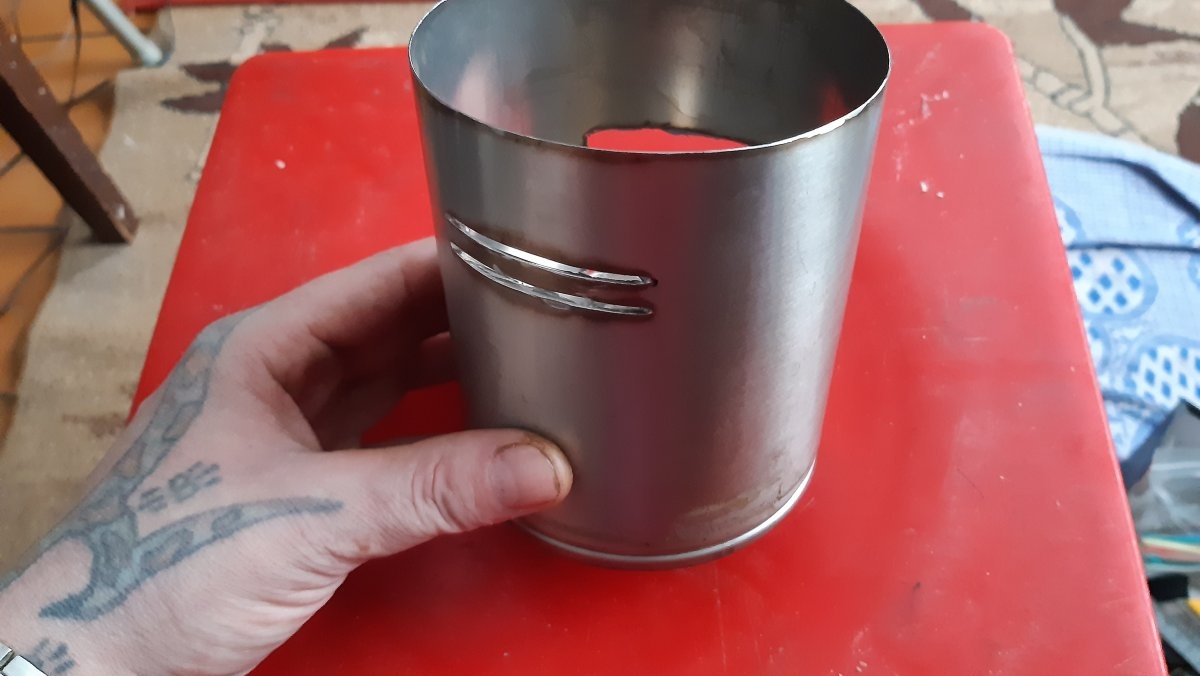
Next, you need to make a rectangular cutout for fuel supply and, on the reverse side, a couple of holes or cuts for traction.

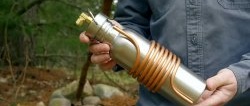
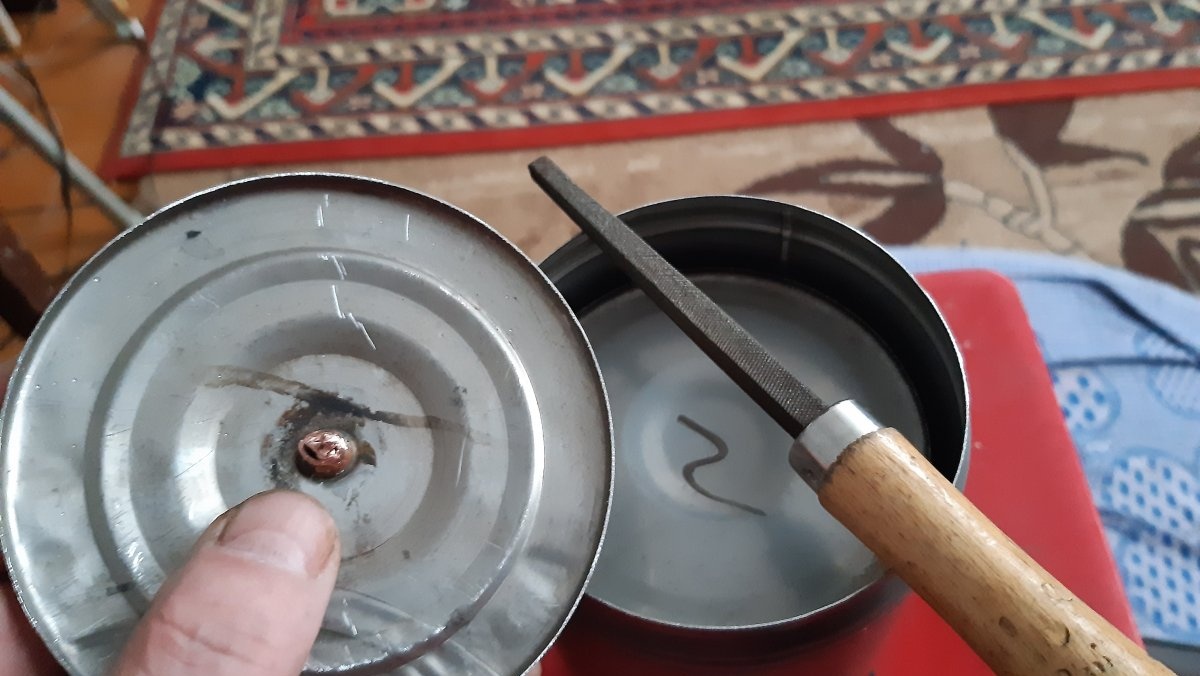
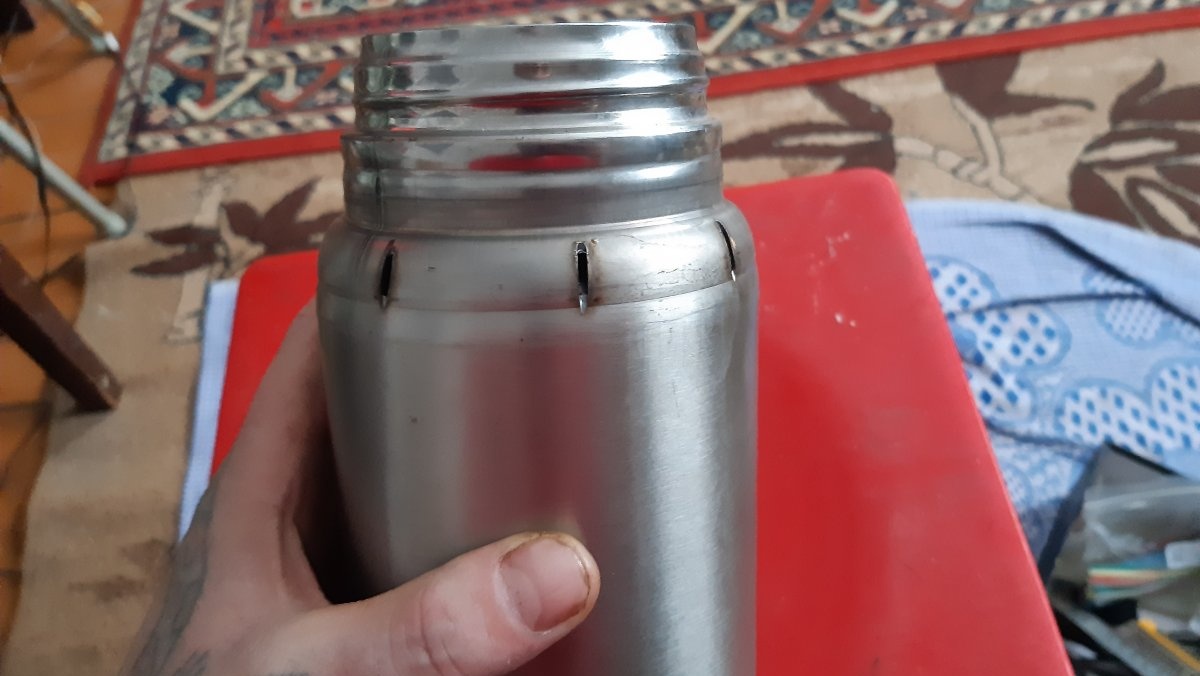
At this point, the lower part, where the wood will burn, is ready. Now let's move on to the second thermos. This procedure is not much different from the first. Only in this case you need to cut off the bottom of the outer flask without damaging the inner flask. It turned out to be as easy as pie to do this - the bottom of the outer flask turned out to be made according to the principle of a tin can, so I simply rubbed the edges of the flask with a file, and the bottom safely fell out on its own.
Next, on the bend of the neck you need to make several longitudinal cuts, or holes, for better traction. In addition, the water in the inner flask will heat up much faster due to the hot smoke escaping through these holes. We make markings with a marker and cut the cuts. Like this:
Trying the bottom part to the top part. The top half should fit into the bottom half with good effort.
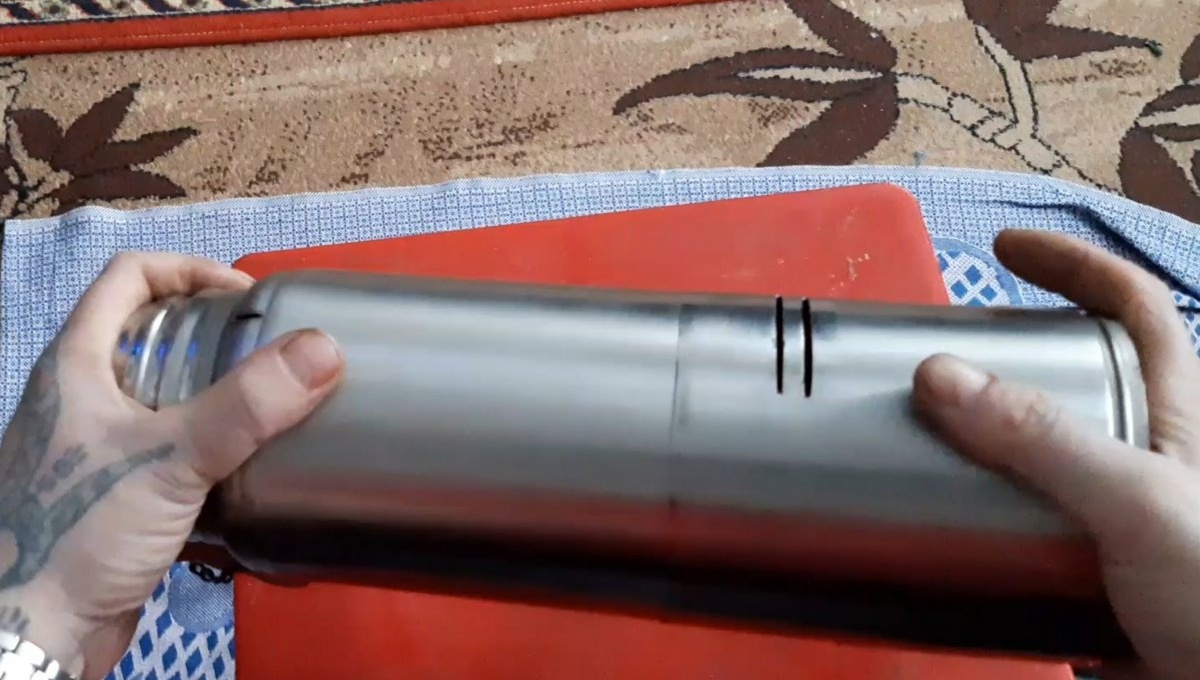
So that it would be difficult to separate them later.Then, when heated, the metal will expand even more, which will finally make it impossible for the parts to spontaneously separate while heating the water. It will be possible to disassemble this samovar to clean and wash it only after it has cooled down. This completes the main part of the work. Next, you can also make holes at the very top of the neck for a chain, by which you can later hang the samovar on a branch or snag.


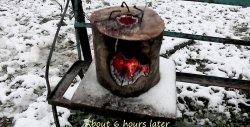
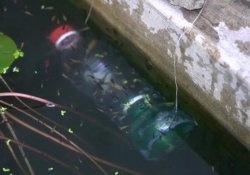
Although, you can do without this by placing the samovar on bare ground. You can use such a samovar on hikes. It will be especially indispensable in those places where it is forbidden to light an open fire - so that it does not smoke or shoot sparks, it can be heated not with wood chips and cones, but with dry fuel tablets. I threw a couple of tablets into the firebox, melted them, and hung them on some branch. Nobody will dig in!
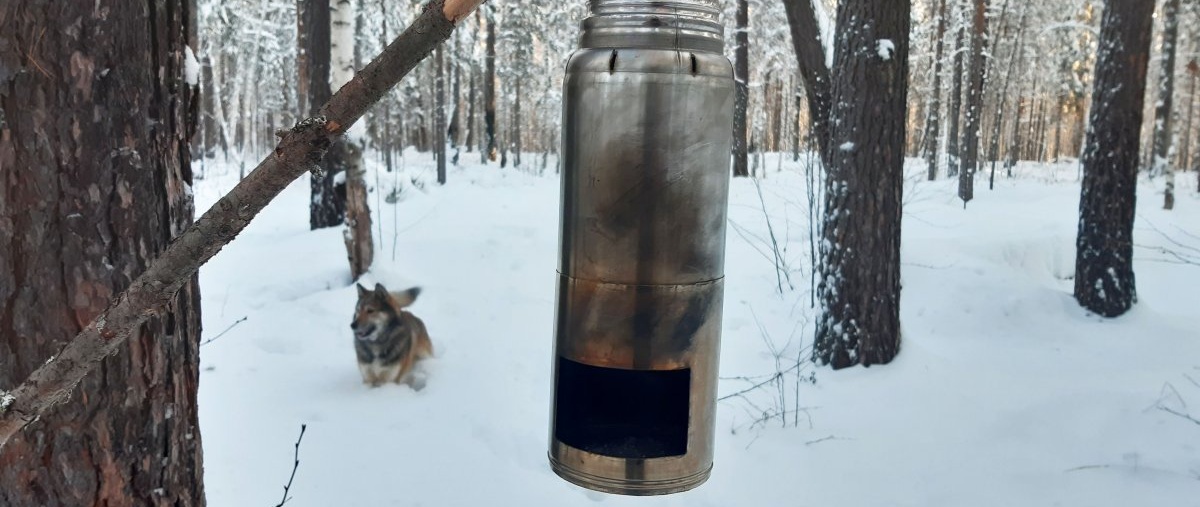

You can easily boil water for tea, or for brewing freeze-dried food, in such a samovar in 15-20 minutes, in real camping conditions. My water boiled in 28 minutes. And this taking into account the fact that the air temperature at that time was -21 degrees Celsius. This is very good! The tests can be seen in the video below.