Will need
- Old thermal mug.
- A jar lid that fits the inner diameter of the mug.
- 12 volt power supply.
- Connector suitable for the power supply plug.
- 12 volt charging module.
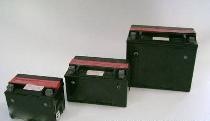
- Three 18650 batteries.
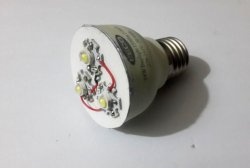
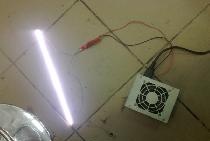
- 12 volt LED light bulb.
- Switch.

Tools and consumables:
- Engraver with a thin cutting disc.
- Stationery knife.
- Insulating tape.
- Pliers.
- Thin copper wire, two-core.
- Secondary glue.
- Soldering iron with tin and flux.
- Solvent with cotton wool.
- Marker.
- File.
- Varnish in a can.
- Cold welding glue.
- Baking soda.
- PVA glue.
- Glue brush.

Making a table lamp
As a housing for the lamp, I decided to use a thermal mug that had been gathering dust idle in the table's bedside table. This mug consists of two plastic flasks inserted into each other. The outer flask is made of transparent plastic, the inner one is made of black plastic. Between them is a piece of paper with a drawing. This mug is very easy to disassemble - you just need to unscrew the inner flask from the outer flask along the thread. Dismantled. Next, using an engraver (or a knife; whatever you want), we cut off the top of the inner flask - 40-50 mm.

Let's put this flask aside for a while. Now let's start decorating the outer, transparent flask. First, you need to wipe its surface with a solvent so that PVA glue sticks to this surface better.

Next, apply glue to the surface of the flask with a brush, and then sprinkle the whole thing with baking soda.

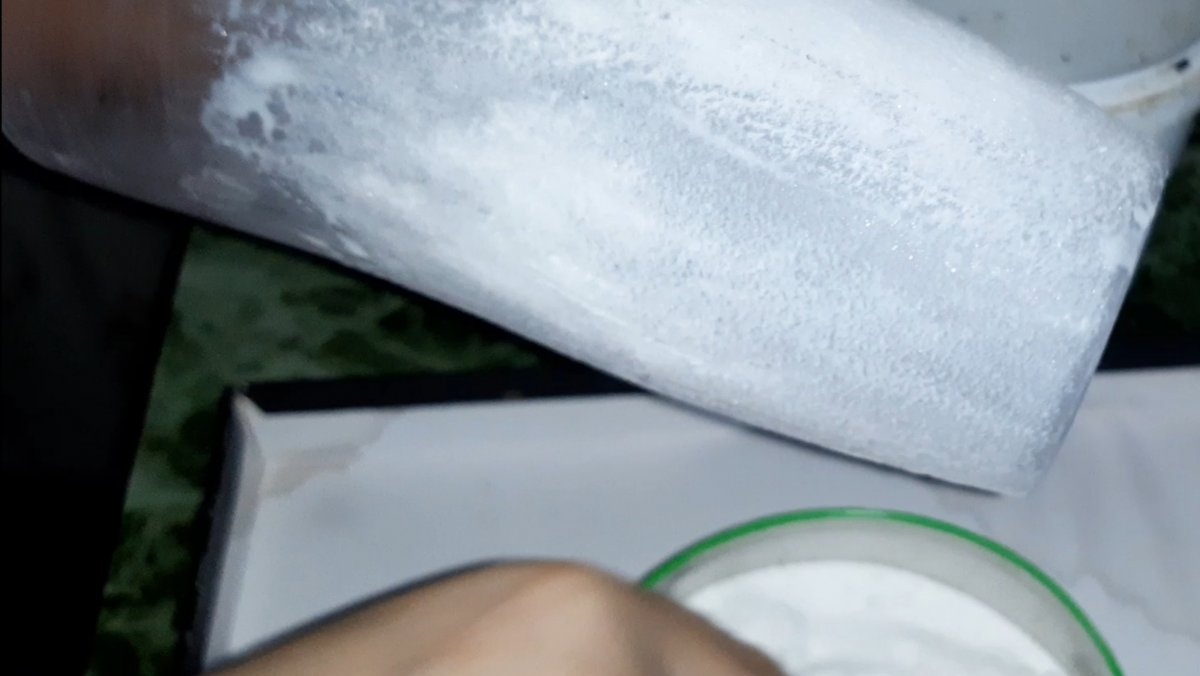
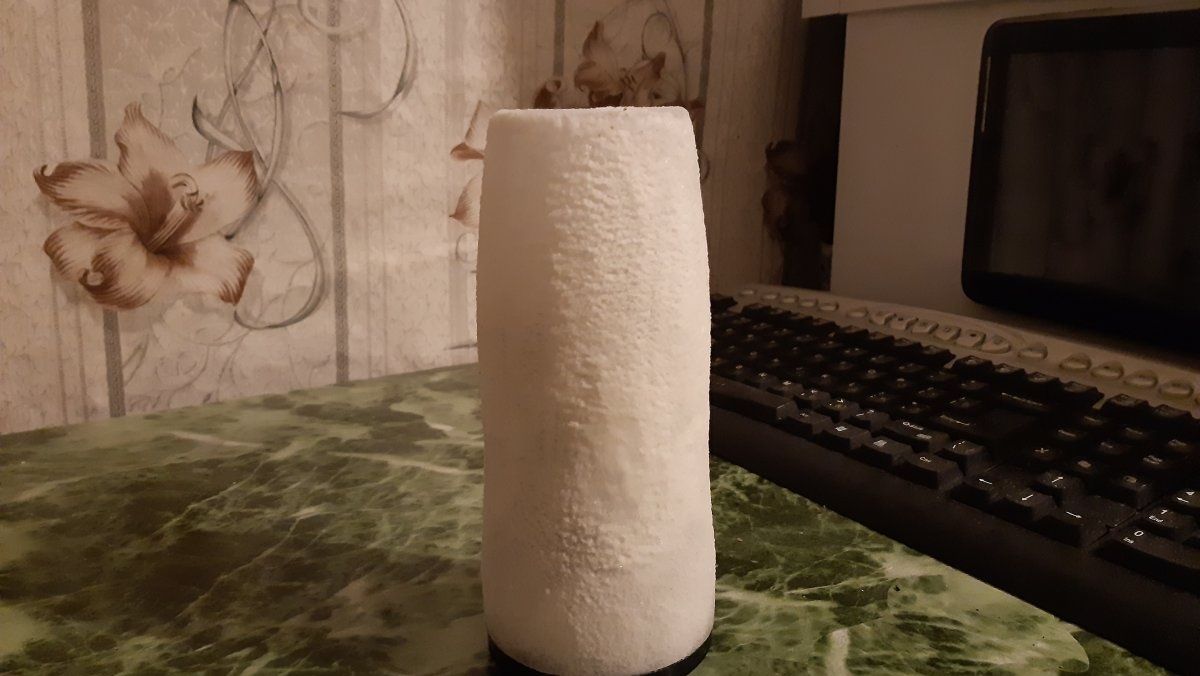
When the glue and soda dries, the surface acquires a very interesting, rough structure, similar to very fine sandpaper. Quite pleasant to the touch. It is also necessary to secure the whole thing with a transparent varnish so that the glued soda does not fall off over time.

Here's what came out in the end:
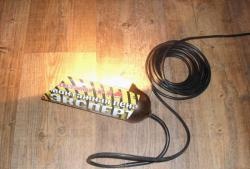
You can put the finished body aside to dry for now and start filling the lamp. Here, in my opinion, the work is even more trivial than what was done previously. All you need to do is wrap the batteries together with electrical tape, then, using a soldering iron, connect them in series, and solder the charging module to them, as shown in the diagram:


This module can be purchased on AliExpress - .

Next, we will need any circle for a transverse partition inside the body. I took a tin lid - it fit perfectly, I didn’t even have to cut it. We make holes in the cover for the power connector and for the switch, and insert the above elements into the holes made.

Next, we insulate all the contacts and solders of the batteries with tape, solder the power connector to the output contacts of the module, not forgetting about the polarity. We also solder a light bulb to the same output contacts of the module, in series, through a switch.


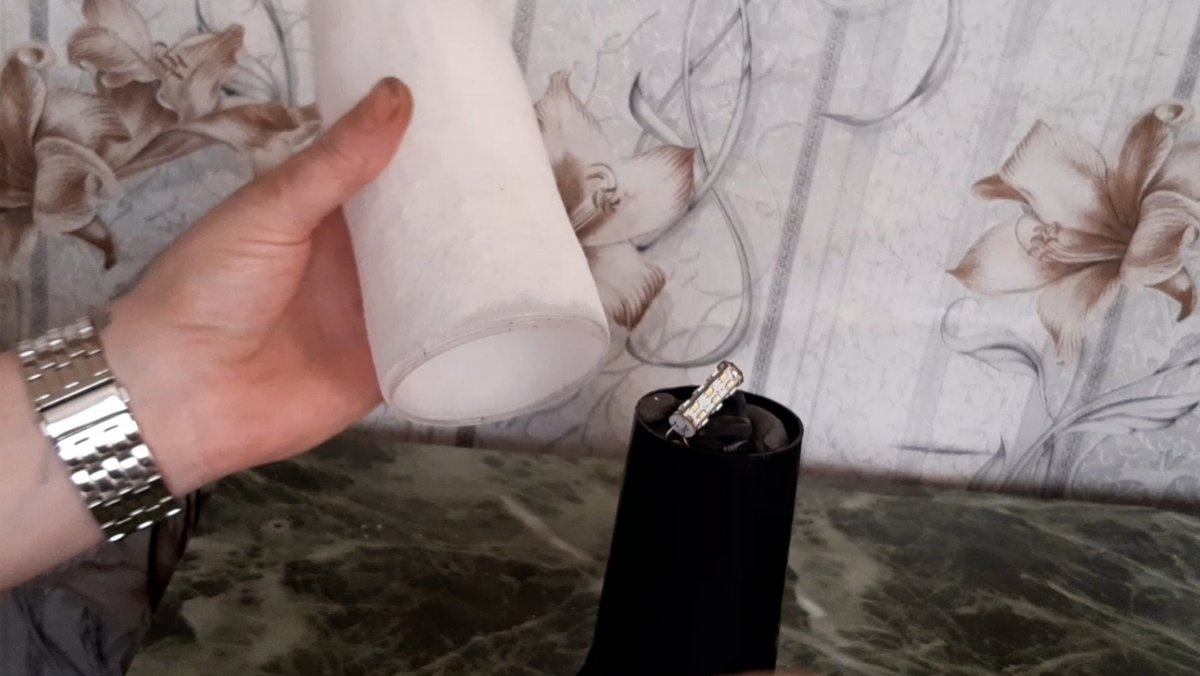
Now we simply push it all into the lamp body until the partition cover is clamped between the tapering walls of the body. Like this:

We secure the lid with instant glue, and fix the top of the assembly, where the light bulb is, using cold welding so that nothing dangles.

Next, we make a small cut at the bottom of the lamp to bring out the cable for the charging power supply.

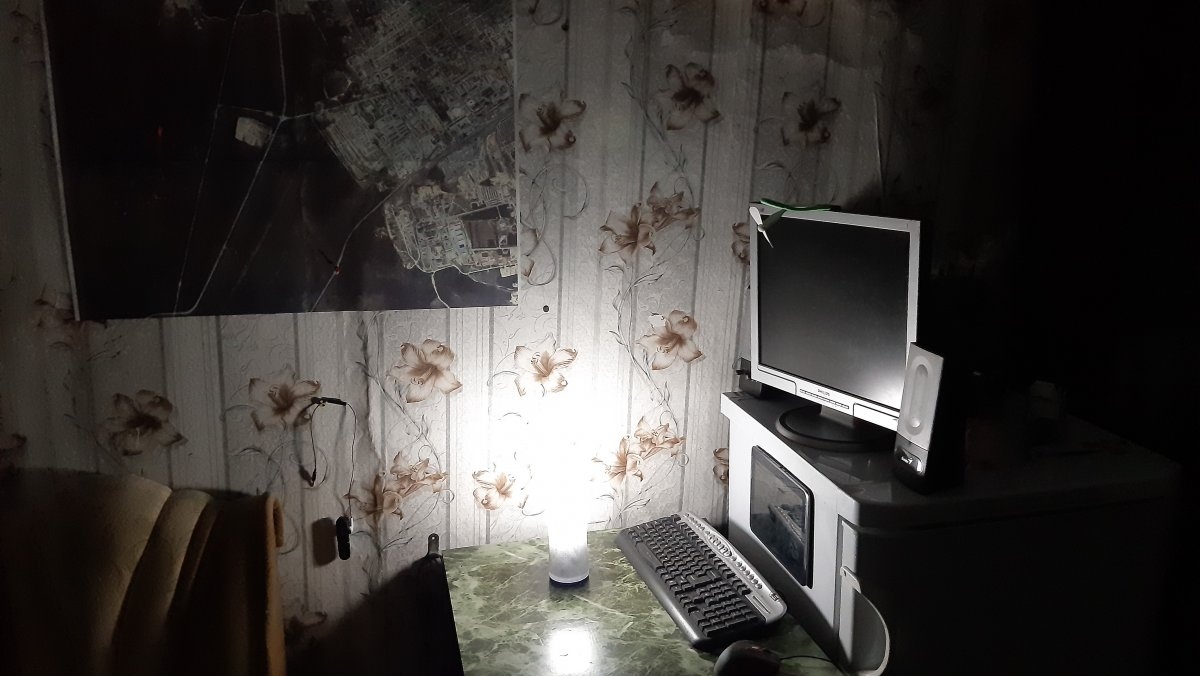
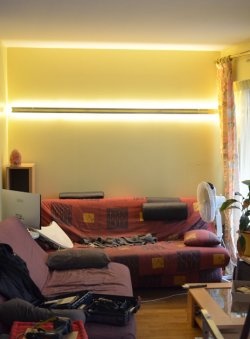
We screw the second, decorative flask on top and use it with pleasure.