Materials for work:
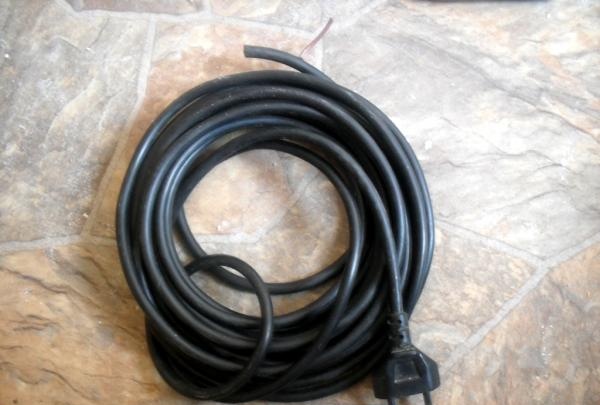
• Cord (for example, from an old vacuum cleaner) with a working plug at one end – 1 pc.;
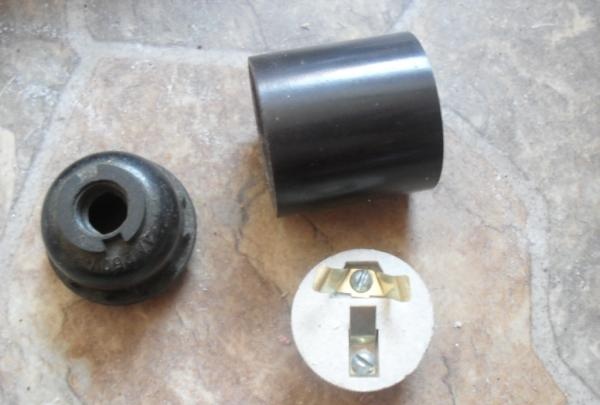
• Suspension socket for lamp – 1 pc.;
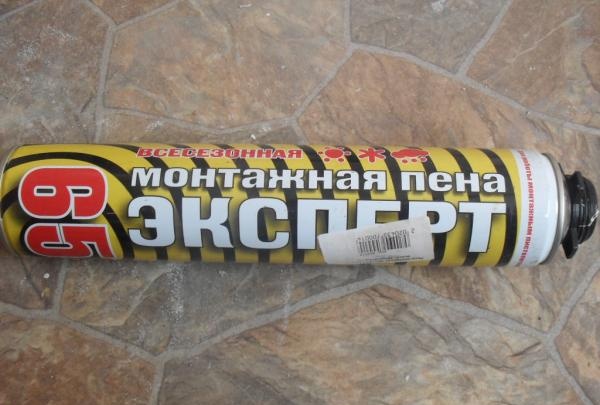
• Empty polyurethane foam container – 1 pc.;
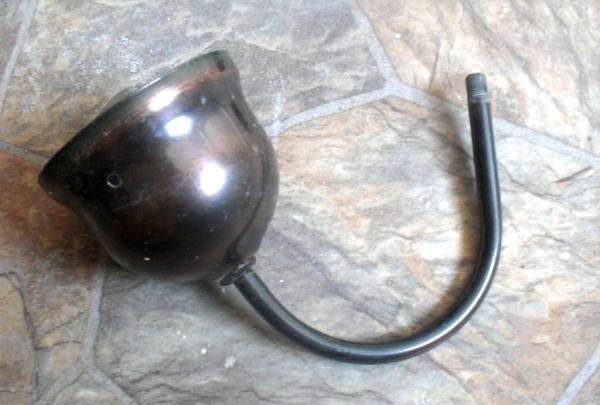
• Chandelier body with horn (without shade) – 1 pc.;
• Short bolt – 3 pcs.;
• Nut – 3 pcs.;
• Drill, thin drill, screwdriver.
Stages of work:
First stage: connect the wires.
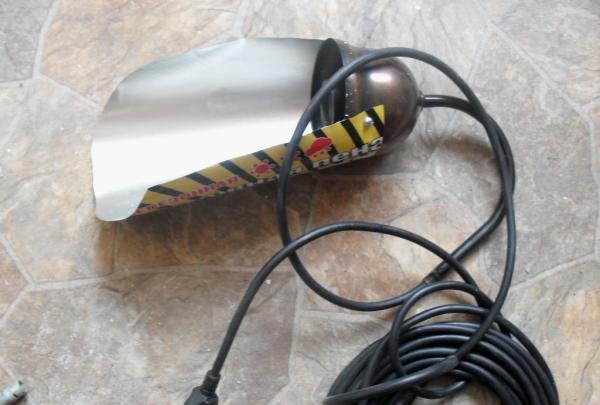
We free the old chandelier from the shade.
We find a wire from an unused household appliance (in the presented version, a cord from a vacuum cleaner is used). It is desirable: a longer wire, with a double insulating layer, so that it has a working plug at one end.
Unscrew the horn from the body.We thread the cord into it so that the direction of movement goes towards the connection of the horn with the lampshade.

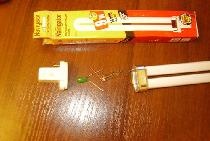
Second stage: connect the wires. We are looking for a pendant socket for a lamp.
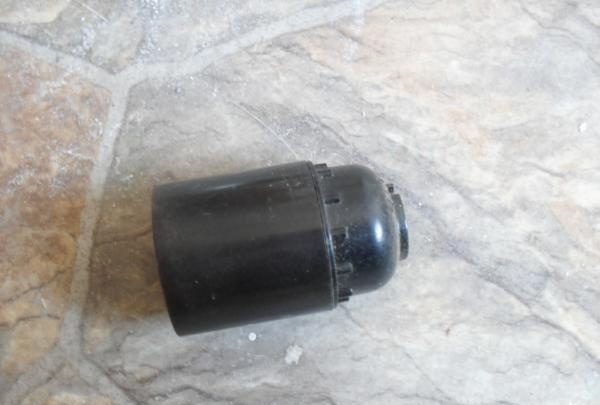
We disassemble it into its components: disconnect the body and threaded sleeve, take out the porcelain liner.
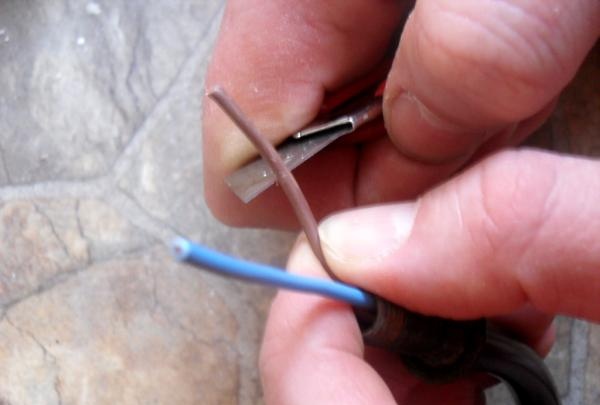
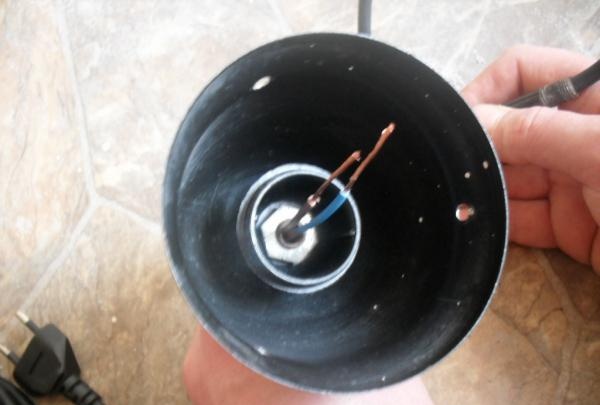
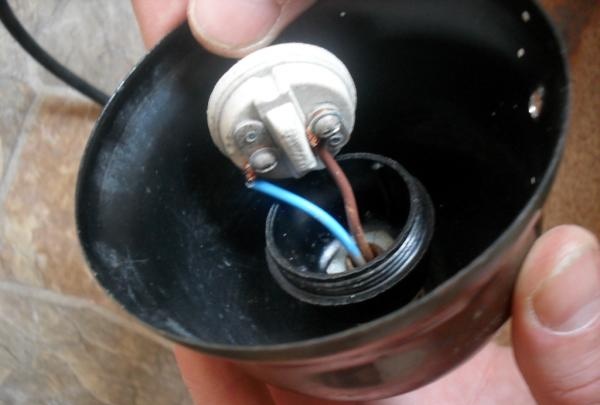
We free the end of the cord pulled out from the horn from the outer insulation, and strip the wires themselves (by cutting and removing the inner insulating layer from both wires).

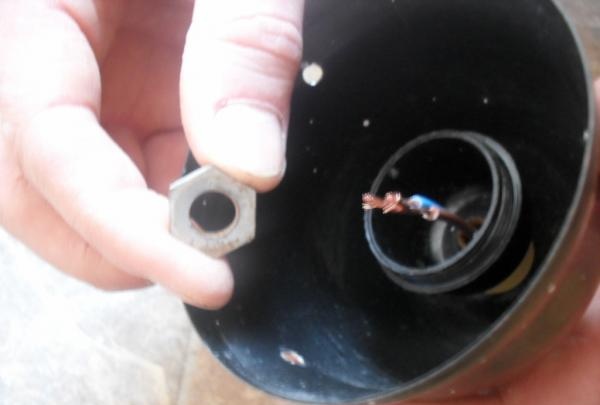
We thread the stripped wires into the chandelier body.
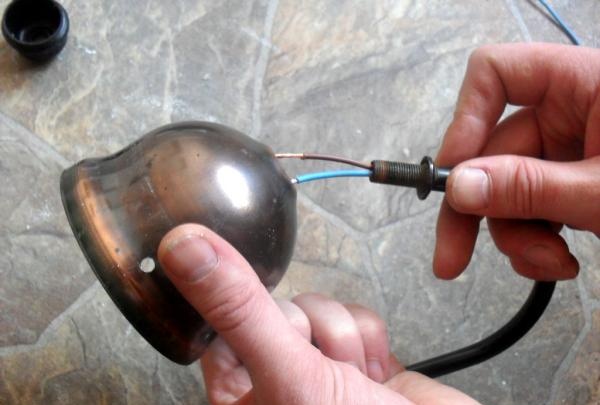
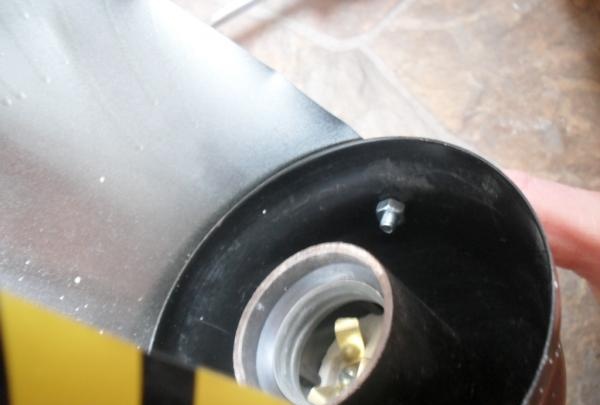
Further work is carried out inside the chandelier body. First we insert the wires into the cartridge body.
We secure it with a special nut, which secures the chandelier horn to the body.
Next step: connecting the wires to the porcelain socket insert.
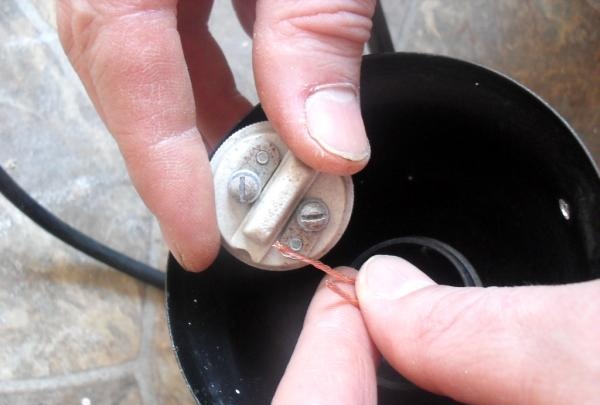
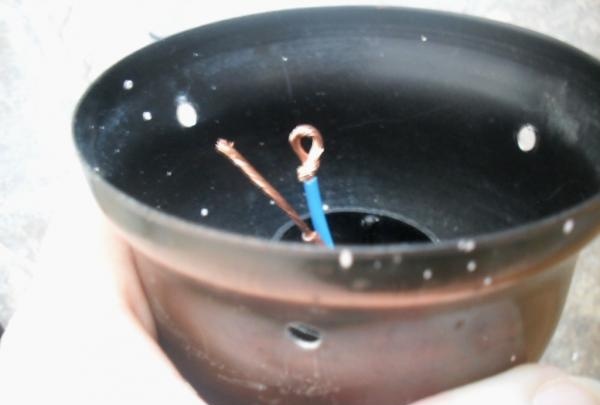
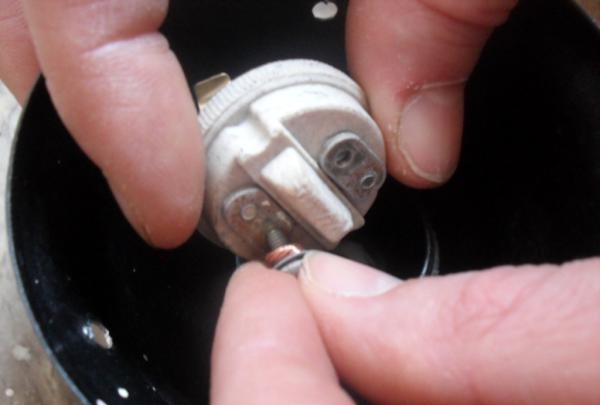
To do this, twist a loop at the end of each wire.
Unscrew the contact screws on the porcelain insert. We thread the screw into the loop. We put the screw in place and screw it tightly to the insert (the wiring ring remains under the screw, on the insert).
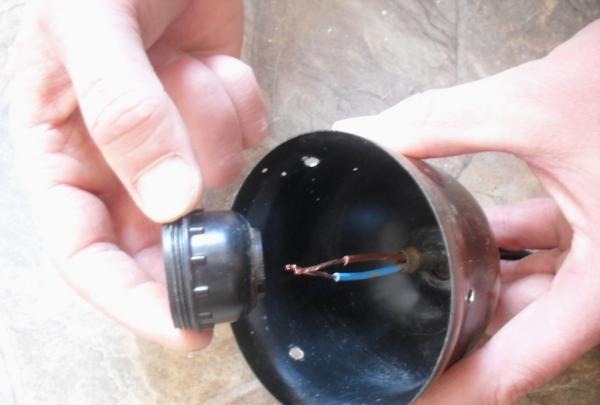
After screwing the contact screws, we place the porcelain insert into the cartridge body (wires inside).
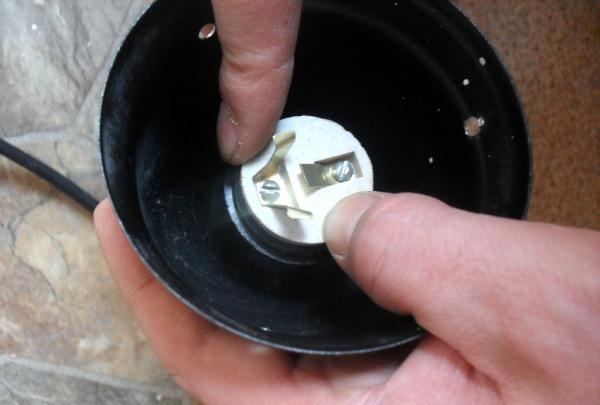
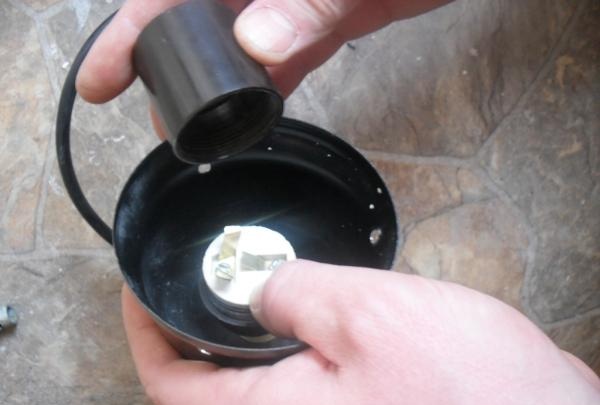
We connect the cartridge body with the threaded sleeve.
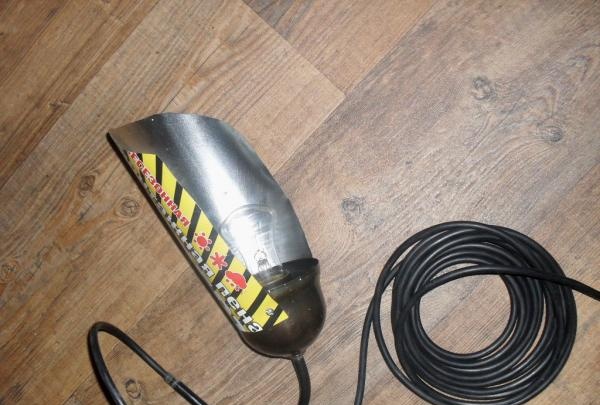
Third stage: making a reflector.
To concentrate the direction of light, we make a “curtain” - a reflector, by cutting out a spade-shaped part from an empty container of polyurethane foam.
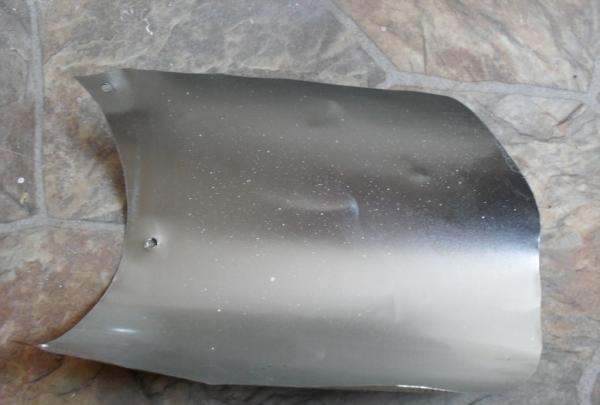
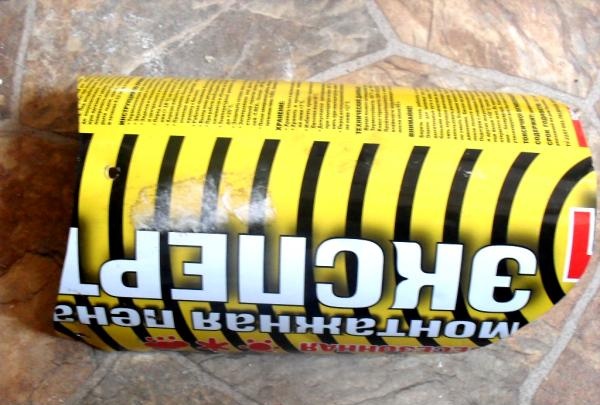
We drill holes at one end of the reflector with a thin drill, trying to align them with the holes on the body of the chandelier - where the lampshade is attached to it (in the presented version there are three holes - in the center and edges).

Using short bolts we twist the reflector with the chandelier body.
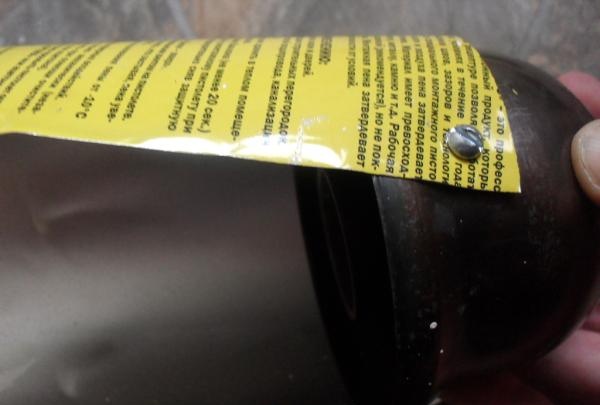
From the inside of the chandelier body, we secure each bolt with a nut of suitable size.
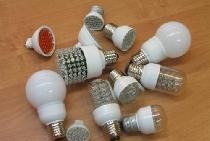
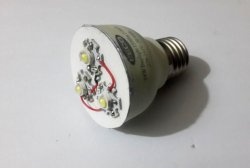
We screw the incandescent lamp into the carrying case.
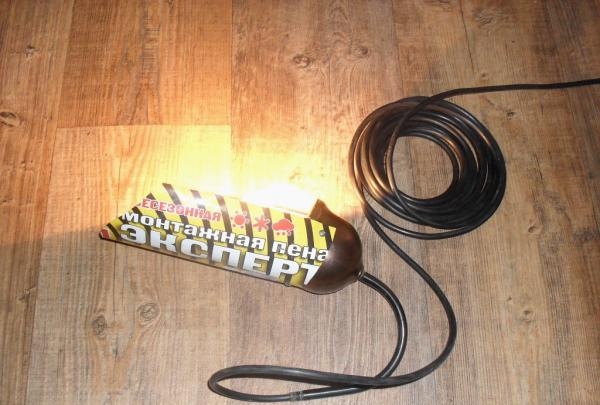
That's all.We check the functionality of the homemade carrier and begin its immediate operation.