Materials and tools:
- sanding paper with coarse abrasive on a fabric basis;
- ruler or square;
- scissors;
- knife;
- pencil;
- vulcanizer for camera repair or iron;
- glue 88;
- clamp if using an iron.
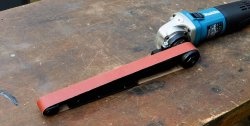
Gluing tape
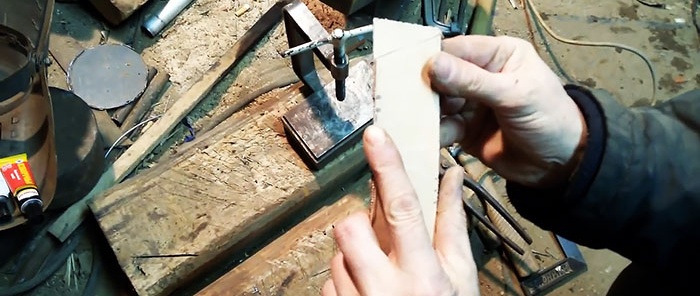
A strip of the required width and length is torn from the sandpaper.
One of its edges under the ruler is cut at approximately 45 degrees.


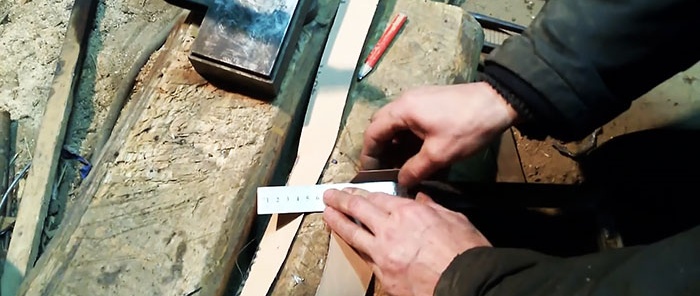
The second edge is marked and trimmed along it. You should not glue tape with straight ends, since in this case the contact area will be smaller, which will reduce the reliability of the connection.

One end of the tape, approximately 15-20 mm from the edge, is bent inward at an angle of 45 degrees.
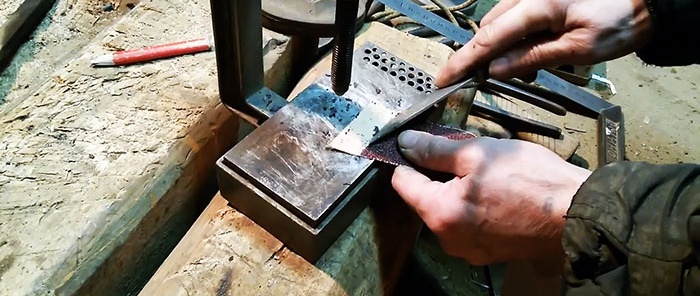
The abrasive along the fold line is picked off with a knife.

A similar bend is made on the second edge of the tape. To make it the same width, you need to measure along the first crease.The abrasive along the line of the second bend is also torn off with a knife.
Next, you need to remove the abrasive over the entire area of the folded edges.
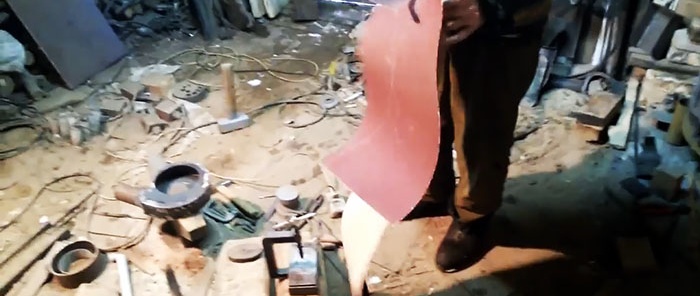
To do this, they are heated to soften the bakelite glue.

This can be done using a vulcanizer for repairing cameras or an iron. You need to heat the edges to a temperature of at least 150-160 degrees Celsius, which only modern irons with a drip system set to maximum power are capable of. Old Soviet irons heat up to a maximum of 115 degrees Celsius, so they won’t work. The edges of the tape are heated for 10-15 seconds until they darken, after which the abrasive is easily scraped off with a knife.

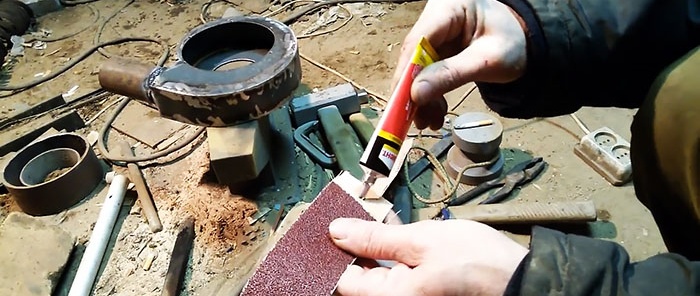
To glue the stripped ends of the tape, glue 88 is used. After applying it and spreading it on the fabric, you need to wait about 5 minutes. After the glue stops sticking to your fingers, apply a second layer and rub it again by rubbing the edges of the tape. It is necessary to achieve complete impregnation of the fabric so that it becomes rigid. After waiting another 5 minutes, you should reconnect and break the ends, smearing the remaining protruding glue.
After another 5 minutes, the tape is finally connected. You need to check how even the ring is and, if necessary, trim it. After this, the gluing area is compressed in a vulcanizer or clamped with a regular clamp through a spacer. The tape is left under pressure for 24 hours. After complete polymerization of the glue, it can be used for its intended purpose.