Do it yourself
Life hacks, master classes, useful tips, recipes.
home » Electronics » DIY electronics » LED lamp repair

Light-emitting diode (LED) lamps have recently become widespread in our lives. And this is not surprising, since they have many advantages compared to other artificial light sources.

Here are a few of them:

1. Cost-effective.

2. Durability.

3. Security.

Both the price and quality of these lamps may vary depending on their manufacturer. They are not very different in design, the components are the same, but the difference may be in quality.

This is especially true for themselves LEDs and cooling systems. Although the lamp does not overheat significantly, heating is still present, which has a detrimental effect on the electronics.

Therefore, breakdowns of these devices also occur. This is very unpleasant, especially when the lamp has not lasted even a couple of months. However, do not rush to throw it away. There is a way to repair the lamp, thereby saving your money.

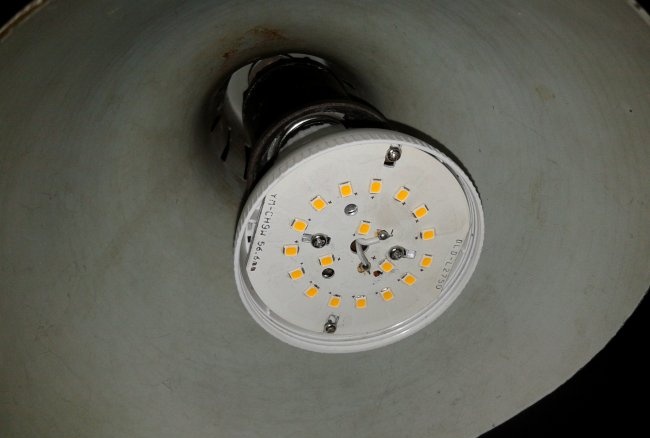
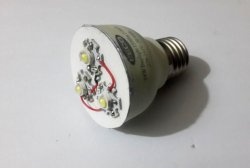
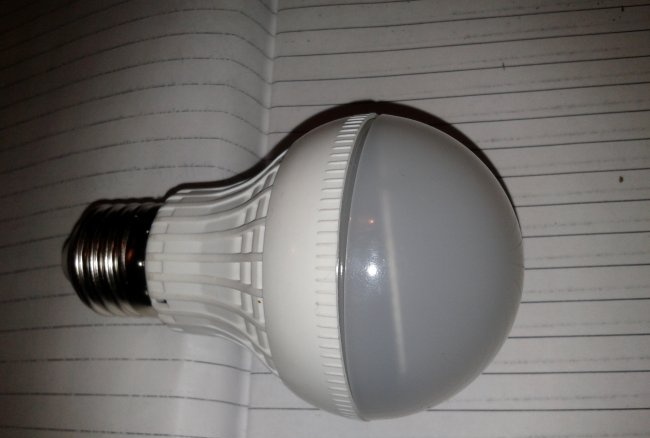
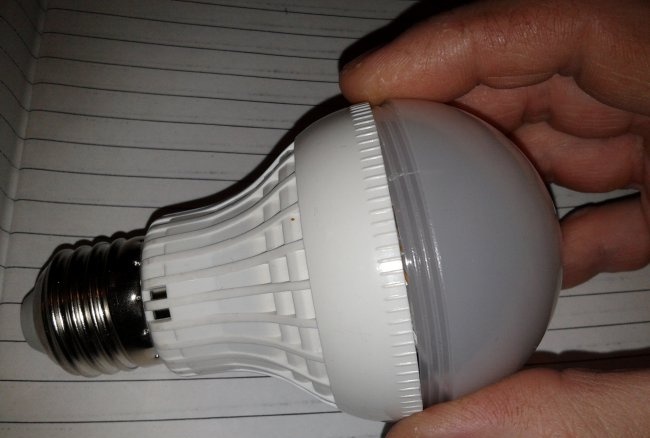
Here, in the photo, is a lamp of average quality.

LED lamp repair

One fine day it stopped working, although the lamp itself was fully operational.

It is clear that the problem lies precisely in the lamp, or more precisely in one of its components.

DIY LED lamp repair

So, let's start repairing the lamp.

To disassemble it, you need to remove the diffuser.

LED lamp repair

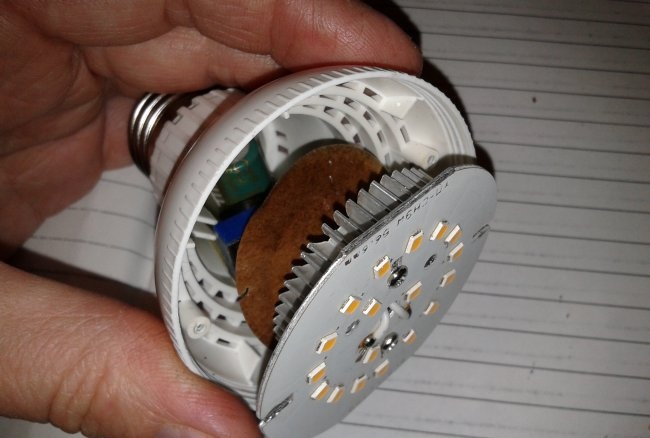
Below it is an LED panel and an electronic converter. The diffuser can be snap-on or screw-on.

This lamp uses a threaded connection, and this is the best option for repairs, as it does not require much effort or special tools for dismantling.

Simply twist it counterclockwise and the matte cap will come off without any problems.

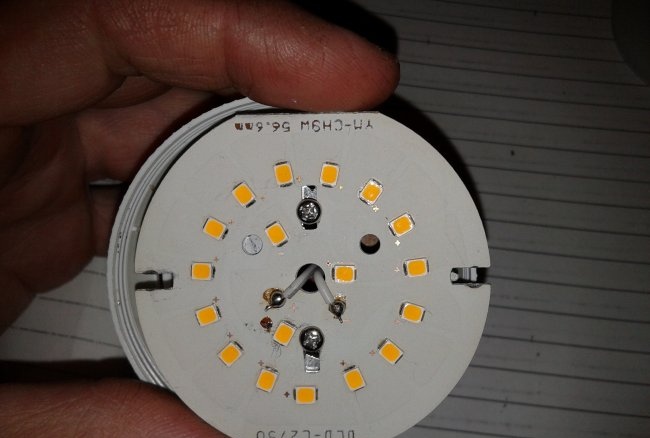
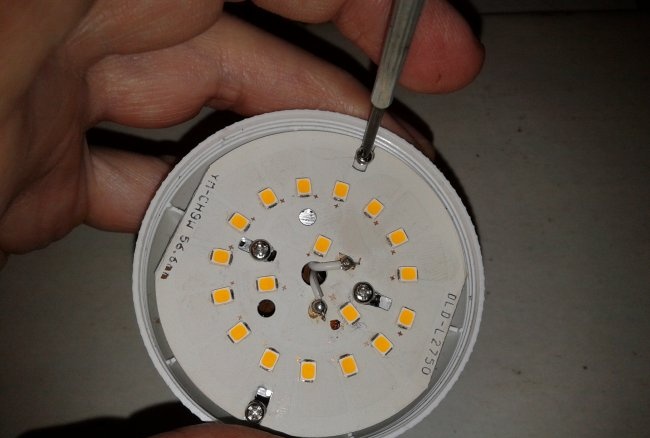
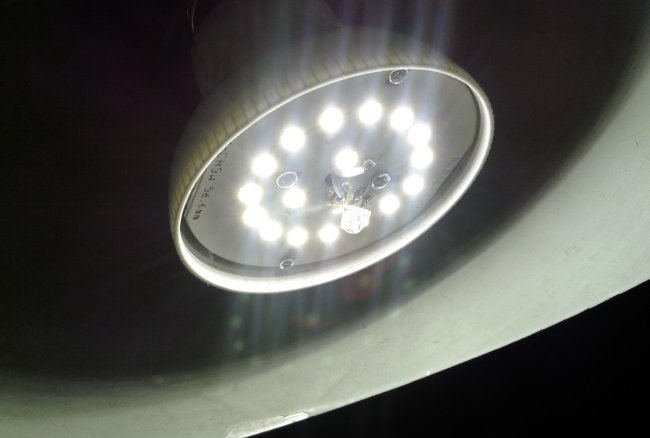
Under it, as already described above, there is a panel with several dozen LED elements.

LED lamp repair

To begin with, you can look at the external state of each electronic component on the converter itself.

LED lamp repair
LED lamp repair

Sometimes this may be the cause of the breakdown. Most often this is a swelling of a high-capacity electrolytic capacitor. If traces of deformation are visible on its upper or lower part, then it definitely needs to be changed.

Also, there may be a regular fuse on this board, which could have blown due to a voltage drop. Then the problem is solved by replacing it.

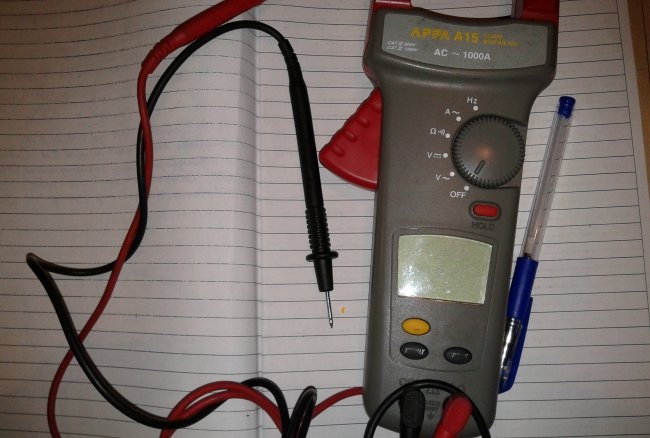
If no external defects are found on the converter, we measure the voltage at its output. This can be done with a multimeter or a simple DC voltmeter.

LED lamp repair
LED lamp repair

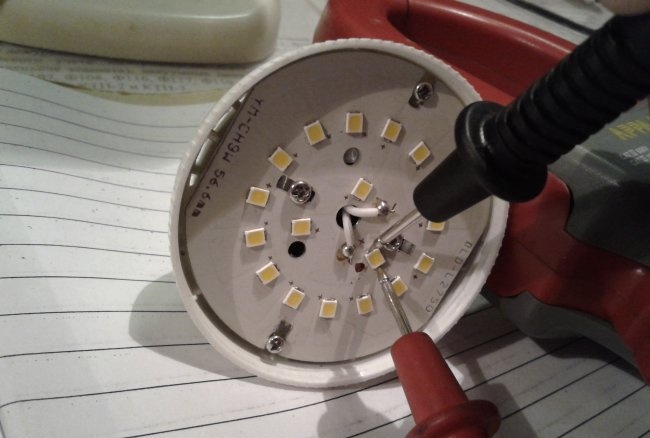
By the way, you can measure the voltage at the output of the converter without removing the LED panel. This should be done on the two wires coming out of the hole. But first you need to insert the lamp into the socket of some table or other lamp.

LED lamp repair

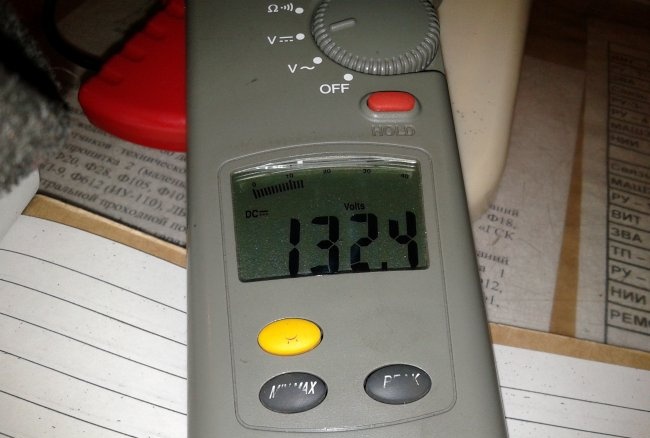
As shown by the voltmeter, the output voltage is approximately 132 volts. And this means that the converter itself is in good condition and the problem is in the LEDs.

LED lamp repair

Since their connection is serial, failure of at least one of them will lead to complete inoperability of the entire panel.

How can you find the one that is faulty? If this is not visible externally, there is an effective method to find the problematic diode.

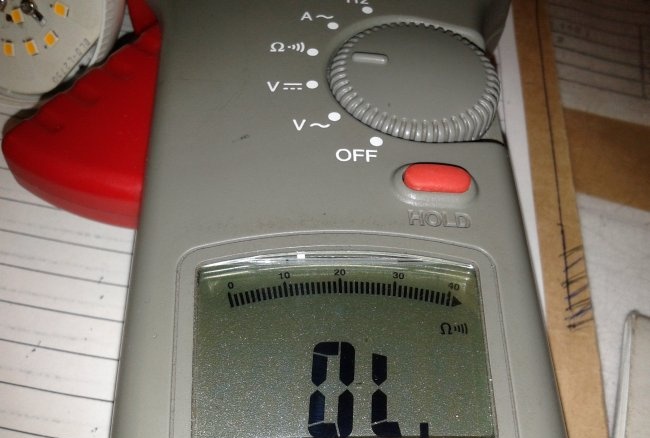
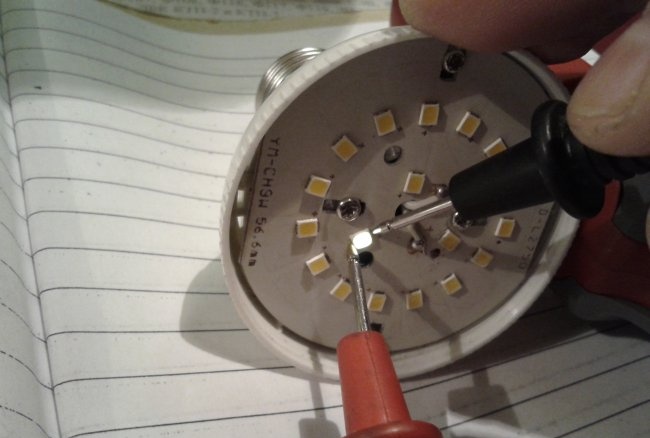
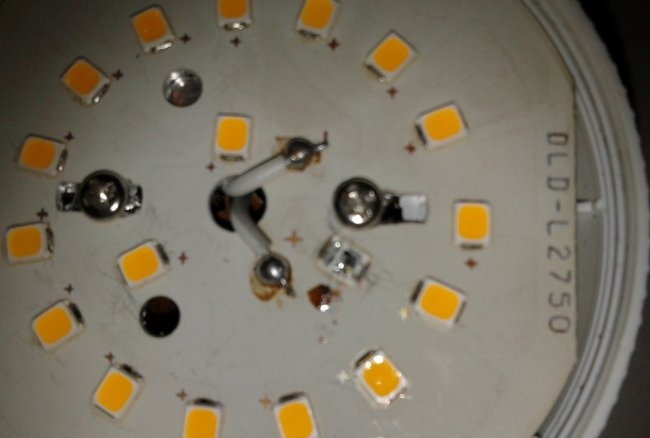
We translate multimeter into the dialing mode and connect its probes one by one, in parallel with each LED, moreover, the positive (red) probe of the device must be applied to the “-” terminal.

LED lamp repair

On the panel diagram, the “minus” is not indicated, only the “plus” is marked. Therefore, it is not marked, and there is a cathode.

LED lamp repair
LED lamp repair

If Light-emitting diode serviceable, when the probes are connected to it, a faint glow appears. The element that does not light up is faulty.

LED lamp repair

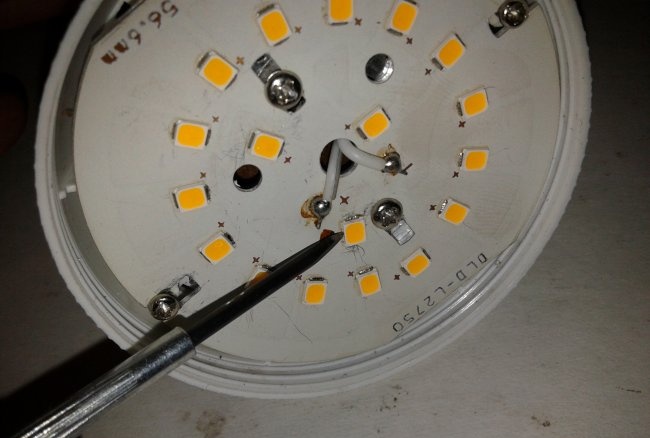
Next, delete this Light-emitting diode, prying it out with a thin screwdriver.

LED lamp repair

Afterwards, we carefully tin its seats.

Now you need to find Light-emitting diode to replace the burnt one.

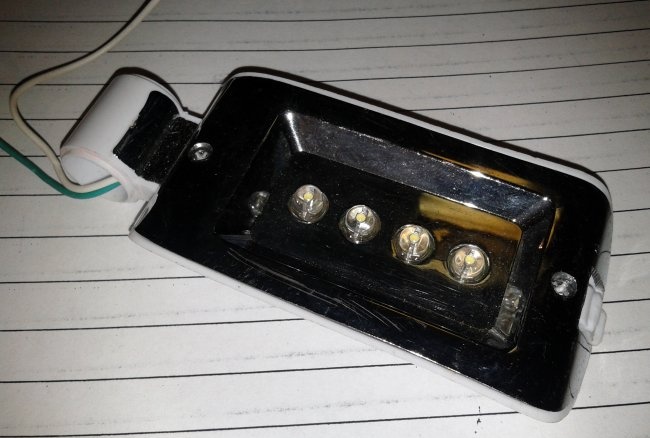
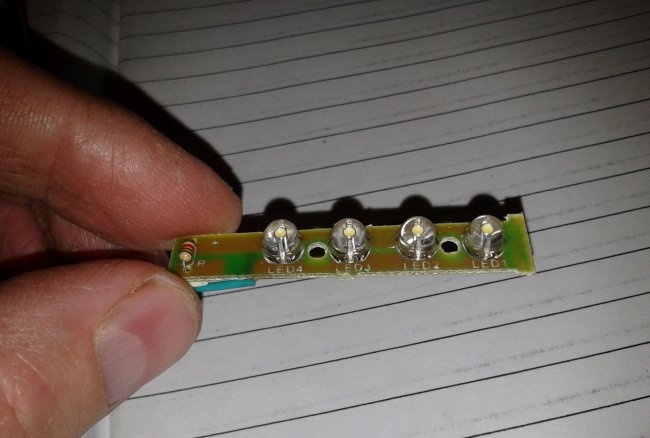
Any working element will do for this, for example, from a flashlight with a problem battery or even from a backlit lighter.

LED lamp repair

Now they are not used anywhere, so there should be no problems with this.

LED lamp repair
LED lamp repair

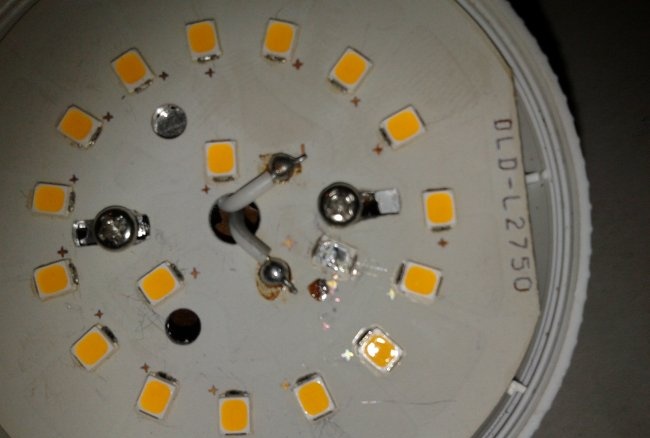
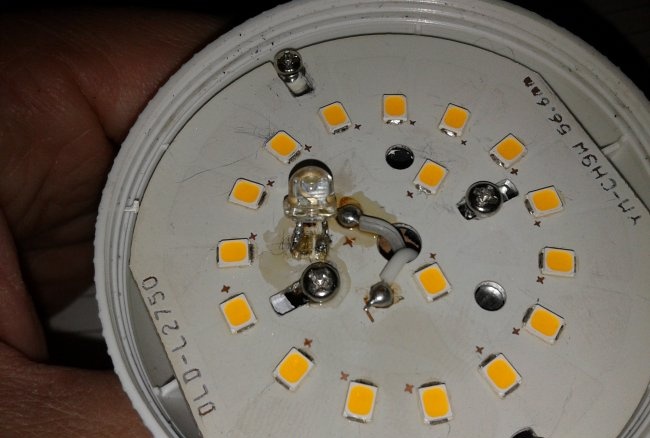
In the same way as when searching for a faulty one, we find positive and negative conclusions. Now we solder the new one to the board according to the polarity Light-emitting diode.

LED lamp repair
LED lamp repair

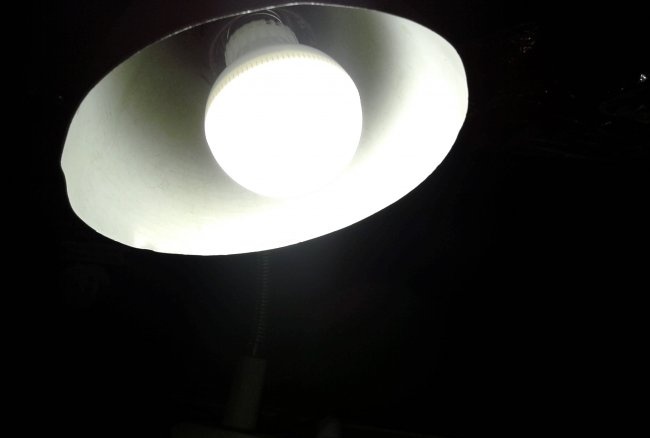
It can be seen that when voltage is applied to the lamp, it glows.

LED lamp repair
LED lamp repair

Thus, the repair was successful and the lamp can last for several more months, and possibly years.
come back
Comment
  • bowtiesmilelaughingblushsmileyrelaxed relaxedsmirk
    heart_eyeskissing_heartkissing_closed_eyesflushedrelievedsatisfiedgrin
    winkstuck_out_tongue_winking_eyestuck_out_tongue_closed_eyesgrinningkissingstuck_out_tonguesleeping
    worriedfrowninganguishedopen_mouthgrimacingconfusedhushed
    expressionlessunamusedsweat_smilesweatdisappointed_relievedwearypassive
    disappointedconfoundedfearfulcold_sweatperseverecrysob
    joyastonishedscreamtired_faceangryragetriumph
    sleepyyummasksunglassesdizzy_faceimpsmiling_imp
    neutral_faceno_mouthinnocent
3+three=
Comments (11)
  1. Leonid Zagain
    #1 Leonid Zagain Guests December 6, 2017 08:26
    8
    Yes, the author is absolutely right, I’ve been repairing this way for more than six months now! Also, I ordered from aliexpress LEDs 100 pieces for 89 rubles and now I’m banging them, even the lamp power does not decrease.
  2. Guest Sergey
    #2 Guest Sergey Guests 6 December 2017 18:05
    7
    The method is certainly effective and may help someone, but bad luck - not everything LEDs That's how they call! I have lamps and in them LEDs each of which has several crystals... It rings and does not want to light up. On one lamp I couldn’t even light a 25V power supply Light-emitting diode. And what to replace them with???
    1. Guest Alex
      #3 Guest Alex Guests 1 January 2018 15:24
      6
      It is clear that the LED requires 2.5-3 only to open its transition.
      Take a source of 10, 15 volts and through a 1 kohm resistor call so many of 3 crystals (for glow). Observe "+" and "-"!!!
      The old Ts 43XX testers had a 4.5 V battery and lit any diode (in resistance measurement mode).
  3. Vladimir Mikhailovich
    #4 Vladimir Mikhailovich Guests December 8, 2017 07:10
    6
    In cheap lamps, no radiators are ever installed as in the photo, and 99% of malfunctions are due to the electronic power supply. In five years of working with lamps, not a single Light-emitting diode did not die, but the intensity of the glow changed significantly, which was the reason for the replacement LEDs. The main problem with cheap lamps is that the declared power is many times higher than the actual one.Depending on the manufacturer, it can range from 2 to 5 watts per 7 watts. lamp.
    1. Valery Ratnikov
      #5 Valery Ratnikov Guests January 1, 2018 00:02
      3
      It's right.
  4. Guest Valery
    #6 Guest Valery Guests January 2, 2018 10:02
    1
    please tell me the power supply circuit for the finger elements of an 18-LED lamp, it used to run on a battery and was charged from a 220v network (screwed into the mains socket), the battery died, an emergency source is needed in rural areas, thanks in advance.
    1. popvovka
      #7 popvovka Guests January 5, 2018 09:40
      4
      Take 3 AA batteries (preferably Ni-Cd, but Ni-MH is also possible) with a capacity of at least 1000 mAh. Connect them in series and install them in place of the old battery. This is all relevant if you had a small lead-acid battery.
      1. popvovka
        #8 popvovka Guests January 5, 2018 09:48
        3
        If you have any questions, write
  5. Uncle Vitya
    #9 Uncle Vitya Guests 24 April 2018 16:22
    17
    To find a dead one Light-emitting diode, I short-circuit each diode with a 20-50 ohm (1-2 W) resistor with the lamp on. Whichever lamp lights up is the one that needs to be changed.
  6. Doubting Thomas
    #10 Doubting Thomas Guests 18 November 2018 19:14
    2
    I'm here to find faulty ones LEDs I use a 24V power supply. I insert a resistance of about 1KOhm into the gap in the probe wire, and connect a digital voltmeter in parallel to the probes. Resistance limits the current through what is being tested Light-emitting diode, and the voltmeter allows you to find working, but fried LEDs, whose voltage will be different. I recently repaired a group of identical light bulbs using a microcircuit that should produce a current of 100mA at a voltage of 30 to 70V. But the Chinese reduced the capacitance of the capacitors, as a result the current increased to 150mA, and LEDs got very hot and burned. I had to select the current-setting resistance.According to the datasheet it is 3 Ohm, the Chinese have 7 Ohm, but in reality to get 100mA you need 12 Ohm...
  7. Hippopotamus
    #11 Hippopotamus Guests 4 December 2018 14:44
    6
    circuit implementation of the lamp driver - current stabilizer, i.e. regardless of the number of series-connected LEDs , the current will remain unchanged. hence the consequence - instead of the burnt LED we solder the jumper wire and put up with a slight loss of brightness in exchange for practicality.

Pillow - toy “Cockerel” | Do it yourself

How to make a photoresistor with your own hands

Tesla transformer on Kachera Brovina from 220 volts | Do it yourself

Diagram of a simple do-it-yourself metal detector

«Do it yourself - with your own hands» - a site of interesting homemade products made from scrap materials and items at home. Step-by-step master classes with photos and descriptions, technologies, life hacks - everything a real master or just a craftsman needs for needlework. Crafts of any complexity, a large selection of directions and ideas for creativity.

We recommend reading

Washing machine error codes