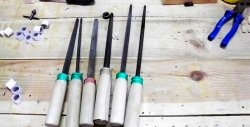
Tools and materials:
- a twist drill bit with a slightly larger diameter than the head of the self-tapping screw used;
- wooden block;
- drill or drilling machine;
- emery with support table.
The process of making an oblique drill
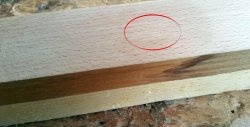
To sharpen a regular drill into a specialized one, you need to make a simple jig. Using the same drill, you need to drill through a piece of a block or board 4-6 cm wide.This conductor will only be needed once, so you don’t have to find fault with the quality of its manufacturing.
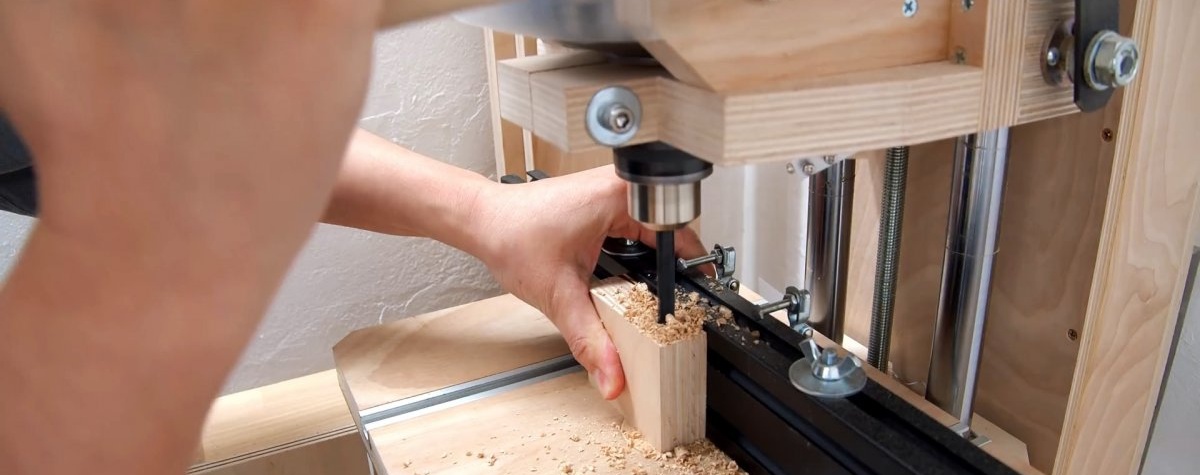
Next, the drill is inserted into the resulting jig, and with its help it is ground on sandpaper. To do this, the jig lies on the support table of the machine so that the edge of the drill protruding from it touches the abrasive. When fixing the drill with a jig in one position, you need to turn it by the shank, grinding it to a smaller diameter than the self-tapping screw used. The height of the groove should be approximately equal to half the length of the screw.
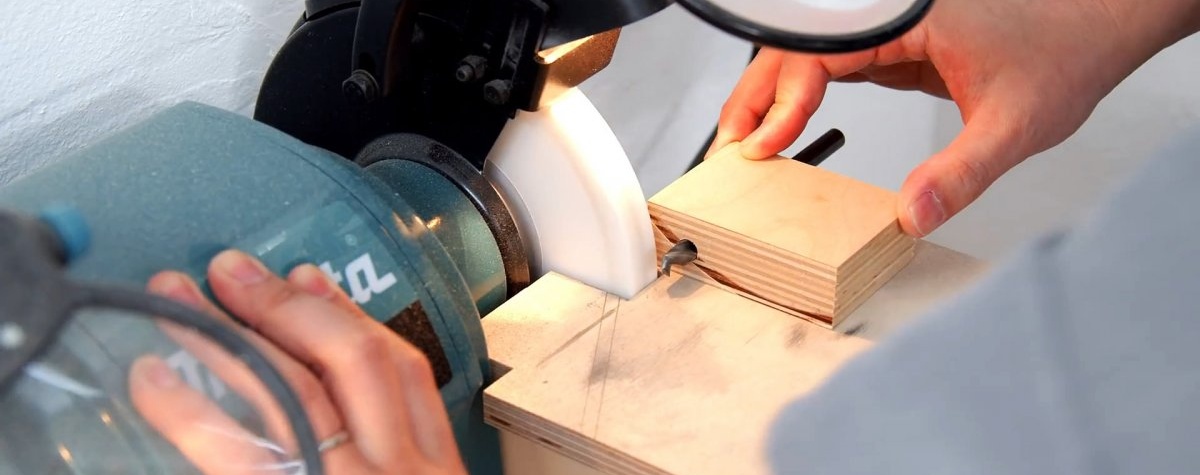
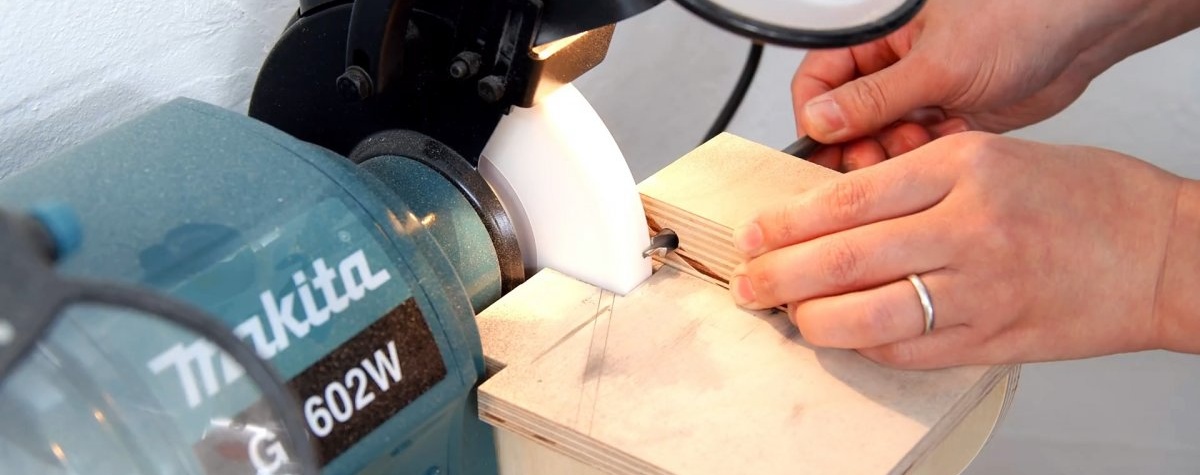
Having selected a step on the drill, you need to adjust the shoulders at the transition between diameters. If this is not done, the tool will enter the wood slowly and become very hot. A jig is also used for straightening. It is necessary to sharpen the shoulders on a larger diameter at the same angle as the tip of a wood drill is usually processed.

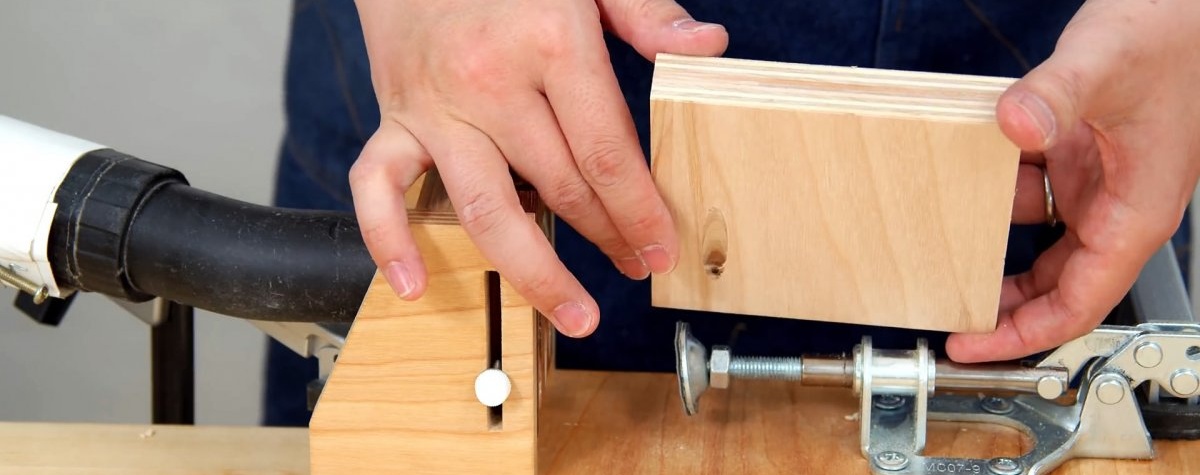
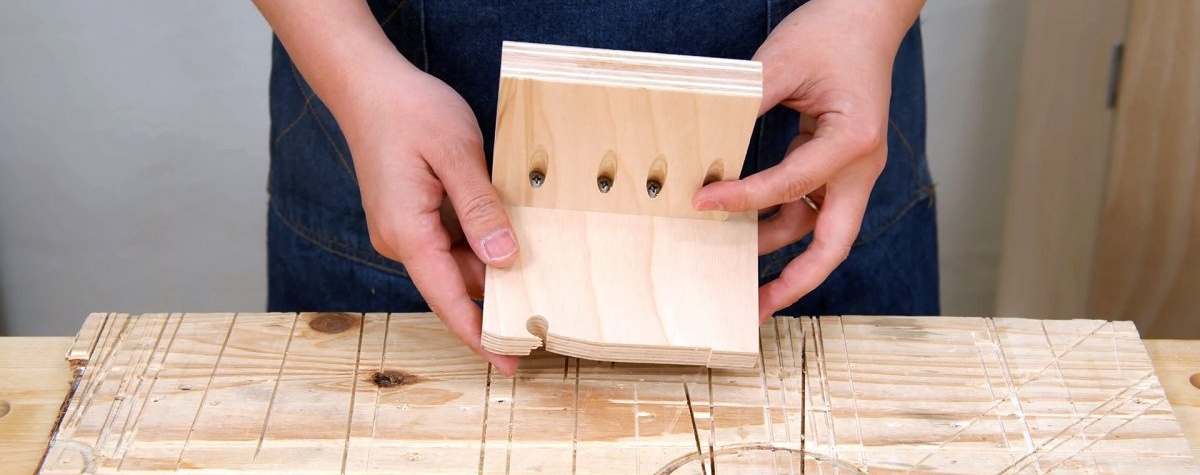
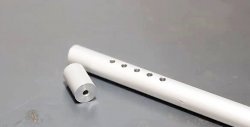
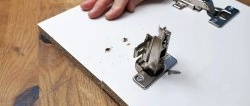
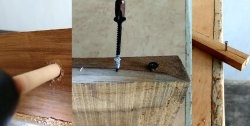
Using a modified drill in combination with a specialized jig for an oblique screw, you can drill the workpiece in one pass. That is, the thin part drills through the part, and the wide part makes a blind hole for fitting the screw head. If you often have to connect workpieces with an oblique screw, then such a tool will save a lot of time and effort. The homemade product is really useful, and it can be done in 10-20 minutes.