Do it yourself
Life hacks, master classes, useful tips, recipes.
home » Different » How to make a simple mini airbrush from syringes
For high-quality painting of small parts, mini airbrushes are used. This is quite expensive equipment, which also needs to be connected to an equally expensive mini compressor. If you don’t want to spend money on such a device, you can make it yourself. At home, the airbrush is assembled from disposable syringes. You can use a cheap aquarium compressor as an air blower for it.
How to make a simple mini airbrush from syringes

Materials:


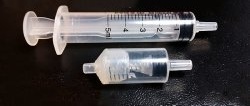
  • disposable syringes 5 cc and 20 cc;
  • gas lighter with filling valve;
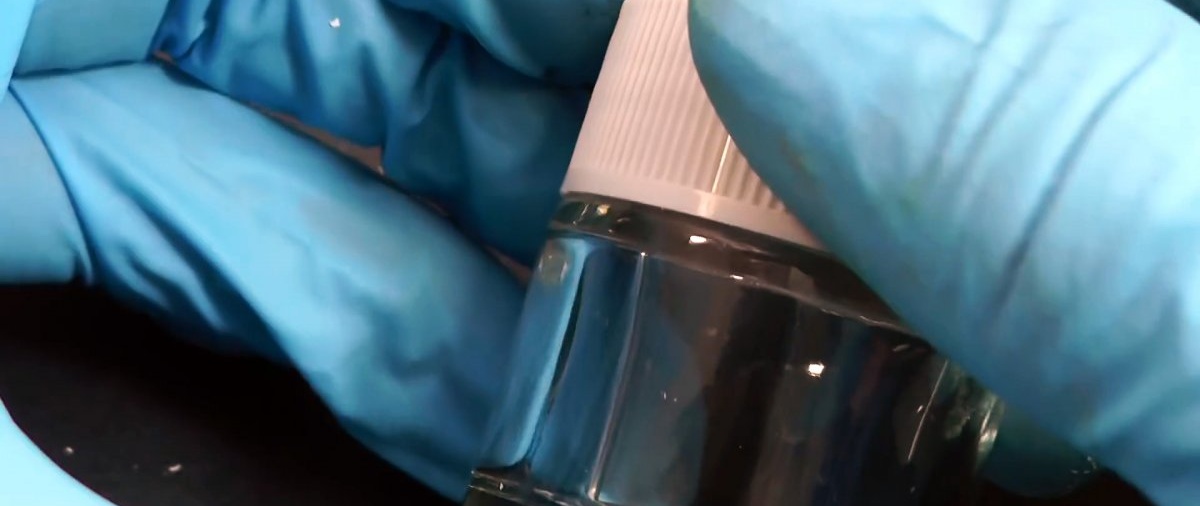
  • a small jar of cream or varnish;
  • needles for syringes of different diameters 25G 0.5 mm, 22G 0.7 mm, 21G 0.8 mm and 18G 1.2 mm;
  • ear stick;
  • hot glue;
  • Super glue.

How to make a simple mini airbrush from syringes

The process of making a mini airbrush


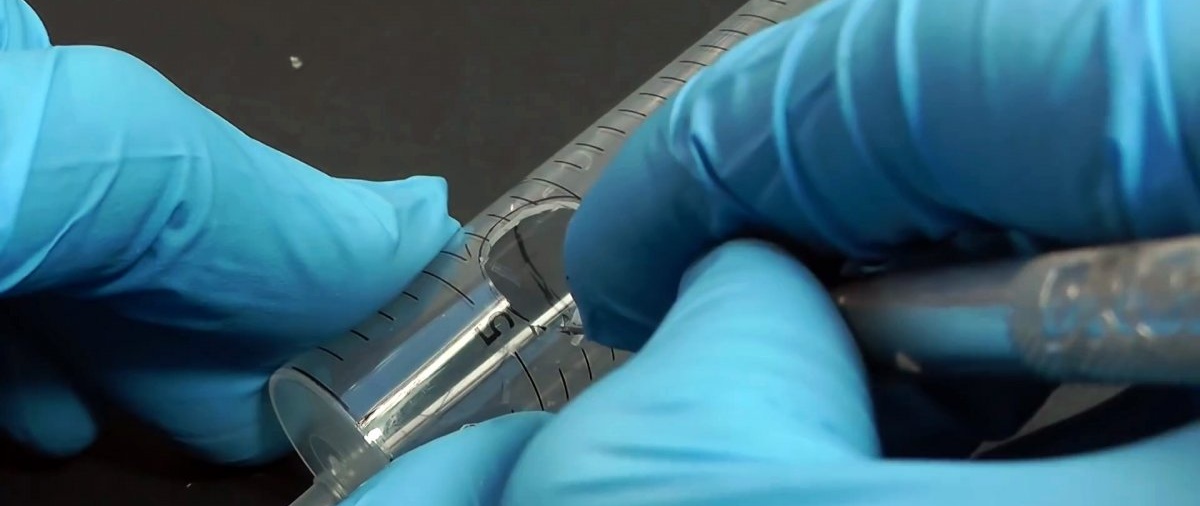
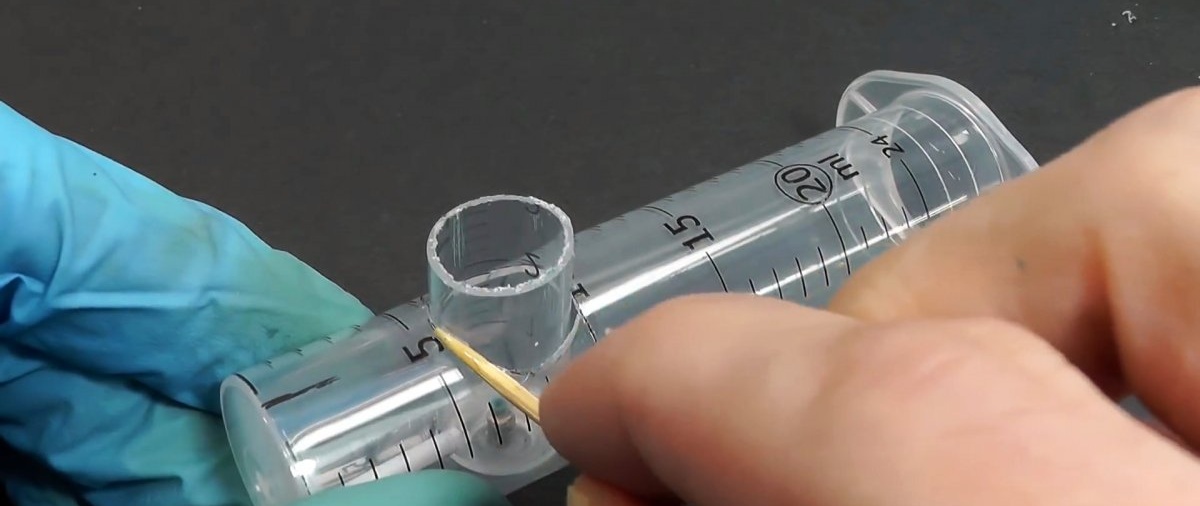
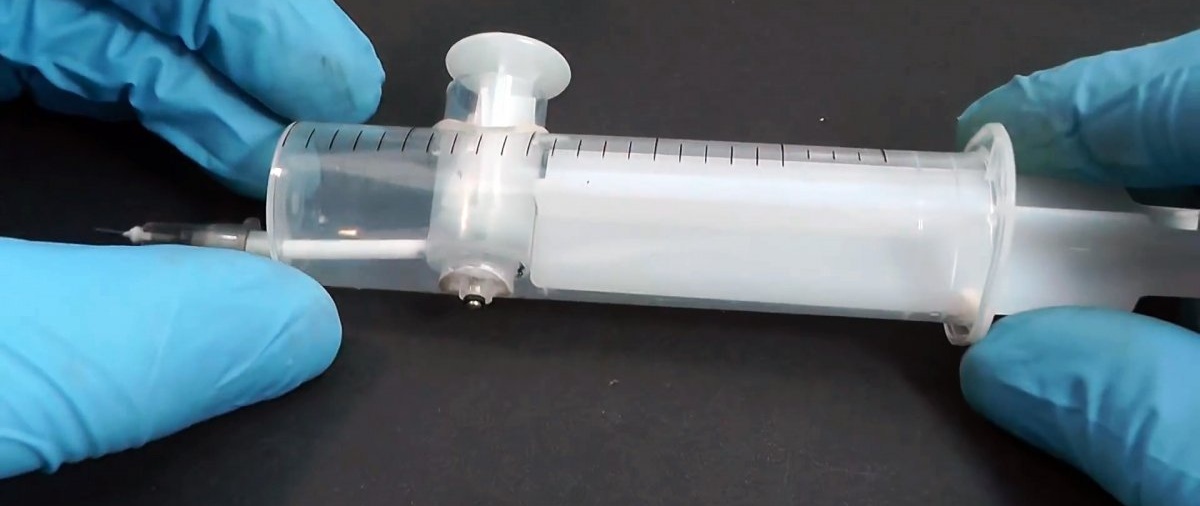
The bulb of the smaller syringe is cut in half. Then a round hole is cut in a large syringe between marks 5 and 10 to accommodate the trim.
How to make a simple mini airbrush from syringes

How to make a simple mini airbrush from syringes

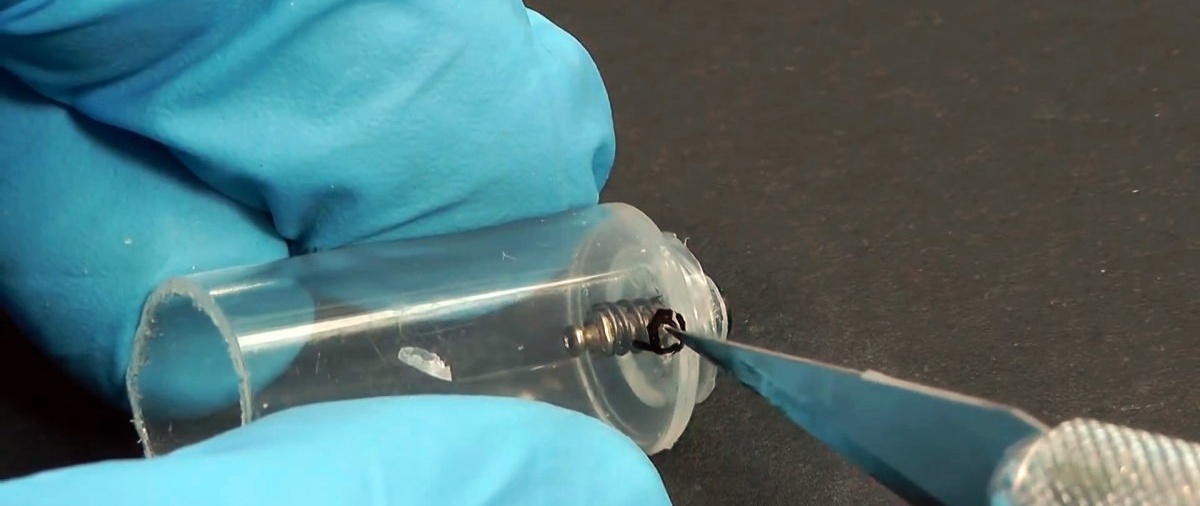
Next, you need to disassemble the lighter body and remove its filling valve.
How to make a simple mini airbrush from syringes

How to make a simple mini airbrush from syringes

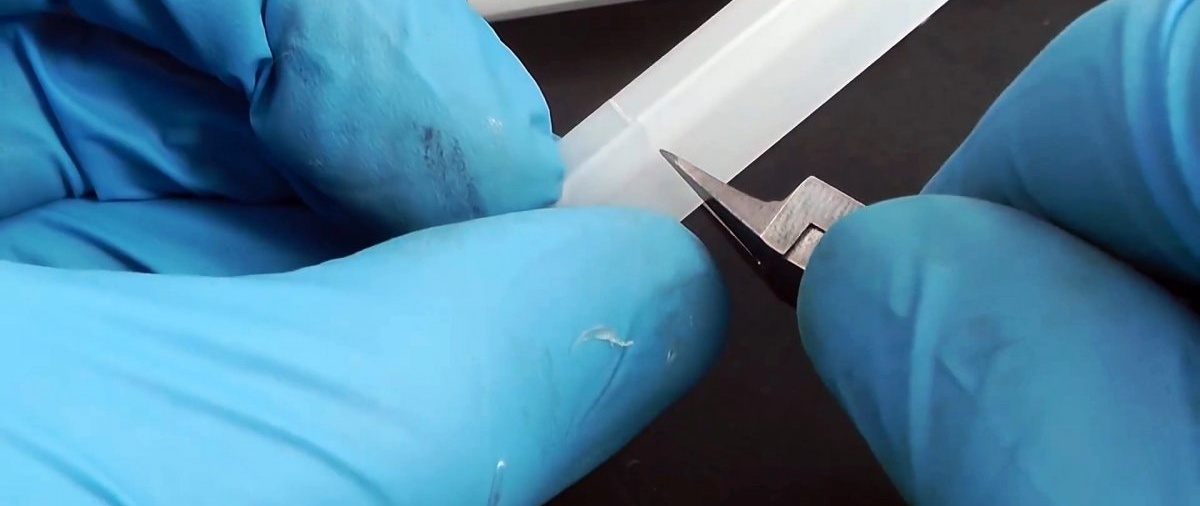
It is then installed into the nozzle of the syringe. To do this, the nose is shortened.
How to make a simple mini airbrush from syringes

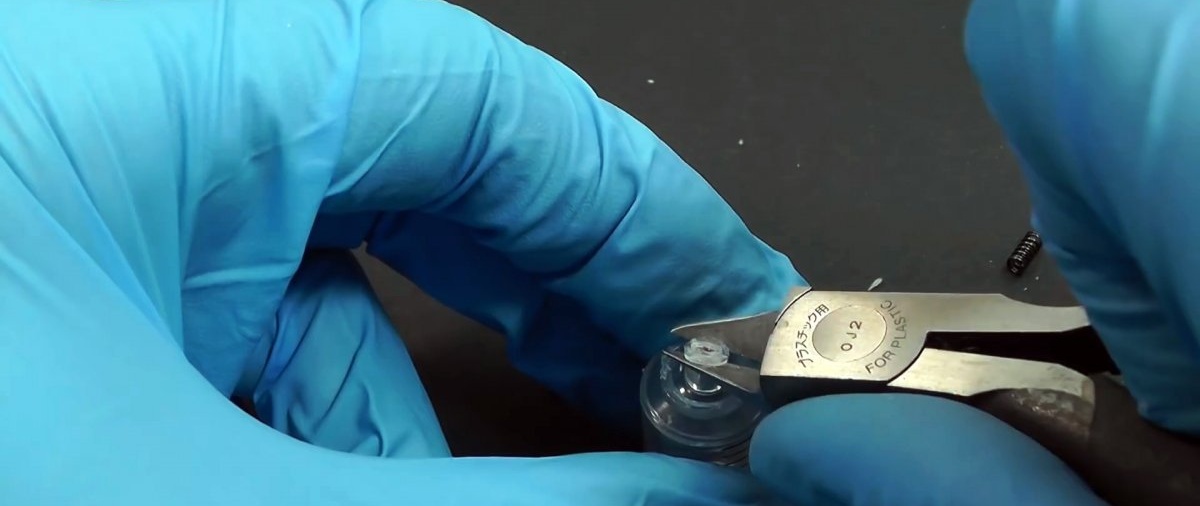
The spring on the valve is shortened before installation. It is inserted into the spout from the inside of the flask with the rubber band previously removed.
How to make a simple mini airbrush from syringes

How to make a simple mini airbrush from syringes

To fix it, you then need to put on an elastic band on the outside of the spout. The valve is placed so that it is activated when pressed from the inside.
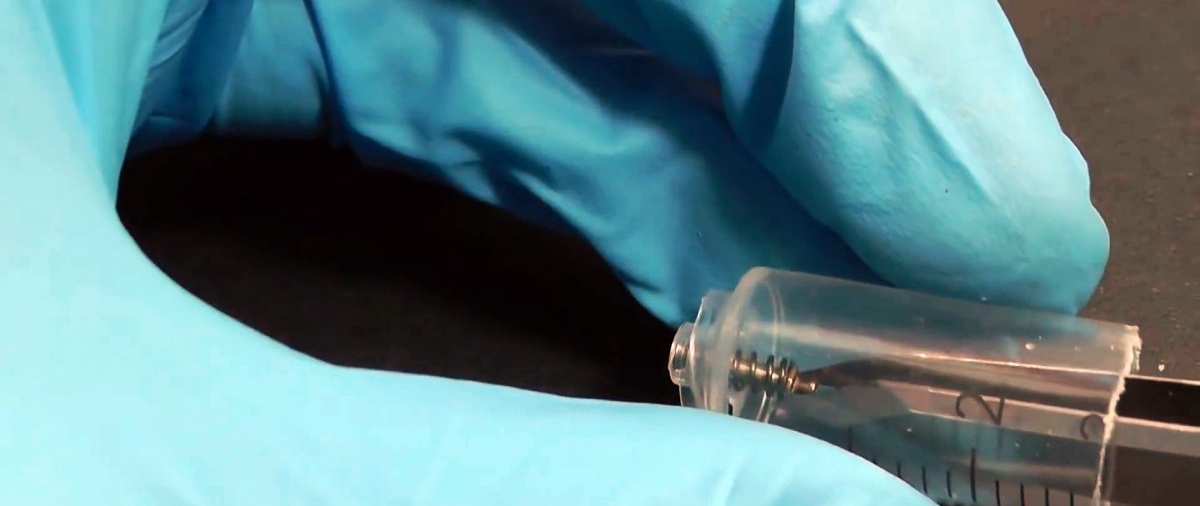
In the flask of a large syringe, opposite the existing hole, another hole is made for a spout with a valve.
How to make a simple mini airbrush from syringes

How to make a simple mini airbrush from syringes

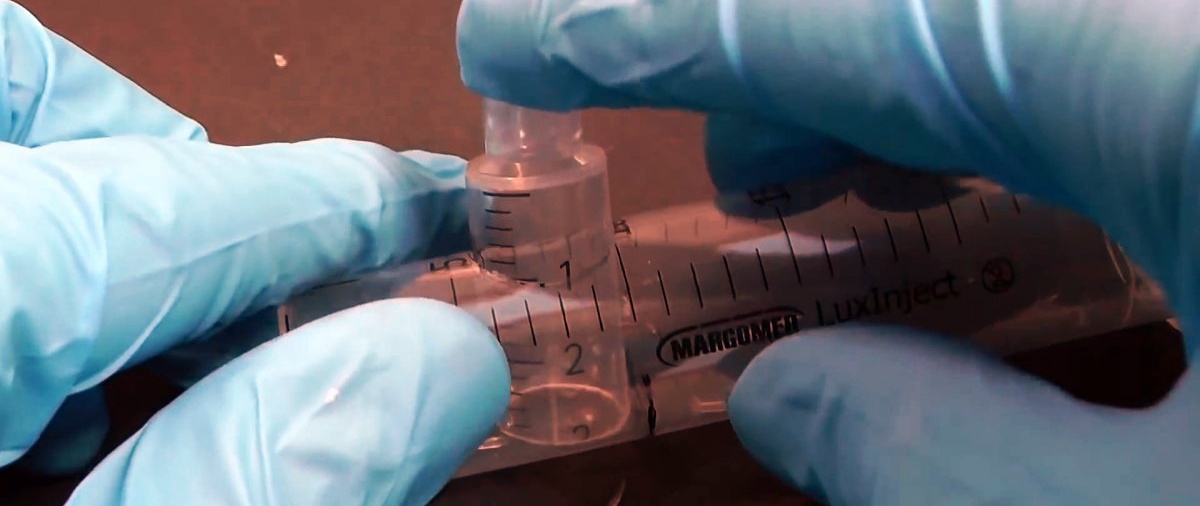
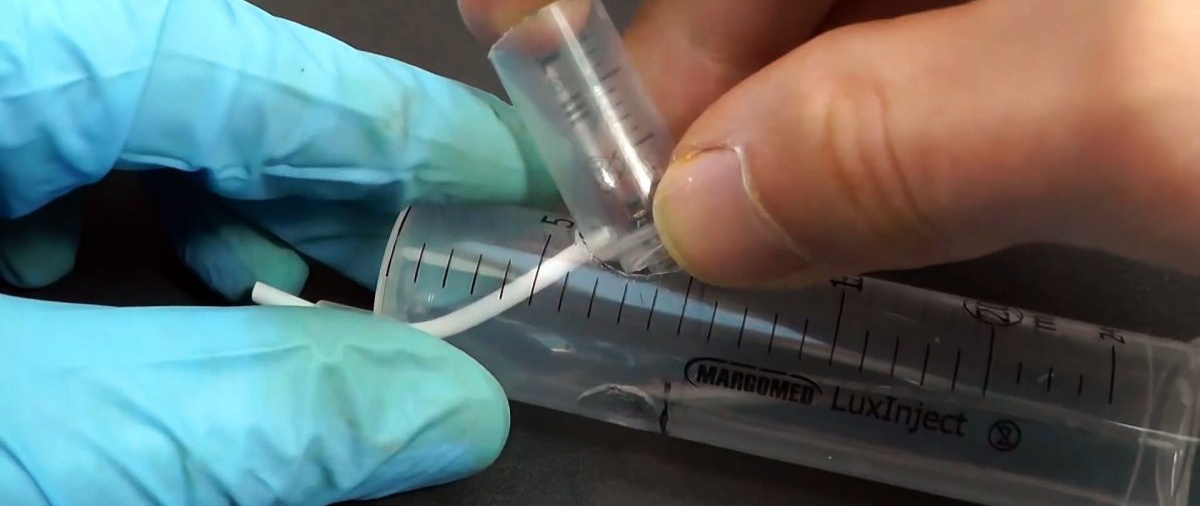
You need to insert the smaller syringe into the larger one. After this, you need to cut a tube cut from an ear stick into the flask of the smaller one.
How to make a simple mini airbrush from syringes

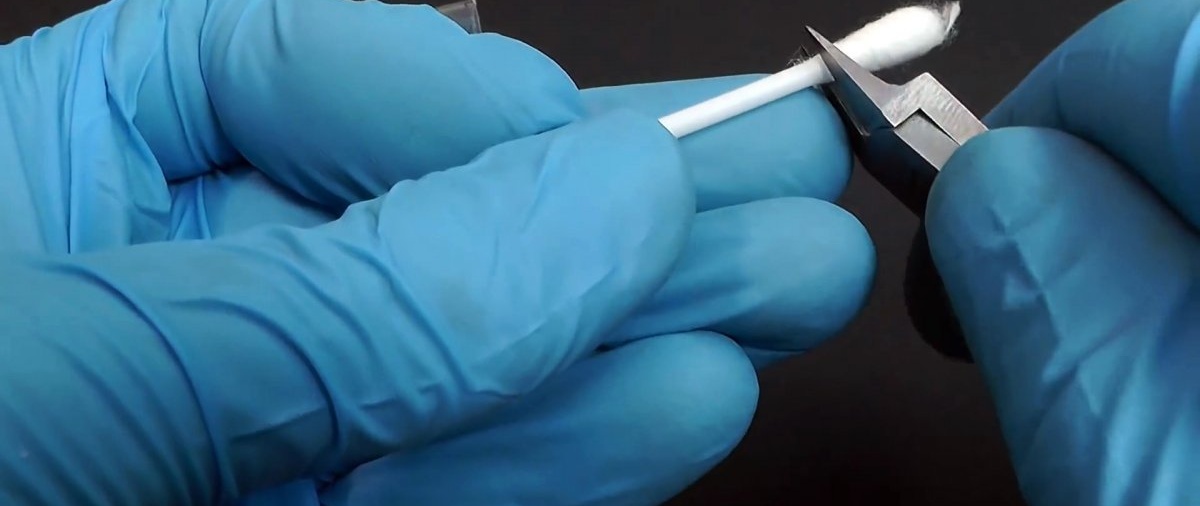
The tube should fit through the spout of the large syringe.
How to make a simple mini airbrush from syringes

How to make a simple mini airbrush from syringes

How to make a simple mini airbrush from syringes

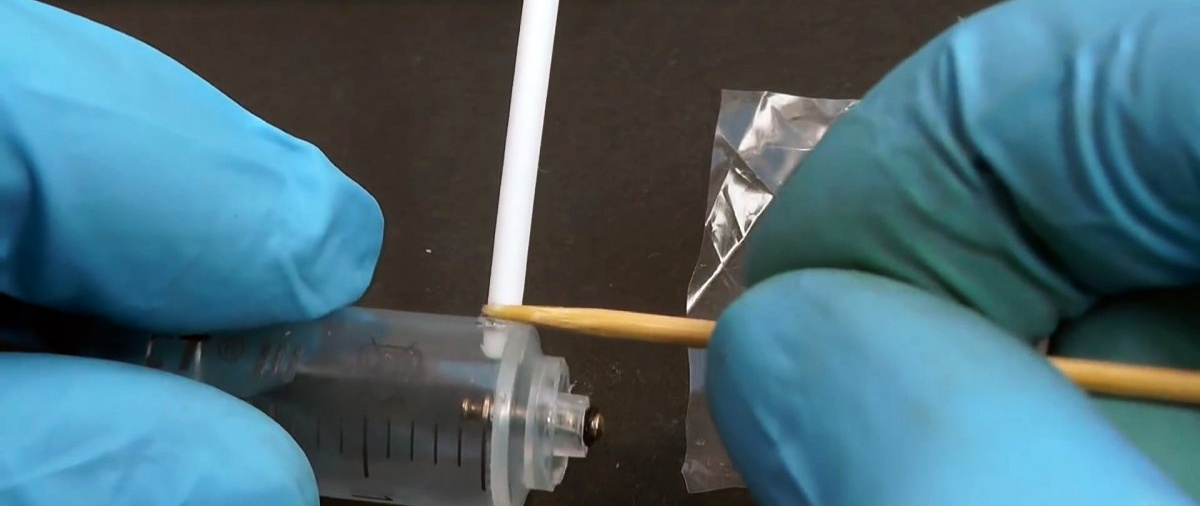
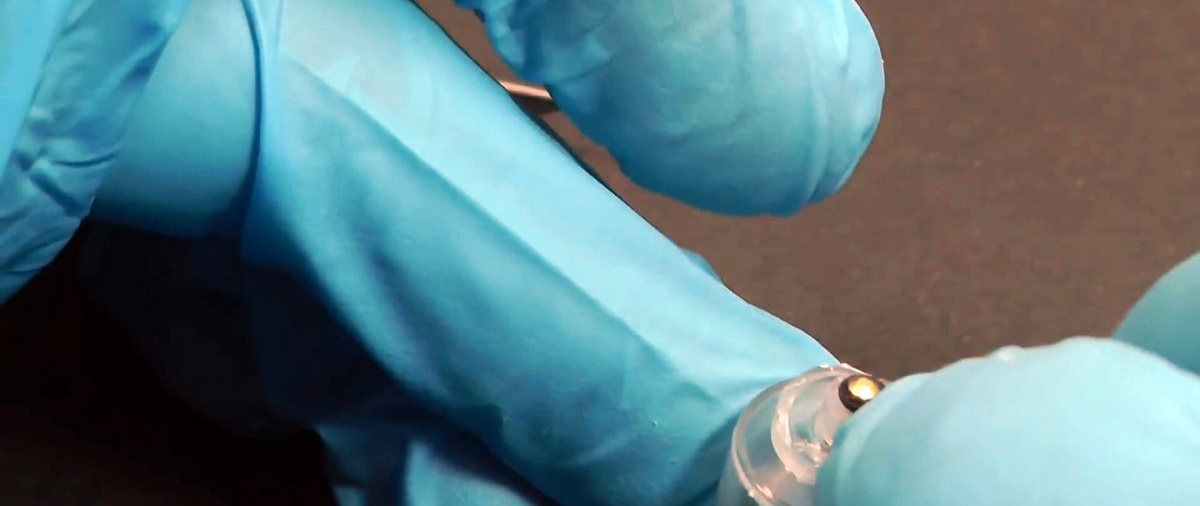
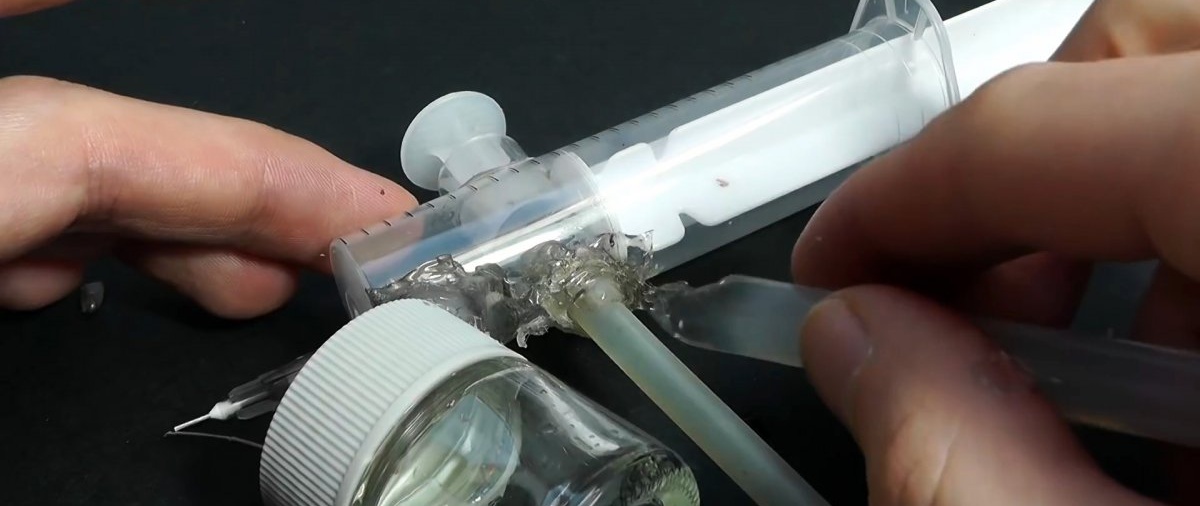
All joints should be coated with glue; it is important to achieve a tight seal.
How to make a simple mini airbrush from syringes

The gap between the tube and the nozzle of the large syringe is also sealed. The tube itself is cut so that it extends beyond the spout of 2-3 mm.
How to make a simple mini airbrush from syringes

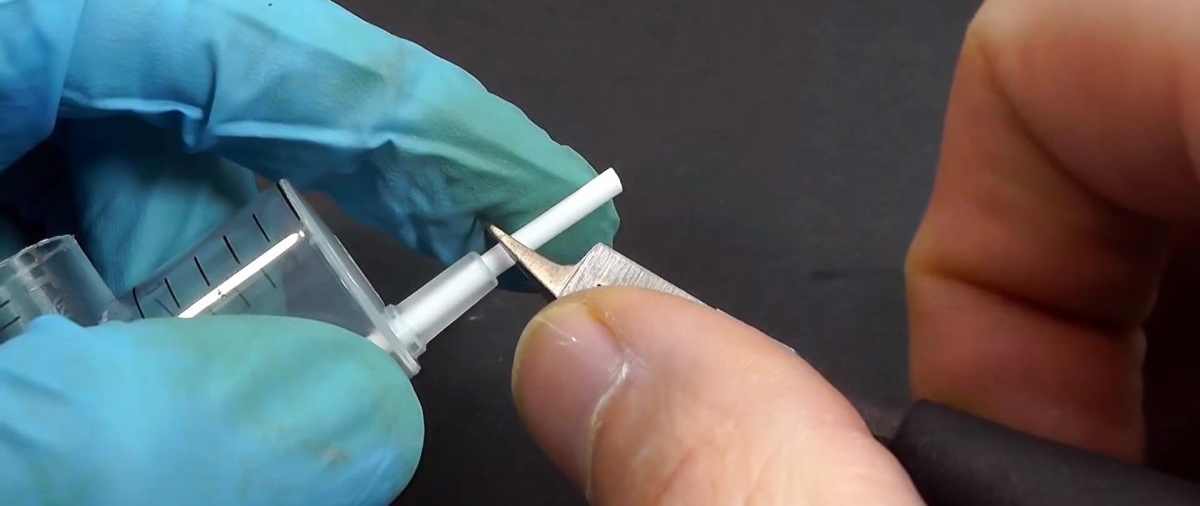
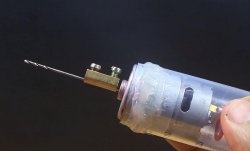
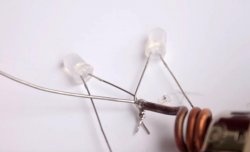
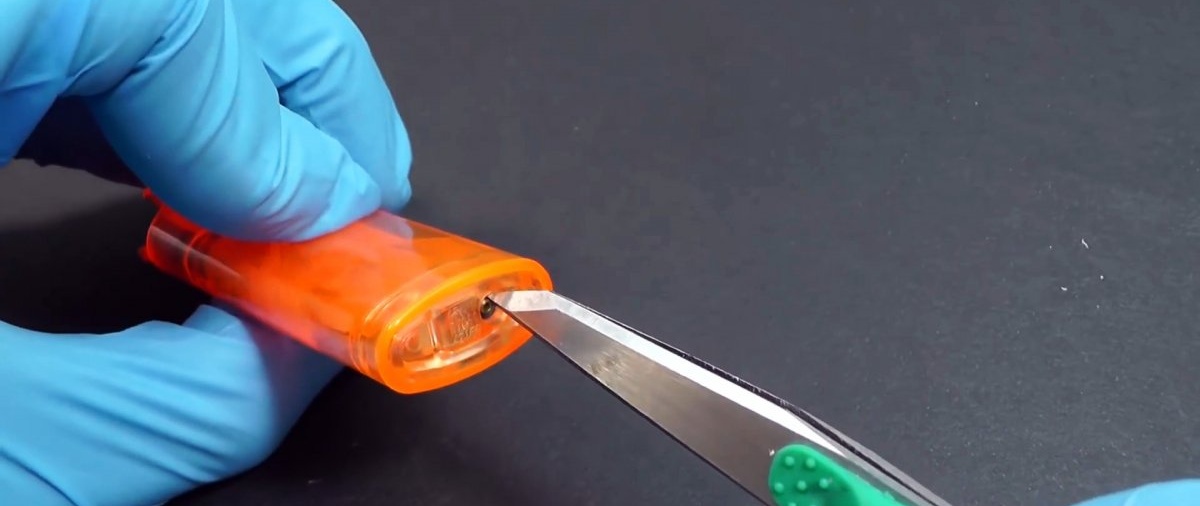
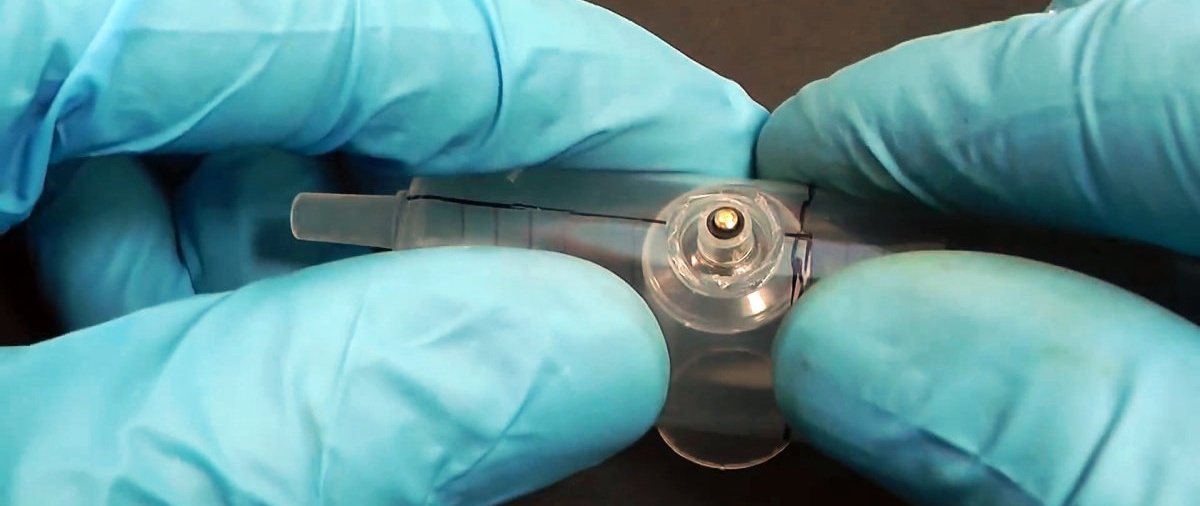
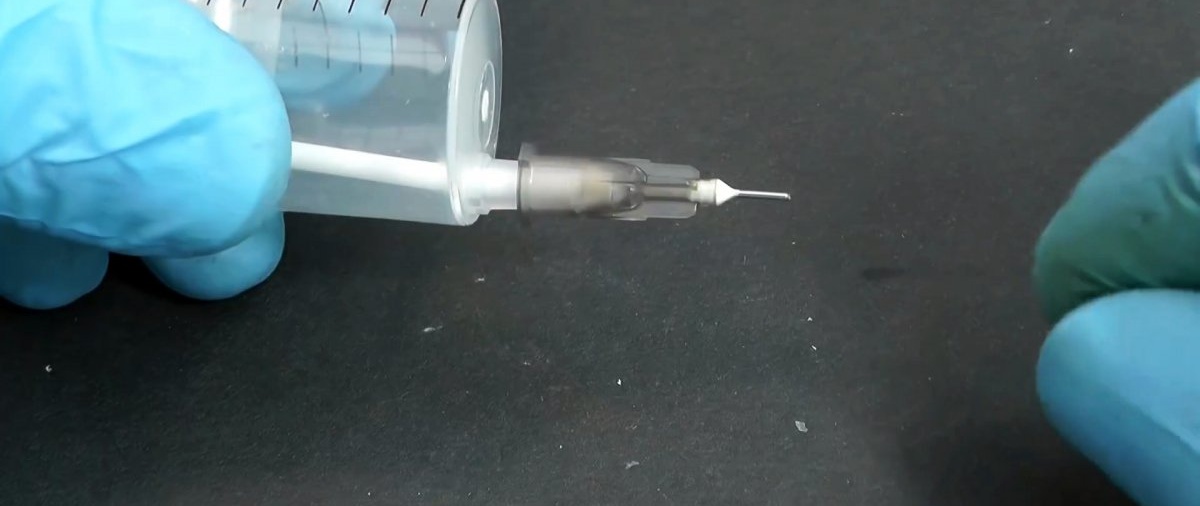
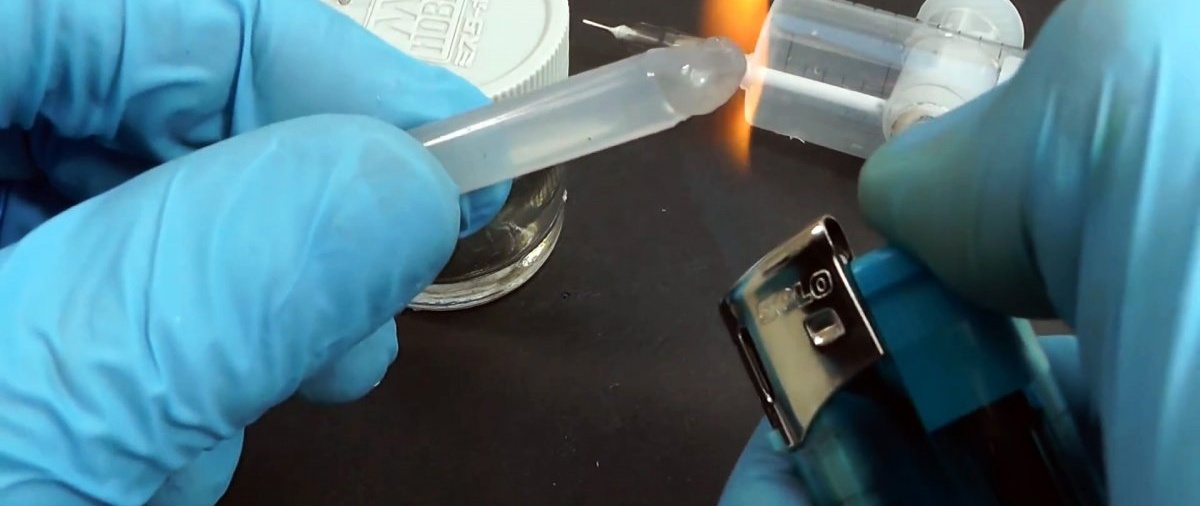
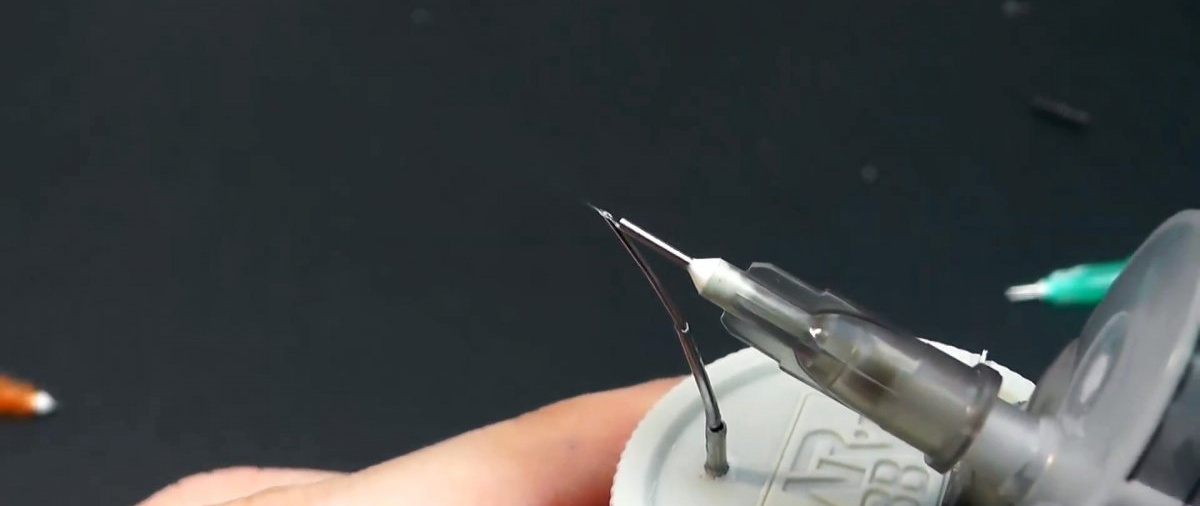
The spray nozzle is made from a shortened needle. You can prepare several needles of different sections to work with paints of different viscosities.
How to make a simple mini airbrush from syringes

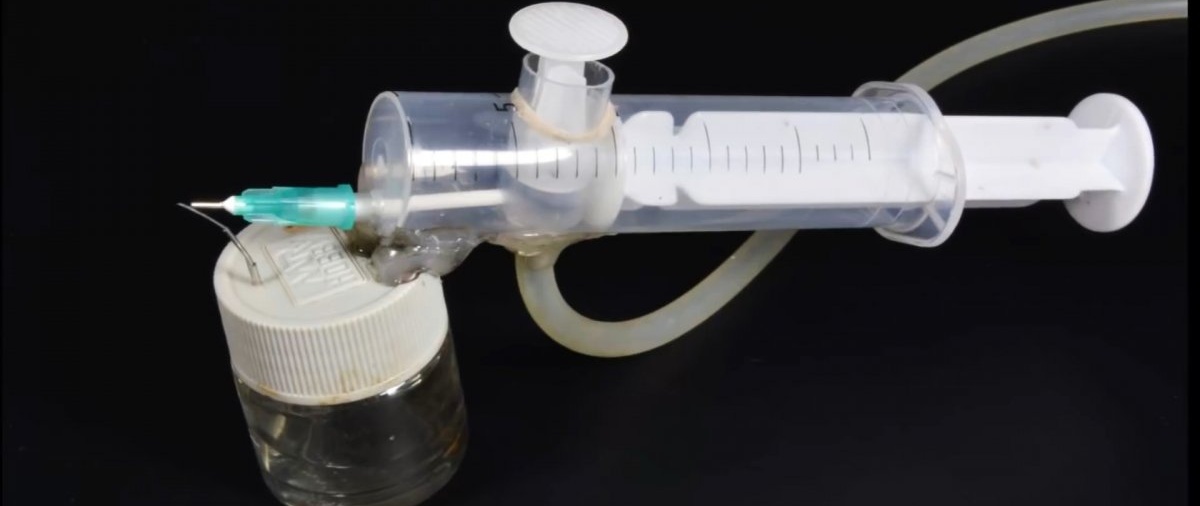
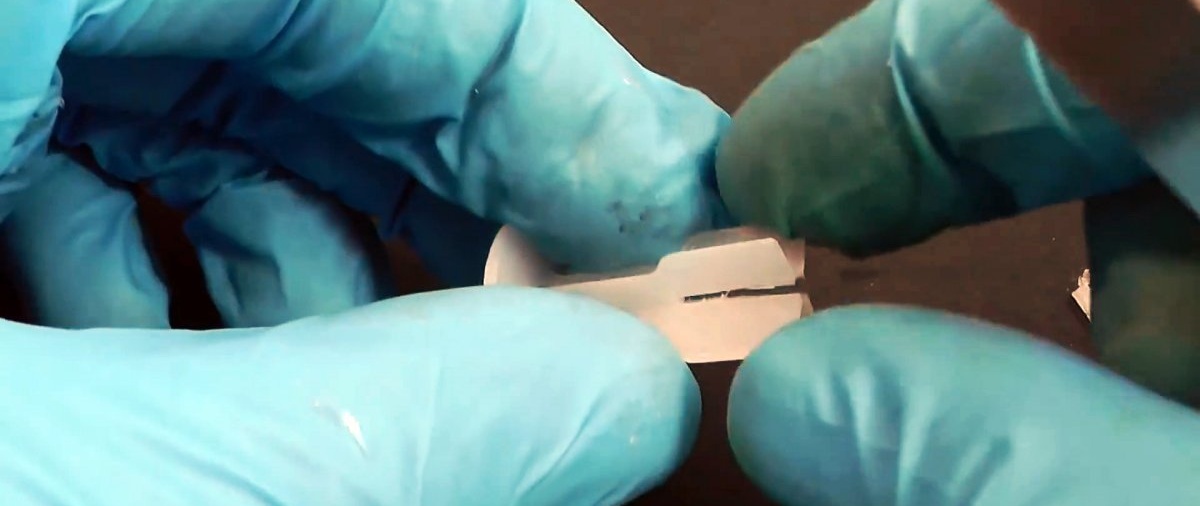
Next you need to make a button to supply paint. It is made from a piston for a 5 cc syringe. It is cut, the halves are shortened along the rod, then joined with the back sides facing outward. Next, the piston is installed in a trimmed 5 cc flask.
How to make a simple mini airbrush from syringes

How to make a simple mini airbrush from syringes

How to make a simple mini airbrush from syringes

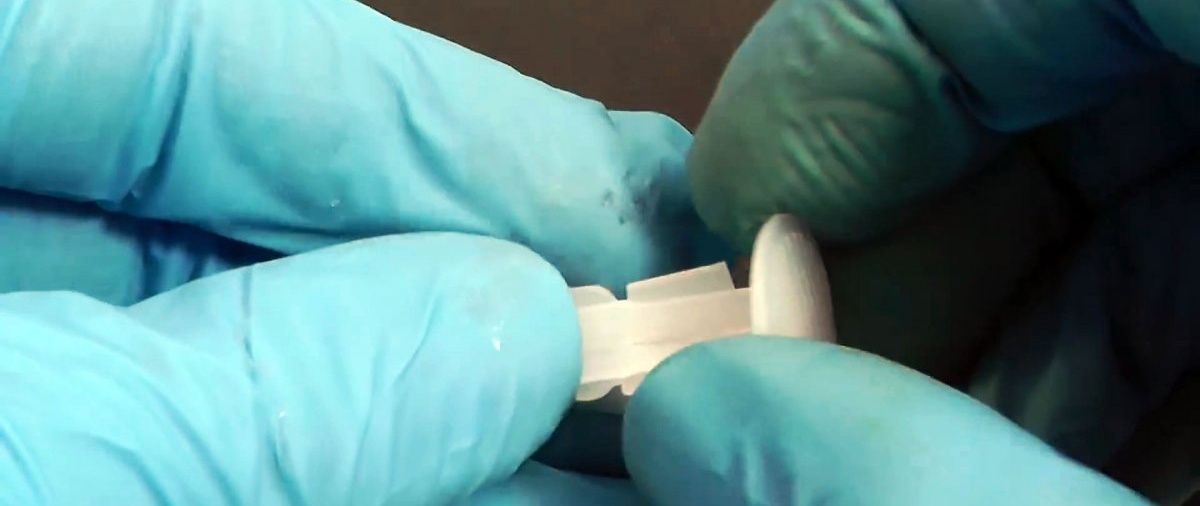
When pressed, it presses the valve and it opens. If you remove the pin, the spring will push the piston back and the valve will close.
How to make a simple mini airbrush from syringes

Make 2 holes in the lid of the paint jar using a large diameter needle.
How to make a simple mini airbrush from syringes

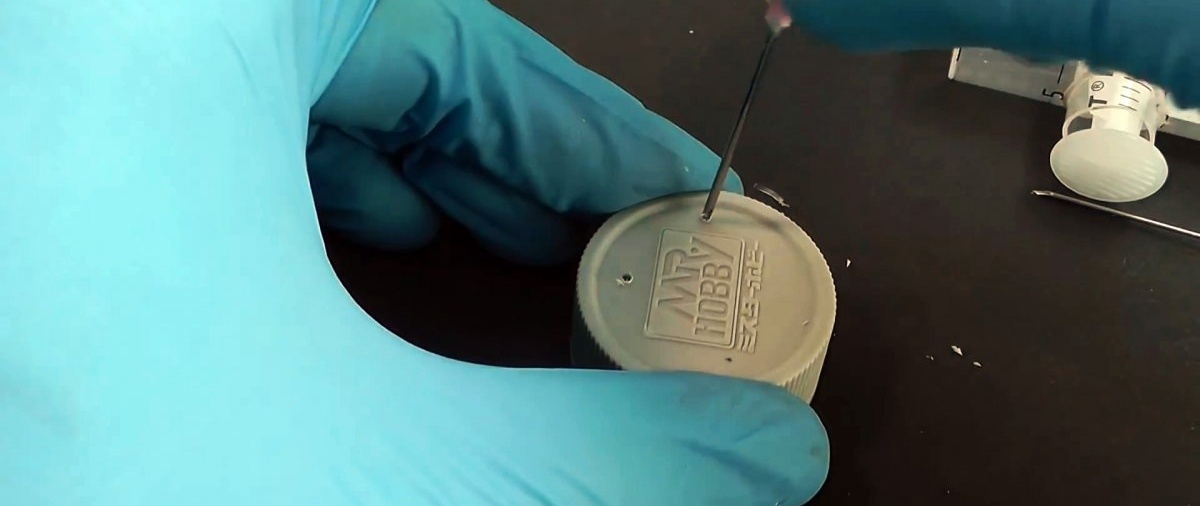
Then the plastic part of the needle is cut off and it is inserted into the jar to the bottom.
How to make a simple mini airbrush from syringes

How to make a simple mini airbrush from syringes

Next, you need to glue the lid of the jar to the body of the airbrush using hot glue. A small angle should form between them.
How to make a simple mini airbrush from syringes

How to make a simple mini airbrush from syringes

How to make a simple mini airbrush from syringes

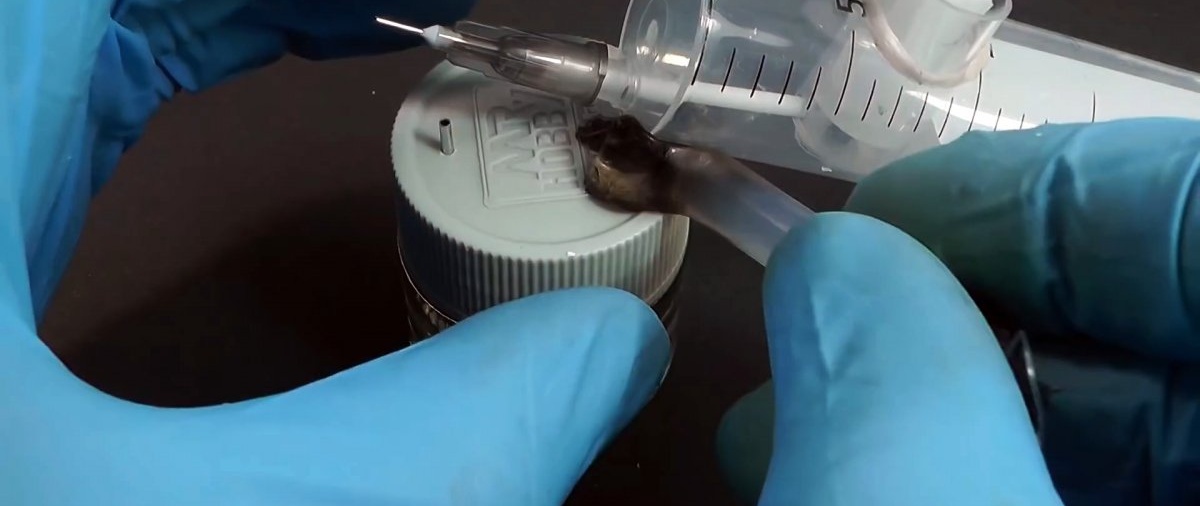
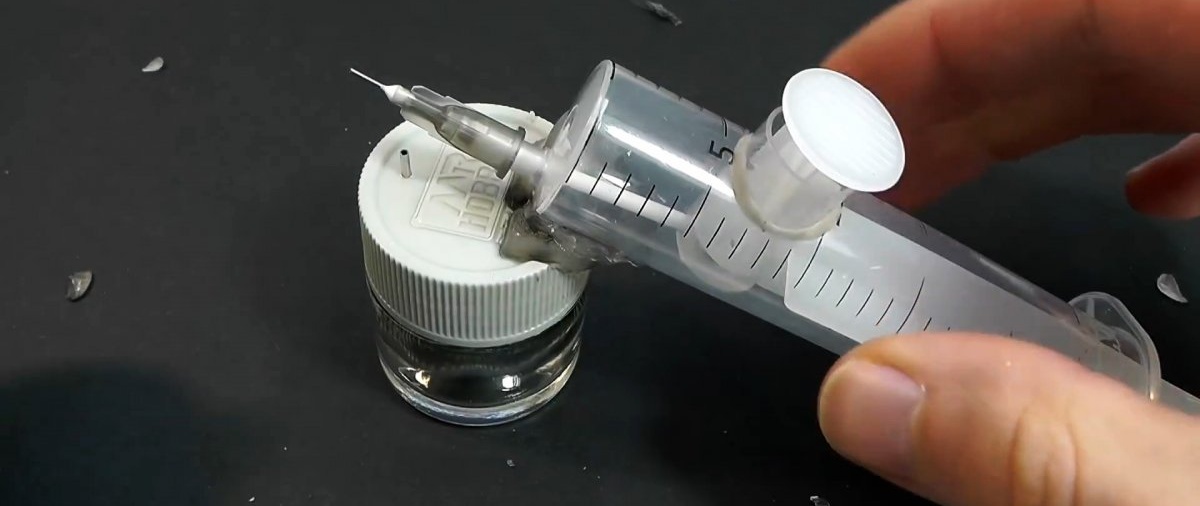
Then you need to insert 2 more needles into the needle in the lid of the jar. One has a medium and the other a small diameter. It looks like a telescopic tube. It needs to be bent so that its edge meets the airbrush nozzle.
How to make a simple mini airbrush from syringes

How to make a simple mini airbrush from syringes

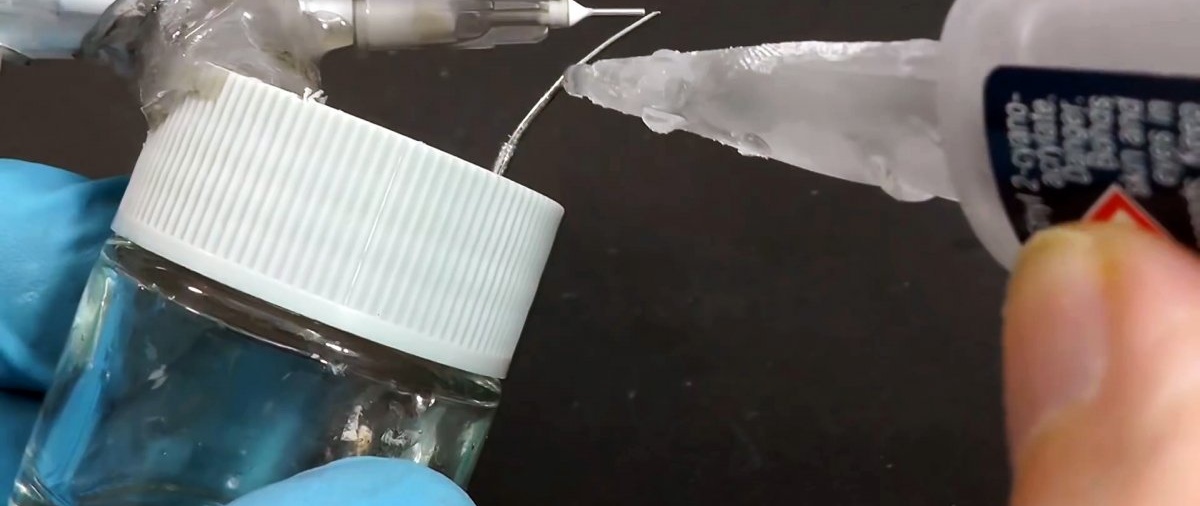
After this, the end of the telescopic tube is sharpened a little for a tighter fit to the nozzle. All needle joints are coated with glue.
Finally, you need to return the plunger to the large syringe. The hose from the compressor is connected to the nozzle of the syringe with a valve; for reliability, the joint is coated with hot-melt adhesive.
How to make a simple mini airbrush from syringes

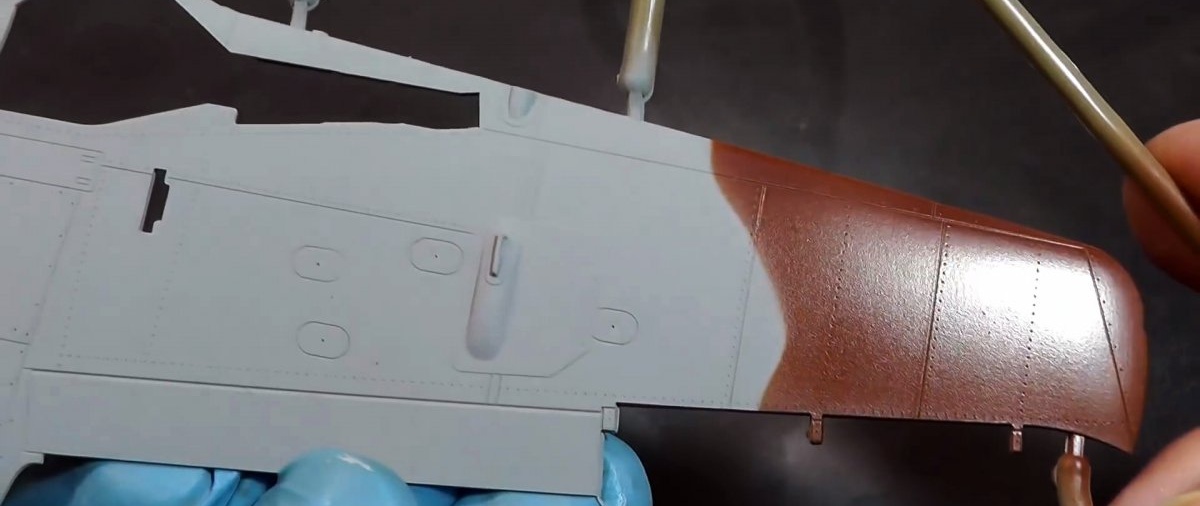
To use an airbrush, you need to fill the jar with liquid paint. Then the compressor turns on. When you press the piston, air will enter the body of the device and, when blown through the nozzle, will create a pressure discharge.
How to make a simple mini airbrush from syringes

How to make a simple mini airbrush from syringes

As a result, the paint rises through the telescopic tube and is sprayed.
How to make a simple mini airbrush from syringes

How to make a simple mini airbrush from syringes

If there are problems with this, then you need to adjust the gap and the angle between the needles until an acceptable paint torch can be achieved using an experimental method.
How to make a simple mini airbrush from syringes

How to make a simple mini airbrush from syringes

How to make a simple mini airbrush from syringes

Watch the video


come back
Comment
  • bowtiesmilelaughingblushsmileyrelaxed relaxedsmirk
    heart_eyeskissing_heartkissing_closed_eyesflushedrelievedsatisfiedgrin
    winkstuck_out_tongue_winking_eyestuck_out_tongue_closed_eyesgrinningkissingstuck_out_tonguesleeping
    worriedfrowninganguishedopen_mouthgrimacingconfusedhushed
    expressionlessunamusedsweat_smilesweatdisappointed_relievedwearypassive
    disappointedconfoundedfearfulcold_sweatperseverecrysob
    joyastonishedscreamtired_faceangryragetriumph
    sleepyyummasksunglassesdizzy_faceimpsmiling_imp
    neutral_faceno_mouthinnocent
4 minus one =
Comments (1)
  1. Amateur animanaut
    #1 Amateur animanaut Guests 6 August 2022 13:40
    0
    Kick! This airbrush was invented in the 2000s. What does the first inconvenient valve design have to do with it? Try pressing it for half an hour and you’ll find out.It is necessary to cut off the pushing piston under the bulb with rubber for sealing, remove the rubber, drill a hole for the bolt, put on the rubber, pierce or dig a hole in it, insert the bolt into the hole (grind off the thread from the neck and leave it under two nuts at the end for the “button”) head towards the valve, screw the nut and locknut on the opposite side. Insert the entire structure into a piece of a 5 cc valve syringe and fix the piston so that it does not squeeze out under pressure. The button works very softly, like a US Patriot. The spout of a two-cc syringe was used, cut at the root at a slight angle, empty ballpoint paste was glued to the inside, and the structure was glued to the lid of the jar. Both nozzles were replaced quickly and without problems and there was no need to build a complex structure.

How to lubricate a lock with a simple pencil

DIY massage mat for a child | Do it yourself

Kaleidoscope | Do it yourself

How to make a feed level indicator in a chicken feeder with your own hands

«Do it yourself - with your own hands» - a site of interesting homemade products made from scrap materials and items at home. Step-by-step master classes with photos and descriptions, technologies, life hacks - everything a real master or just a craftsman needs for needlework. Crafts of any complexity, a large selection of directions and ideas for creativity.

We recommend reading

Washing machine error codes