Materials:
- twist drill for wood 36 mm;
- steel pipe with an internal diameter of 37 mm;
- adapter for pipe with a diameter of 1/2 inch;
- 1/2 inch pipe;
- 1/2" plumbing plug;
- Sheet steel;
- bicycle carriage in the housing;
- bicycle drive sprocket;
- bicycle rear hub with cassette;
- roller chain;
- electric motor;
- profile pipes;
- ring heaters 320 W – 2-3 pcs.;
- ring heater 70 W;
- PID controllers for each heater;
- PWM regulator.

Extruder manufacturing process
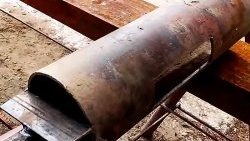
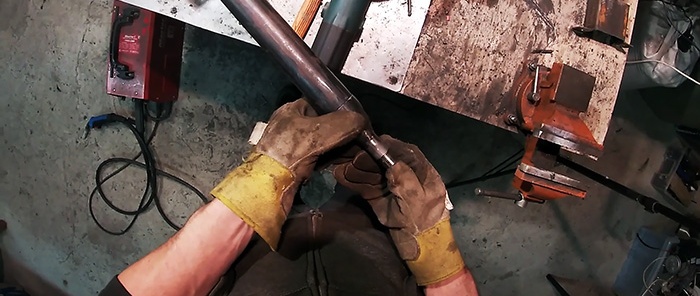
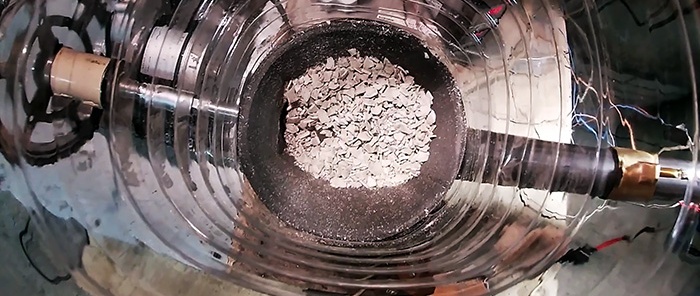
A spiral wood drill will be used as an extruder screw. A water pipe is selected for it. In it you need to grind off the internal weld seam with a file.A longitudinal cut is made from the edge of the pipe to a depth of 60-80 mm, and part of the pipe is cut off along it. Sheet steel cheeks are welded to the resulting slot on the left and right. A loading hopper for crushed plastic will be installed on them. It can be printed on a 3D printer.
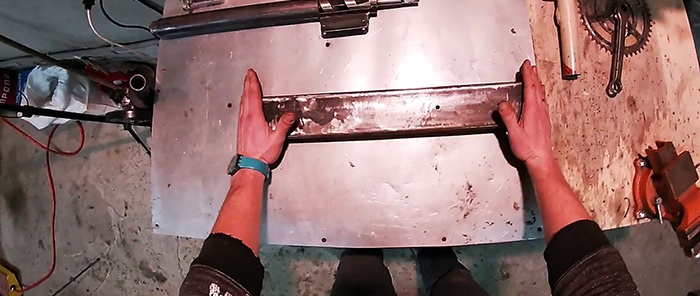
A steel plate or a massive profile pipe can be used as the extruder base.
A stand is screwed to the base to secure the extruder itself. It is made from a profile pipe with lugs. The extruder casing itself is welded to the stand, then a screw is inserted into it.


Next, you need to connect the auger to the motor through a reduction gearbox.
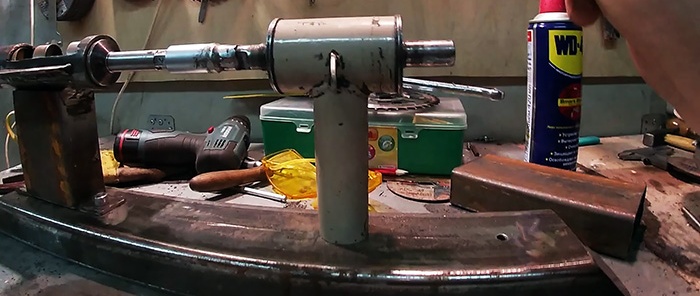
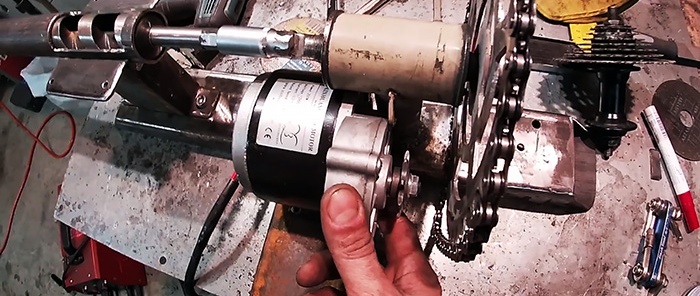
To do this, a bicycle carriage is connected to it through the socket head. The head is welded to the carriage, then it is put on the auger shank. After this, the carriage is aligned coaxially with the extruder, and its stand is welded to the sole.
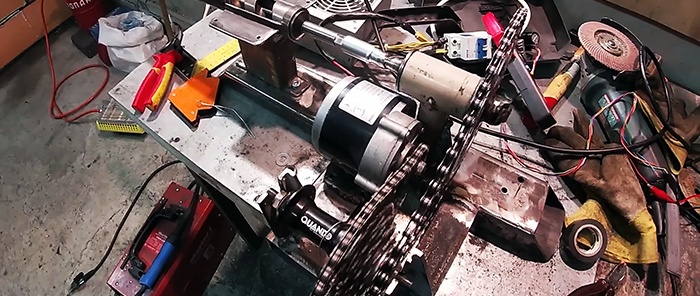
Then the driving bicycle sprocket is installed on the carriage shaft. Next, you need to connect the drive sprocket to the small sprocket on the hub cassette through a roller chain. After this, the same chain connects the large sprocket on the cassette with the sprocket on the electric motor gearbox. To do this, another profile pipe is welded to the side of the frame to accommodate the bushing and motor. In this case, the drive sprocket has 46 teeth, the small one has 11, the middle one has 30, and the motor gearbox has 9. Thus, the gear ratio from the motor to the drill will be 1:140. For reliability, all racks must be strengthened by welding gussets.
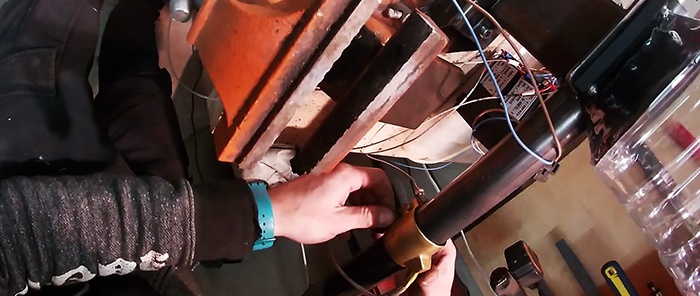
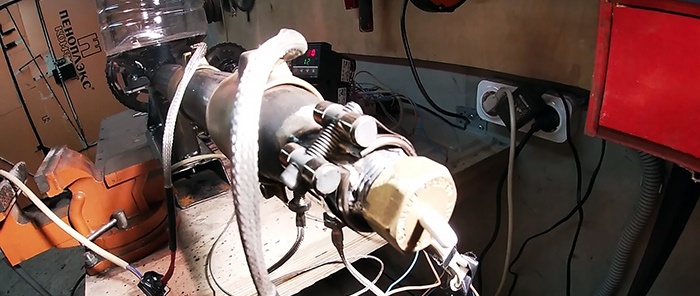
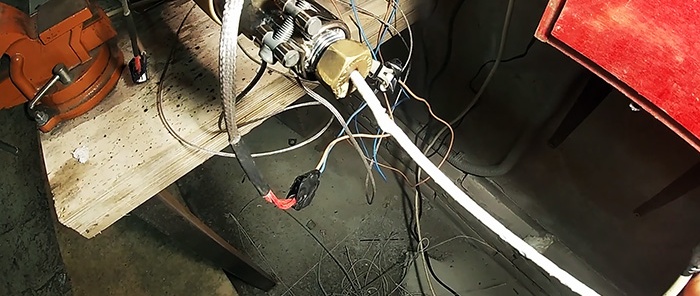
An adapter and a piece of 1/2-inch pipe are welded to the exit of the extruder housing. There should be a thread on the edge of the tube to install the nozzle. It uses a plumbing plug with a 4 mm hole drilled in the center.
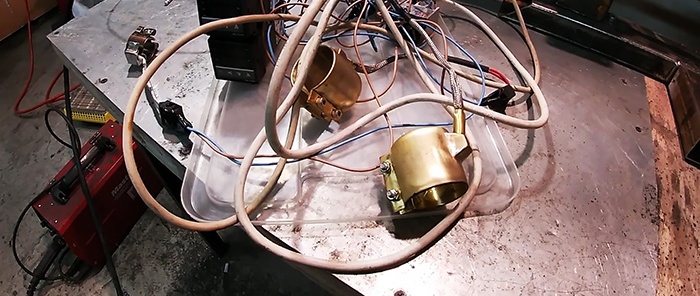
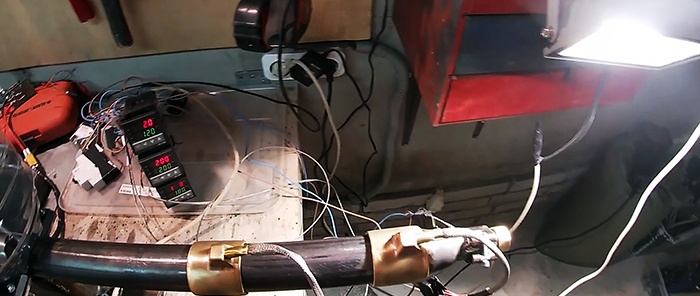
Next, you need to install ring heaters on top of the extruder housing. If their diameter does not match, then the casing can be increased by wrapping a steel strip around it. Heaters are installed on the extruder nose, in the center and at the beginning of the casing. Each of them is connected through a separate PID controller. Their thermal sensors are screwed to the casing. To do this, you will need to weld nuts to it. It is possible that after testing the number of heaters will need to be added.

Next, you need to turn on the heating and adjust the temperature on the heaters. To begin with, when using ABS plastic chips, the first one is set to 120°C, the second 200°C, and the third 180°C. After warming up, the rotation of the screw starts. You need to set it to about 5 rpm.

After making the extruder, you will need to assemble a lot more devices in order to organize the production of the rod, but they are made much easier. At a minimum, you will also need a bath to cool the rod, a receiving roller, and a vibrator for the hopper for uninterrupted supply of plastic chips to the auger.
Watch the video
Watch the video for all the details: